
Remembering Collageland
With this spread, I say farewell to a course called Collageland.
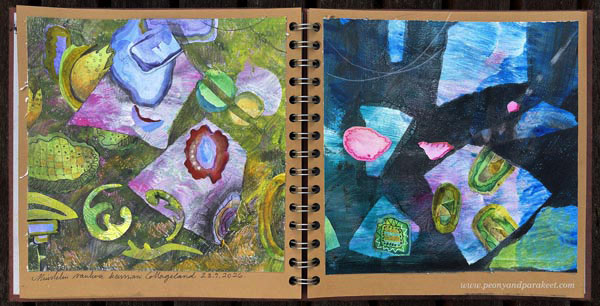
Yesterday, when I was making backgrounds and decorating handmade papers for this spread, I looked back on my artistic journey.
Three Stages
Stylistically, my artistic journey can be divided into three main stages. The first stage began around 2010 when I created decorative collages. My thing with collage art has always been to create every piece of paper myself and not cut anything from magazines or such. This approach requires more work, but it also grows your drawing skills. And most importantly, you can proudly say that you did it all yourself.
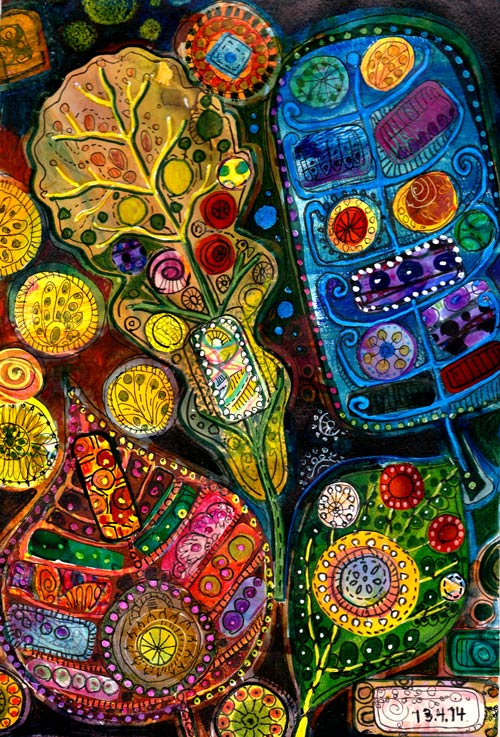
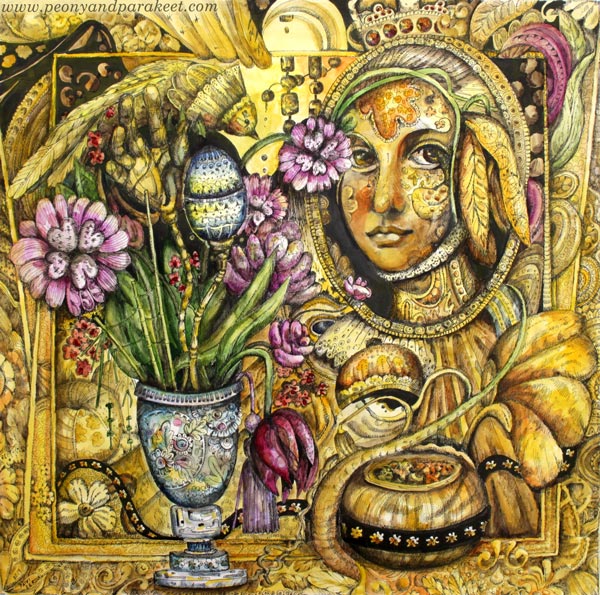
From 2016 to 2017, I gradually shifted toward a more illustrative style, drawing and painting representational fantasy art that often featured human or animal figures. I was highly influenced by art history and fantasy artists.
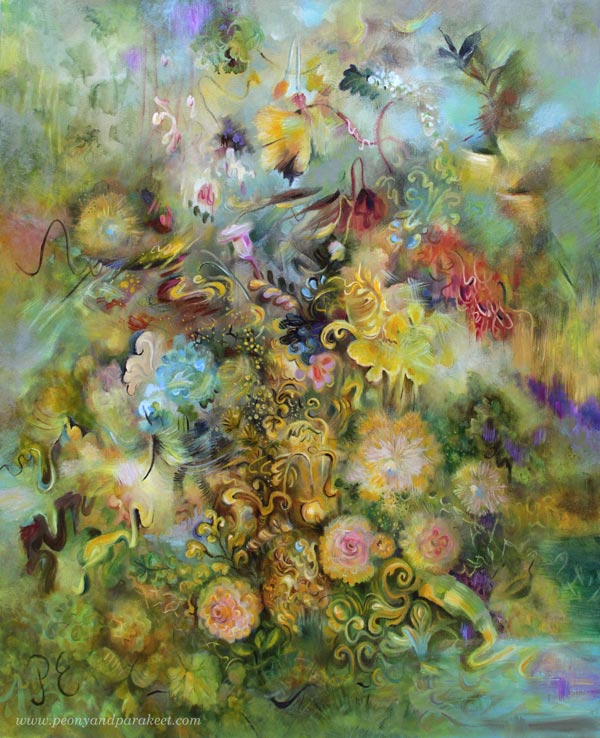
In 2020, I found my current painting style and focused on freely painted abstract landscapes and floral still lifes.
Considering I started my career as a full-time artist in 2014, you could say I moved forward in three-year leaps.
After the first stage, in 2018, I wanted to create one last course on decorative collages. It got the name Collageland. I felt that moving on is like leaving one place and founding another.
Remembering Collageland
Yesterday, I watched Collageland again. The course videos and the written materials evoked two strong emotions.
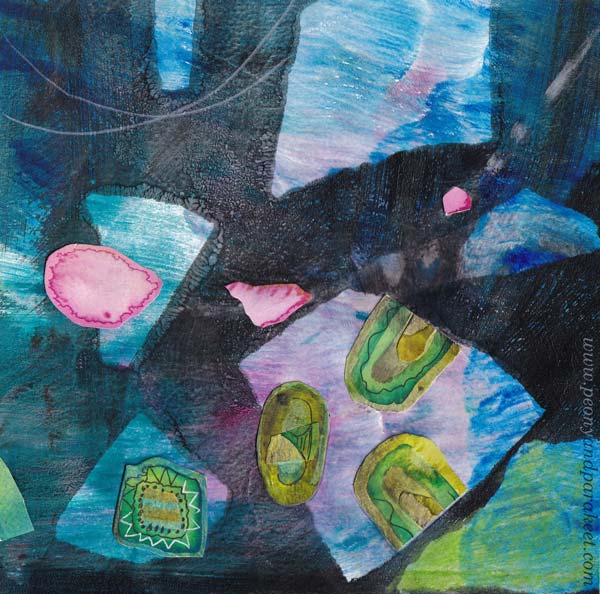
First, I felt tremendous inspiration. I just had to do those exercises one more time! I painted papers with watercolors, made prints on paper using a Gelli Plate, and decorated the papers with pens. One of my art journals now has a farewell to Collageland, where flags fly, sending prayers and good wishes to all artistic souls.
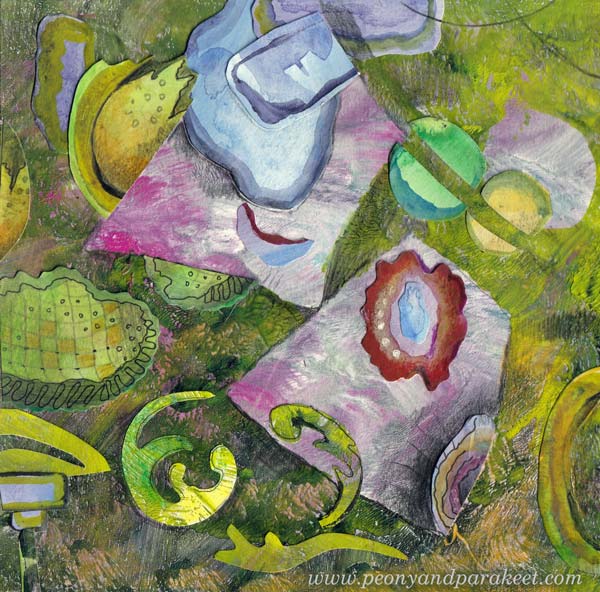
I used torn papers over the Gelli Plate and I think the backgrounds are really cool. It looks like the “flags” are glued, but they are just layers of paint!
Originals and Prints
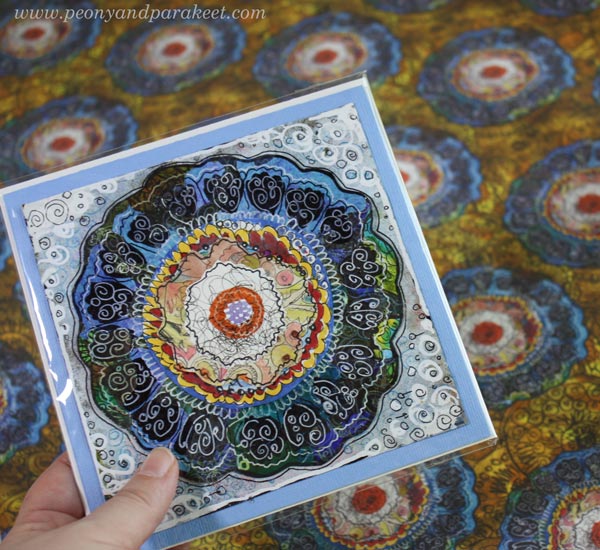
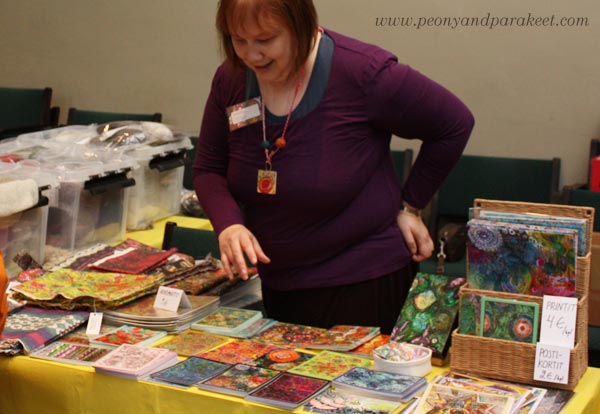
Viewing the first stage of my artistic journey from a distance was exciting. I didn’t remember how much inspiration is packed into the course, and I had forgotten surprisingly many techniques too. In Collageland, I share not just collage art made over the years, but also prints and fabrics created from them.
Changing the Needle to Pens
In Collageland, I also show inspiring needlework projects, as my drawing originally grew out of them.
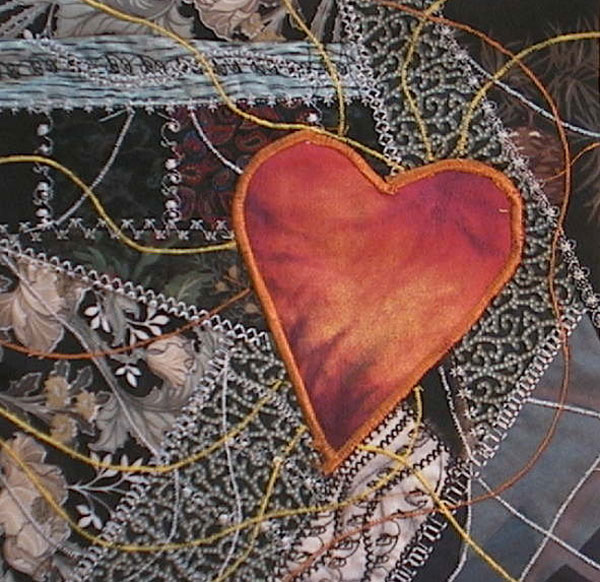
Embroidering with a needle, or even with a machine, eventually felt too slow, so I switched to a pen.
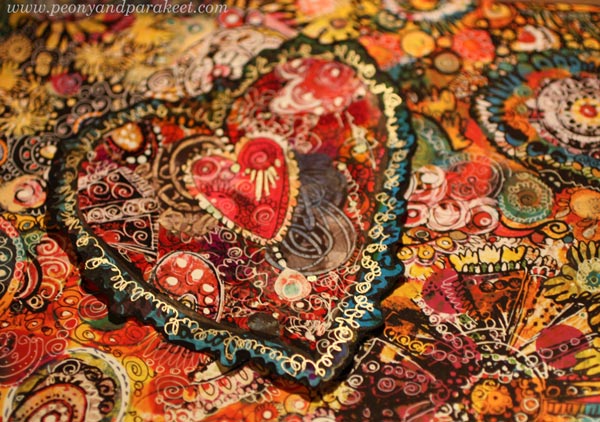
So, the subtitle of Collageland is “Artistic Embroidery with Pens and Paper.”
Collageland Is Retiring – Buy Now!
Yesterday, when the final video ended and my art journal spread was finished, I was moved to tears. “Hey Päivi,” I wanted to say, “hey younger Päivi, I want to become you again!” But at the same time, I felt that I was already living in a third, even more wonderful land, and that there is no turning back.
So, it is time to retire Collageland. If you haven’t taken it yet, I warmly recommend it! There are still a few days left to purchase, and the price is 50 % OFF! >> Buy Now!
The course videos are available to you for at least six months after purchase. And if you download all the course material, the course is for your personal use as long as you keep it on your device. >> Buy Now!
Collageland is no longer on sale after Sept 27, 2026, at midnight PDT.
Collageland is Retiring!
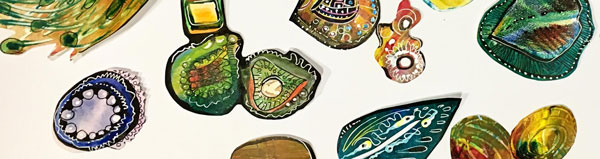
This week, I let go of one era in my artistic life as I am retiring an old course called Collageland.
Collageland has techniques and ideas that started my artistic career. First, it was just playing. Then I started a blog, made cards and prints, and slowly found my way as someone who sells big paintings, teaches courses, and mentors aspiring artists.
When I created the course Collageland back in 2018, I decorated my little studio with everything I had created. There’s lots of inspiration for everyone who loves “embroidery” with pens and paper!
>> Buy Now!
Collageland will no longer be on sale after September 27, 2026, at midnight PDT.
Do You Need a Mentor?
I am honored to be invited to mentor at Mastrius and join a group of top art mentors and teachers around the world. Become a member of my mentorship group here: Paivi’s mentorship group
Mastrius has a great concept for mentoring and the mentorship complements my courses. I will still be running my online courses on this site, but when you want to step out of the course-form learning, my mentorship group is for you.
Mentoring vs. Courses
The mentorship group has set times for gatherings while my courses are for self-study.
The mentorship group is ongoing with a monthly fee, while my courses have a one-time fee. Notice, that you don’t have to commit to be in the mentorship group for a year or such, but you can start at anytime and leave at anytime.
The mentoring happens face to face via Zoom. The courses have a community on Facebook, but not group sessions. At Mastrius, you will get a 2-hour group mentoring with me once a month via Zoom, but there’s also another person, a navigator, who organizes another group meeting and supports your experience.
The mentoring is based on discussions and collective learning. The courses have a curriculum and the lessons follow each other in a pedagogical order. In the membership group, I will not be demoing much, but rather answer your questions, and I also have a monthly topic. The mentorship is less linear and more personal. You will get monthly homework and feedback. The group is cozy and private as there’s only maximum 10 members in the group. >> Join My Mentorship Group!
For Aspiring Artists – Are You One of Those?
My mentorship group is for aspiring artists that are a bit further than absolute beginners. You are an aspiring artist if art has been a hobby for sometime already and you now want to level up! You want to grow your skills, find your style, start building your brand, and get feedback on your work.
Let Me Be Your Mentor!
As you may already know, I am a full-time Finnish painter and art instructor. I have taught people all over the world for over 10 years. My paintings are born freely without references, and I want to help you find your own path to that abstract freedom, no matter what supplies you use.
You could call me a late bloomer in art. My background is in computer engineering and industrial design, but over time, I realized my life would be wasted in a cubicle without art. My route into the galleries and official associations hasn’t been traditional, but I made it by continuously challenging my skills and imagination. I want to help you grow your expression so that it becomes captivating and interesting, even for the gatekeepers of the art world.
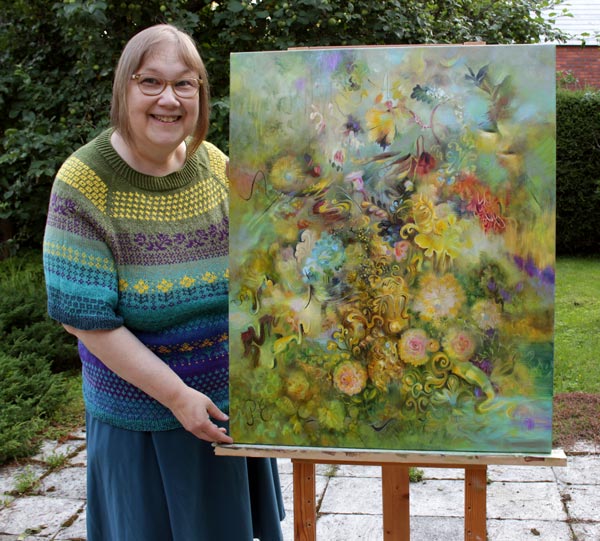
Art is a space that expands as you create. The world I build with each painting feels bigger than me. And when I paint with intuition, it’s like I am entering rather than creating. I want to help you step away from stiffness and connect your brush or pen to your inner world. To make the invisible visible: that’s what my mentoring is about.
What You Will Learn…
My mentorship group is for artists who want to connect their inner world with imagination and create freely. You can create fully abstract, semi-abstract, or representational art. My specialty is in plants and flowers, but you are free to draw or paint whatever inspires you. We will not use reference photos or models. Instead, we create more loosely and focus on atmosphere and mental connection.
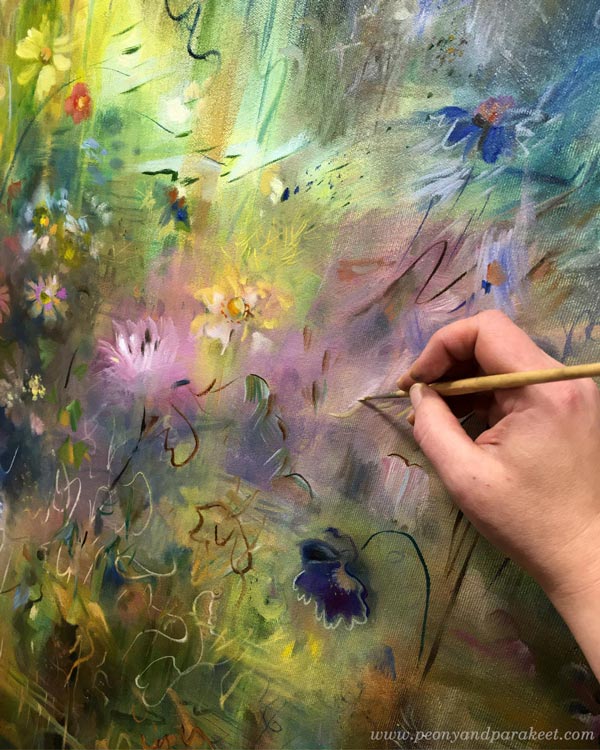
You will learn to fearlessly approach a blank paper or canvas by discovering what to boost and what to unlearn. To truly paint freely, it is important to expand your imagination and connect with your intuition, instead of settling for the first conventional idea that comes to mind.
Together, we will step away from the traditional route and enter the jungle where anything is possible. That said, we will still apply the foundational principles of art, but we will use them more loosely and creatively.
Focus Areas
- Abstraction without references: Connecting lines, shapes, and color
- Expressing your own nature: Light, spirit, and mood
- Making your art more captivating
- Supportive group critiques
- Inspiration and motivation
When Do We Start?
The first session of my mentorship group is on November 3, 2026. See the exact time in the registration page. >> Join My Mentorship Group!
P.S. If you have been following me for a long time, you may remember that I had a group coaching program called The Exploring Artist in 2017 and 2018. But soon after that, my career as an artist took a turn and my paintings started to sell, and with the lack of time, I had to reduce my offerings. But now with all the support from Mastrius, I am able to mentor aspiring artists again. I believe strongly in group learning – you learn from yourself more when you also connect with others. There will be things you have in common and things that are different, and seeing those helps you to grow so much faster than if you struggle alone. >> Join My Mentorship Group!
Painting Nature, Releasing the Dragon
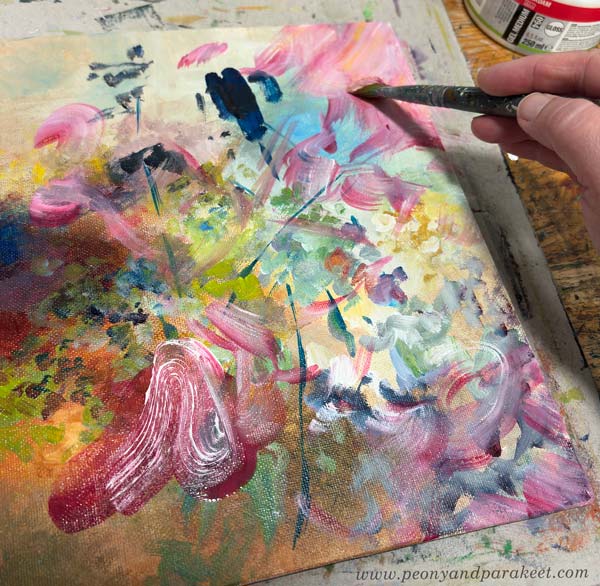
I love painting nature freely and intuitively —without reference photos, or even a clear image in my conscious mind.
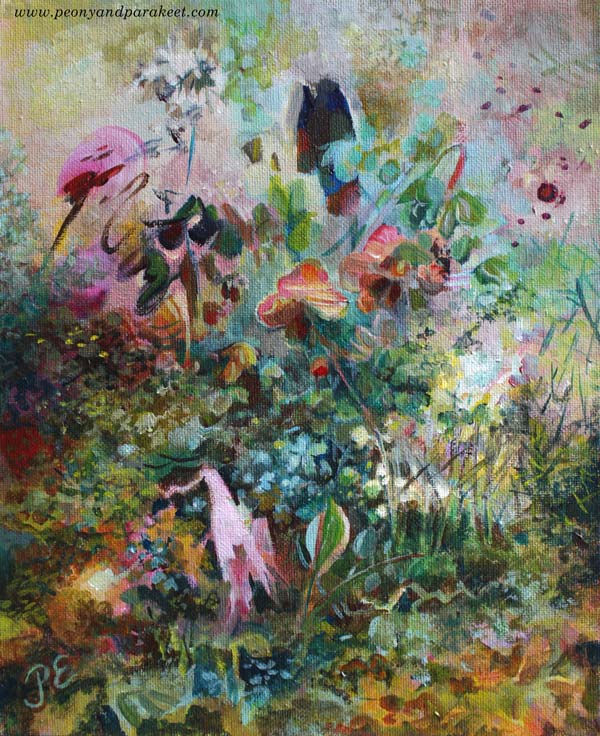
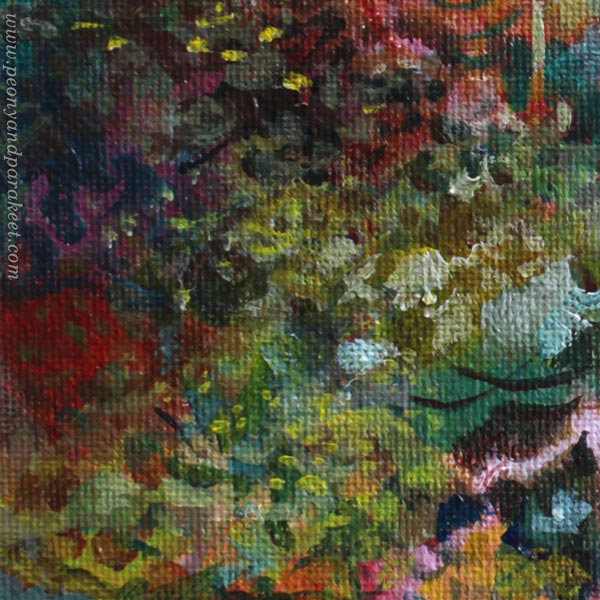
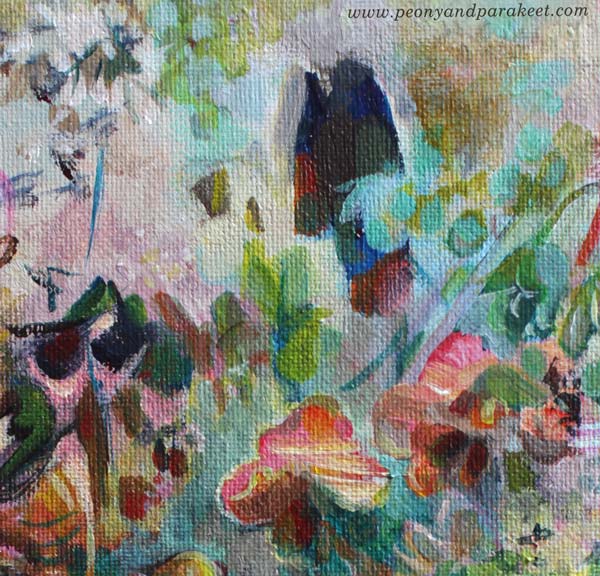
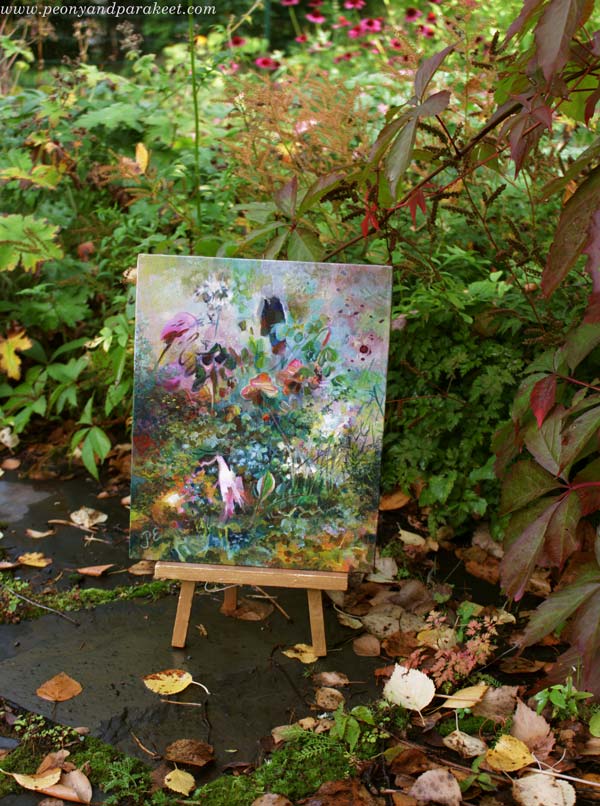
For me, the best way to create is when the picture simply flows from the pen or brush. It feels like my whole existence is tied to it. When I took this small abstract painting to the garden, it became clear where the inspiration had come from.
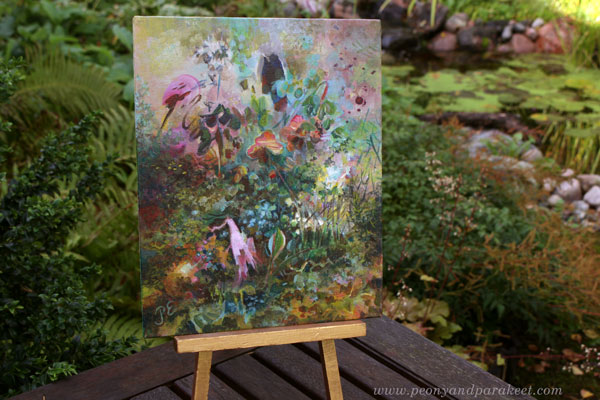
For me, nature feels freedom. And if I cannot make art freely, I get irritable and the colors disappear from my life.
Living in Between
Recently when I have been living in between painting series. One series ended, and the next one has not started yet. I have been gathering materials and ideas, thinking about canvas sizes, and all that planning is driving me crazy.
Yes, crazy!
I feel like I just need to create and create—the new images are already pushing to come out!
Still, this time has been meaningful. I have been working on my newest course, Drawing Soulfully, which is very close to my heart. As I have edited the instructional videos, it has been satisfying to pack deeply considered content – the explanations of how to create freely and grow that skill – into each minute.
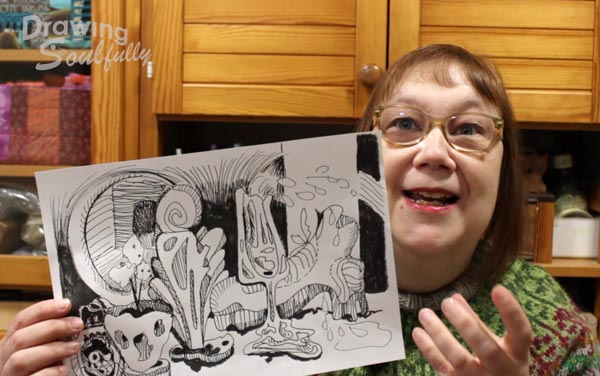
And it has been a pleasure to see the artworks from the participants. They are amazing, and I am so grateful I am able to see them.
Intuitive Nature Painting
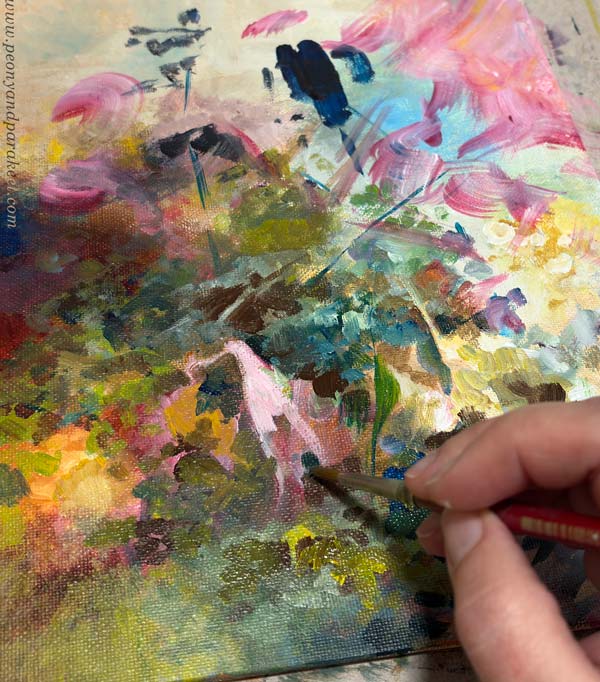
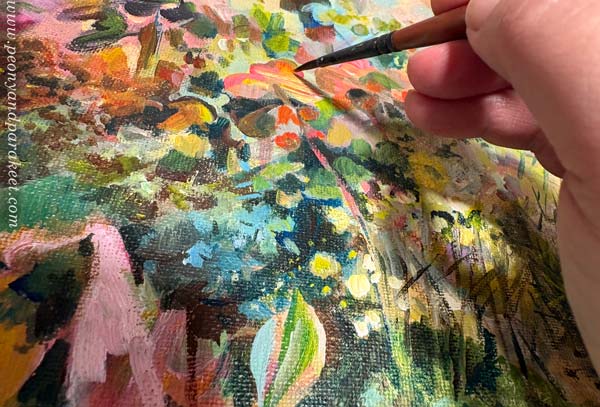
This week on Monday, however, I rushed into my small studio feeling like I was about to burst. “Give me some paper or anything!” I yelled to myself. I found a small canvas board, grabbed my acrylic paints, and started painting.
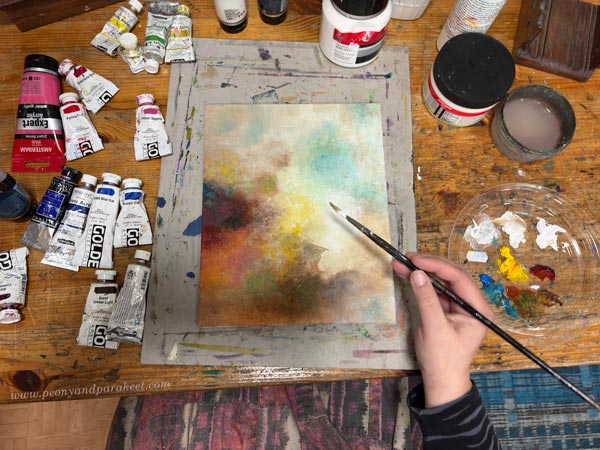
“What are you painting, Päivi?” I felt like asking myself, but soon swallowed the question.
There are artists who choose reference photos, plan color palettes, study the direction of light, reflections, and shadows, and paint landscapes of clearly recognizable places. All honor to them! But to me, nature appears as a system where one thing follows another.
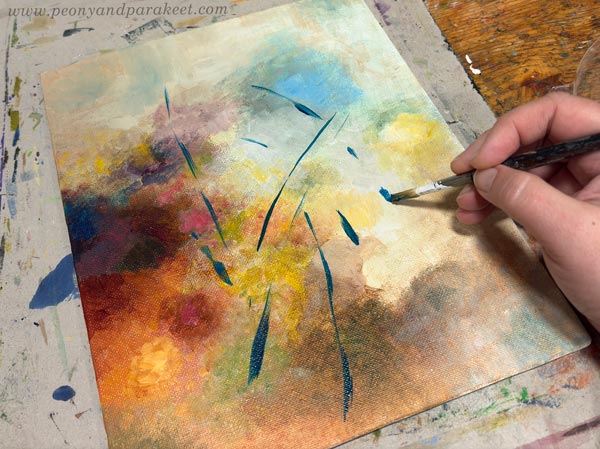
When I start painting, it’s like turning on a machine, and the machine feels both intuitive and logical.
As the picture begins to take shape, I feel like I jump inside it, breathe its air, and hear its sounds. At the same time, I feel the tension inside me loosen and peace return to my mind. It’s the magic of intuitive painting! No shopping, scrolling, or even walking in nature gives me that same feeling.
Creative People Have Their Dragons
There is a lot of creativity in the world that people try to suppress by consuming more stuff, looking at more content, and seeking more experiences.
I also do those things. I often get the feeling that I should go buy new art supplies, browse master paintings online, or take photos of nature—right when the best solution is to just start creating. It is as if I have a dragon inside me that eats up beauty the longer it is kept locked up. But once it is released, it flies, carrying even heavy burdens with ease.
How about you? Do you ever catch yourself consuming or planning when you should just be creating?