
Make Old Art Journal or Sketchbook New Again
This week, I have a 1-minute video about revamping my old art journal!
This sketchbook is from 2018, back when I was practicing different portraits and creating a course called Innovative Portraits. There’s still plenty of empty space left in the book.
My Old Journal and How the Cover Was Decorated
My old art journal is from The Pink Big. I decorated the cover around 2020.
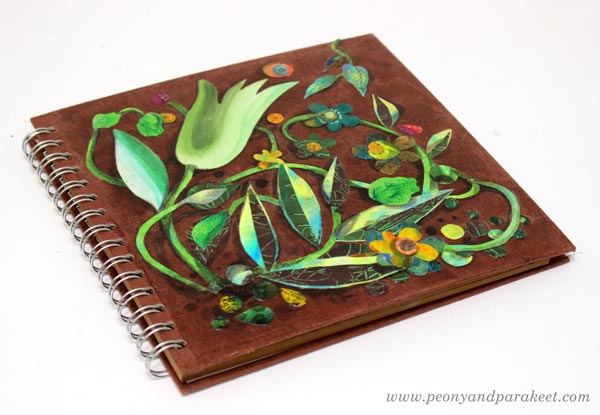
I cut hand-painted papers, added shadows, and protected the collage with gel medium. See an old blog post about how to create the collage!
Now I brought the book back out to start filling it up again.
Oil Pastels in A Journal
The first page was done with smudgy oil pastels, so I left the opposite page empty.
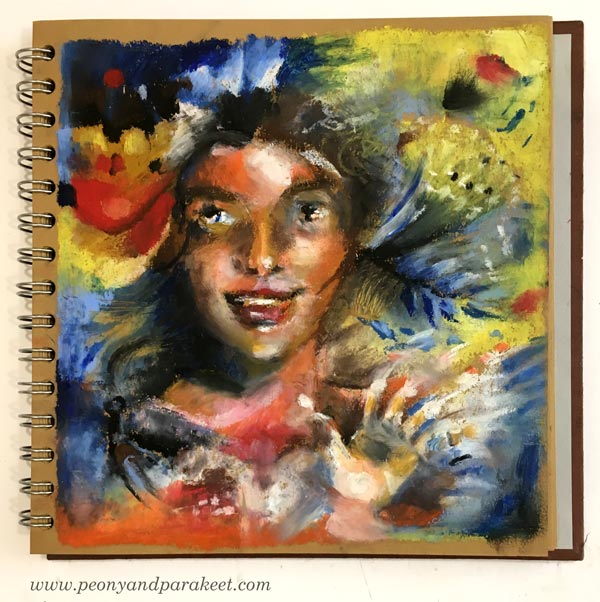
Oil pastels are fun, but maybe not the most practical for journals. See an old blog post about ideas for using oil pastels!
Abstract with Colored Pencils
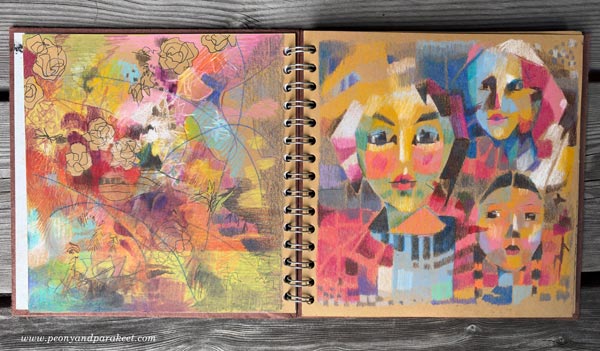
On the next page, I made an abstract drawing using colors that go well with the original 2018 page.
Fun with Sakura Gel Pens
These brown pages are great for trying out gel pens. I made a new drawing on the opposite side.
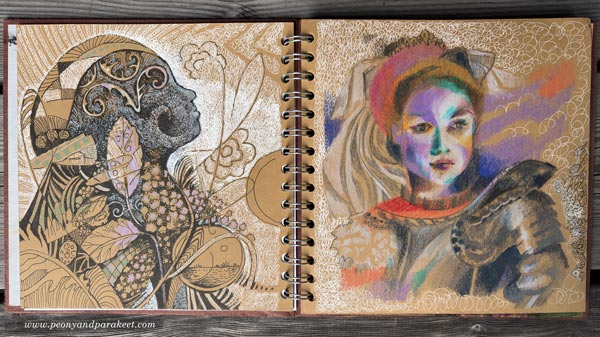
My newest course Drawing Soulfully is about drawing all kinds of lines, and it was fun to use those techniques here.
Flowers and Fabric with Colored Pencils
I placed a paper sheet to protect the previous page, and then colored flowers with colored pencils. The opposite page only had three faces, so I added flowers there, too. I love historical styles, so the main figure got a big, decorative sleeve with dramatic folds.
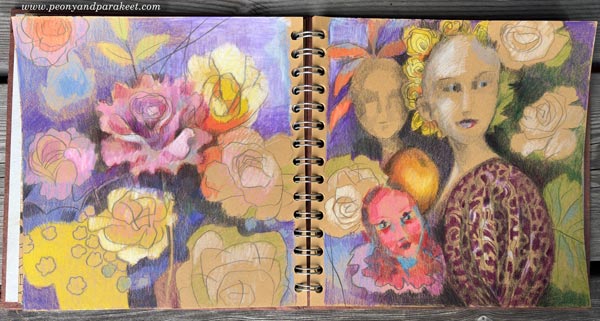
The next spread is already waiting! I hope this inspired you to make an old art journal or sketchbook new again and use your past pages as inspiration.
P.S. You can still sign up for Drawing Soulfully! >>Sign Up Now!
Coloring an Intuitive Selfie
This week, we draw an intuitive selfie, so without a camera or a mirror. Let’s pick the colored pencils and create a self-portrait freely and intuitively!
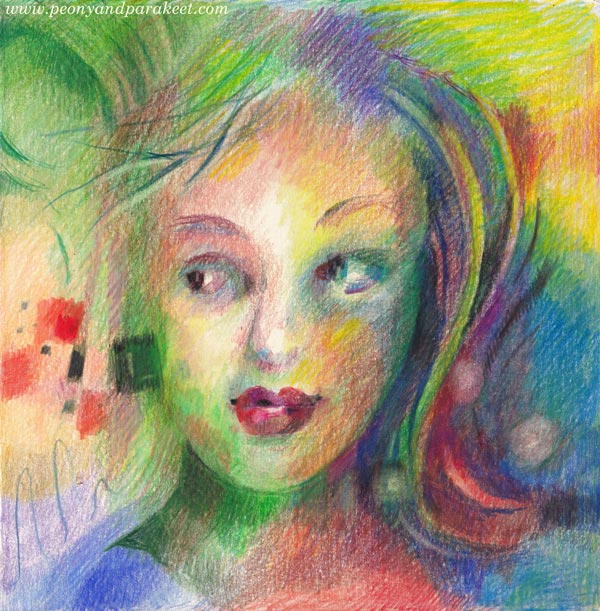
We use the pencils as a camera and draw the face as it’s a photo taken from the inner world’s view. At the same time, we explore blurriness, freedom, and asymmetry. Watch the video!
Coloring an Intuitive Selfie – Watch the video!
I am creating my page on the Dylusions Creative Journal (Square, 8 by 8 inches) but you can use any paper and any size.
In the video, I talk about the difference between doing coloring pages and coloring a blank page, and how I have processed my word for the year “Release”.
Inner vs. Outer Selfie
It would be great to hear your thoughts on becoming freer and making an imperfect intuitive selfie. Leave a comment below!
Poetry Girl and Bosom Friends – Start Drawing Again!
Let’s get you out of the creative rut and have quality time with your inner child – the poetry girl in you! Join us for a course that will get you excited about making art again! >> Sign up here!
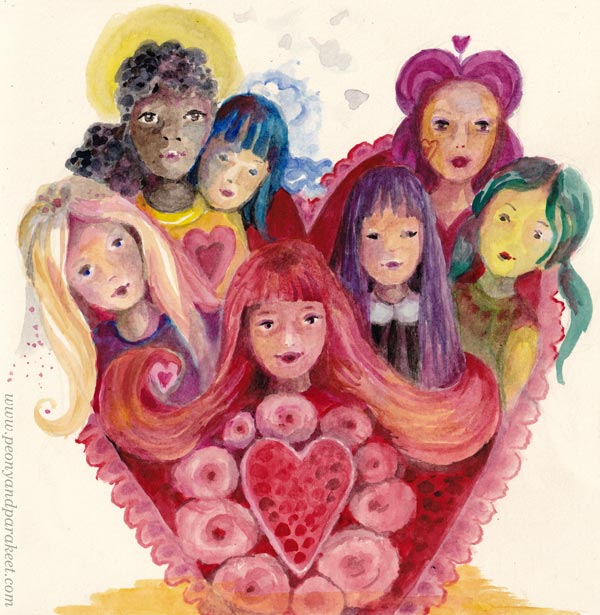
Poetry Girl and Bosom Friends
In Finland we have two lovely words: “runotyttö” and “sydänystävä” – “poem girl” and “heart friend”. Runotyttö means a dreamy young person – poetry girl – and sydänystävä means a close friend – a bosom friend. I think the best courses are like the bosom friends that bring out the poetry girl in you.
They make you see new possibilities, but they do it in a gentle and fun way.
>> Sign up for Hearts and Stories!
Here’s how we get out of the creative rut in the course Hearts and Stories.
Out of the Creative Rut – Step 1
First, we will restore the joy of drawing simple shapes.
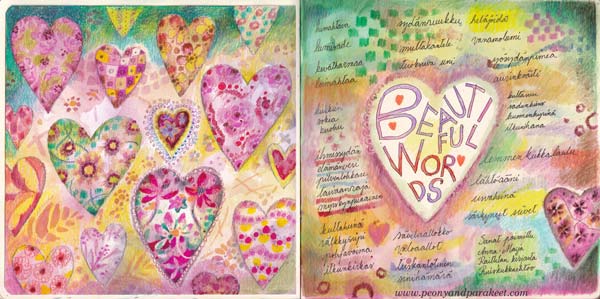
Out of the Creative Rut – Step 2
Second, we will go for an adventure that travels from one small picture to another.
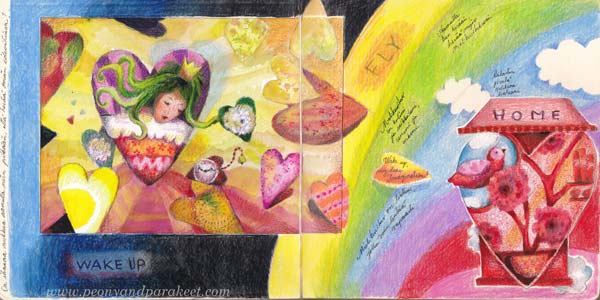
Out of the Creative Rut – Step 3
Third, we will find a connection to fantasy through characters.
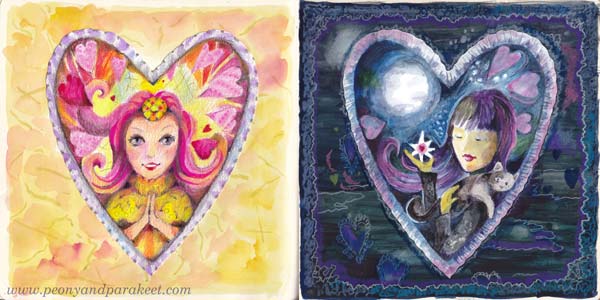
Out of the Creative Rut – Step 4
Finally, we put everything together so that we are excited to continue creating.
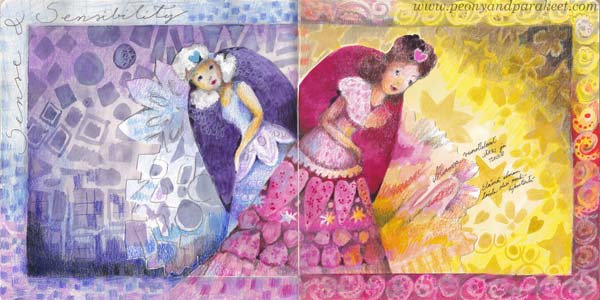
Art is a mood and a direction. It shows where you are, and suggests where you want to go.
Join us for a course that will get you excited about making art again!
>> Sign up for Hearts and Stories!
Vermeer Girl With Heart – Draw With Me!
Draw a Vermeer girl by following my formula!

This drawing is a modern version of the painting “Girl with a Pearl Earring” by Johannes Vermeer. Here, the earring is not the center of the attention, but a heart and flowers steal the show. I have made a simple formula to draw and color the girl’s face, and then you can put your own twist on the head and add whatever decorations you want there.
Supplies
You can use colored pencils, watercolor pencils, watercolors, acrylic paints, oil paints – or any medium that has a possibility to create color mixes. My example uses colored pencils. For the face, you need three browns: one dark, one middle, and one very light brown. You also need a little bit red for the lips and black for some small details. White is optional. When working on white or almost white background, you can just leave the white areas uncolored as I do in my example. I do use a little bit white to blend the red of the lips into paper white.

I created my Vermeer girl directly on an art journal page. My art journal is Dylusions Creative Journal Square. Pick a journal or a paper that works well with your supplies.
Vermeer Girl – Shape by Shape Formula
To succeed you have to trust this formula. Don’t look at the original painting, follow the picture below only. Copy the shapes as accurately as you can, and don’t think about drawing a face. The girl will appear when you have all the puzzle pieces in place!
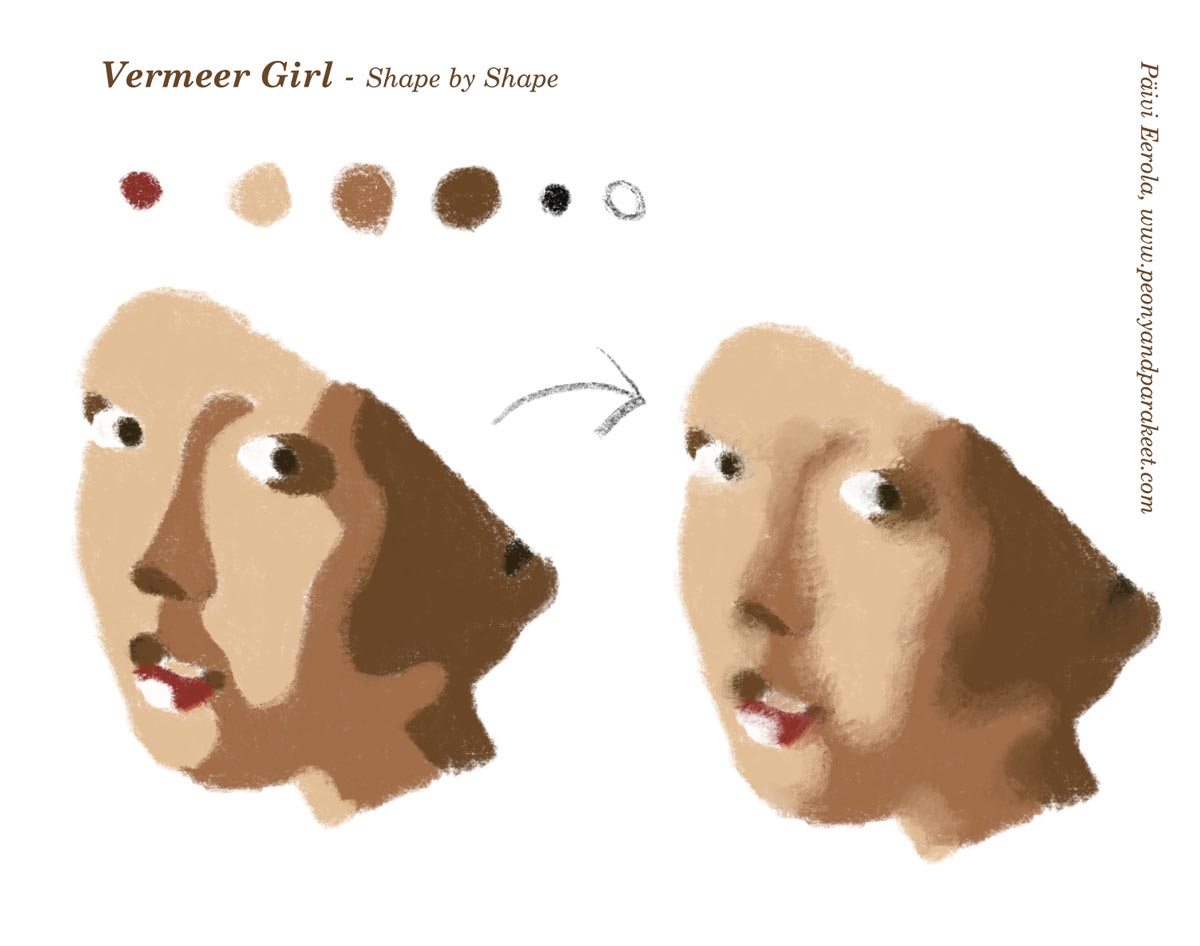
Start from the first picture and color the shapes so that they have sharp outline edges. Then blend the skin colors so that the transition from one shape to another is softer.
Starting the Drawing
If you want to put all kinds of fun stuff on the girl’s head, place the face on the left bottom corner. I marked the spot where I started the drawing with a green arrow on the photo below.
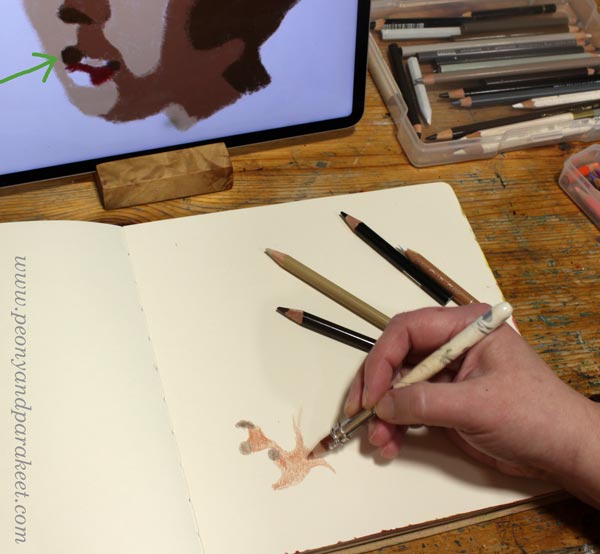
At first, the face doesn’t look like one at all. But this kind of abstraction will bring out the realistic look. Reality is always more abstract than we think.
Drawing Sharp Shapes
Human faces are very organic, so the shapes are too. Examine the curves of the formula in detail, and avoid straight lines. The more beginner you are, the more you are tempted to draw too straight, avoid that!
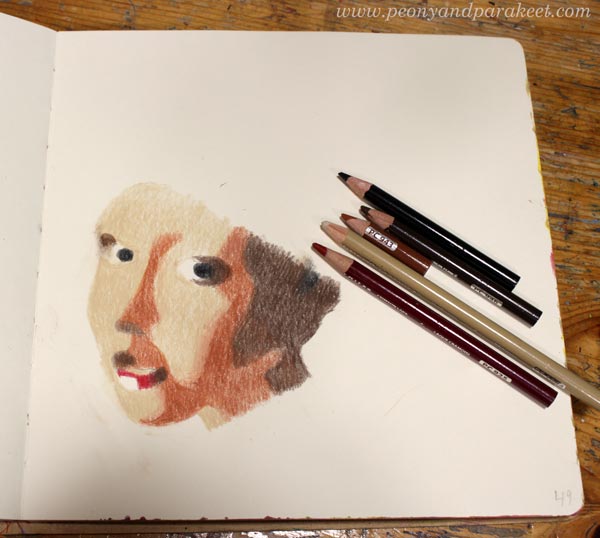
Once all the pieces are in place, the face makes sense. Take the image in front of the mirror to see if there are any distortions. If the mirror image looks wrong in some way, get back to the formula and check your shapes!

When you are satisfied with the sharp shapes, go to the second step of the formula: blending.
Vermeer Girl – Achieving the Old World Look
Old paintings have softness that our photo-oriented era doesn’t often express. We prefer sharpness over blurry. However, life is often blurry and your Vermeer Girl will look much more alive if you soften the edges of shapes, especially on the skin.

Color on the top of the shape with the neighbor color so that the shapes integrate and look less separate. Now you can also adjust the shapes a bit more freely. I lengthened the big dark brown shadow because my face became a bit longer than in the formula.
Small changes in faces can change the personality quite a lot. I think that’s fascinating! You can start from the Vermeer girl, but then end up with a character of your own.
Drawing Decorations
First, think about the size of the decorations: do you want plenty of small ones or only a few large ones. Beginners easily draw something between, but I think this portrait will look better if the decorations are either a bunch of small ones or a few large ones. I chose the latter and placed a couple of big flowers and a heart on her head.
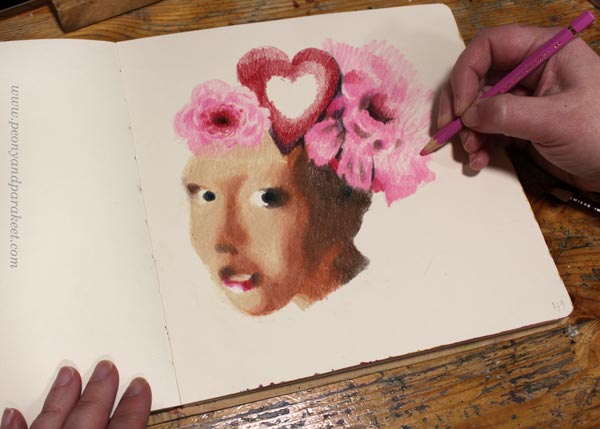
I colored the decorations freely and used no references for these. I like the contrast between the face’s carefully constructed softness and the free coloring of the flowers.
I move on to color the background just before I am finished with decorations. This way I can still change them a bit if needed. The background often gives life to the whole image and brings in more ideas for the drawing.
Starting the Background
Not only the girl’s face is composed of shapes, the background can be like that too. The only difference is that now you can freely improvise the shapes. Start with one color and sketch by coloring!
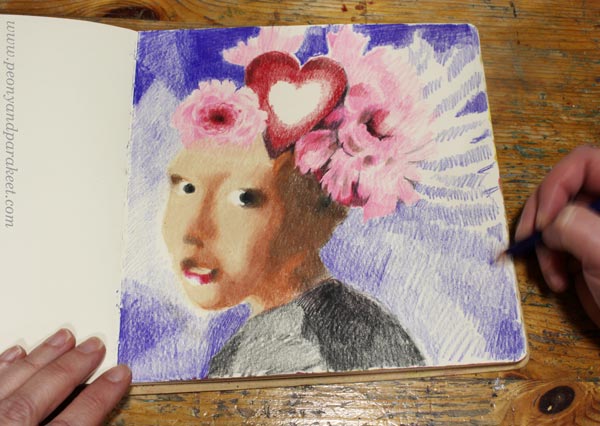
Think about the streams of air and imagine how the girl moves when she is posing in front of you.
Building the Color Scheme
To make the portrait look unified, you need to repeat the colors. My background started as blue, but in the picture below, it has started to get more brown tones. The pinks of the flowers also blend into blue. Color several layers and use a lot of blending near the edges.
I added the surrounding colors to the center of the heart like it would be a mirror. This also helps in harmonizing the atmosphere.
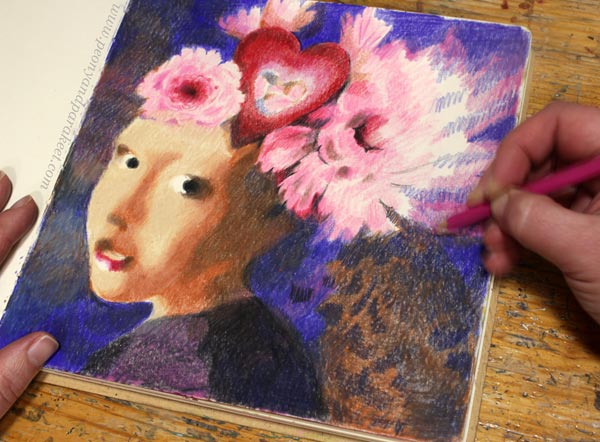
You can also play with patterns: color small shapes inside a bigger one! When located in the background, the patterns can be subtle and muted, so that they don’t steal the whole show.
Finishing the Vermeer Girl
When you are close to finishing, look at the original Vermeer painting and see how she partly disappears in the background. Especially the dark brown in the neck area can be blended with the background.

Dark background looks great with the lit face. Vermeer girl with a heart makes a wonderful Valentine’s day page in any art journal!

I hope this project made you grab your pencils and other art supplies!
Hearts and Stories – Sign up Now!
Come to play with hearts and other simple shapes! We use colored pencils, felt-tipped pens, and watercolors. Sign up for Hearts and Stories!