Circulism – Freely with Colored Pencils by Using Circular Motions
This week, I want to bring up a technique called circulism. It’s great for colored pencils when you want to achieve a soft and somewhat vintage look. It’s also a useful technique if you find shading with colored pencils difficult or are hesitant about mixing colors.
In this blog post, I show you how to use this technique to create freely and expressively, without any reference photos or even outlines. You can just pick a pencil and start making continuous circular lines without a specific plan, and let your intuition and imagination take over.
You can also combine circles with other kinds of lines, and thus create different textures that are like meshes on paper.
When you are close to finishing, include sharper lines to reduce the blur in the drawing.
Sounds simple, right? Let’s explore this technique in detail by coloring a mini scenery.
Circulism Tutorial – Mini Scenery Step by Step
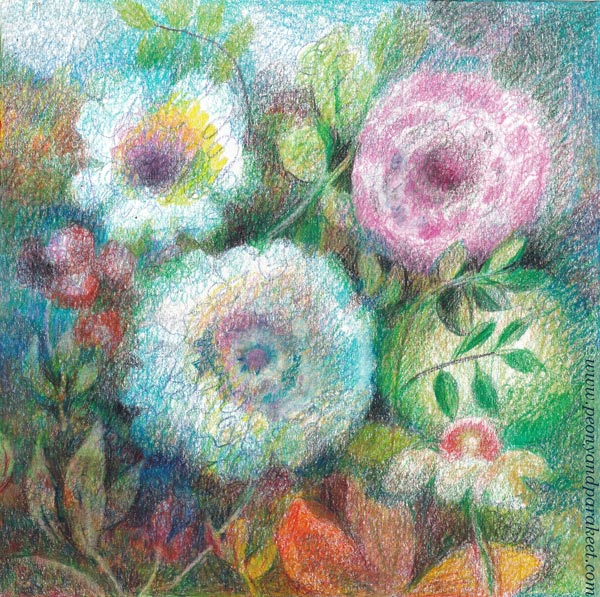
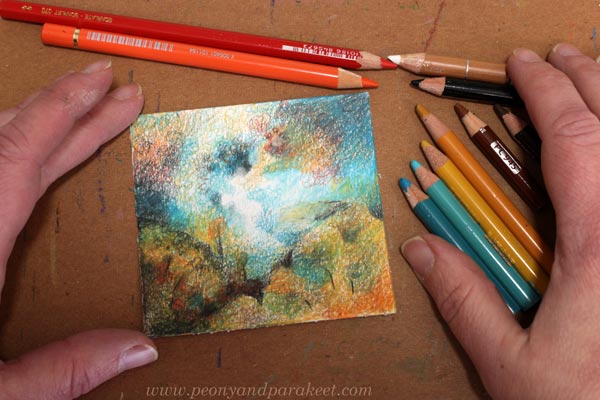
Here’s my mini scenery, but yours can have different colors and a different atmosphere. The idea is to draw circular lines with different colors and get soft color transitions and mixtures.
I got the idea for this mini-scenery after I visited Galerie Forsblom in Helsinki to see Petri Ala-Maunus‘s exhibition. His art is based on very small strokes, and the result is stunning and historical-looking. We can achieve a quite similar effect in colored pencil by using circulism.
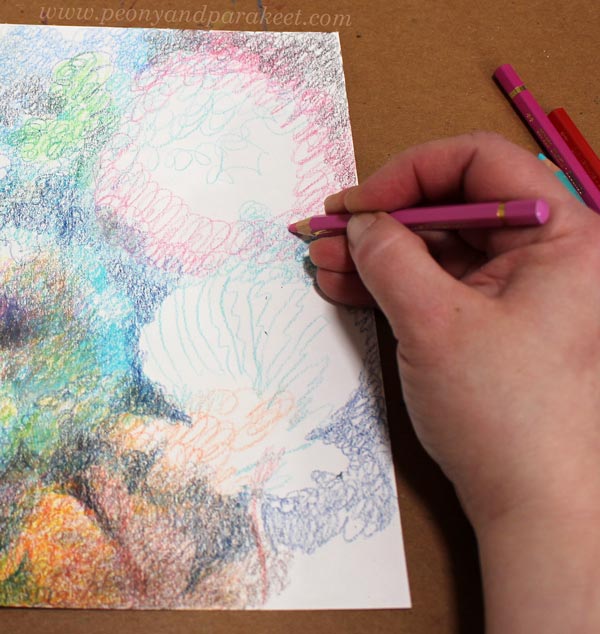
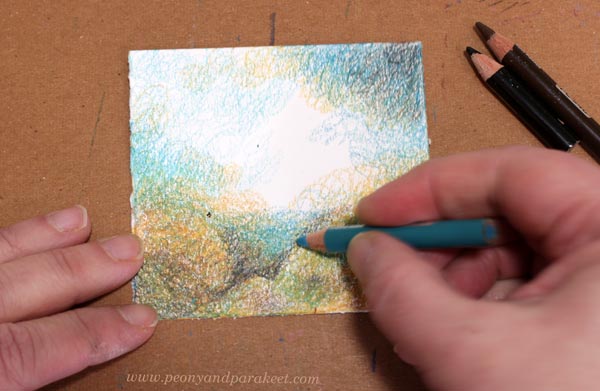
Step 1 – First Circular Strokes
You only need colored pencils and a small piece of paper. Start by practicing the continuous circular line and, at the same time, marking the corners with different tones. Calm down and keep the circles small!
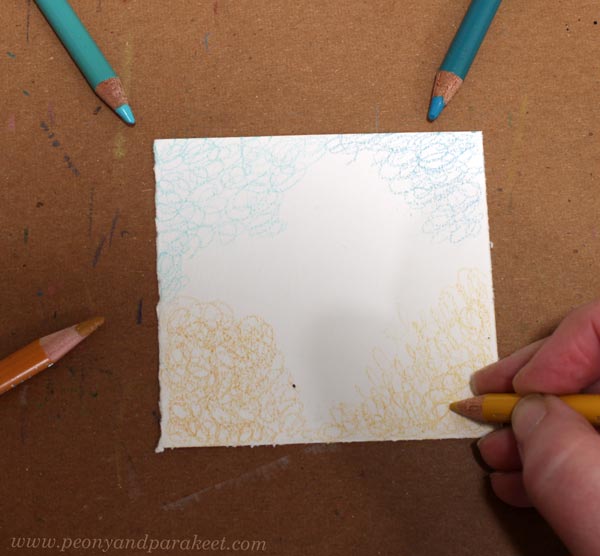
I have darker and lighter tones of two different colors. When every corner is a little different, either in color or in darkness, it’s easier to get inspired.
Step 2 – Layered Corners
Add some darker neutrals to your color selection. I have black, dark brown, and a little lighter, warmer brown. Add more layers to the corners by making circles with the first four colors and with the new neutrals.
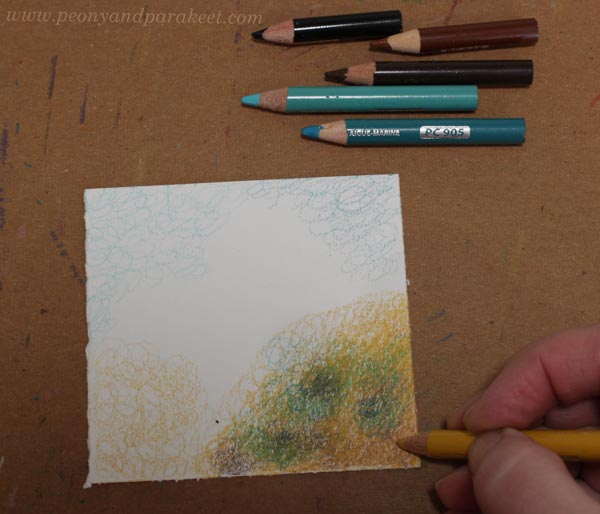
Work on one corner at a time. Make sure that the original color from step 1 dominates, even if you also use other colors. Don’t just color evenly, but create blurry clusters.
Change the orientation of the paper to achieve a more balanced circular mesh. Treat every corner a little differently.
Here you can see how my corners are different. One is very light, for example.
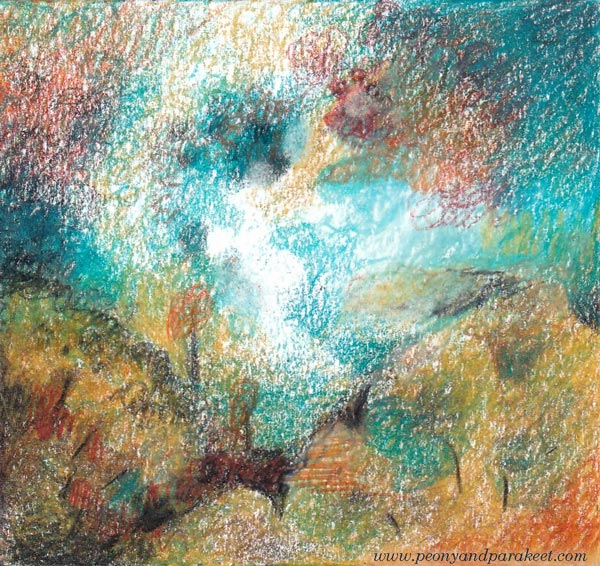
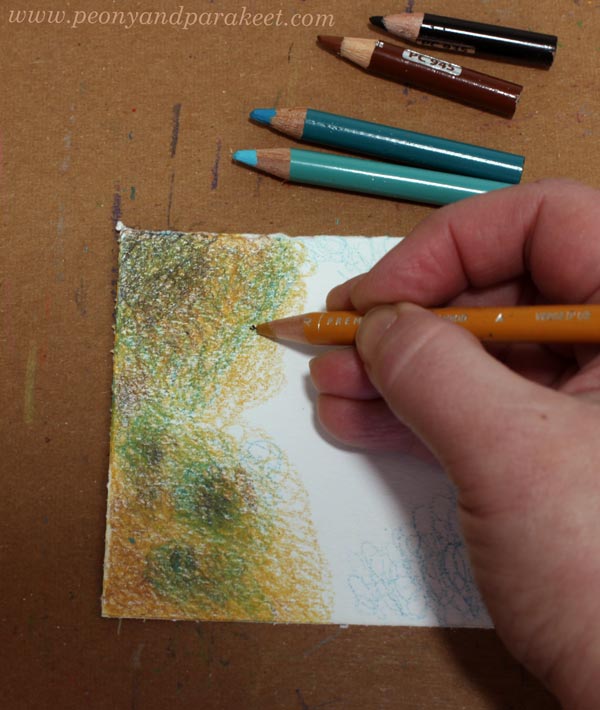
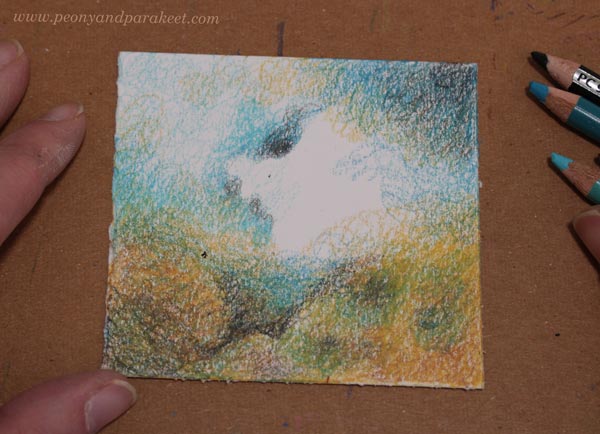
Step 3 – Valley
Add a valley between the lower corners. Draw a route across the landscape and add the horizon. Use circular strokes wherever you can.
Make sure your valley is dark on the bottom. Keep the center blank.
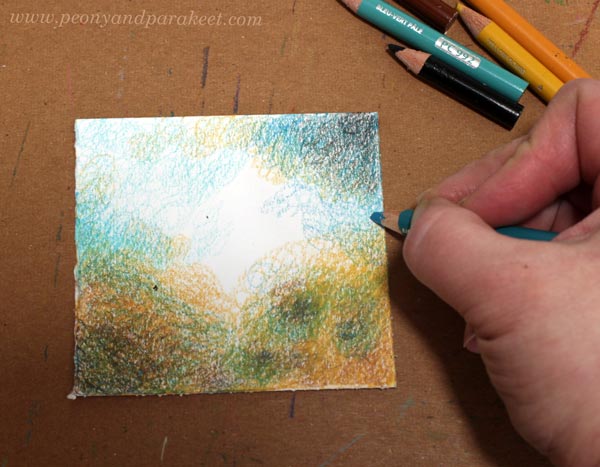
Step 4 – Clouds
Make the sky more expressive. With circular motion, draw clouds by adding contrast and colors to the sky. Remember to keep the color transitions soft.
Step 5 – More Layers
Color more details in the earth and the sky. Color over all the layers so that the coverage becomes better. The sky can have some very smooth and pale parts, and there you can use a white pencil.
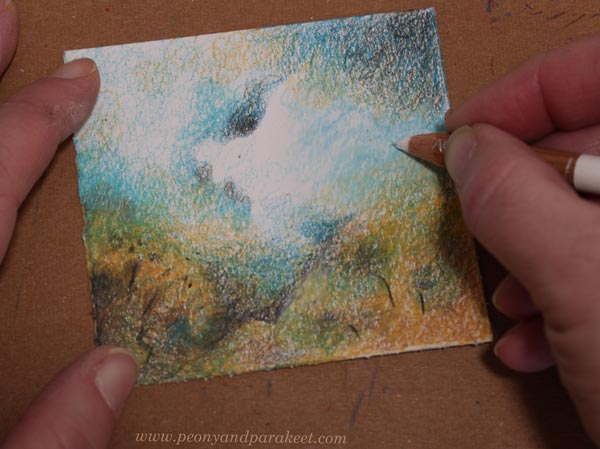
Notice the dark lines that define the valley and some trees.
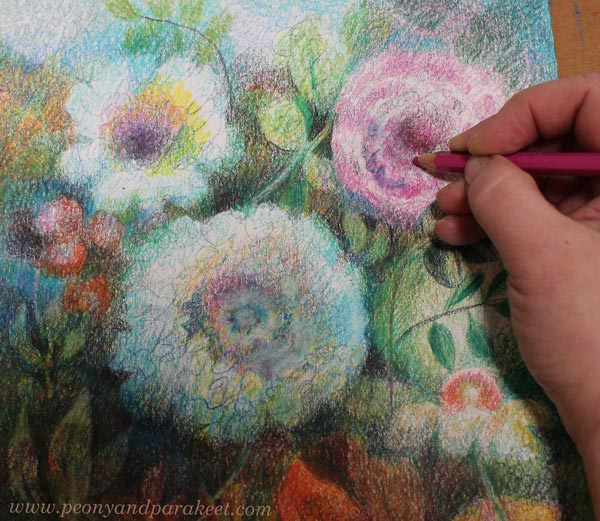
Step 6 – Finishing Touches
Adjust the shape of the blank center area by coloring its surroundings.
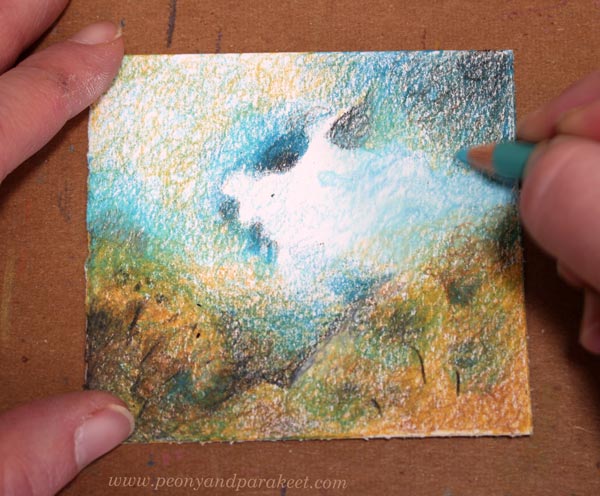
Bring in a couple of accent colors to make the color scheme richer.
The Possibilities of Circulism
Try combining circular strokes with different methods to add depth to your art. We usually think about colors and layout, but don’t forget the texture. This enriches your visual language and makes the drawing much more interesting. Softness also brings more depth and adds spirit to your work.
So, when you are working on my colored pencil courses, for example, Intuitive Coloring, you can add some circulism there too!
Painting Seascapes – Making The Scenery Look Bigger
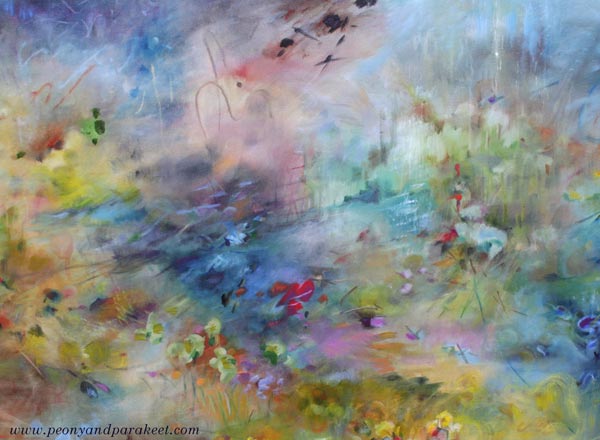
This week, we dive deeper into painting seascapes and other big sceneries. In spring, I thought my painting Atlantis was already finished, but after seeing the ship paintings in the Rijksmuseum in Amsterdam in May, I realized that I had made my seascape painting too simple and small-scale, and went back to working on it. Now it’s finished!
Painting a Bigger Sea
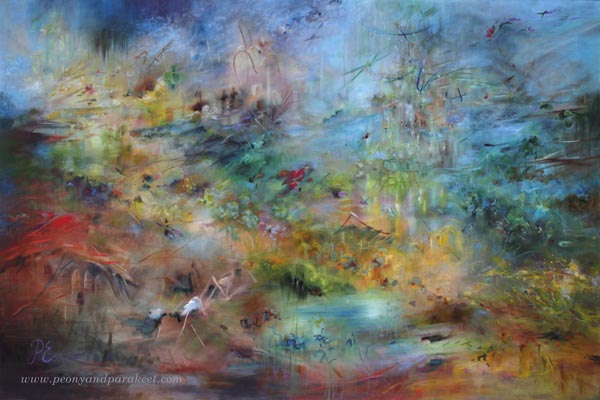
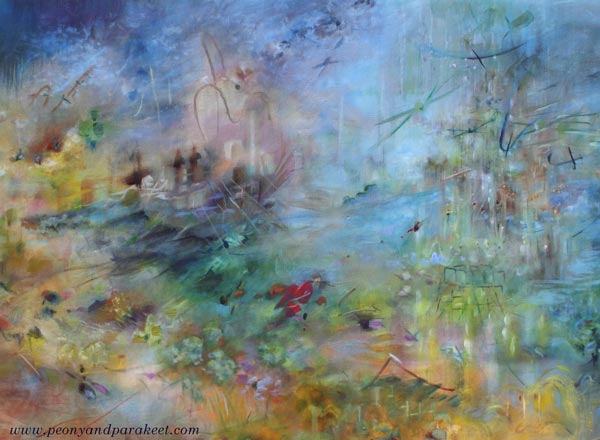
Despite the size of the canvas, you can make the seascape or any scenery look larger by adjusting the composition and the size of the brushstrokes. Compare the finished version with the one below!
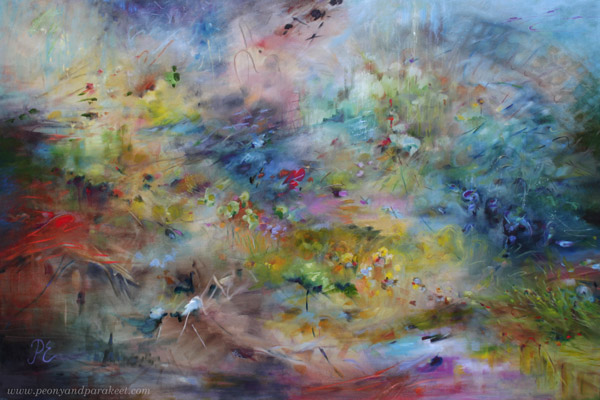
When you want to make a seascape look bigger, add tiny strokes, especially near the horizon, and adjust both left and right edges so that it looks like the seascape continues outside the painting.
The changes may look small when you look at the small photos, but in reality, they make a big difference. Here’s a close-up photo of before and after.
There are so many details that it was easier to make a short video instead of sharing more pics.
Seascapes don’t have to be boring and all blue. They can include all kinds of events and creatures, even buildings like in my painting.
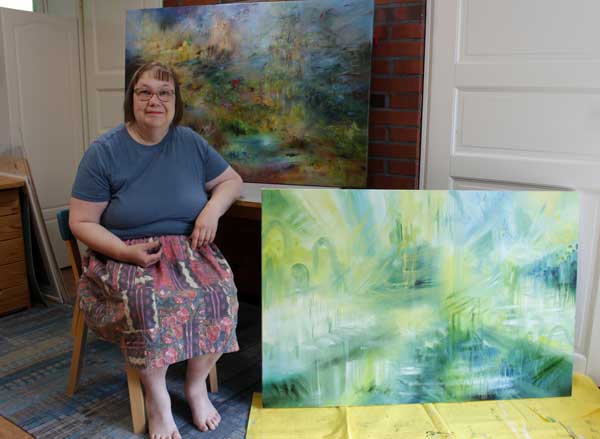
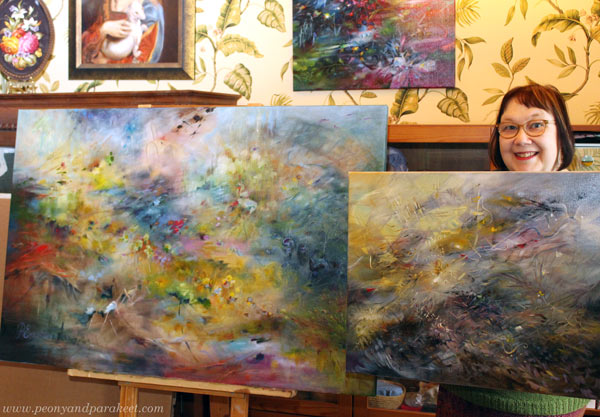
A Series of Big Sceneries in Progress
It’s been a hot July in Finland, and my little studio is really warm in the afternoon. But I have big canvases in a queue, and the next one is already in progress.
New Course Is Coming Up!
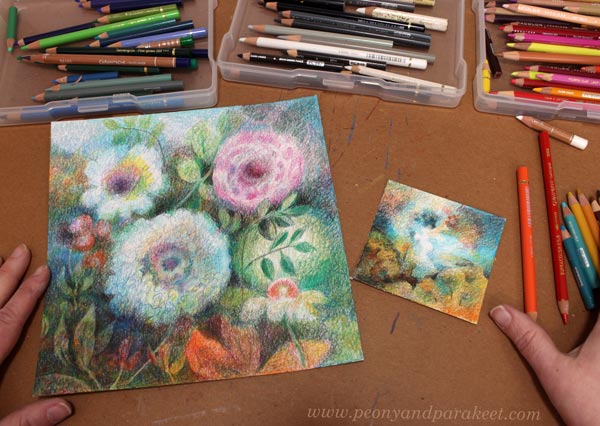
Painting seascapes and other sceneries is exciting, but as you know, I also love flowers. I will be running a new watercolor course called Wild Garden from 22nd September to 14th November. Here’s a small teaser pic …
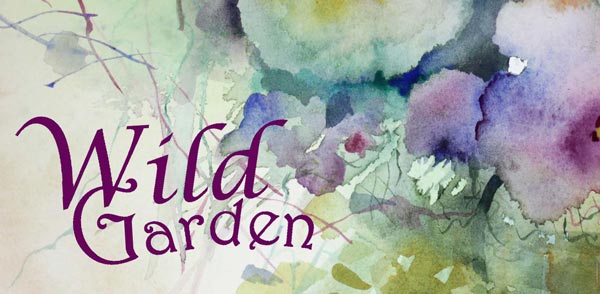
The early-bird sale of Wild Garden will start next week, so stay tuned!
How to Discover Yourself as an Artist
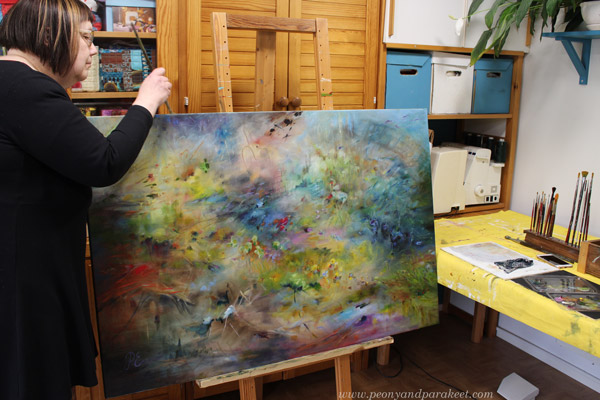
This week I share deep thoughts about how to discover yourself as an artist and how to get discovered. I have a video for you and also, some photos of making a recent large oil painting called “Atlantis”.
When I paint, I am an introvert, but after the session, I want to connect with the world.

When the painting is not finished, I may look at it with a very critical eye.

Then I think: Only if you knew what I think, how I feel, and how I have made myself to always reach higher.
This week, I want to tell you. I want to share some things I have found helpful in my artistic career. How I have discovered my artistry and more: how I have got discovered as an artist.
How to Discover Yourself as an Artist and How to Get Discovered – Watch the Video!
I hope this was helpful. Tell us what you think!
I am always waiting for your comments!
Weekly Art – Creating Regularly in Any Mood
This week, I talk about making weekly art and the feelings behind creating regularly.

I feel that although artists talk a lot about techniques and creative process, something gets left out. It’s a time perspective. I don’t mean how much time it takes to make one piece, but what it’s like to make art week after week. If you create art, you will surely recognize this: sometimes you feel excited, sometimes you don’t. People’s moods vary and you can’t always choose the best day.
Not the Ideal Mood
I felt nervous when I started doing this watercolor. The best part of the morning was already over and I was splashing color very fast. My weekly art session had a messy start.
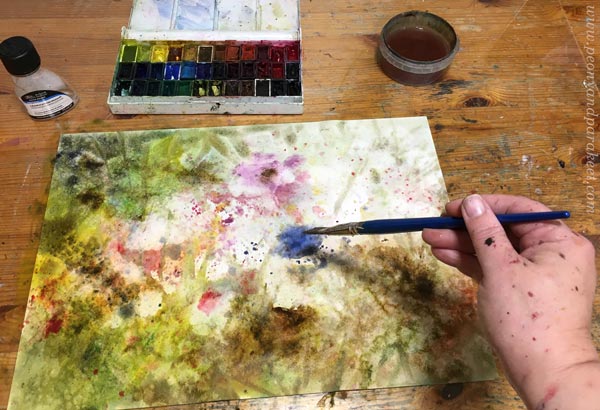
I found an unopened bottle of granulating medium in my stash and thought it might speed things up.

But I found the medium a useless acquisition. Some of the pigments are naturally spreadable and the spray bottle works better for them. All this took time, and my nervousness was still present and there was a new feeling too: self-doubt.
Not Feeling Confident
When you make art week after week, success is based on self-confidence more than mood. It’s easier to be confident at the beginning than later.

I usually paint with intuition and don’t use any models, so I often end up feeling hopeless. All I can say then is something like: “Keep going!” with a fake smile, and I don’t know if that helps at all.
Different Mood – Different Ideas
But art doesn’t put one mood above the other. Different mood brings different ideas. For example, if I am feeling nervous, there is an opportunity to be less conventional and express something that I would not otherwise come to mind.

The idea of this painting culminated in the Finnish expression “alavilla mailla hallanvaara.” It means “the danger of frost in the lowlands” in English, but the beauty of the statement is not in its content, but in how it sounds in Finnish. While painting, I began to think about those lowlands that suffer from rain and cold. Similarly, as painters paint week after week, flowers bloom constantly there, also in bad weather.

For me, in art, it’s not important in which mood it’s started, but that the end result contains both a trigger and a solution. Here, wind and rain bend the grass and break flower petals, but at the same time they make room for light.
Who Are You Creating Art For?
Within time, the mood evens out and focus is on the finishing. Then I also change who I think as a recipient.
I often start the weekly art by saying that “this piece is for me,” but when I finish I try to reach “for us.” There “we” includes all who like my art, both old and new friends in art. I don’t want to make art only “for you”, because then I lose myself while doing it, and not ” for them”, because it’s hopeless to hope that maybe someone would like the work even if we wouldn’t.

So, weekly, this happens again: the wrong moment, the wrong mood, the choice of brushes and colors, calming down, “I’m just doing it for myself”, uncertainty, slowly emerging ideas, concentration, triggers and solutions, happiness, and a feeling of gratitude that I can do this again for us.
Do you too create art regularly?