Painterly Collage in Rut Bryk’s style

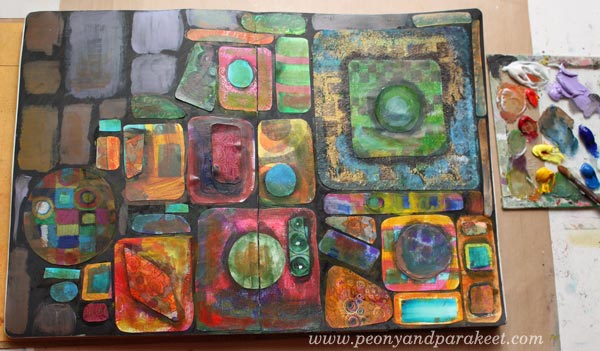
Here’s my recent art journal spread, inspired by a Finnish ceramic artist, Rut Bryk (1916-1999). The Espoo Museum of Modern Art is currently showing her work, and as a big fan of her work, I had to see the exhibition!
Rut Bryk
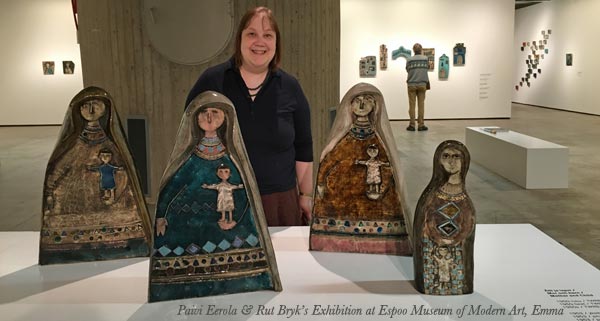
Rut Bryk is very well-known in Finland but not so famous worldwide. However, you might know her husband, the skillful designer and sculptor Tapio Wirkkala. Rut Bryk was an illustrator who got a job at the Finnish ceramic factory Arabia in the 1940s. Her early work was fairly naive and illustrative. But after working with ceramics for some time, she began adding textures to her work. Her 50s pieces were very mid-century modern.
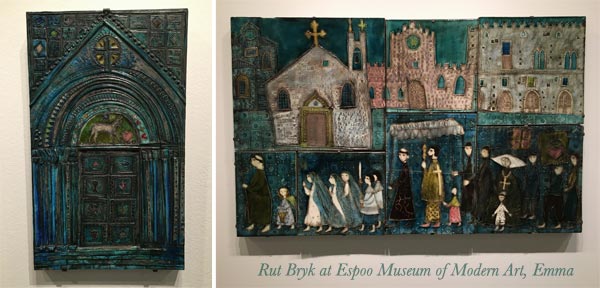
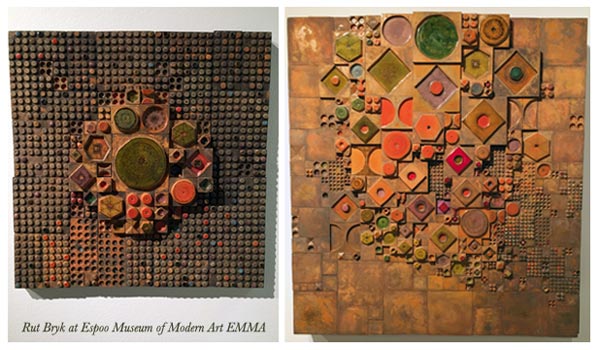
In the 1960s, her work grew more dimensional and abstract.

The abstract pieces she made are stunning.
This black city view is one of my favorites.
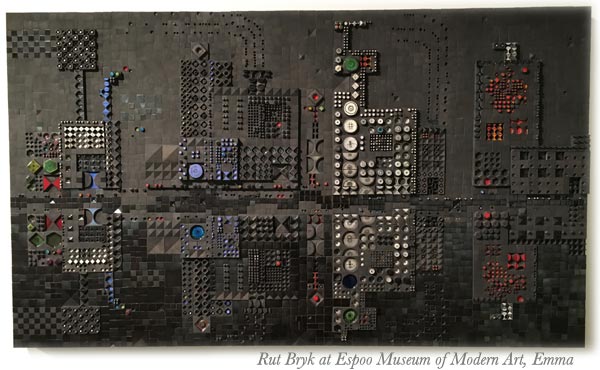
Many of Rut Bryk’s artworks are composed of small ceramic pieces. They look like quilts or crocheted blankets to me.
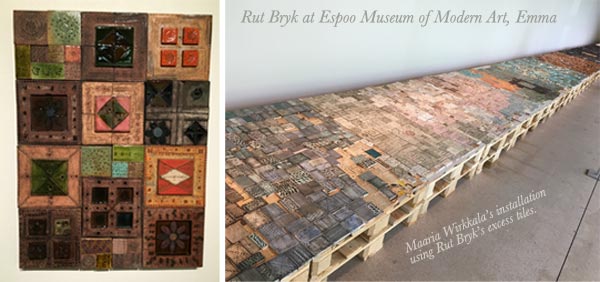
Rut Bryk’s and Tapio Wirkkala’s daughter Maaria Wirkkala is also a well-known artist. She had made an installation of Rut Bryk’s excess tiles for the exhibition.
Create a Paper Collage in Rut Bryk’s Style!
Get inspired by Rut Bryk’s brilliance and create a paper collage with these step-by-step instructions!
You will need hand-decorated papers, acrylic paints, marker pens, and gel medium or paper glue. See ideas for hand-decorated papers: Basic Instructions, Frugal version, Kiwi, Arboretum, Spring Flowers (PDF download)
1) Paint the Background
Paint the background black.
2) Cut Collage Pieces
Cut collage pieces to simple shapes like rectangles, triangles, diamond shapes, and circles. Cut big, small, and medium-sized pieces. To make the pieces look like handcrafted ceramic plates, round the corners and soften the straight edges so that they are slightly wavy. Don’t worry about the colors too much, as you will be painting over them.
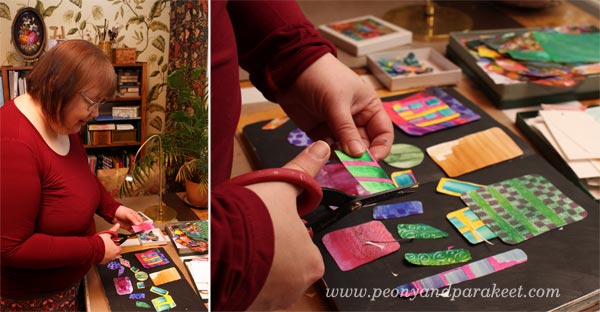
3) Glue the Pieces
Using gel medium or paper glue, begin gluing the pieces on the black background.
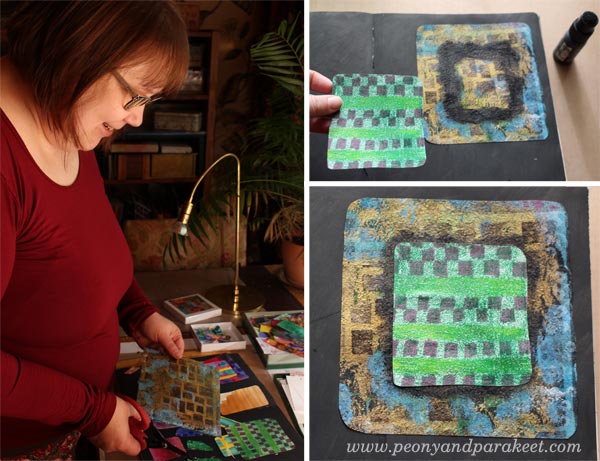
Pile up pieces so that some of the smaller pieces are glued to the bigger pieces. Before gluing, add black paint so that the piece on the top will have soft black borders. This will make your work look more dimensional.
Don’t fill the whole background but leave some of it black.
4) Paint Lightly Over the Pieces
To make the pieces look softer and to mute down their colors, add thin layers of acrylic paint over them.
Paint blocks where the black background is visible. Use neutral, fairly dark colors that suit well with the black background.
5) Draw Spotted Grids and Frame Collage Pieces
With marker pens or felt-tip pens, draw spots so that they form grids. These grids can continue over the blocks. The size of the spots can vary. I use Faber-Castell Pitt Artist Pens as they work well on acrylic paint.
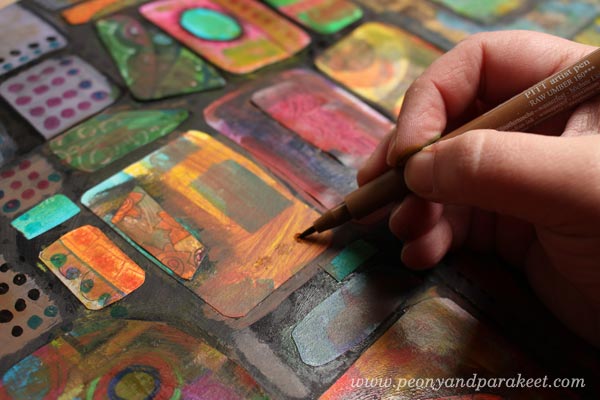
Frame the painted blocks and collage pieces with a black marker so that they look firmly attached to the background. I also used white Chinese marker to add few white lines here and there.
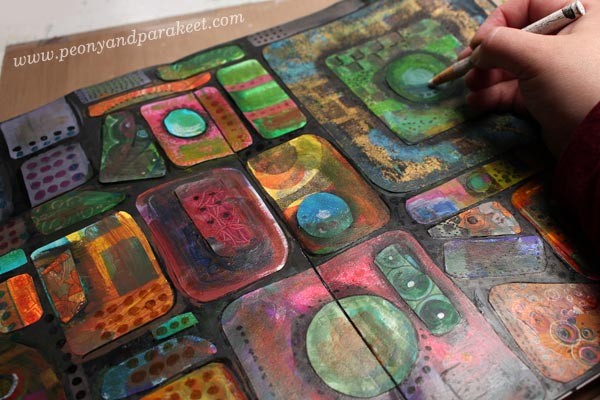
6) Paint Slightly Over Some Areas
To finish your work, add thin layers of paint to some areas. These painted areas represent light and shadows over the overall composition.

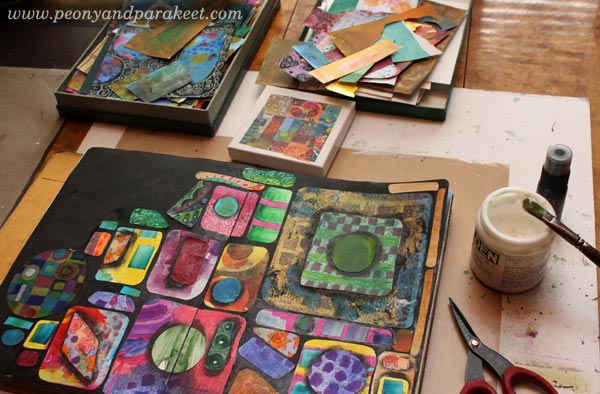
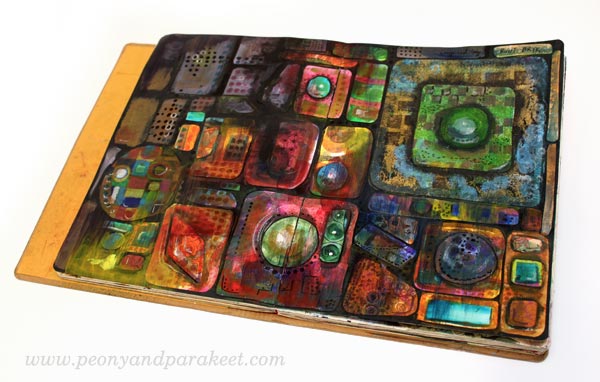
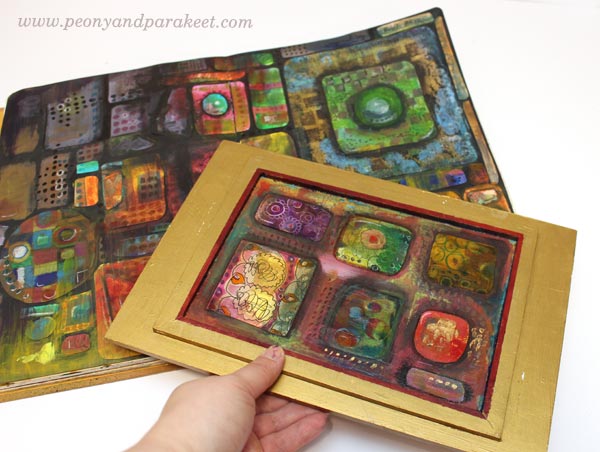
Here’s my finished spread again.
Extra Project – Decorating a Box
My husband has made a wooden box for my paint tubes. I have painted it golden, but the bottom part of the lid needed some decoration. I had already painted the framed area red, so I just added black paint to the collage pieces.
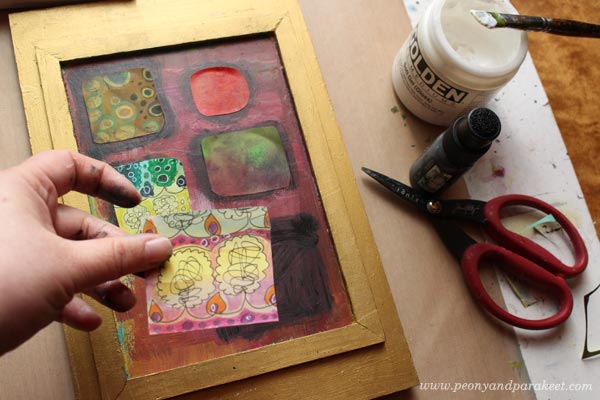
Then I continued the process like in the instructions. Finally, a layer of gel medium was added to protect the paper pieces.
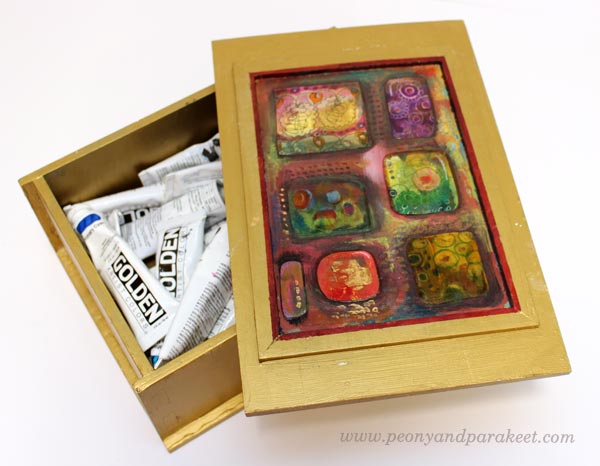
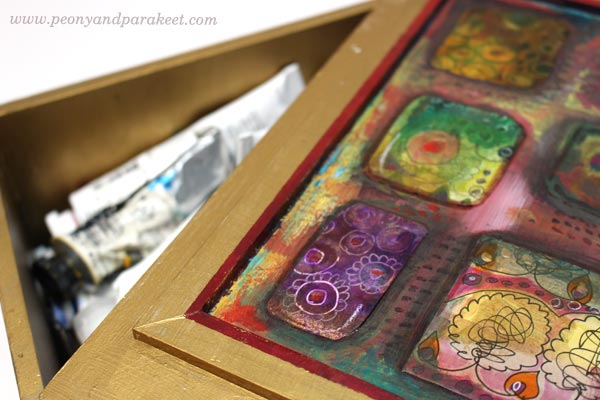
I like the idea of opening the lid and seeing the collage.
Thank you, Rut Bryk!
Expand Your Artistic Imagination!
This blog post is an example of how you can learn and get inspired by famous artists. This is how I see it:
– If you want to find your own uniqueness, examine all kinds of artists and styles!
– If you have already found your style, keep on experimenting and expanding your skills!
29 thoughts on “Painterly Collage in Rut Bryk’s style”
Comments are closed.
thanks paivi another wonderful post ………
Thanks, Joanne!
Thanks for this fantastic mini-course. My age needs to reach at least 120 years to try all your fabulous ideas !!
Thank you, Nel! Keep on creating!
Thanks, Paivi, for introducing us to various artists who are generally unknown to many of us. It is a pleasure to see the works they produce and, in this case, see the progression of their process.
Thanks, Valerie! Anyone looking for another interesting female artist, see my post about Hilma af Klimt http://www.peonyandparakeet.com/create-abstract-botanical-art/
I love your two page spread. Thanks so much for the mini lesson.
Thanks, Denise!
Rut Bryk’s work is phenomenal! And i love your inspired pieces! Thank you for more magic!
Thanks, Lynne! Rut Bryk truly deserves all the attention!
This is yummy Paivi!! I love collage with a passion!! I like the dark shadows you did around the pieces too!! I might try a little box to give as a gift! It’s so wonderful having you as one of my Art Mentors!! Thank You Paivi!!
Thanks, Gaillie! Rut Bryk’s exhibition was called “Magic Box” so boxes go well with her style!
This is just wonderful! I think I’ll give it a try. Thank you for sharing the idea and step by steps.
Thank you, Meri!
Love your interpertation of the ceramic works….thanks for the mini lesson, I will be sure to try this one.
Thank you, Gloria! I also have another blog post about ceramic art, check this out: http://www.peonyandparakeet.com/imitate-ceramic-art/
Your journal spread looks more like a fantasy cabinet with drawers to pull out from a deep recess. It is thought provoking and beautiful to look at. Amazing that it is a journal spread. The picture you posted with the journal next to your window was just gorgeous, like looking at a cathedral window. It even reminds me of the ceiling wood collage you and your husband made with various woods. I say I love color but when I see how you use all your bits and pieces like little treasures, I know you have a deep appreciation for color and its magic. I see how you carefully placed the collage pieces in the wooden box and showcase the tiny masterpieces. What a wonderful box to open!
Thank you Mary! I was thinking about cathedrals in the finishing phase, how did you know?!
Thanks for this mini-course Paivi, I was just wondering what kind of journal you work on. I guess the paper must be thick enough to accept watercolour painting?
Sandra, I work on Dylusions Creative Journal. Watercolors were not used here, all the paints used were acrylics. But yes, the paper is fairly thick.
hi paivi, this is fantastic, thank you for introducing me to all these wonderful artists and their work i really love this style, i will definitely be joining imagine monthly in the fall.
Thanks, Denise! Great to have you!
This is SOOOoooo inspirational! I’m going to do this with my friends very soon! Thanks for the peek at the works of Rut Bryk! I adore her work!!
Thank you, Mona!!
Hello Pavi
People are truly amazing. Thank you so much for sharing the work of Rut Bryk . I had not known of her work. I like her style. You mini course is very inspirational and I plan to give it a try.
Thanks, Elaine!
Kivoja ideoita taas jälleen! Hienoja!
Kiitos, Jaana!
I too like Rut Bryk’s style. Thanks also for your clear directions and examples for creating colorful, fun decorative papers.