Video Blog Post: Free Doodling
Here it is – my first video blog post! Here you can see how I create a small artwork by doodling freely with colored pencils and markers. It took about 30 minutes to create the drawing. You will see every single phase, but a part of it is fast forwarded.
This was terribly exciting, so please excuse my slow talking and grammar mistakes!
From Photos to Art Nouveau – Doodling on Photos
One of my favorite styles, art nouveau, thrives from natural forms. So, when I am walking in the garden, I see art nouveau everywhere. I often have a camera in my hand, and I snap photos while admiring the flowers.
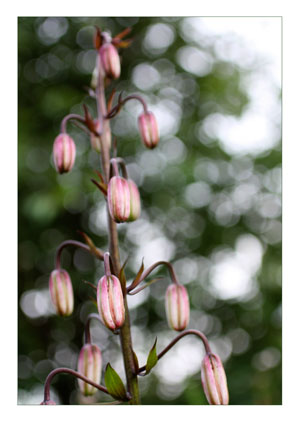 When checking photos after one of those walks, this snapshot of martagon’s flower buds caught my eye. It almost shouted art nouveau to me. Its shape reminded me of the Mackintosh lamp shades seen in Scotland a month ago.
Art Nouveau Martagon
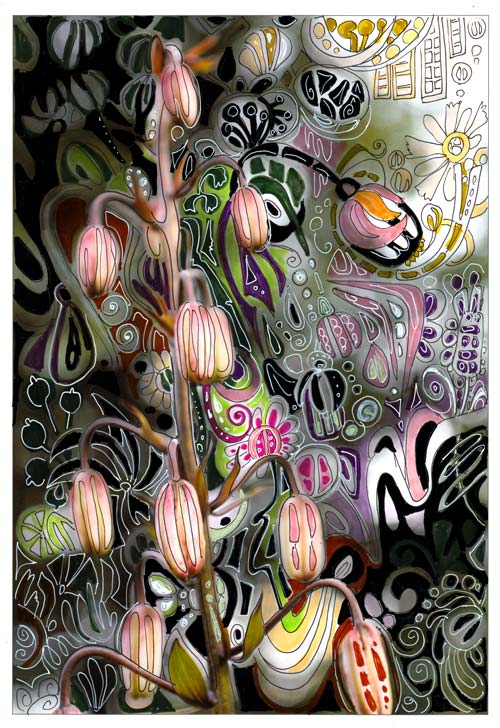
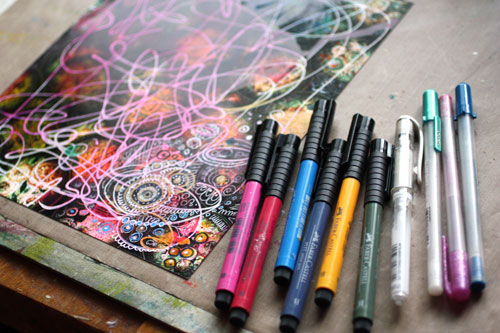
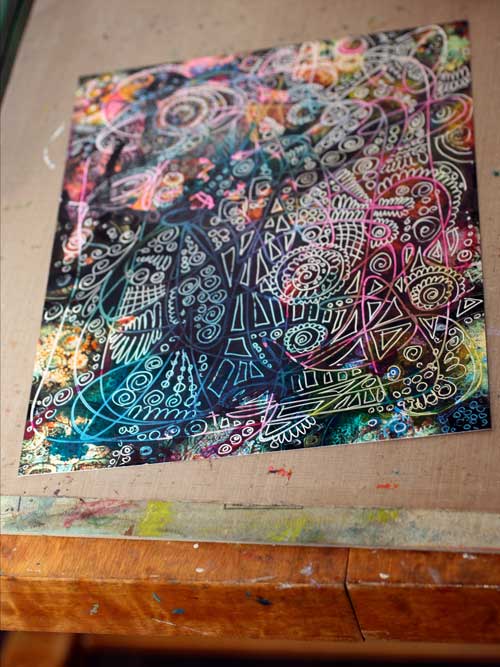
I printed the photo on Canon matte photo paper. Simply using markers and gel pens, I doodled streamlined shapes to move the martagon to the era of renewal and decorative beauty.
In the original photo, the direction of the elements was downwards. I wanted to change the composition so that it would be upwards. The upward direction would refer to the spiritual renewal, a centric theme in art nouveau. I doodled several upward shapes like the flower seen in the upper right corner.

The colors of the plant were also a source of inspiration. I wanted to keep the narrow range of colors seen in the stem but also brighten the muted tones with splashes of bright green and pink.

Drawing on a photo was such a fun process that I will do it again. One idea would be to create art nouveau portraits. Art Nouveau style doodles would look great on portrait photos too. Actually, like in the best days of art nouveau, anything can be “beautified”!
Doodling on Photos
This was not the first time I used the technique of drawing on the photo.
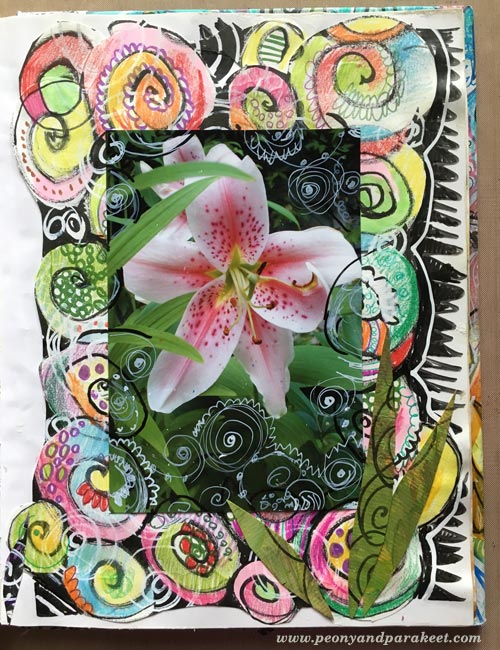
In 2010, I combined doodles and a photo. This page was also very easy to do:
1) doodle with pens on the background paper
2) attach a photo and then doodle on the photo.
More projects with doodling on prints
These posts also combine printed images and doodling:
>> Subconscious Goals
>> Creating Wood
Let me be your mentor in art: Subscribe to my weekly emails!
Subconscious Goals

Here’s an illustration that came out without any pre-planning. I just added a layer after another and in the end was surprised about the animals, and the scene. What was I thinking about?
Creating Subconscious Art
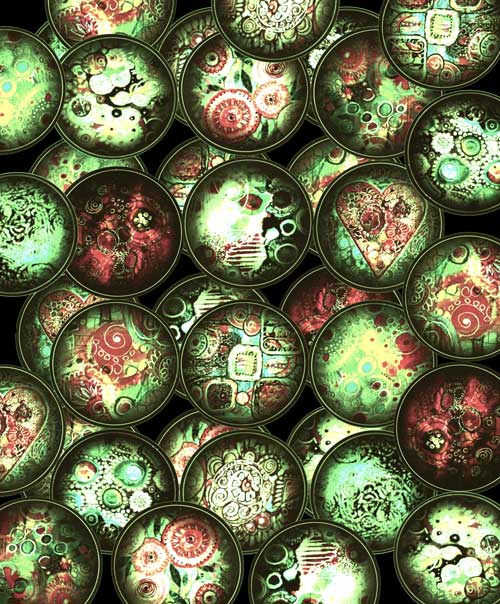
First I created the background paper in Photoshop. I duplicated my old sticker designs there!
After printing the background I made some random spots with alcohol inks and random lines with white correction pen. Then I added a lot of details with markers and gel pens.
Yes, a lot of details.
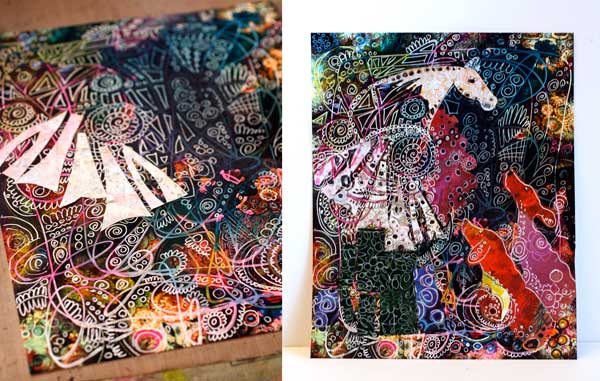
Finally, I constructed the main elements from decorated papers. Then it came: the horse on the pedestal and the dogs. The horse tells a story for the dogs, and the dogs are captivated by listening to it. When finished, I realized that I want to be that white horse! I want to develop skills to tell visual stories. I want to learn how to create images which not only appeal to the eye but the mind as well.
Isn’t it a wonderful thing that with creativity we can reveal our subconscious goals!
Subscribe to my weekly emails – Get a free mini-course!
Doodled Lace Patterns

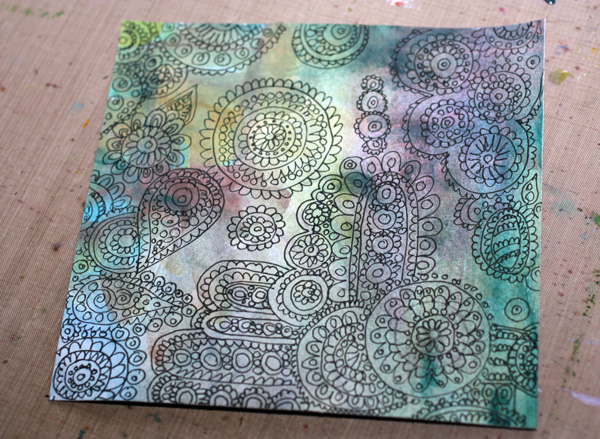
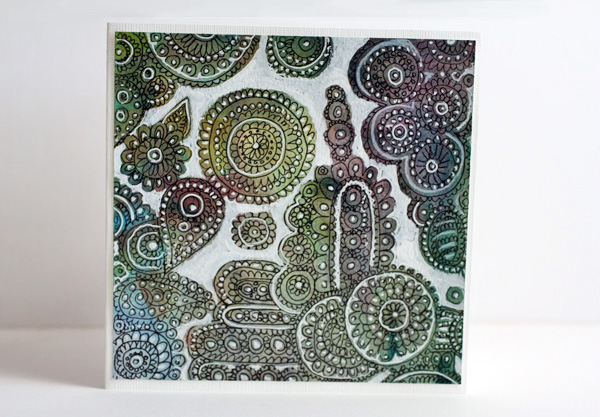
I am constantly inspired by surface patterns and textures. From a pile of doodled papers I found lace like doodling on unbleached printing paper. I decided to decorate it by adding white on some of the details and empty areas. It was a quick card: just adding the white and cutting it to the proper size. I pretty liked it so I made another card using the same concept but with different background paper. So, here are instructions to create these fun lace cards!
Doodled Lace on Paper
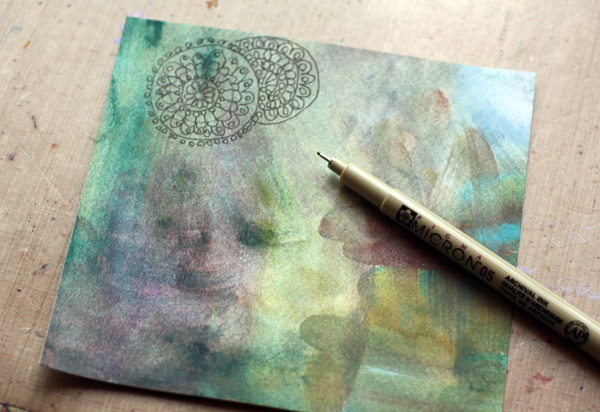
You can create an interesting effect of color changes in the background by painting the background paper with watercolors. Pick a thin black pen for doodles. I love making doilies that look like they are on the top of another. Draw the doily on the top first. Group your doodles and leave some empty areas around the groups.
Add White to the Background
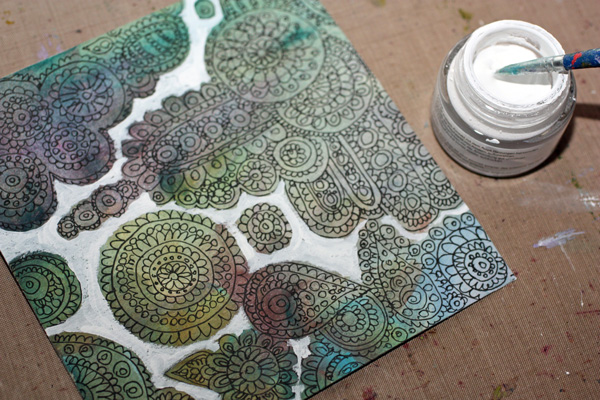
I used Copic Opaque White in a jar for bigger areas and Uniball Signo pen for smaller areas. A white color pencil was used too. White acrylic paint does the job too.
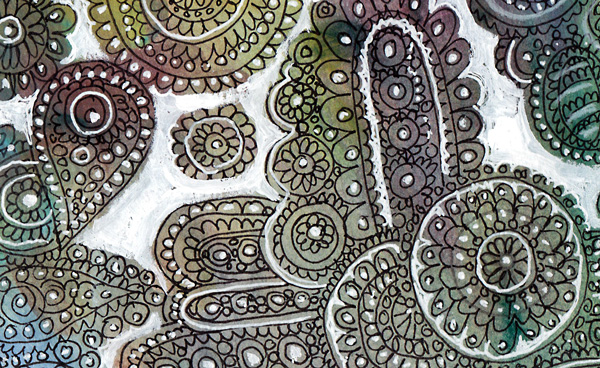
You can easily make georgeus and unique projects with this technique!
Let me be your art teacher: Subscribe to my weekly emails!