Gelli Plate Meets Fine Art – Monoprinting Ideas for Art Lovers
Old paintings are full of nuances and flow that we often don’t see when focusing on the subject only. This week, I am a rebel and use a Gelli plate for bringing up those elements. The Gelli Plate, like any mono-printing tool, is a bit clumsy for adding details. But also full of potential because you can easily produce repeated motifs that are not exactly similar. It enables you to add diversity and uplifting rhythm to your art without extra efforts.
Gelli Plate Meets Fine Art – Watch the Video!
This video is a replay of a live broadcast where I am sharing my secrets about the process.
I also include the images and the summary here in this blog post so that you can more easily refer back to these instructions.
Project 1 – Expressive Portrait on White Background
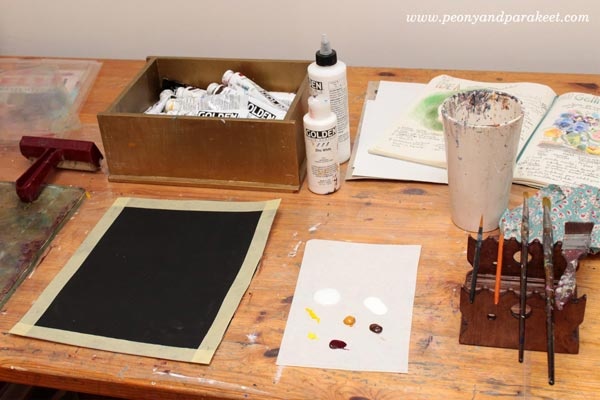
Supplies: Gelli Plates (mine are 8 x 10 and 3 x 5 inches), watercolor paper, brayer, brushes, any blunt stick, acrylic paints, glazing liquid (or gel medium).
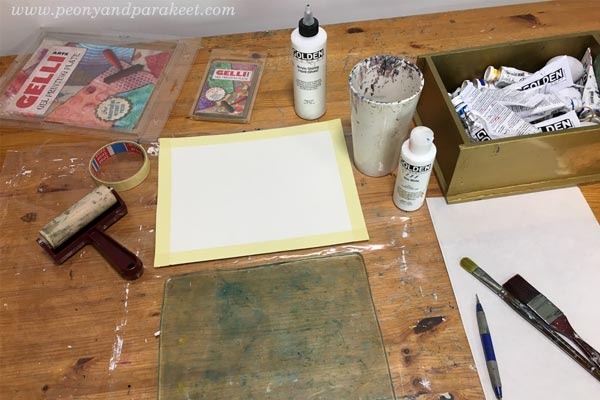
This project started by intuitively adding layers with a Gelli plate on a white watercolor paper.

My only intention was to make a mess that has enough diversity so that I could see something appearing.
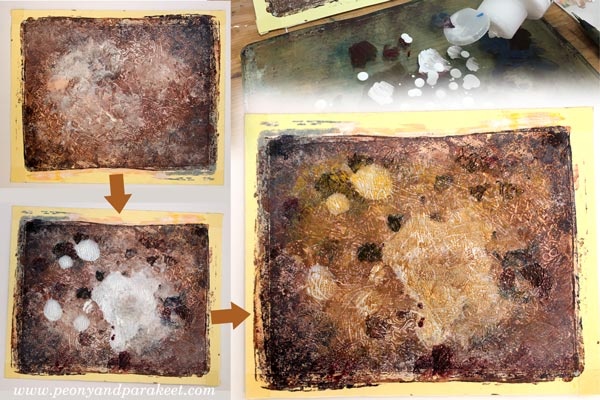
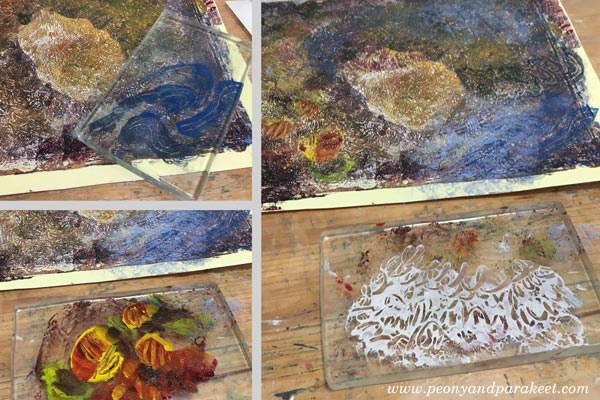
The big spot looked like woman’s face to me, so I made a stencil by quickly sketching one on paper.

I added more elements and shadows, so that worked one area at the time.

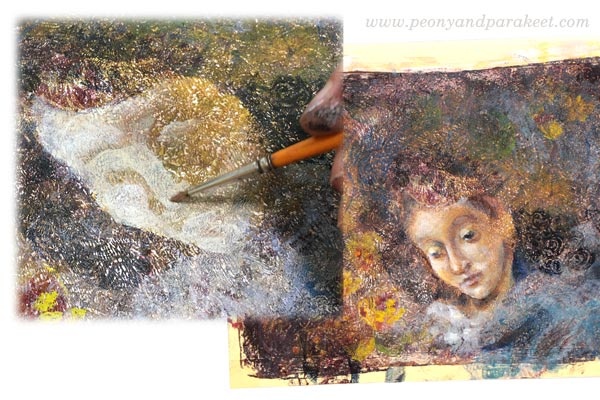
When the big elements were in their places, I changed to a smaller plate and added more details.
Here’s the monoprint before I changed to painting with brushes.

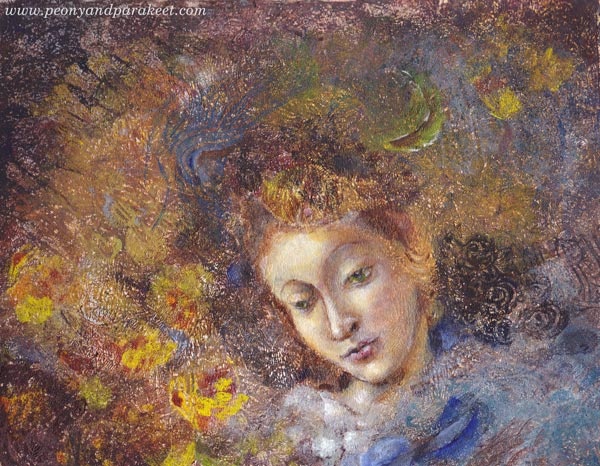
Using Botticelli’s Madonna of the Book as a loose reference, I painted the face and some details with fine brushes and thin layers.
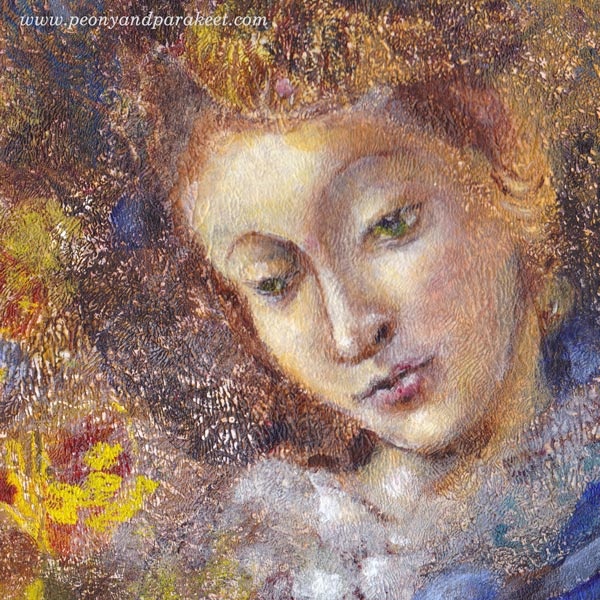
Here’s the close-up of the face. I realized that the eyes look to a bit different direction, but I didn’t want to change that because this piece is called Nostalgia. I think it’s a mixed feeling because then we are admiring the past, but at the same time, being sad that there’s no way to travel back in time.
Here’s the full painting again.
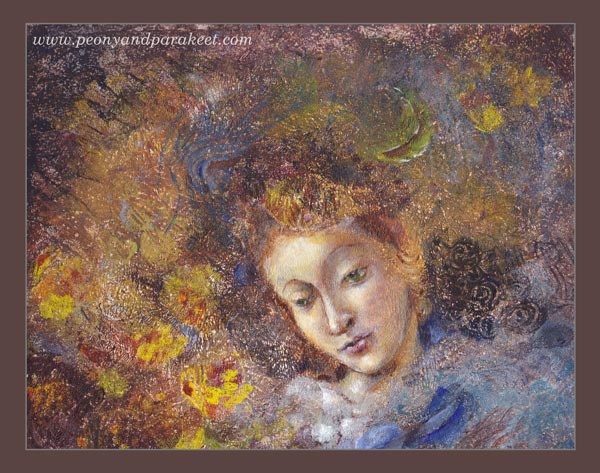
Do you like this one? The original piece is for sale in my shop!
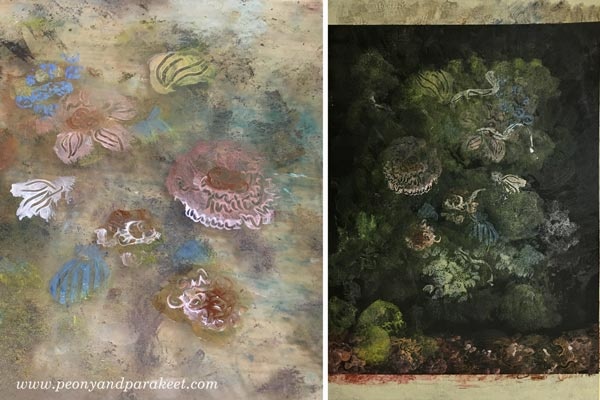
Project 2 – Floral Still-Life on Black Background
This piece started by adding a layer of black gesso on a watercolor paper. I had a clear goal from the very beginning – to create a floral still-life honoring Dutch Golden Age paintings from the 17th century. I also wanted to use Gelli plates only and see if it’s possible to create a detailed piece by mono-printing only.
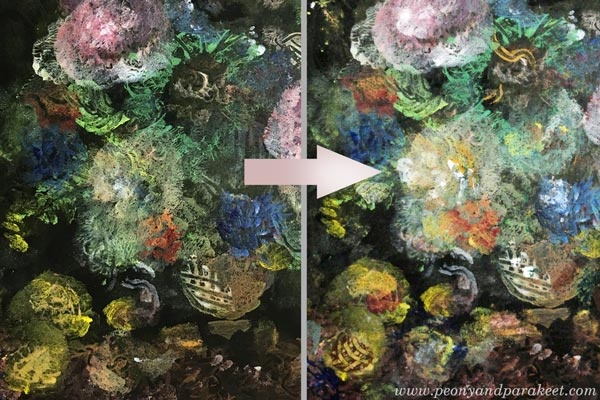
The first layers were very subtle and translucent. The idea is to build depth by slowly increasing the brightness of the mono printed layers.

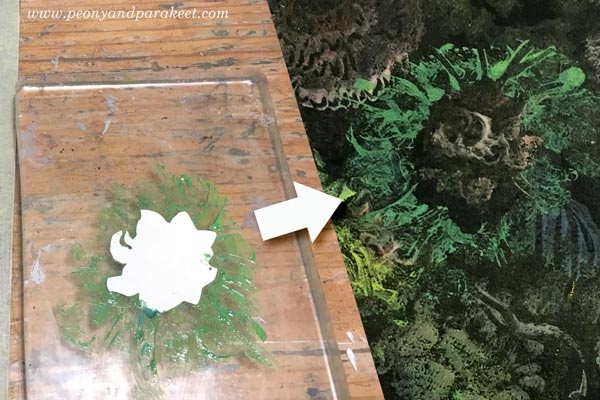
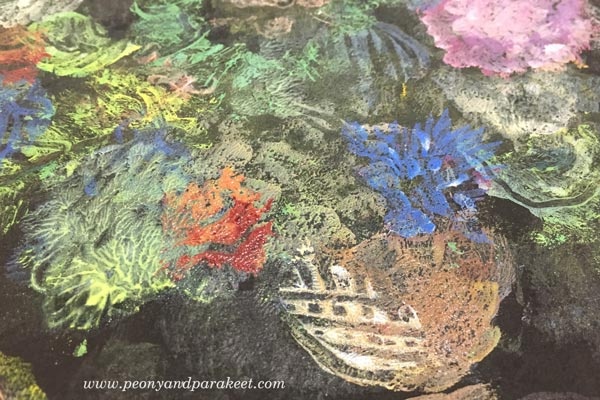
Like in the previous project, many layers only had few elements. I like how detailed they look when adding lines with the stick on the plate.
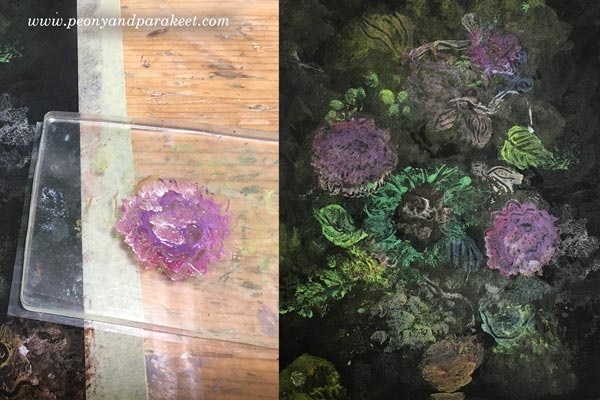
I also made a paper stencil for this project. At this point, I changed to a smaller plate.
I used paler and darker tones of pink to make a flower. It’s also handy to stamp the same flower several times.
Dots and splashes of paint all add up. I also like to use cotton cloth for making a sharp edge to a free-form shape.
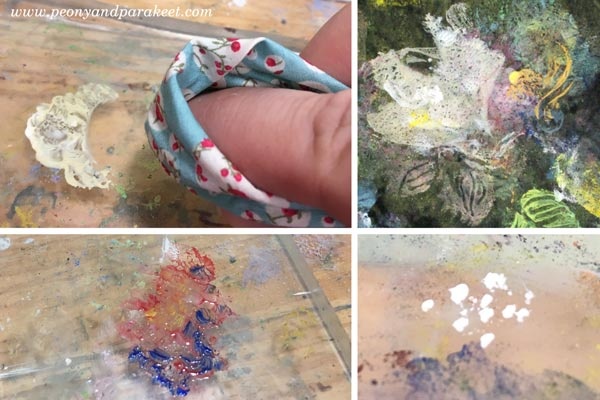
When using a little too much paint, it forms “skins” that look like intricate leaves. It was also fun to add a surface pattern to a vase.
I used dark browns and black to tone down some elements, and white to highlight others.
Here’s one of my favorite details:
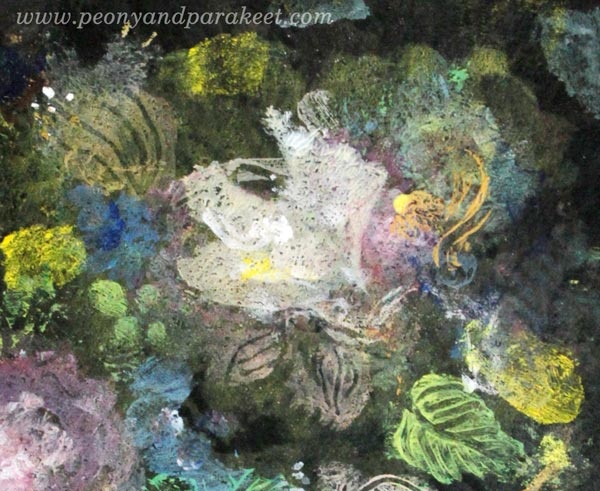
Another one, showing how the vase glows.
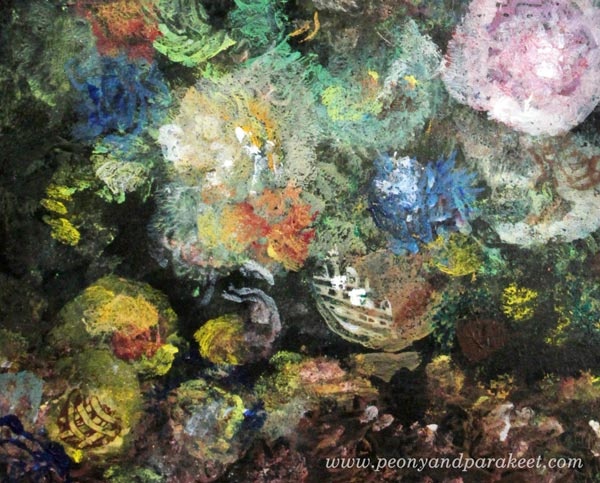
Here’s the finished piece in full size:

What next?
Continue to create with Paivi: Subscribe to my weekly emails
Learn the basics of mono-printing and create your visual wonderland: Buy Collageland
Stop the stiffness – let Paivi help you to move forward: Join Bloom and Fly
Subscribe to Paivi’s weekly emails – Get a free mini-course Loosen Up!
9 thoughts on “Gelli Plate Meets Fine Art – Monoprinting Ideas for Art Lovers”
Comments are closed.
This was incredible! Last year I bought a Gelli plate and have yet to use it. I seem to go off on tangents a lot. Having watched this video I will be getting out the supplies and going to town. Love the idea of combining the looseness of the plate with the old masters approach. Currently, I am trying to decide on what technique to use on painting on fabric, jeans and t-shirts especially. I wonder if I can try the plate with that? Thanks for all the inspiration!
Thank you, Cindy! I have used my plate for printing fabric and it’s even more fun!
Inspiring as always, dear Paivi! Thank you.
I’ve used my gelli plate some, but I love how detailed your instruction is. I just happen to have all supplies here, so I’m going to do a series of something. Lots of fun!
Again, thank you.
Have fun, Susan!!
Thank you! <3
A very unique and creative use of the gelli plate!
Thank you, June!
Absolutely wonderful and so very generous of you to share your style and technique with the Gelli Plate! Thank you! I love to use all my Gelli Plates, but have never tried this way of printing – but I will now! 🙂
Thank you, Karen! Have fun!