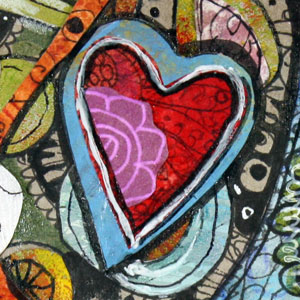
Drawing on Fabric
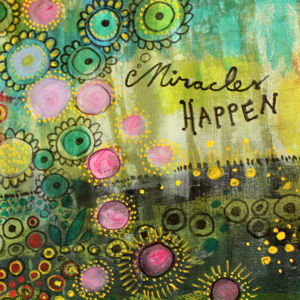
I missed the feel of cotton fabric so I decided to use it as a base instead of paper. It was so much fun! I used both the fabric paints and fabric markers here.
There’s not much difference between drawing on fabric and drawing on paper. I use thick cardboard under the fabric so that I do not have to worry about colors ruining the table top. Another tip is to wash the fabric first so that the colors get into it. And iron well before and after painting.
This is quite large piece (19,5 in x 13.5 in) but you can start with smaller ones. I am so tempted to start a new project by painting small squares and use them in the next quilt.
Scrap Paper Collage
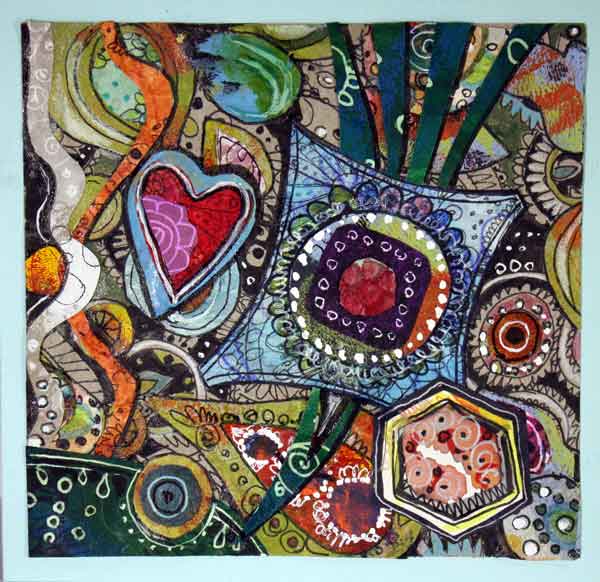
I made a greeting card from the paper scraps that I have. I make my own papers that I use for collage art. And even the tiniest scraps are saved in a container that I call “The Treasure Box” with capital letters.
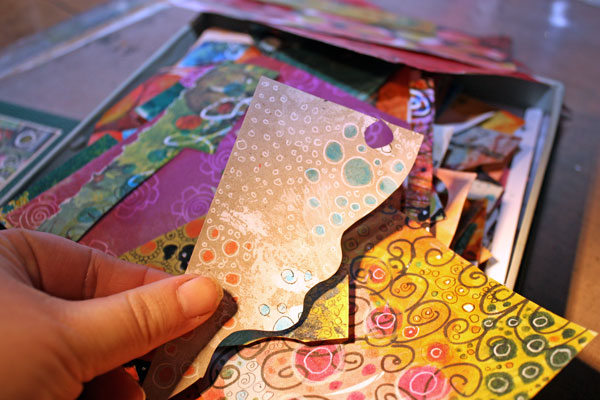
These scraps have practically no monetary value but still I treat them as they would cost a million. I have put a lot of time in creating each little scrap.
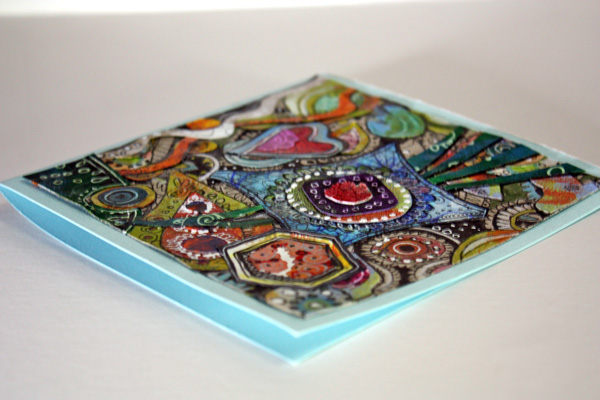
The scraps also have another property that I am fond of. They look ugly as individual scraps but are beautiful when they are combined together.
Many things in life are like that. Nothing particular when examined separately but spectacular and successful when they are seen in the big picture.
Let me be your art teacher: Subscribe to my weekly emails!
A Decorated Box Using Mixed Media
 Trash can become a treasure
It was only a small cardboard box but I wanted to take it to the extreme. There’s something extremely satisfying in taking trash and treating it like a treasure. Many times when I draw I miss working with 3-dimensional objects. This time I wanted to enjoy playing with the box and use all its’ sides. Mixed media was the driving factor here too.
Preparation
First removed all the extra tapes from the box surface. Then I covered the box with white gesso. It would give colors better background than brown cardboard.
Inside
I painted the inside panels yellow. It is one of my favorite colors and I often use it when I want to add light but do not want to do that with white. As you may know, I am not a big fan of white!
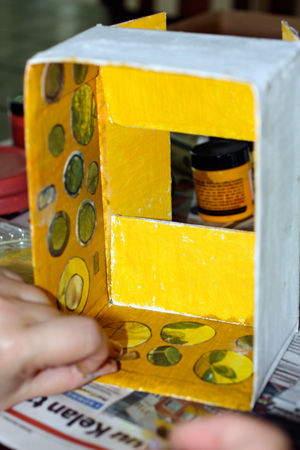
Plain yellow surface looked little bare so I added some collage elements. These were made by coloring pages from children’s books with color pencils and then randomly cutting circles from the colored areas. I glued the circles with gel medium.
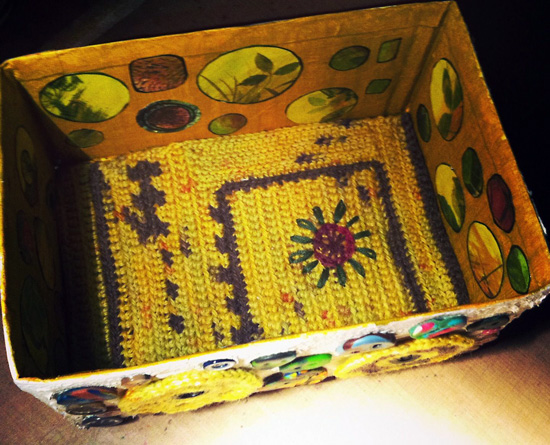
The bottom of the box needed something different. I decided to crochet a piece that would fit inside the box. I began with a small square and crocheted around it using a couple of colors. Finally I finished the pice by embroidering a flower.
At this phase the box reminded me about the sunflowers in the end of the summer. Then I began to decorate the outside of the box.

Outside
I continued with crochet. I made flowers and a long chain which I used in the outside bottom. It feels great to lay the box onto the table when there’s soft wool in the edges!
The I wondered how to attach the decorations like the crocheted flowers and various buttons to the outside edges. They were pretty heavy. Golden Fiber Paste was the perfect stuff! It created the textured surface and attached all the little pieces securely.
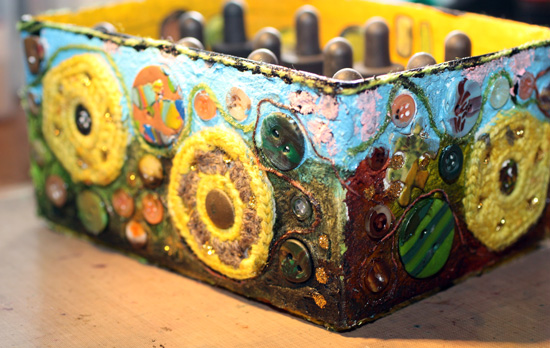
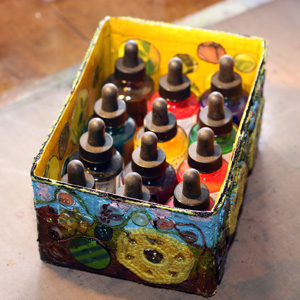
The end result is unusual looking but perfect for my indian ink bottles!
Designing a Tattoo
 Last spring my friend asked if I could design a tattoo for her.
A tattoo! An image that you can’t remove, at least not easily! And so personal one. That really is a challenge, I thought. I should not do it. No. Yes. I should try to!
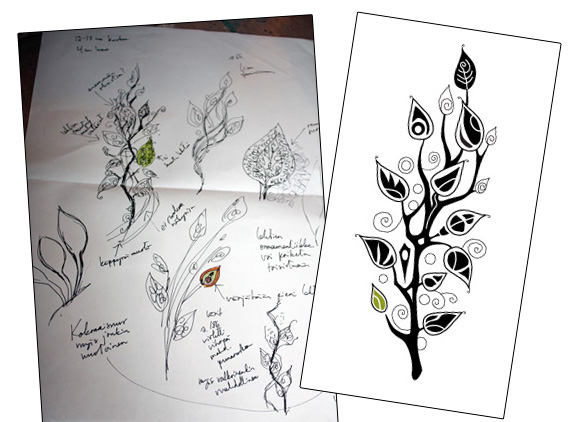
It was my friend’s first tattoo. She had been wanting it for years. She told me she wanted a tree or a branch. That’s where the design process began.
I drew sketches and asked questions. Should it be strong, edgy, round, feminine? Full of leaves or bare? Ornamental or simple? And so on. I knew I had to trust on the design process and let each of the phase take me closer to the end result.
When the process went on, I began to draw sketches on computer. Adobe Illustrator is a great program for this kind of work.
Between computer work I printed the design and continued with handdrawn details. Finally every little detail had been finetuned with computer and the design was finished.
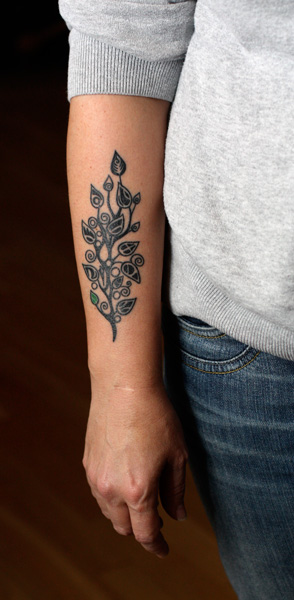
 The finished design was presented to the tattoo artist. She changed the thinnest lines stronger so that they would last.
The tattoo is located on the arm. I am glad my friend loves it and I like it too. It represents a lot of her style but I can still recognize it to be my work of art too.
What an exciting project!