
Painting Seascapes – Making The Scenery Look Bigger
This week, we dive deeper into painting seascapes and other big sceneries. In spring, I thought my painting Atlantis was already finished, but after seeing the ship paintings in the Rijksmuseum in Amsterdam in May, I realized that I had made my seascape painting too simple and small-scale, and went back to working on it. Now it’s finished!
Painting a Bigger Sea
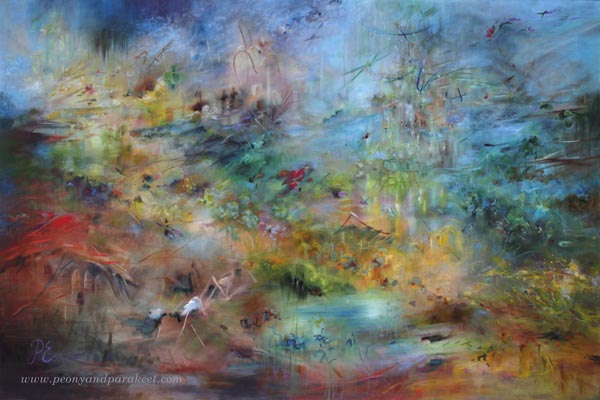
Despite the size of the canvas, you can make the seascape or any scenery look larger by adjusting the composition and the size of the brushstrokes. Compare the finished version with the one below!
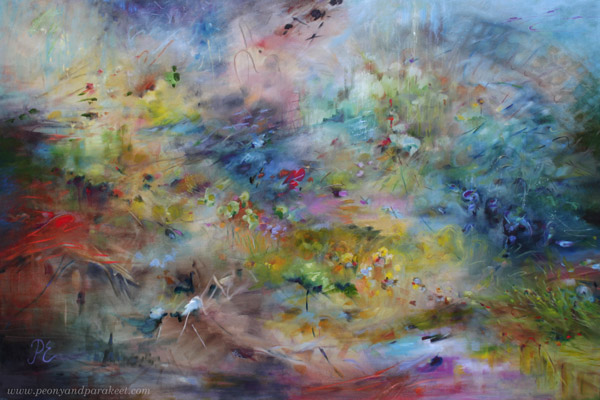
When you want to make a seascape look bigger, add tiny strokes, especially near the horizon, and adjust both left and right edges so that it looks like the seascape continues outside the painting.
The changes may look small when you look at the small photos, but in reality, they make a big difference. Here’s a close-up photo of before and after.
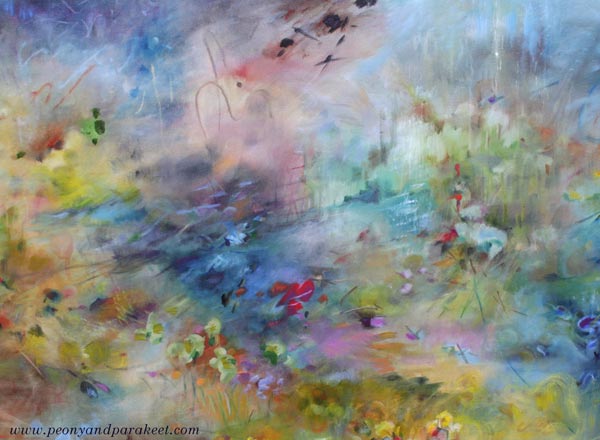
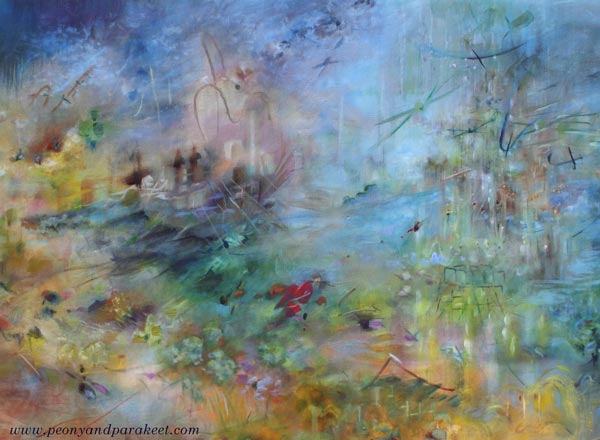
There are so many details that it was easier to make a short video instead of sharing more pics.
Seascapes don’t have to be boring and all blue. They can include all kinds of events and creatures, even buildings like in my painting.
A Series of Big Sceneries in Progress
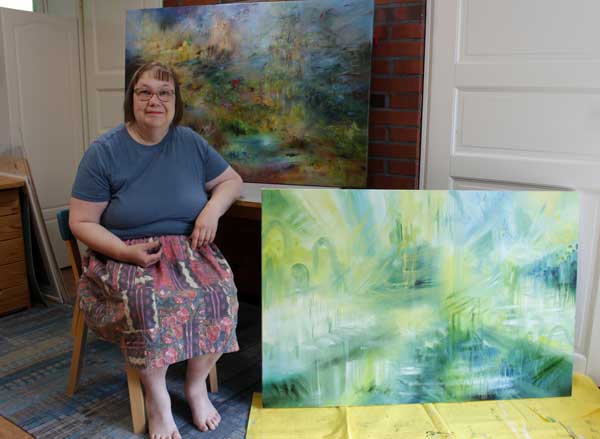
It’s been a hot July in Finland, and my little studio is really warm in the afternoon. But I have big canvases in a queue, and the next one is already in progress.
New Course Is Coming Up!
Painting seascapes and other sceneries is exciting, but as you know, I also love flowers. I will be running a new watercolor course called Wild Garden from 22nd September to 14th November. Here’s a small teaser pic …
The early-bird sale of Wild Garden will start next week, so stay tuned!
Painting Small Wildflowers
This week, we explore the beauty of small wildflowers and find what we can learn from nature when painting them.

>> See more pics at the Taiko Online Art Store!
I had a small blank canvas that I wanted to paint on before Midsummer. I did it with acrylic instead of oil because acrylic paint dries faster and you don’t have to wait days for the layers to dry.
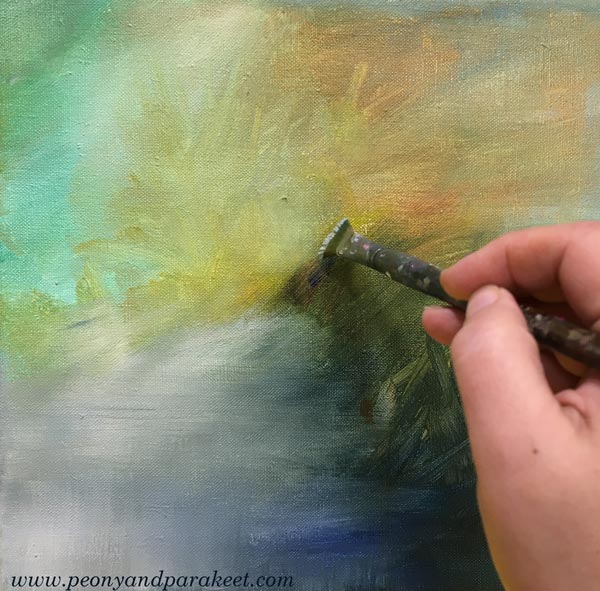
My idea was simple: wood geraniums – or do you call them cranesbills? In Finnish the plant is called “metsäkurjenpolvi” and they bloom everywhere now in June. We have them in our garden too, but I mostly study them on morning walks. As a child, they were my favorite flowers when it comes to wild flowers.

Even if I sometimes take photos of small wildflowers, I don’t want to paint from reference pictures, but freely. I can check the structure and shapes of flowers or leaves from photos, but if I start copying the exact detail, my expression stiffens. It’s like my head begins to ignore my heart, and that’s never good for art-making.
Starting with Big Brushes
At the beginning of the painting process, I don’t even know exactly what I want to express. The mood of the painting grows little by little and when I start, I’m clumsy and quite careless.
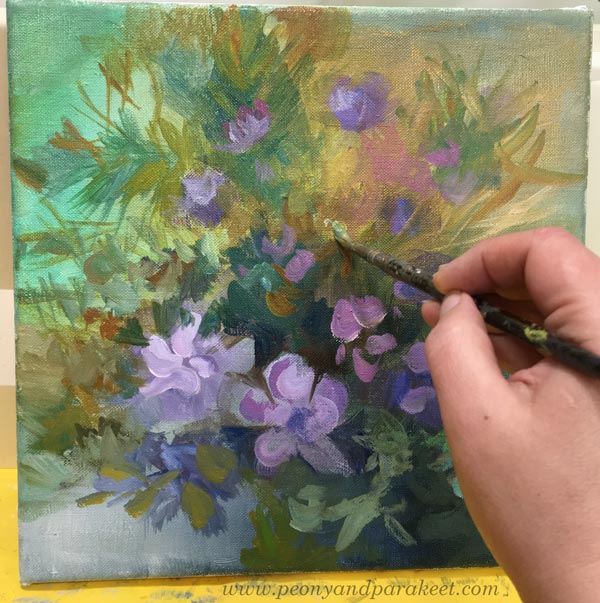
It’s actually pretty quick to make a nice little flower painting if you only think about one plant and don’t aim for anything else. But these days, I don’t want to leave any painting at that level. I want to offer more to look at and combine many observations in the same painting.
Here’s my painting from Day 1 to Day 2. The right lower corner didn’t change much, but the center and the right upper corner changed a lot. And the painting became more detailed.

Some paintings are great with the more abstract and loose touch. But here, I wanted to express the delicacy of small wildflowers and honor their tiny details. I also wanted to make the painting look more natural.
Beautiful Mess with Thin Strokes
Nature is wild and messy. We easily overlook that beautiful mess when we look at wildflowers in a meadow. Our eyes pick out our favorite flowers, and we don’t see all the other plants that are trying to get in the way. Grasses come to the front of the flowers and intersect everywhere. There are endless layers of plants if you look at the view as accurately as possible. Even when looking at this photo, did you notice all that layering?
It seems contradictory that the more romantic and spiritual I want to paint, the more I have to open my eyes to the reality. I need to paint those hays over the pretty wildflowers and let the nature make a beautiful mess in the canvas too.

Small Doses of Conflicting Colors for Flavor
In nature, the colors also get mixed with each other, and there are reflections and conflicting tones. So, even if the number of colors in the painting is limited, you always have to find a small dose of some different tone to spice it up. For example, add some bright red to make the purple flowers delicious! Similarly, cold greens need brownish tones.

In Finland, Midsummer is a big celebration. The nights are white now in the end of June and you can admire the flowers without going to sleep at all.

Paint abstract florals in acrylics with me: >> Buy Floral Freedom!
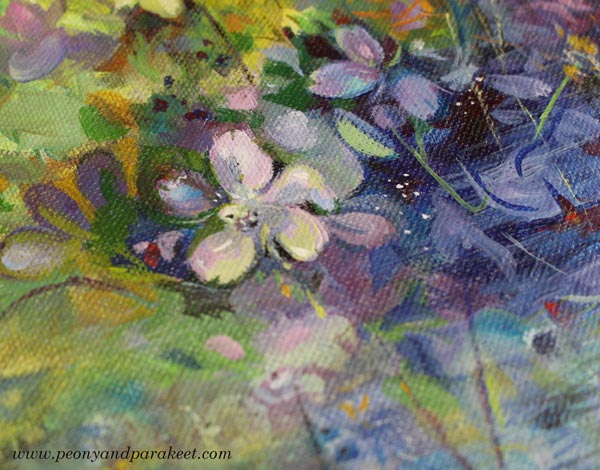
With these pictures, I wish you a wonderful Midsummer and lots of joy in observing and painting tiny treasures – small wildflowers!

Painting small wildflowers – Could this be your next art project?
Revamping Watercolor Painting with Watercolor Pencils
This week, I am revamping an old watercolor painting and sharing some things I have learned over the last five years. Let’s make your paintings more fantastic with five tips!

The size of my example is 28.5 cm x 28.5 cm, so 11.25 inches x 11.25 inches.
Revamping a Watercolor Painting – Best Candidates
Here are the original and the revamped paintings side by side.

I got the idea of the revamp when I was going through my old pieces to find ideas for the new course Joyful Coloring. The watercolor painting from 2019 had good paper and fairly light colors, so I knew it could be revamped quite easily. A part of the revamp is to wipe off some paint, so it helps if the paper is thick and durable. And the fewer layers the painting has, the easier it is to alter it.
Making the Old Version – Watch a Video from 2019!
In this video, I teach the negative painting technique. It’s very useful for watercolor because when you paint around the shape, you can highlight all the lightness and loveliness that has been born in the first layers.
The problem with highlighting the best parts is that we see too many. There’s a mental barrier to paint over them in later layers. And that makes the painting less atmospheric and more busy. Then it also remains less finished-looking than it could be. My painting definitely had these problems. Now I see it as a nice start, but not a finished piece.
Using Watercolor Pencils for Finishing
I could have continued the old painting with watercolors, but I want to grow my skills in using watercolor pencils. So I picked Caran d’Ache Museum Aquarelle pencils, filled a water cup, and chose a couple of narrow brushes. It’s easy to do very detailed things with watercolor pencils so they are suitable for finishing. The watercolor paper of my old painting was the Cold Press quality, so fairly textured, and Hot Press would have worked better for watercolor pencils. But I made the color more even with water, and it worked fine.
You can use any supplies for these tips! Tip #1 is the most important, so start your revamp with it.
Revamp #1 – Less Modesty – Make the Focal Point More Dashing!
What’s the central element in your piece? Is it the best treat of the painting, making you look at it again and again?
Mine was some sort of a daisy, much too modest and simple to my liking, and a bit clumsy too.
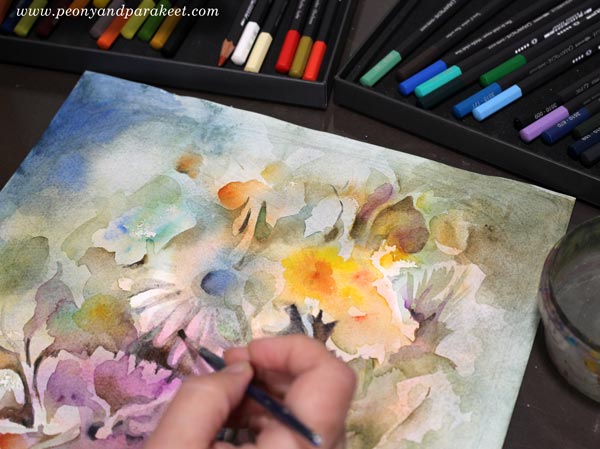
I started wiping off the darkest parts and then made it a peony. It’s a flower that has many layers of petals and is not a shy wallflower at all. Much more eye-catching!

It’s good to arrange some breathing room for the central element and add contrast to the background so that it stands out.
Revamp #2 – Less Bulkiness – Make Shapes More Elegant!
Do you have thick or straight lines? Do the shapes have extra angles? Are the negative shapes (background shapes) as beautiful as the actual shapes? Are many shapes connected to each other?
My painting had a lot of thick stems. Making them narrower immediately adds elegance to the flower. The stems were also very close to the flower and that makes the painting look flat. I added a dark color where the stem and the flower meet so that the flower stands out more.

My old painting had many shapes that looked quite random and not finished at all. I made them more organic and sharper.

But when revamping a watercolor painting, remember that everything doesn’t have to be sharp. The painting can have blurry spots as well, especially near the edges. Blurriness makes the sharp center stand out.
Revamp #3 – Less Evenness – Add More Subtle Patterns!
Have you used only one color on one area? Does your background look boring? Does your piece have an atmosphere?
My old piece had a background that was much too simple for my current taste. It didn’t have a sense of place at all. I want all my paintings to answer the question: “Where am I?” Even if it would be just an imaginary location, at best, the viewer can continue the scenery in her mind.

The background can have patterns. You can pick any idea suitable for fabric design! I wiped off the paint so that I got stripes going in all directions. This kind of bold patterning doesn’t improve the painting right away, but after tip #4, everything will get so much better!
Revamp #4 – Less Separate Color Areas – Add a Dominating Color to the Background!
Are your colors separate islands? Do you see problems in the composition? Is there too much of everything and a need to simplify?
The atmosphere can be often as simple as one color that dominates the background. However, it doesn’t mean that the background only has one tone. You can first add a variety of colors, and then color over them with one color. Separate colors are like strangers, but once they get the same color over them, they become a family. My choice was green, but yours can be any color.

Color a thin top layer so that the lower layers show through. You can color lightly and dilute the color with water.
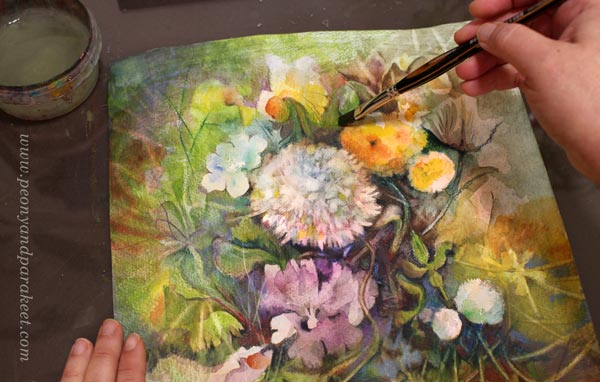
Don’t color over everything though. Leave out the details that you want to keep front!
Revamp #5 – Less Distracting Details – Choose Only a Few Shiny Stars!
Do you still see problems in the composition? Is there still too much to look at? Go through the painting and point your finger to every light and every dark area!
You most probably have too many white or pale pastel areas and/or too many dark areas. If you use high contrasts or very bright colors near the edges, the painting looks busy. Unfortunately, the best details often are born near the edges, but we don’t want the viewer to look there, so we must let them go.
When revamping a watercolor painting, use the dominating background color to cover the less important details. Compare the two pictures below and see how I have reduced the bright spots, for example, the two round flowers in the right bottom corner have been colored green in the final version.


In the center, the contrasts are good. So I made the background near my shiniest star – the peony – darker.
What a difference – isn’t it?!
I hadn’t signed the old painting, but I am so satisfied with the revamped version that I added my signature to it.
Joyful Coloring for Watercolor Pencils
Learn more about using watercolor pencils and create enjoyable projects!

Finishing a Watercolor Painting
This week, I have a video about finishing a watercolor painting.

See more pics on the Finnish art store Taiko’s website!
Painting Freely and The Challenge of Finishing
I paint watercolors freely without models or reference photos. It’s exciting to see what appears on the paper and to examine random spots trying to find flowers and plants, which are my favorite subjects. I believe that if I manage to create favorable conditions, the plants will start to grow naturally on paper.

When painting flowers freely without references, it’s easy to omit the details. But I think that the details make the finished look. Everything doesn’t have to be sharp and intricate but focus on those parts that you want to catch the viewer’s eye.
Making a Color Chart
My watercolor set has colors from many different manufacturers. I use artist-quality colors and always as pans. If I buy a tube, I’ll squeeze the paint into the pan. I like to use a color chart. The colors look darker when wet and on the pans as well. And there are differences in how pigments behave.

My grid follows the order of the pans and I add the names of the pigments below the color samples. A part of the colors are in a separate box waiting for their turn to get to the 36-pan set. I make notes on them at the end of the chart. The color chart prevents me from buying several similar pans (that happened too many times before I made one!) and helps with memorizing which colors are my favorites.
Start Freely – Finish Slowly!
There are watercolor painters who wet the paper, draw a few brushstrokes on it and the painting is finished. I work on the same painting for several hours and slowly approach the result layer by layer. It requires patience, but on the other hand, I can always paint on fine-quality cotton paper because my approach is less experimental.
I love that the painting doesn’t immediately shout but first whispers timidly. Each painting is unique and I like to spend time getting to know it. In doing so, I will not only learn something about the painting or myself but about humanity and nature in general.
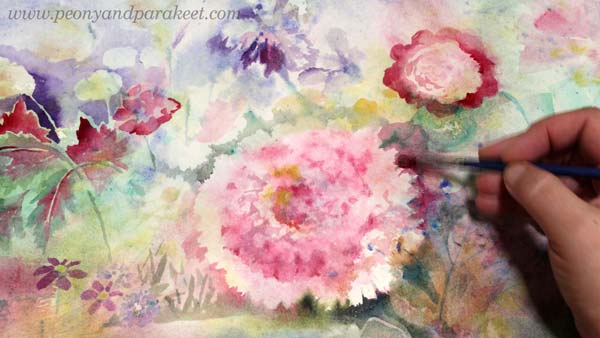
I want the result to look natural, although there is also a lot of decoration in my paintings. I love ornaments – swirls, decorative lines, and shapes, and my favorite historical style is Baroque. It is easy for me to see the luxury of baroque in plants. As a child, I imagined palaces and halls around me when walking in nature. Life in a remote small town in the 1970s was modest, but I got by with imagination.
Finishing a Watercolor Painting – Watch the Video!
In the video, I have footage from the finishing phase. There you can see that when proceeding little by little, you can add all kinds of things even in the final stages. It’s common for me that a shape is just a circle at first, but then I add notches to it and make it a leaf or a flower. Watch the video!
Freely Grown – Using Colored Pencils for Finishing
If you are new to watercolor painting, working with thin brushes can feel challenging. It’s then easier to use colored pencils for finishing a watercolor painting. I have a course called Freely Grown where you learn step-by-step how to make a layered watercolor painting and finish it with colored pencils. All this is done freely without models and by focusing on techniques, so your work has the same steps, but the result will be completely unique.
Freely Grown is now 15% OFF! >>Buy Now!
The sale ends on July 31st, 2024, at midnight PDT.