Easter Chick Art – Draw Step by Step!
Let’s draw more than just a little chick—let’s create Easter chick art! By adding details bit by bit, you can turn even a small drawing into a picture full of atmosphere.

You only need colored pencils and paper. My drawing is about 10 x 14 cm (4 x 5,5 inches).
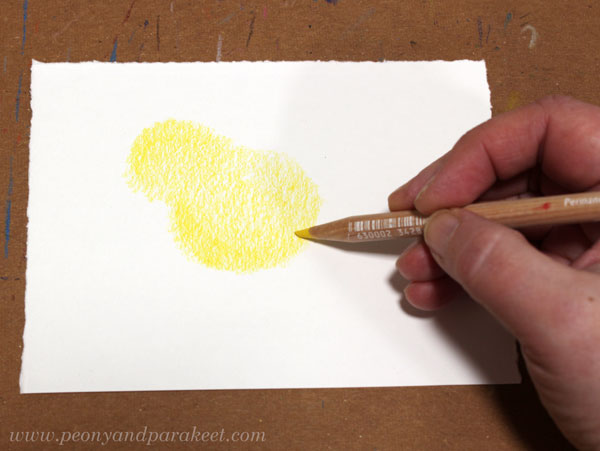
Step 1 – The Shape of the Chick
Color two circles that blend into each other.
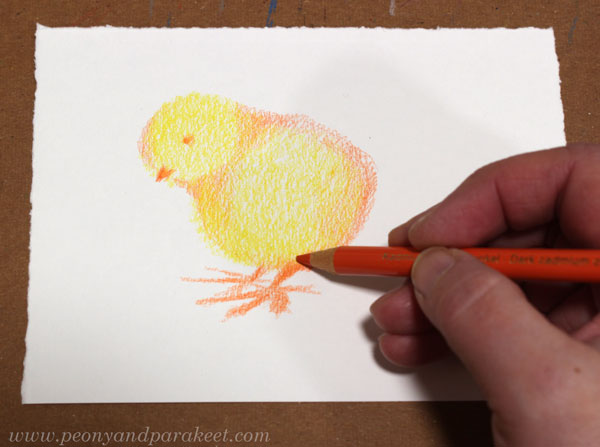
Step 2 – Features of the Chick
Use a darker color to add shadows so that the head and the body are distinct from each other. Then, add the eye and the beak.

Step 3 – The Chick’s Legs
Draw large legs that attach to the body at an angle.
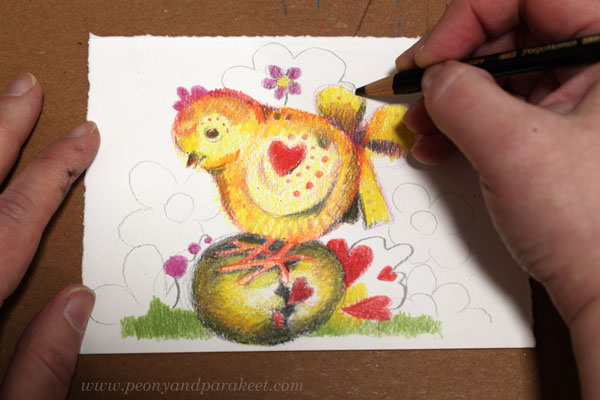
Step 4 – Decorations
Get creative and decorate your chick! Notice that decorations can extend outside the body. For example, I added a bow.
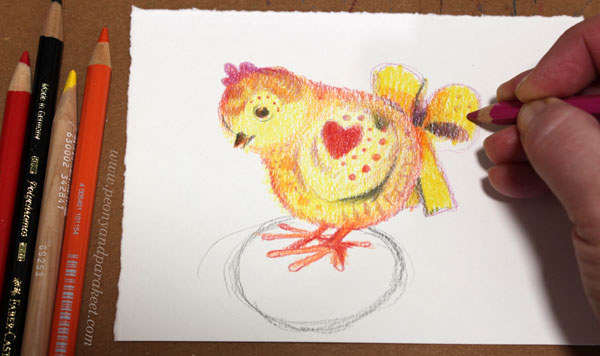
If you draw an Easter egg under the chick, sketch it at this stage. This way, you can add decorations so the chick looks balanced on top of the egg.
Step 5 – The Egg
Color the Easter egg. Use your imagination – what happens to the egg when the chick stands on it? My egg has opened, and hearts are bursting out into the air.

Rotate the paper to adjust the shape of the egg.
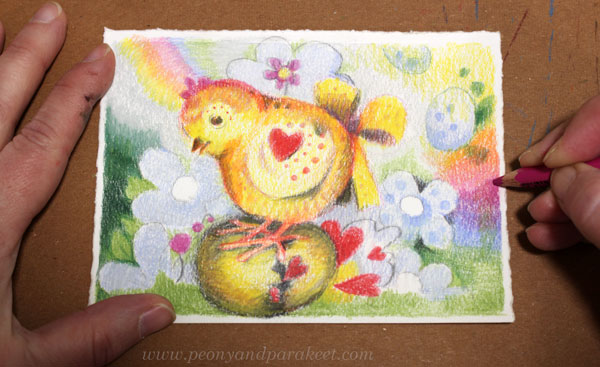
Step 6 – The Background
Add decorations, grass, and colorful lights to the background.
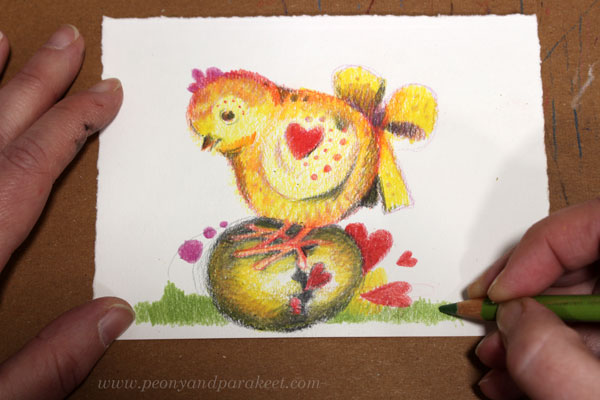
Keep the background light so the chick stands out. Color lightly and soften the colors with white and light gray.

Continuity helps create a balanced look. In my drawing, the rainbow in the background continues on the other side.
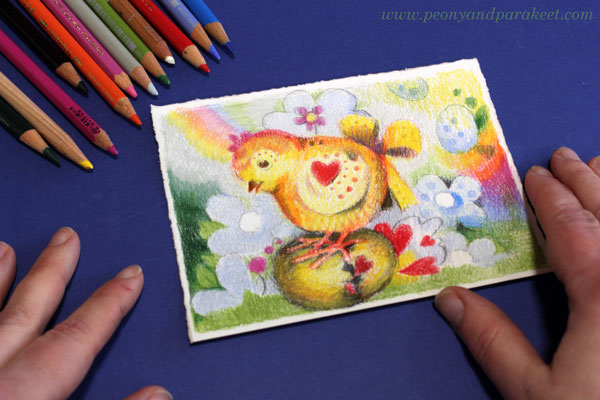
Step 7 – Finishing Your Easter Chick Art
Spend some time finishing your drawing. Color carefully to ensure full coverage where needed so that the chick’s colors are bright and no paper shows through near the outlines.
Hearts and Stories!
I like drawing hearts. They are so simple and direct, yet they make the drawing feel warm-hearted. I also have a course about them: Hearts and Stories!
Let’s keep drawing!
8 thoughts on “Easter Chick Art – Draw Step by Step!”
Comments are closed.
That chicken is SO CUTE! I am catching up my pens right now. Thank You Päivi!
Thank you, Susanna, I am glad you like it. Have fun!
ahhhh, this is adorable.
Thank you, Tammie!!
Thank You and Happiness Greetings from Easter dear Paivi. Your chick tutorial will give me much fun this weekend though I cannot hope to create such delightful beauty at this time of year. Easter love to all family and friends. Marion, UK
Thank you, Marion, have fun!
Super-cute! Happy Spring to you =)
Thank you, Heather! Happy Spring!