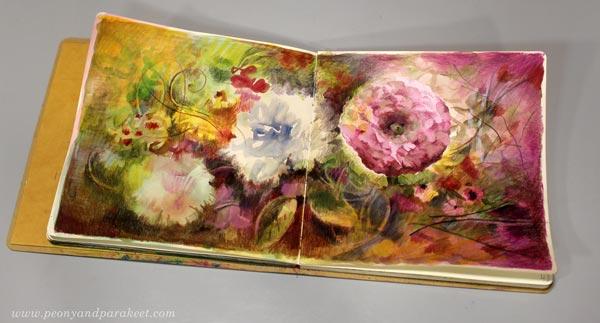
Expressive Watercolor Flower Collage
This is a sequel to the previous post “Flower for Your Art Journal” where we painted a watercolor flower step-by-step and used it as a collage piece for an art journal spread. This post has more ideas. Now we will paint more flowers and leaves. I also share some tips for artistic expression so that your collage will be more than just a stiff collection of flowers.
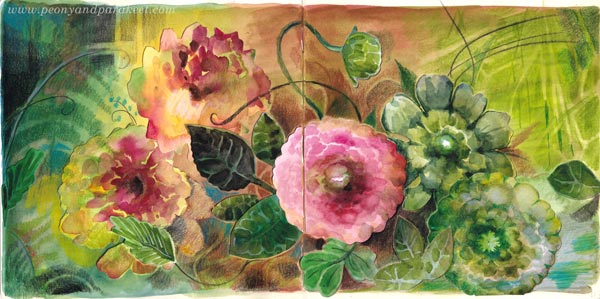
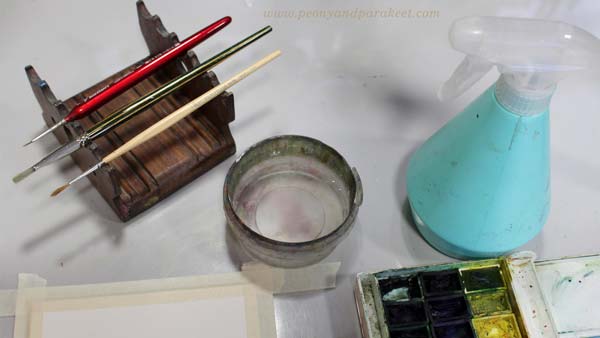
I have created this spread in Dylusions Creative Journal Square. The paper that I have used for collage flowers is Fabriano Accademia Drawing Paper (200 gsm/94 lbs). My watercolor set is a mix of artist quality pans from different brands. I have finished the spread with colored pencils. You can see these in action in the video of the previous blog post. The previous post also has the basic step-by-step instructions for painting a layered-looking watercolor flower. Let’s now look how you can do more and expand the basic idea!
Get More Variation – Grow Flowers More Naturally!
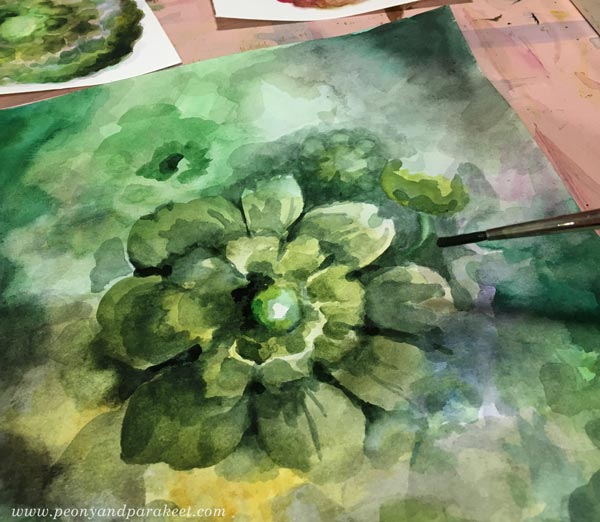
Instead of painting a separate flower by outlining it right in the beginning, grow a flower from the background!
Paint from the edges to the center.
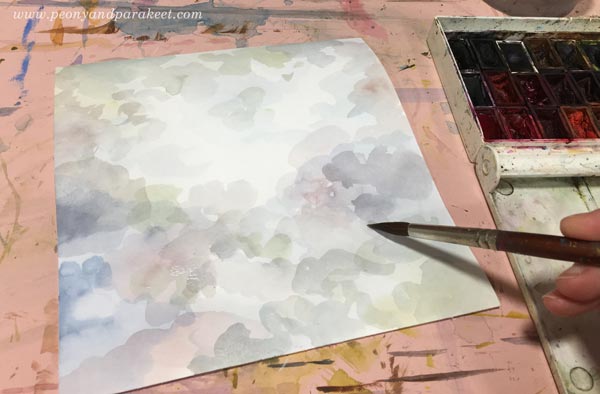
Add more layers.
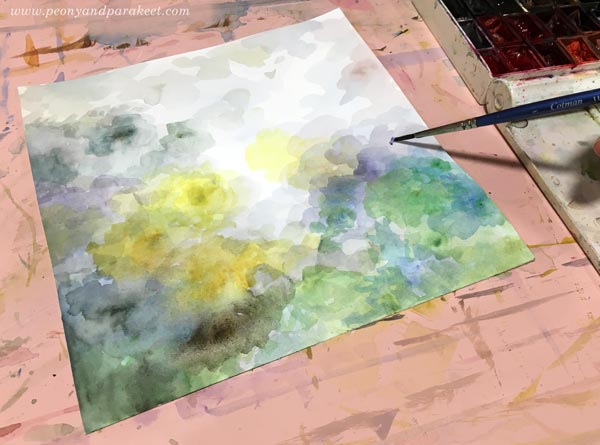
While you wait for each layer to dry, you can paint more basic flowers as instructed in the previous blog post.

When you can almost see a flower forming in the center, you can start painting petals on it.
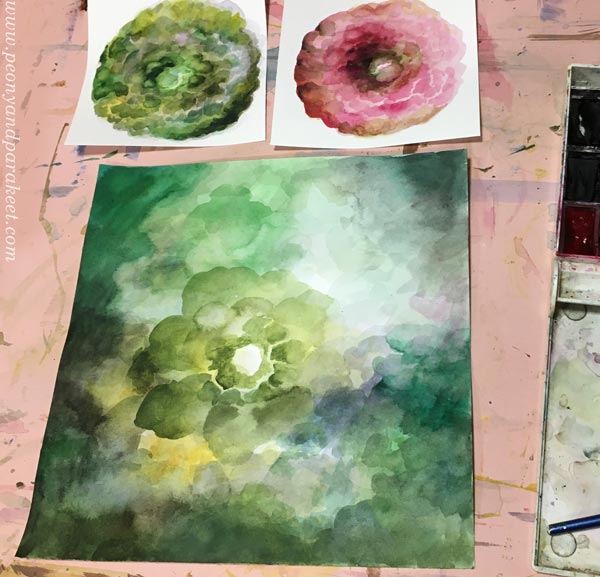
Maybe you can also find smaller flowers near the big one, as I did.
Cut out the big flower but keep the background too. We will use it for leaves.
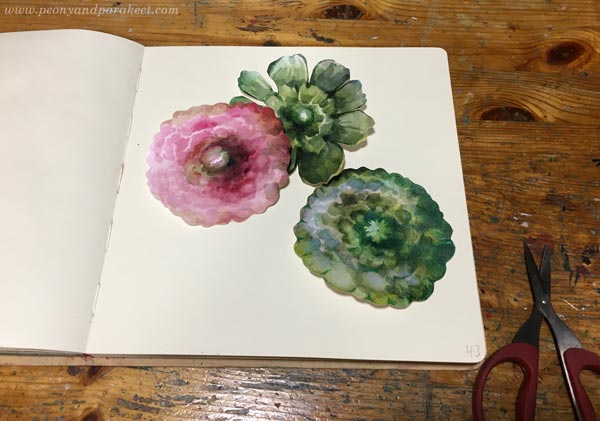
Add finishing touches to cut flowers with colored pencils.
Get More Variation – Paint Leaves!
Use the background for leaves.
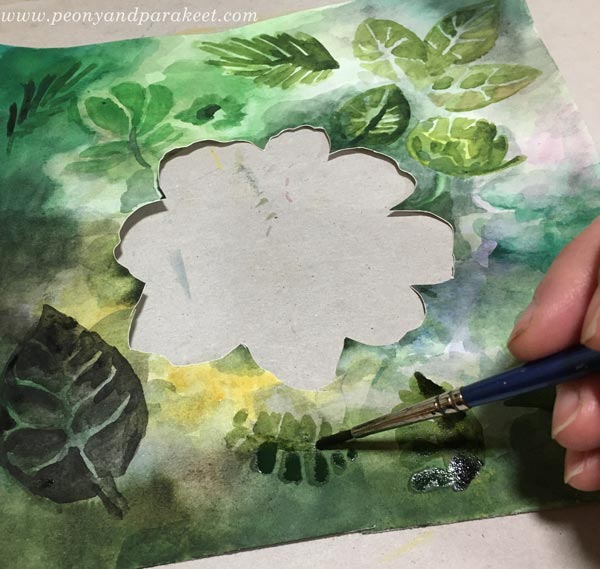
Leave some background visible between the brush strokes to get veins. The thinner the veins, the more elegant the leaf looks!
Let’s Pause and Talk About Colors
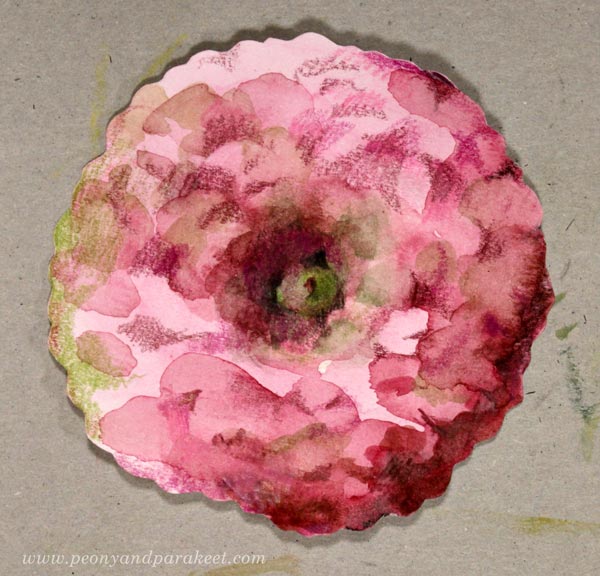
Ï only made one pink flower for my collage. Other flowers have different colors. If you look at the finished piece, the pink flower really pops up because it’s so different. The green flowers may look unnatural when you have them as collage pieces but in the final piece they look like cousins of the green leaves and the result is natural.
When you want to build expression, some flowers have to be less important than others. That’s why you can use any color for both flowers and leaves. For example, you can have blue flowers and blue leaves. These are secondary elements to the focal point.
Get More Loose – Let Watercolors Make Some Flowers!
Put most of your energy to make the main flower, as beautiful as you can. You can then paint other flowers very loosely. Namely, some flowers can be more in the background and because flowers are very 3-dimensional things, their outline is often asymmetric. Think about a peony, for example! It has many layers of petals and they point in different directions.
With a fairly broad brush and quite a lot of water, paint multicolored spots and call them flowers.

You can add some brush strokes on the spots to make the flowers a bit sharper. However, these loose flowers are much less detailed, see my selection below.
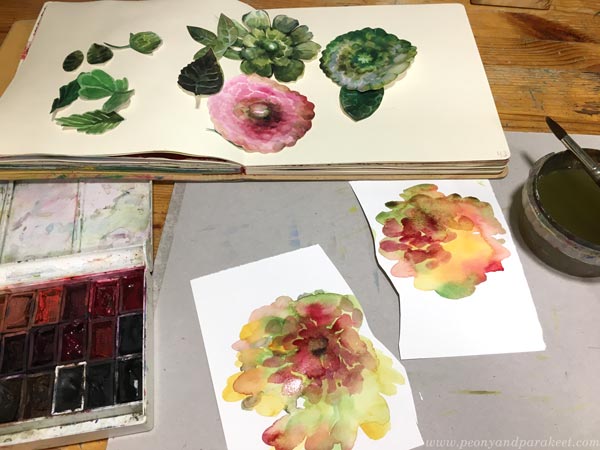
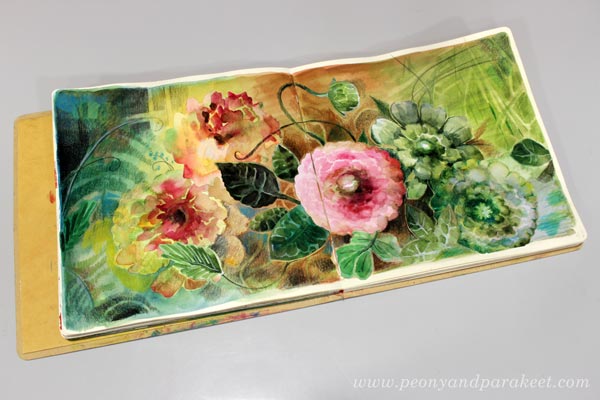
Before attaching the flowers and leaves, add color to the background.
Get More Expressive – Paint a Multicolored Backround!
Backgrounds with only one color are boring, and not only for the viewer but for the maker as well. Different colors form different areas and when attaching the flowers you have much more fun deciding where to put which flower.

I let my background guide me: yellow flowers in the yellow area, green flowers and leaves where the similar tones are, and the pink flower in the center that has the warmest tones. This creates the effect of lighting – the flowers and the background are exposed to the light of similar tone and that makes them look less separate.
Watercolor Flower Collage and Colored Pencils
With colored pencils, you can easily add curvy stems and other delicate lines and darken the surroundings of the focal point so that it catches the eye right away.

Notice that you can also push some flowers further back by coloring over them with background colors.

My blurry and loose flowers get green tones. And I also add yellow to the background to push it visually closer to the flower.

Drawing curvy stems makes the collage flowers look less stiff.

You can also add more subtle details to the background by coloring over it with very similar colors that it already has.
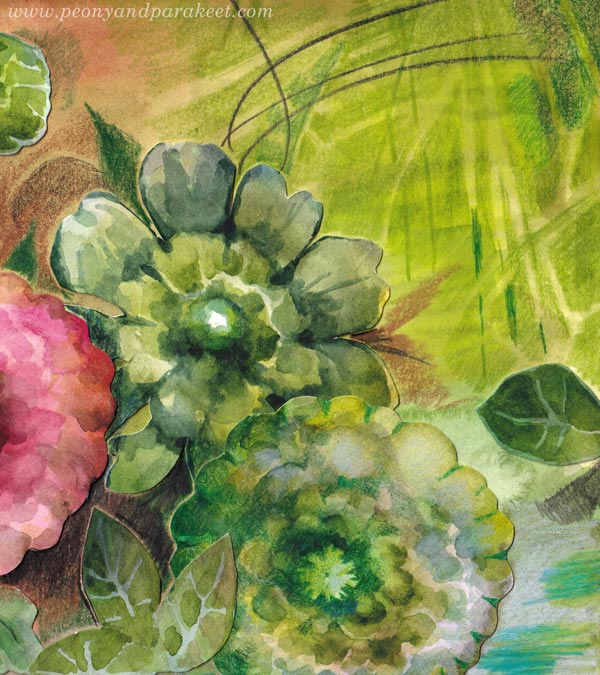
Some green details are a little lighter, some little darker, and that’s makes them visible but not too much – the pink center flower has no competitors.
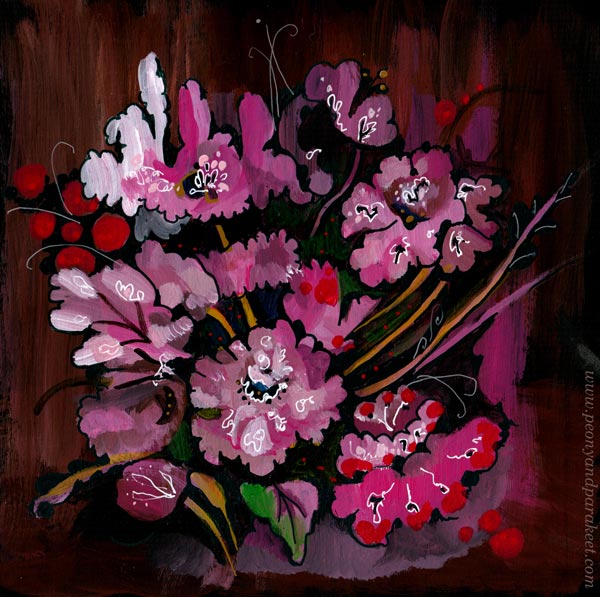
Next-Level Watercolor Flower Collage with Tension
I know that using dark colors is hard for many. These times need light and you want to make bright art, I get it. But light needs darkness to shine. I always finish my work so that it has the tension between the so-called good and the so-called bad. It has sharp and bright details, traditional beauty, safe and tame areas. But also dark colors, unclear, sometimes even scary-looking wilder parts. This tension makes the collage natural because life is like that.
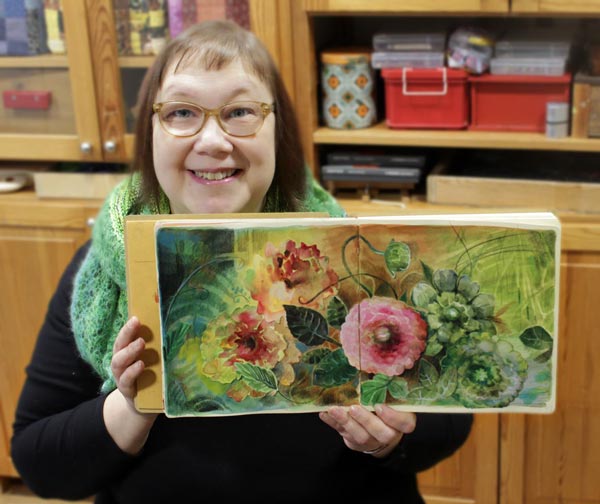
I hope this post inspired you to create more watercolor flower collages!
Flower for Your Art Journal – Step by Step Video
Let’s pick watercolors and colored pencils and make a flower for your art journal! Scroll down to watch a step-by-step video!
This flower can be a rose or a peony or any round and layered species. For me, it’s not so important which flower it is, but what kind of personality it expresses. Here I aimed for a soft but unapologetic character. Every flower you create will become a bit different, and soon you’ll have a collection!
Flower for Art Journal Page – Watch the Video!
The instructions for the flower and all the inspiration for using it on a page is in the video below! We’ll start with watercolors to make the foundation for the layered look and then add more sharpness with colored pencils. Some patience is required because you need to let the watercolors dry between the first steps.
In the video, I encourage you to adjust the center of the flower, the flower’s sould. Find a look and personality that appeals to you!
Including the Flower in Art Journal
In the video, I also show how you can use the flower with almost any background and make a spread for the flower in the spirit of Freely Grown.
I hope this week’s video and the last week’s blog post about picture prompts inspire you to art journal and create art in general!
Watercolor Flower Obsession
This week, I have a fun video for you. In the video, I create a watercolor greeting card and talk about my obsession of painting flowers.

The card is A5 in size, so about 6 x 8 inches and I have painted it on watercolor paper.
My smallest brush is very narrow and I could have coped with two brushes. In the course Freely Grown, we use the similar process, but finish with colored pencils, so it’s much easier than working with tiny brush strokes.
Watercolor Flower Obsession – Watch the Video!
In this video I confess how goal-oriented I am about painting flowers but also talk about the importance of play.
This video has a lot of material, you may want to watch it more than once to see them all! Also, here’s the link to last year’s greeting card, watch that video too!
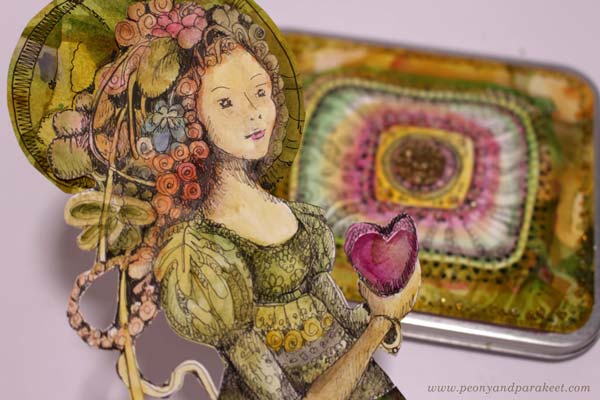
Boutique of the Heart
In the video I talk about a boutique that’s not a commercial thing at all, vice versa:
“I believe that we can create the best boutique out of our own art. Imagine your workspace as a paper shop where you sell hand-painted cards, bookmarks, hand-drawn stickers, patterned papers – everything that is already art as such, but from which you can look for inspiration for bigger works. I have even come up with a name for this kind of personal shop. It’s Boutique of the Heart. There’s only one customer in the Boutique of the Heart – you, and one seller and manufacturer – you! The longer you keep the shop, the more you learn to love the things you draw and paint yourself.”
My message is that the essence of art is in play. Thus no matter how high you want to reach, you can still create art with a playful attitude and have your Boutique of the Heart. I know there are art instructors that solely focus on the techniques and those who are about fairytales and imagination, but I feel I am something between. I want to create art with people who want to move forward in art-making, but who also love imagination and free expression.

We can have obsessions, but there should always be time to play too.
What do you think?
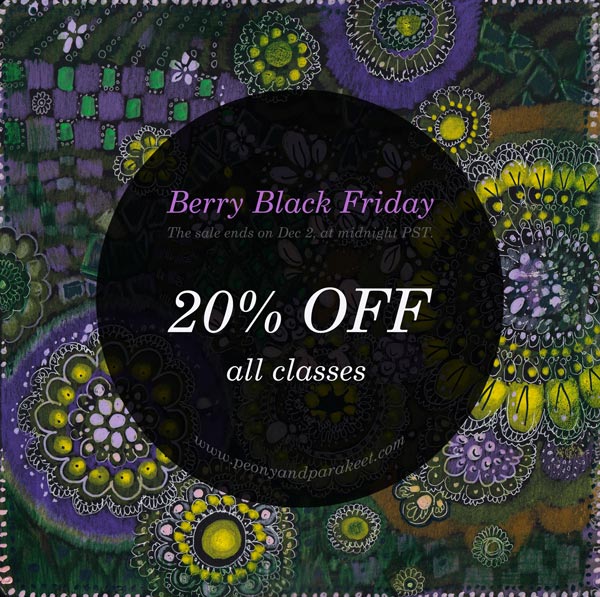
Black Art Journal Pages as Banners
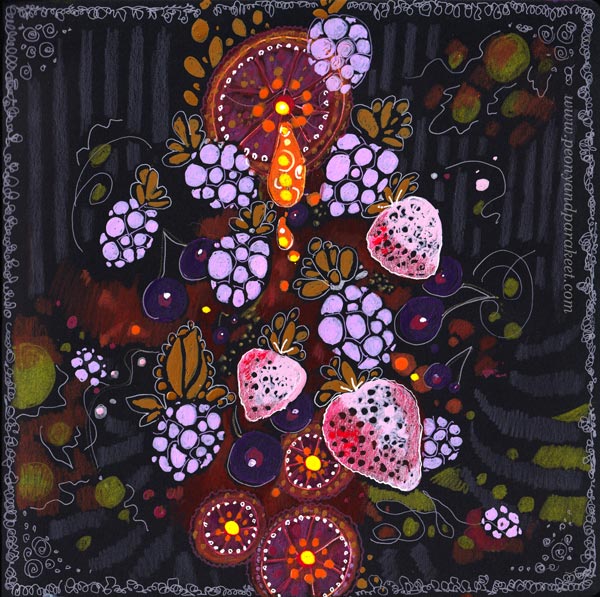
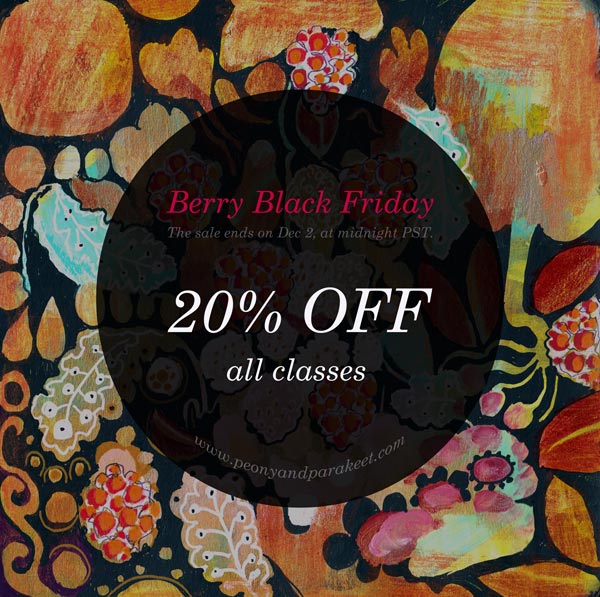
I want my Black Friday campaigns to be inspiring for art-making, and this year my theme is “Black Berry Friday.” It means juicy art journal pages on black paper. I am pretty sure you have one like my black and square Dylusions Creative Journal (affiliate link).
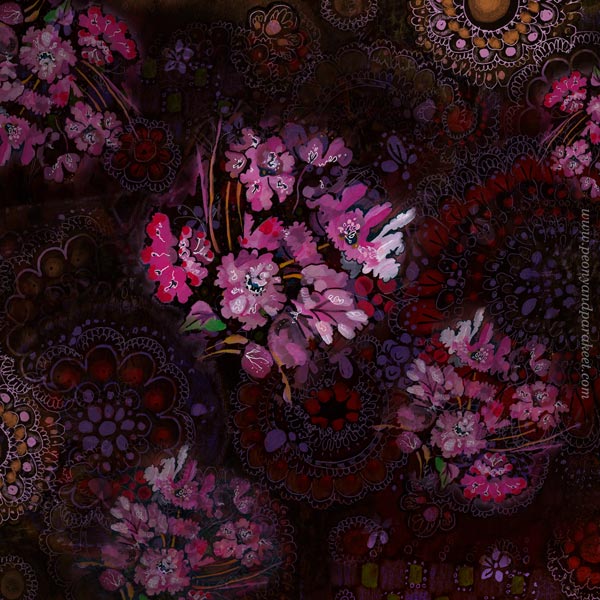
I use my black art journal for using up old supplies that don’t inspire me anymore. And if I have leftover paint on a palette, I make a few brush strokes on a page rather than toss the paint away. This floral page was born from those kinds of careless strokes and now, much later, I finished it with paint markers.
Edges and Banners
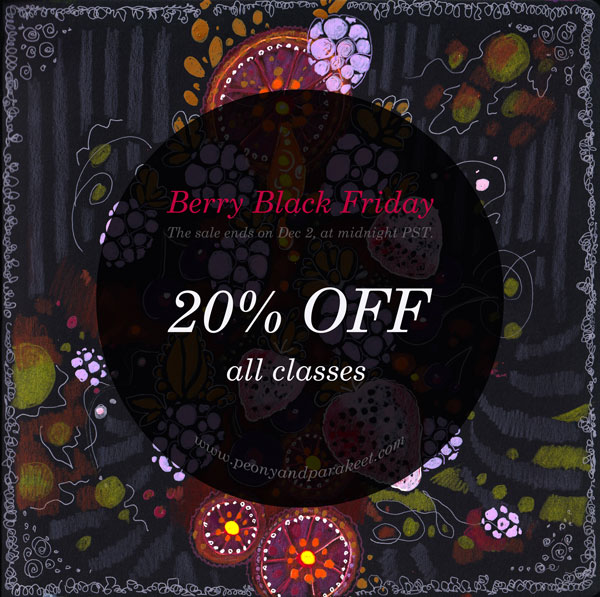
Usually, the center of the page is the most important area, but for banners, the edges need to draw attention. Here, the circular floral design, enhances the center text area beautifully.
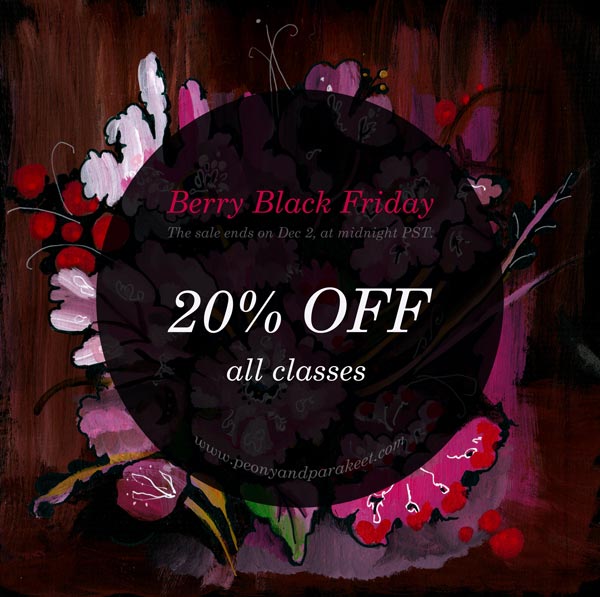
I made the banner in Photoshop, and boosted the colors a bit.
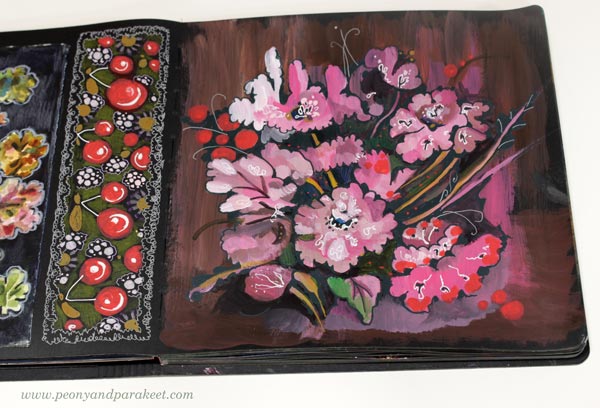
I also drew a long rectangle of cherries that not only makes a great banner but also looks great on the journal. I think we treat art journal pages too often as one unit when a page could be divided in sections and thus bring more variation to the journal.
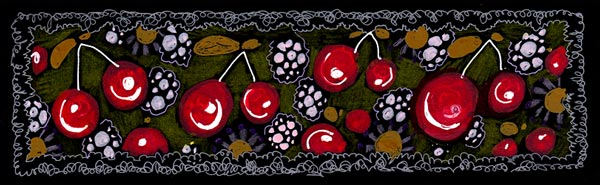
My banner wasn’t long enough for all the purposes, so I made it longer by duplicating the design in Photoshop.

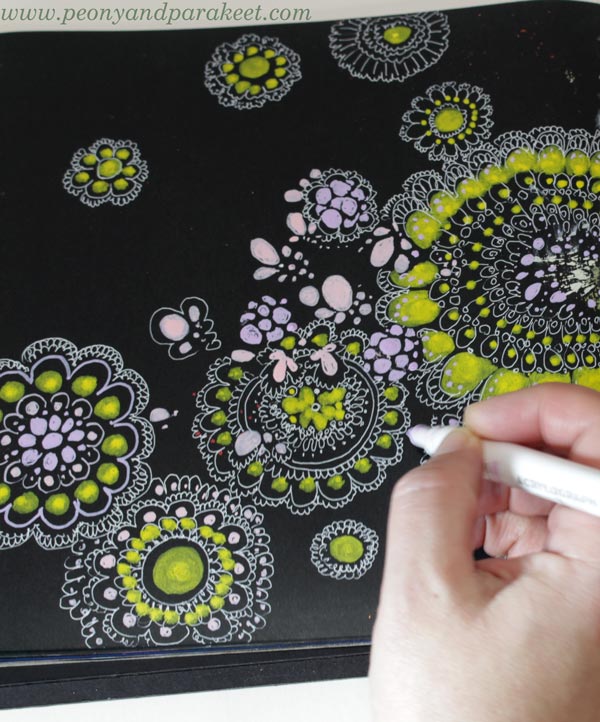
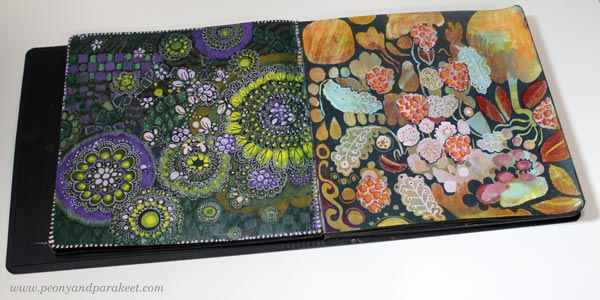
Colored Pencils on Black Art Journal Pages
I like to use colored pencils with paint markers. Marker pens produce thick and opaque shapes but colored pencils are softer and more translucent. Colored pencils are great for backgrounds. Look at these stripes!
I also used gel pens to add thin lines.
Again, I became more interested in the background than the center. The center is not very elegant, but here, in the banner you mostly see the edges.
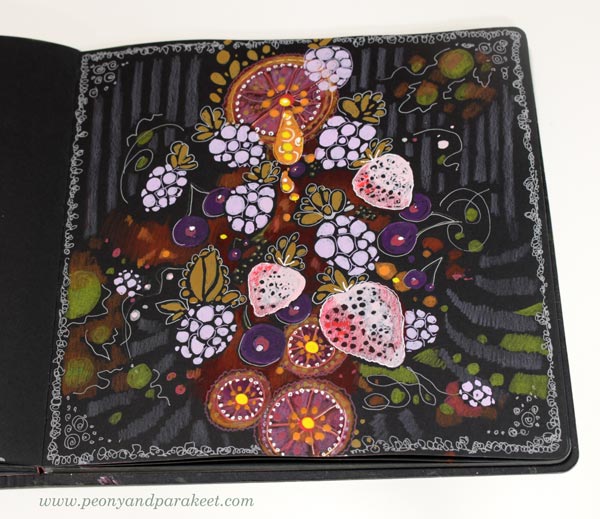
Doodling on Black Art Journal Pages
My Black Friday offer is simple: All classes are 20% OFF. So I wanted the banners have some simplicity too. Doodling circles is easy and doesn’t require much thinking.
I got a bit carried away though!
I was talking on the phone and watching a movie while doodling, and once I stopped, I thought that I doodled too much. But the banner looks great and of course, there can’t be too much of anything in art!
Designs for Fabric
I got so inspired making these pages, that I had to play with Photoshop a bit more than necessary. I combined many pages into one design and I think something like this would make a great fabric.
Black Over Painted Background
I have been contemplating whether I should use both sides of the pages on my black art journal. Using only one side would give a blank page to protect the art on the opposite page. But the journal looks much more inspiring when both pages are covered!
Here’s one more idea for an art journal page, and this works on any journal. When you have painted backgrounds, use dark marker or paint on top to make shapes from the background.
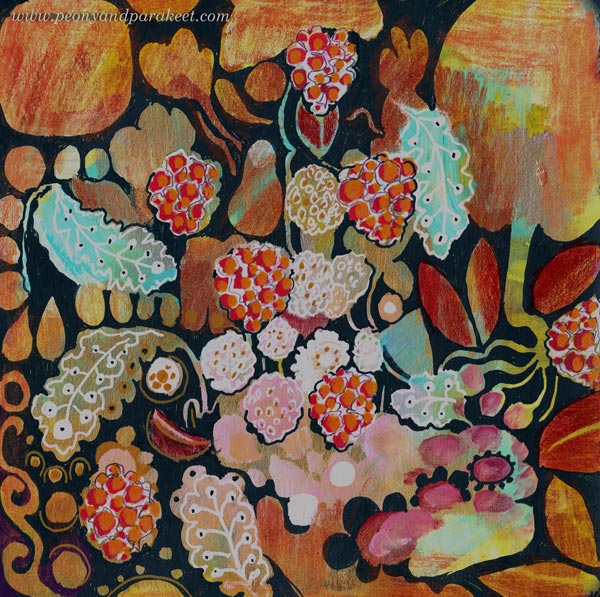
I wanted to make one banner that has fall and thanksgiving themes with berries. The page became a bit busy, but again, the banner is ok, I think!
And now: it’s time to shop the sale!
The Black Berry Friday sale ends on Dec 2, 2024, at midnight PST.