Modernistic Style – Create Abstract Art Step by Step!
This week, we take a practical dive into modernistic style. My favorite modernist painters are Birger Carlstedt (1907-1975) and Sam Vanni (1908-1992) from Finland. The most famous modernist was, of course, Pablo Picasso, who was Spanish.
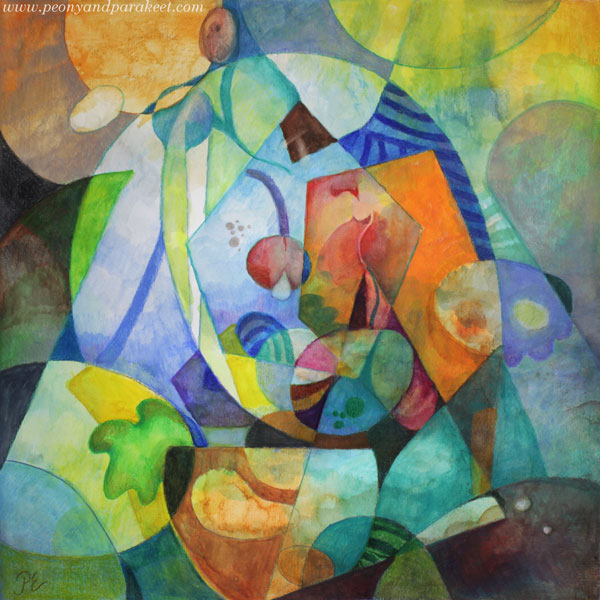
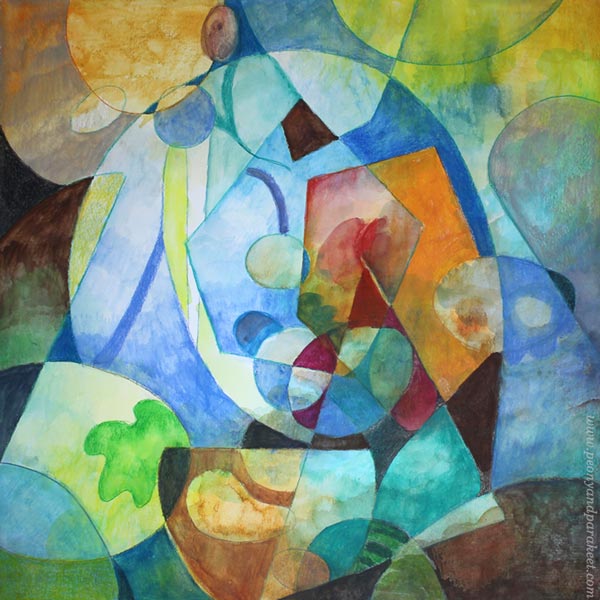
My piece has some figurative elements. Although it’s abstract, you can also see plants and light.
With this technique, you can create a fully abstract piece like Birger Carlsted (see examples from the past exhibition at the Amos Rex art museum), play with the perspective like Sam Vanni (see his artwork called Polydimensional Space), or use linework boldly like Pablo Picasso (see how he used strong outlines in his famous artwork Weeping Woman).
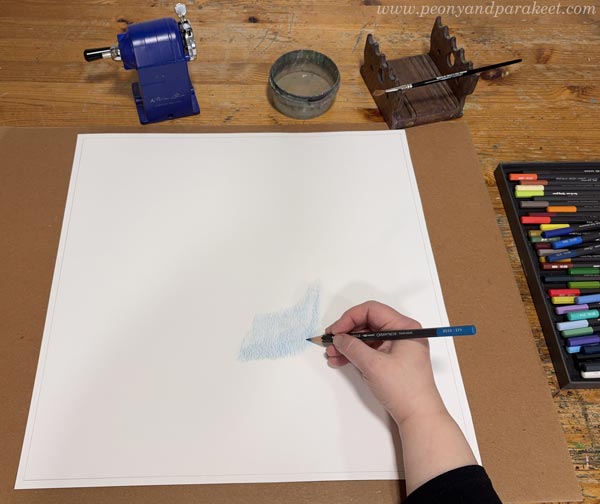
Supplies – Watercolor pencils or Use What you Have!
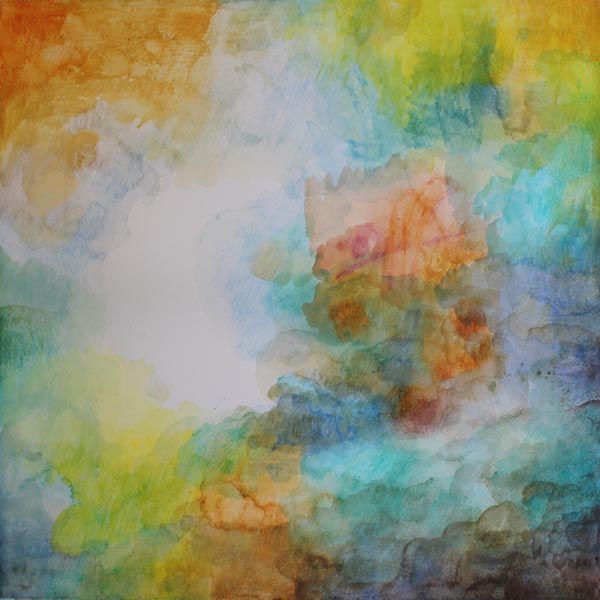
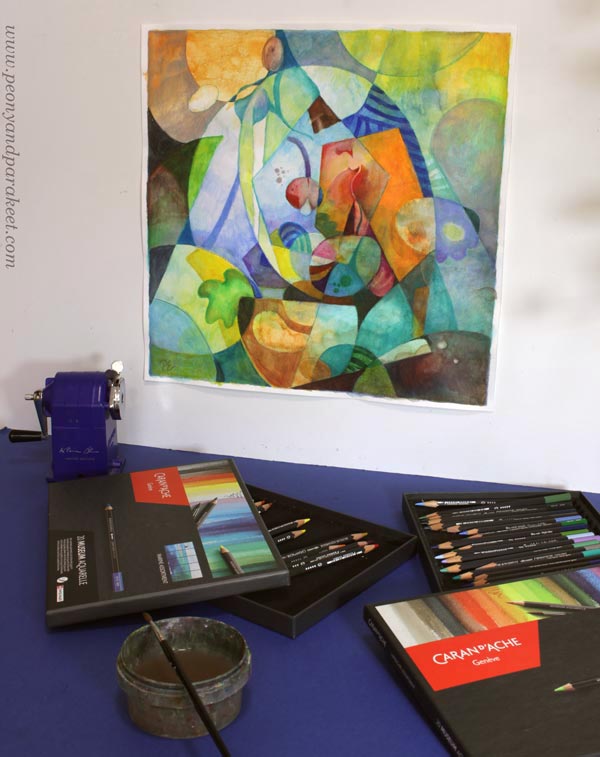
I created my piece on thick drawing paper with watercolor pencils and water. Its size is 16 x 16 inches (about 40,5 x 40,5 cm). You can choose your supplies and the size of your artwork freely.
Step 1 – Fill the Background with Colors
Don’t overthink, but just start adding colors!
You can play with shapes if it helps you keep going.

The idea is to cover most of the paper. Leave an area near the center blank if you are not working with paints that have bright white. For colored pencils, watercolor pencils, and watercolors, the best white is always paper white. To get some white and other pale colors in your finished piece, leave a fairly large area white at this point. Later, you can reduce its size and break it into several shapes.
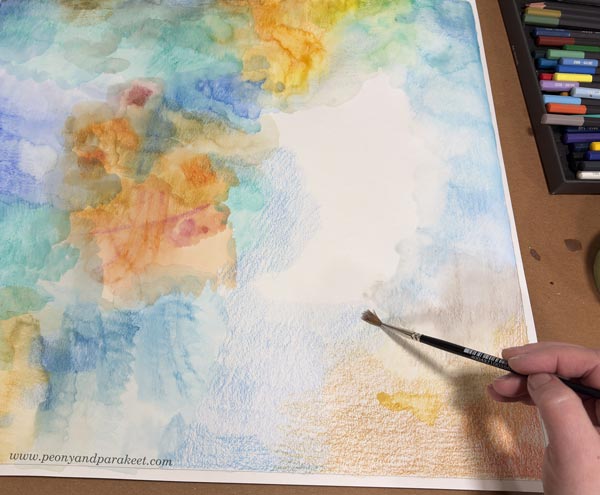
My paper is quite big, so I change the orientation once in a while. I move from one area to another by first coloring an area with a pencil and then spreading the color with water.
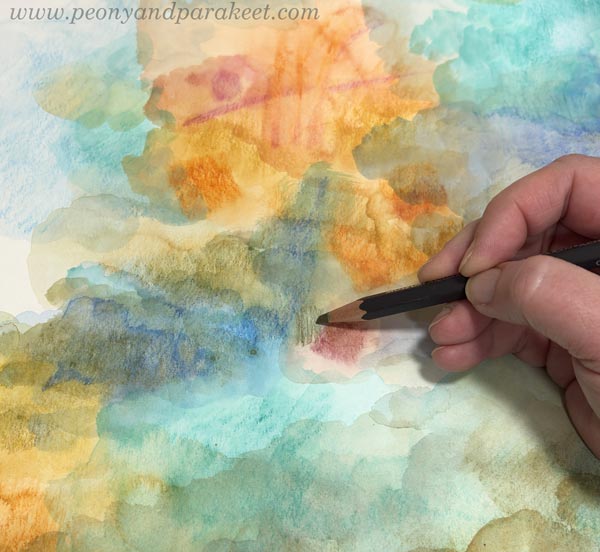
Add layers and darker colors. At the end of this step, your paper looks like a landscape without the horizon.
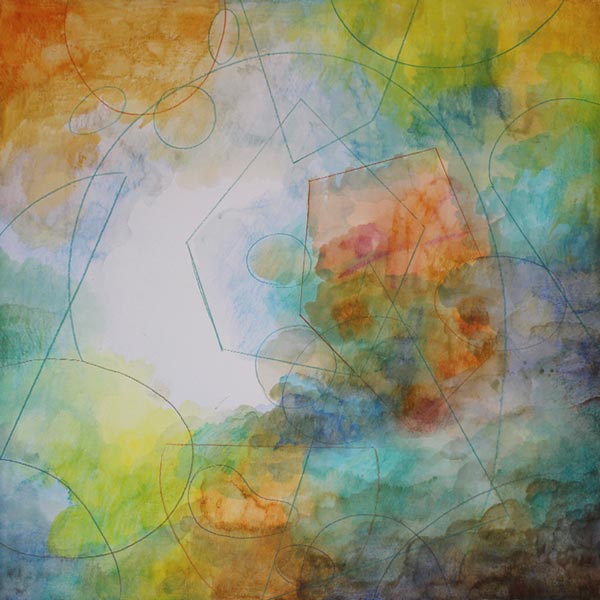
Step 2 – Draw the Shapes
Use the filled background as inspiration and draw intersecting geometric shapes. A ruler can be handy here.
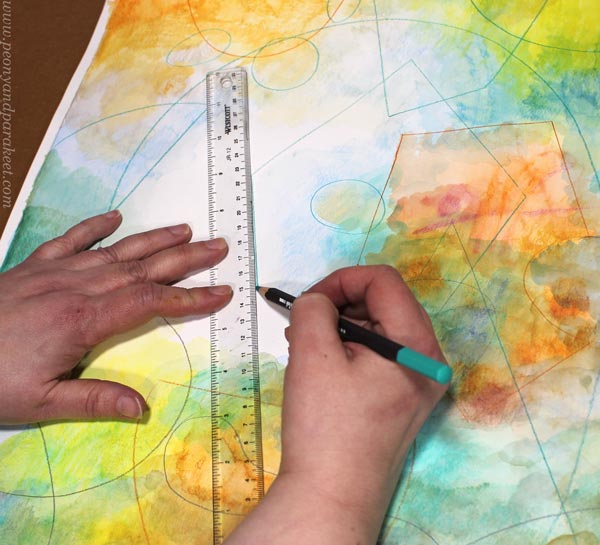
I use watercolor pencils for drawing the outlines.
Step 3 – Color the Shapes
Modernistic art often has strong colors. Now add more color to the shapes.
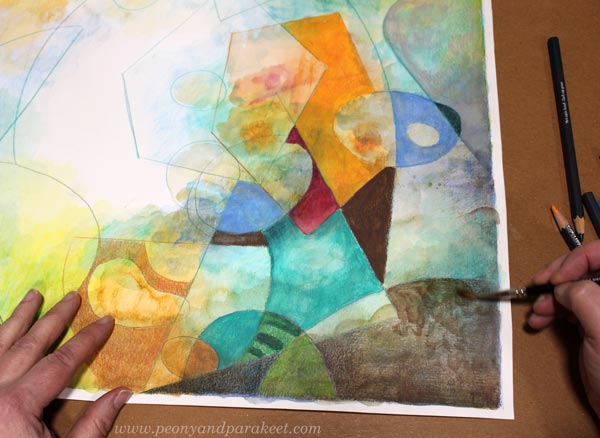
You can fill shapes creatively. Use stripes and add textures. Some shapes can have bold colors, others more muted. If there are nice details in the background, leave them visible.
You can also draw new geometric or more freeform shapes.
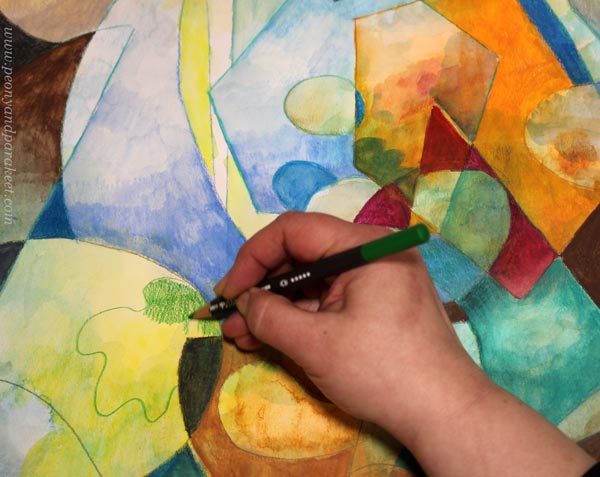
You can adjust the shapes, for example, by changing a straight line to a slightly curvy one.
After you have gone through all the shapes, decide how abstract you want your piece to be.
I wanted to add a bit more realism: make more organic shapes and express light as well.
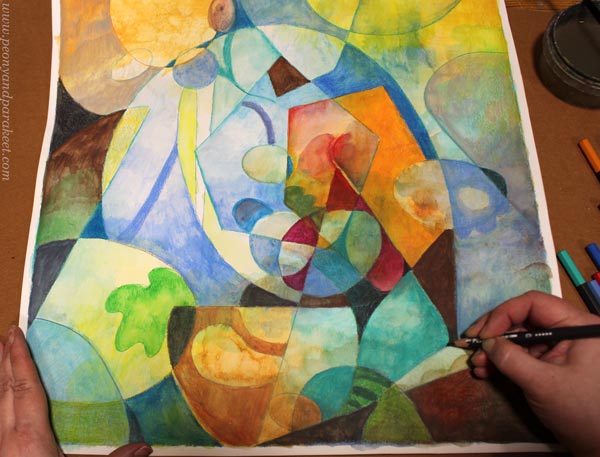
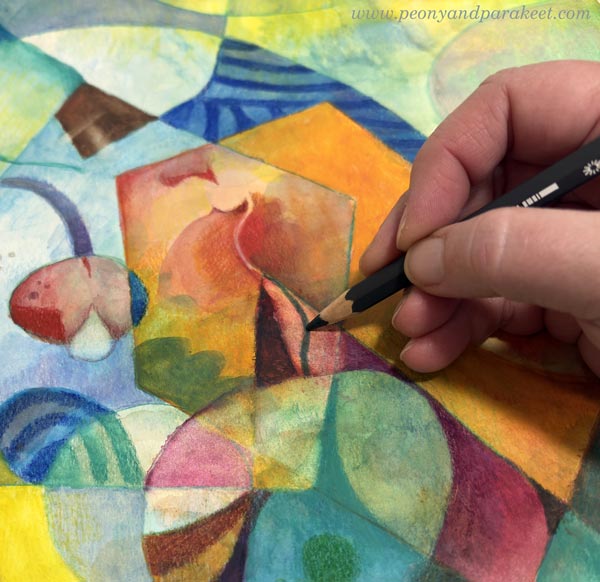
Step 4 – Finishing
Carefully go through every shape one more time. Don’t just look at the big picture and adjust the composition. Focus on a small area at a time, and make it as expressive as you can. Remember that a modernistic style is quite minimalistic and based on abstract expression. Refine existing colors and shapes instead of creating more and more new ones.
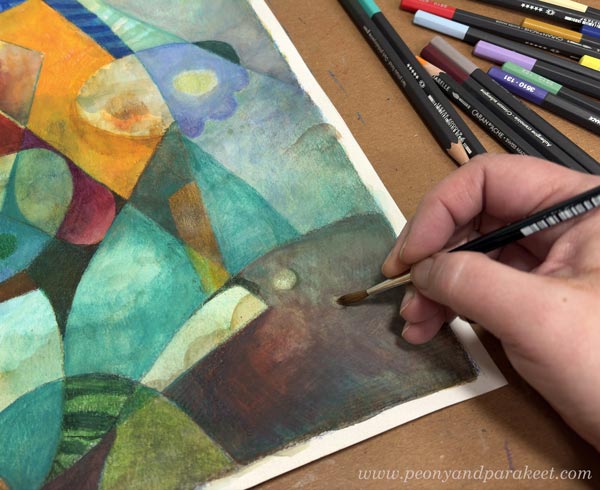
Make sure that all the shapes are not similar in size. I created small dots by removing paint with water and drew some thin lines.
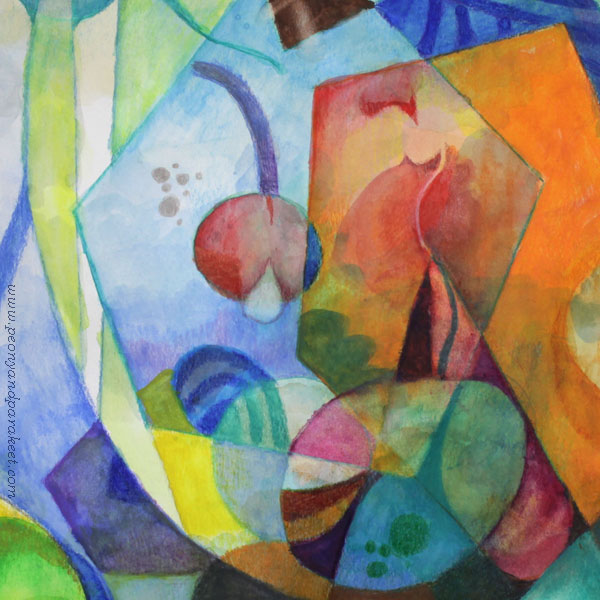
Simple But Rich Modernistic Style
By starting with the background first, you can achieve subtle richness for a minimalistic look. Here’s a close-up where you can see the effects of the background layer.

It’s good to keep all the best things – bold colors and interesting details – in the center. Often, the composition needs nothing else!
The more you learn about different styles, the more unique your own style will be. A style is never just one thing, but a combination of many. I hope you enjoyed this exercise!
P.S. Check my class Mystical Minis for creating more modernistic abstract art!