
Finished Art Journal
In 2012 I bought a pink Smash book. Two years later, it’s now finished. With this video, I want to encourage you to continue art journaling. Whatever a single page looks like, it will be pretty and meaningful when being part of the full book.
Finished Art Journal – A Thick Book!
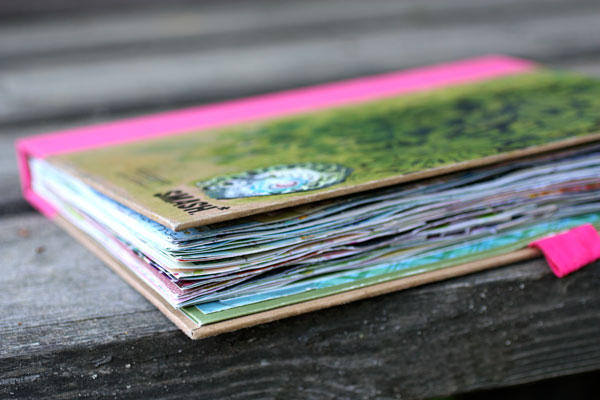
I love handling full books, the thick, filled pages just temp to open them again and again! Smash books have a lot of pages and I had to remove several of them when my book grew thicker page by page.
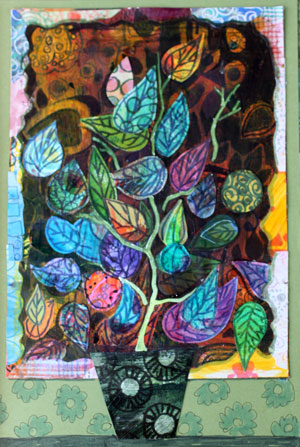 See the blog posts written during the years about this finished art journal:
Pretty Art Journaling
the first pages and introducing the concept of the journal
There’s a Little Girl in All of Us
drawing faces
Smash Book or Handmade Journal
using Smash book as an art journal
Homemade Happiness
creating more pages
Art Journaling about Imagination
a spread celebrating imagination
Would You Try That
playing jewellery designer
You may also recognize some artwork on the video that has been shown in this blog. I often use art journals to save them.

Here’s the back cover again which I finished on the video. I create decorated elements (like the centerpiece of the flower) now and then. They are stored with hand decorated papers and when I create collages they often work as jump starts. It always looks better if all the elements are not made in the same day! The same is with the journal itself – keep on decorating, day by day, one piece at the time!
Let me be your art teacher: Subscribe to my weekly emails!
Creating Collage Mandalas
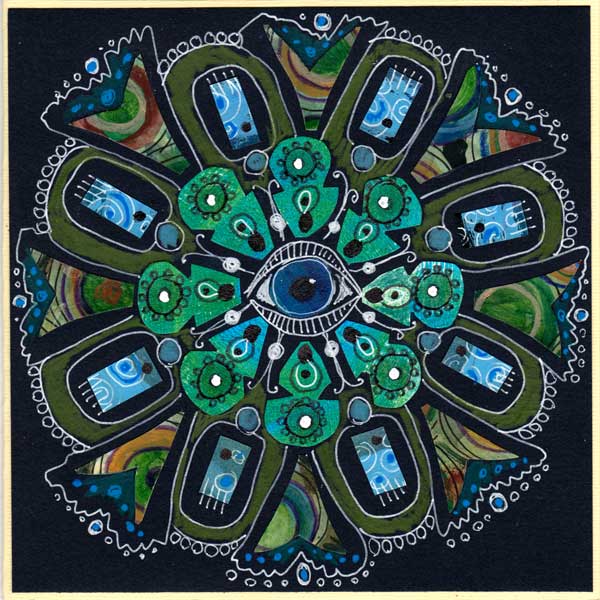
If you like cutting papers with scissors, create collage mandalas! And if you need more inspiration for cutting, read this post first: 5 Reasons to Enjoy Cutting Paper with Scissors)
Circles Are Everywhere
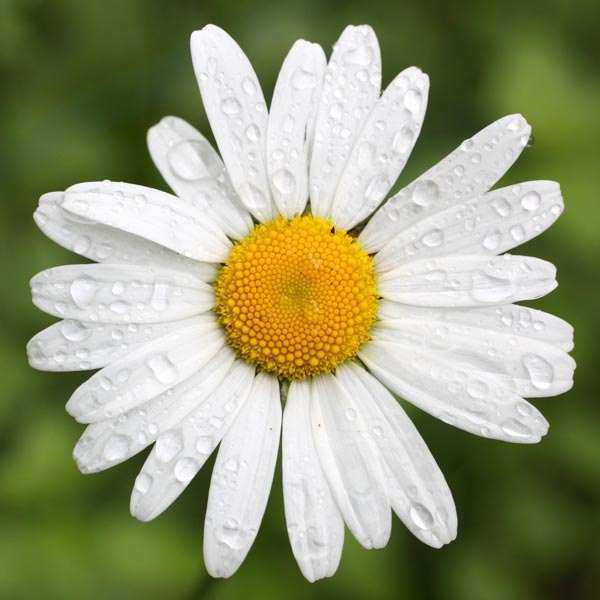
For some people, mandalas have spiritual meaning. They usually represent universe or unity. As the word “mandala” means “circle” they can be almost anything and seen almost anywhere. I am often inspired by the circular shapes that I see in nature. Mandalas are usually symmetric, so they are surprisingly fast to make. The mandalas that I made are very straight-forward, yet eye-catching.
Basic Instructions for Creating Collage Mandalas
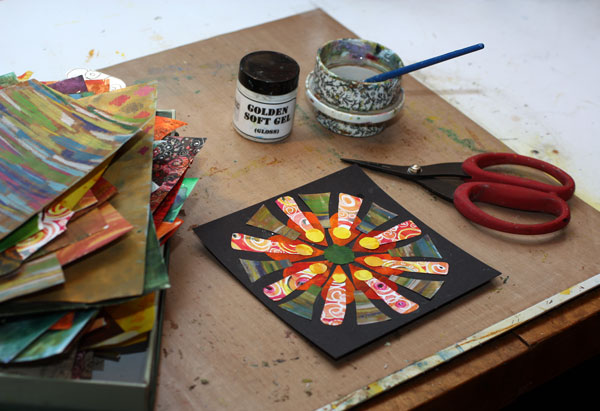
1) Cut a centerpiece and other pieces (3 to 5 different shapes, 6 to 12 pieces each) from decorated papers. I cut the pieces freely with scissors not worrying too much about their similarity.
2) Glue the pieces on the solid background paper. I used Golden Soft Gel Gloss gel medium, but you can use almost any glue. Measure the middle point of the background paper and start attaching the pieces from there.
3) Draw some more shapes with color pencils.
4) Doodle the finest decorations with a white gel pen and a thin black marker.

If you study my mandalas carefully, you’ll see how carelessly I have cut the shapes. They are not identical or perfect. I think that the result is more human when using scissors instead of cutting machines or shape cutters. Look at that photo of the daisy flower again, doesn’t the flower look more like hand-cut than machine-cut?
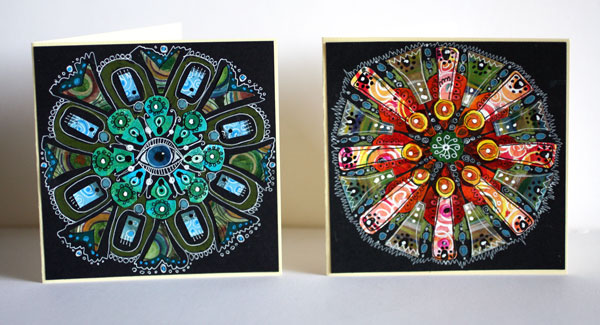
I made my mandalas as greeting cards. I think they would make great gifts!
Create more luxurious collage art: Buy Doodled Luxury!
5 Reasons to Enjoy Cutting Paper with Scissors
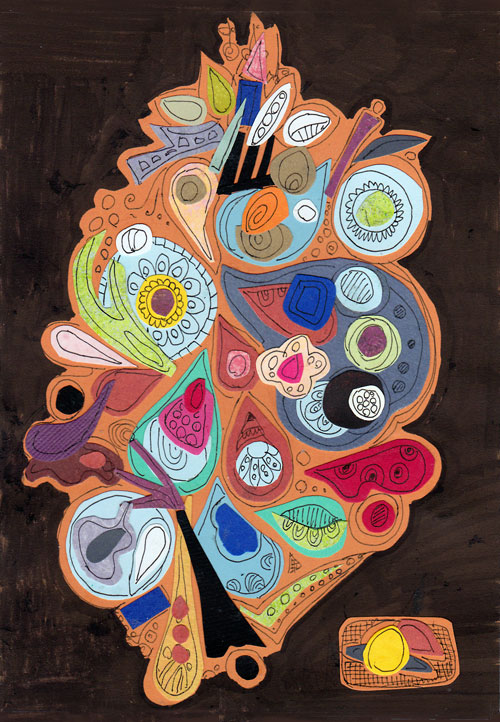
I wrote an article about cutting paper with scissors to the Finnish paper crafting magazine “Paperilla.” The collage shown here was made as an illustration for the article. It is called Fruit Tree. For the collage, I picked some solid colored papers and cut them to pieces. After glueing the pieces, I added a black background and thin decorative lines with black markers. So simple yet effective!
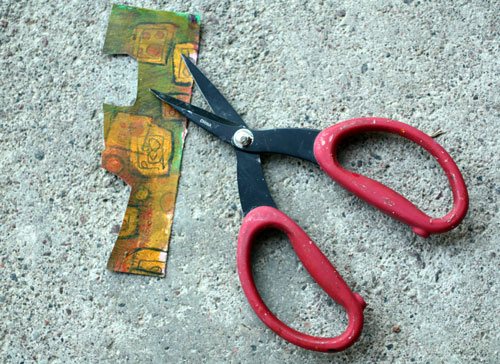
I have nothing against die cutting machines but still – think about the possibilities of plain old scissors! It is like all the stencils and cutting files of the world are packed inside of them!
There are at least five reasons to enjoy cutting paper with scissors!
1) Hand cut pieces are 100 % You
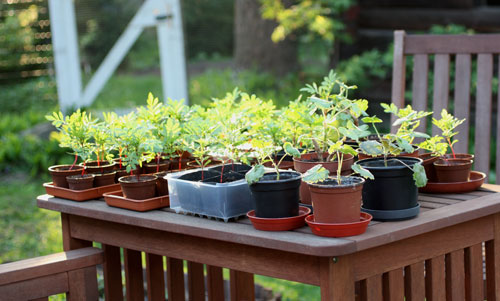
People often worry that if they cut by hand, their circles are not perfectly round or their squares perfectly rectangular. I like to call my irregular cuts “organic.” To me, they look unique and full of potential, especially when combined with the other imperfect ones. They are a little bit like my plants – marigolds and geraniums which I grow each year. They might bloom a bit late, and they would not probably be accepted by the finest of the garden centres, but I love them.
2) While hand cutting Your subconscious guides You
When you keep on cutting those odd shapes, your imagination begins to work. Sometimes it takes less time, sometimes more, but when that happens it is like reading an interesting book, like taking a personality test … It is so much fun to find out what those scissors reveal each time!

3) You can repeat Your favorite shapes
Here are the six examples of mine! I have cut them so many time that they come out naturally. I also know a lot of ways to use them. Because of their familiarity, I can easily make variations from them. Finding your favorite shapes can even create the base of your unique style.
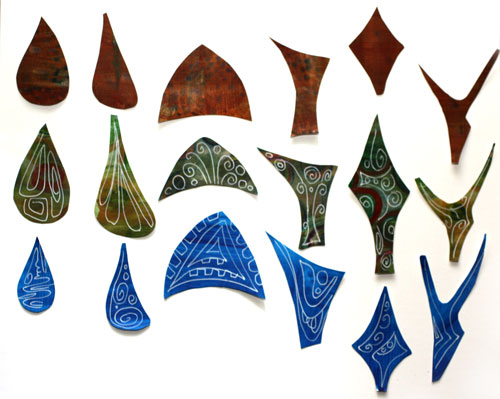
I also love to decorate the shapes with some doodling. That makes similar shapes look different from each other.
4) You can use Your own papers – or any papers!
As you know I love to make my own decorated papers. They are often as curvy and irregular as my hand cuts but no worry. With scissors I can cut any paper, thick or thin. I can spend time with fabulous papers or make even the ugly papers fabulous when I cut them thoughtfully. (The papers seen here are the best solids I know – my own watercolored papers where I have used several layers of watercolor to increase the color intensity. There’s gel medium in the jar for glueing the pieces.)

5) You can always think about hand cutting
You can take couple sheets of paper and the scissors with you wherever you go. Or you can just take the scissors and re-use paper from the magazines, tickets, leaflets, etc. Furthermore, I promise, you will begin to see interesting shapes everywhere. (Feel free to copy that crocus shape – a long stem with an oval shape on the top!)

6) Bonus! You are one step closer to being an artist!
Just wait, your art journal, card collection or whatever you do with the hand cut shapes will begin to live and breathe. Just keep on adding those elements!
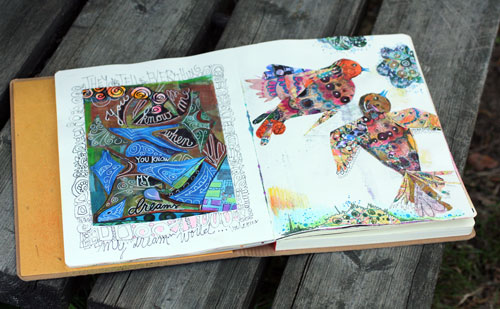
Think about how this spread would look if I had cut the shapes using a die-cut machine. Nothing alike! Without even mentioning the differences in the experience of cutting and assembling. Art needs freedom, and your scissors can take you there!
Create more hand-cut collage art: Buy Doodled Luxury!
How Does the World Look Like?

When I was a child, I used to draw with my sisters. My sisters are over 15 years older than me so I asked a lot from them. One winter day I asked my oldest sister: What color is snow? And my sister answered: snow reflects a lot of colors so you can use a rainbow of colors. That’s a brilliant answer! It answers any questions of what color to use for nature-themed art. Yes, you can use a rainbow of colors! Like I did in this forest themed card.
I take a lot of photos just to learn from the nature. Here are a couple of them just to prove how realistic my little collage is. There really is a lot of colors and variety in nature!

Speaking of rainbows …
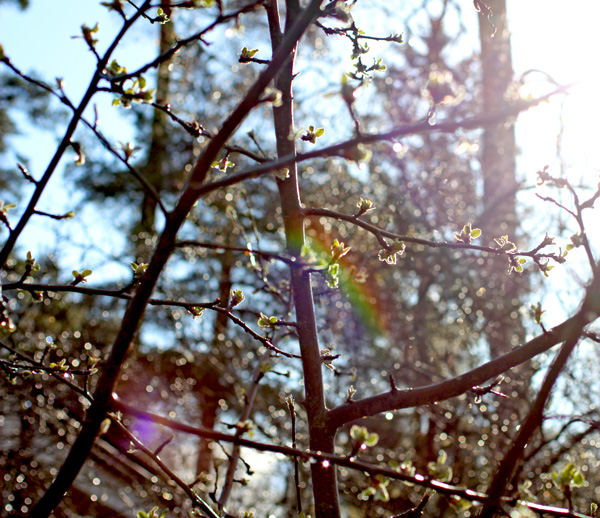
My advice is: when you create, stop repeating and start adding variety.
Use combinations of various papers and colors. Add layers and create elements and group with various sizes. Let your art grow and change like the plants and trees do.

What do you think? How does the world look like to you?
P.S. Here’s another card that uses the same principles.
Let me be your art teacher: Subscribe to my weekly emails!