
Art Deco Journal Covers
My sisters will get empty handmade journals from me for Christmas. They both like writing and literature so I hope they will put the journals in use. My idea is to include some photos, decorative papers, scrap pictures and such – so that the journal is like a handmade version of Smash book more than a basic blank book. I have also chosen the themes for the journals. The older sister will get an art deco themed book and the younger sister will get flowers and fairies. Here’s a snapshot of the latter.
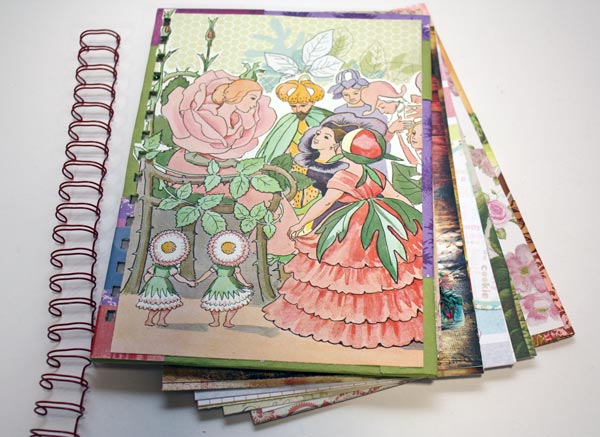
I had an old Elsa Beskow’s children’s book which I used for the cover image. There are plenty of pretty papers too! My other sister would not have this, it is much too cute for her. She likes something more artistic.
I chose art deco as I have been thinking a lot about that style lately. I love the muted, sliding color transitions combined with black and white. And I have been more and more into using graphic, sharp shapes.
Art Deco Journal Covers
I will show you how I made the covers for the art deco themed journal. First, I picked some Sticky Canvas by Claudine Helmuth Studio. It is a canvas sheet that is like a huge sticker. You can attach it without glue after you have finished it. You do not need sticky canvas for this project. You can use a drawing paper or thin fabric instead.
1) Background Colors
I started with watercolors, then used some Dylusions ink sprays. As the canvas got all wet, it got wrinkled. I emphasized the wrinkles by brushing Distress ink pads against the canvas.
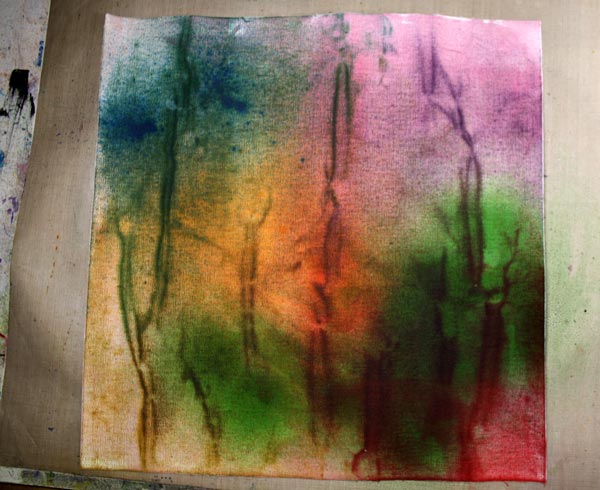
Now I got the muted, soft color transitions. Next task was to add contrasts and sharpness to it.
2) Background Motifs
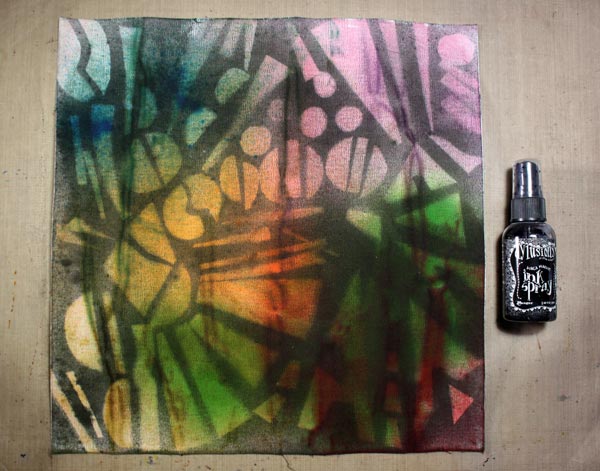
I cut art deco styled shapes from old cardboard boxes and arranged them on the canvas.
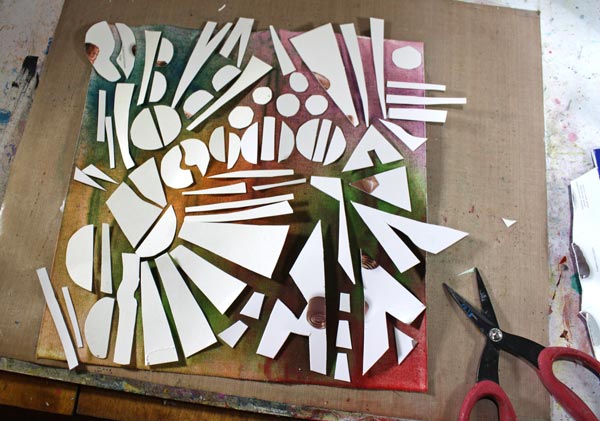
Then I sprayed with the black Dylusions ink spray over the shapes.
3) Finishing the Covers
I cut two thick cardboard pieces for covers. Then I covered them with the sticky canvas. I had a couple of handmade decorated papers which I wanted to use too.
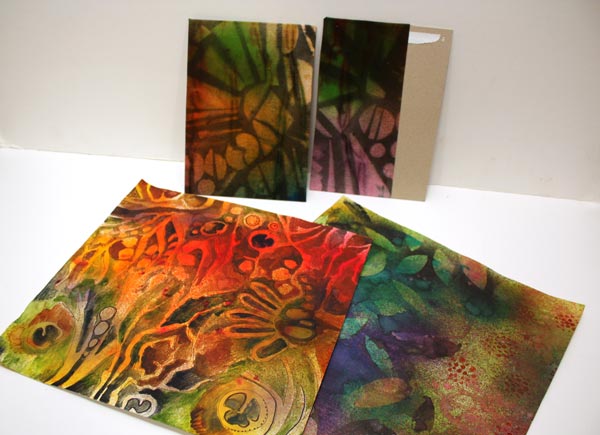
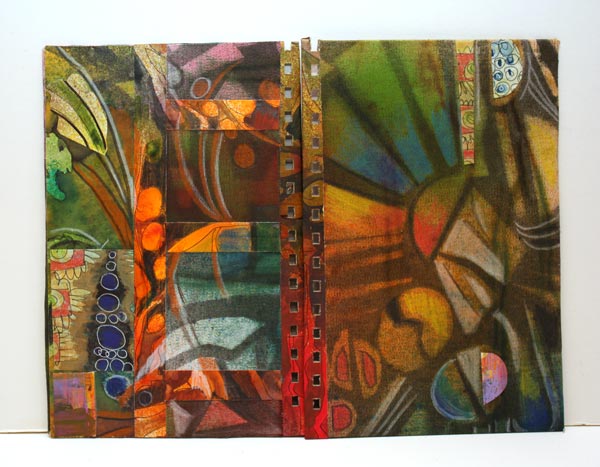
I added decorated papers to the covers. Colored pencils were used to highlight the muted tones. The holes were punched with Zutter Bind-It-All. It is amazing how thick it can cut!
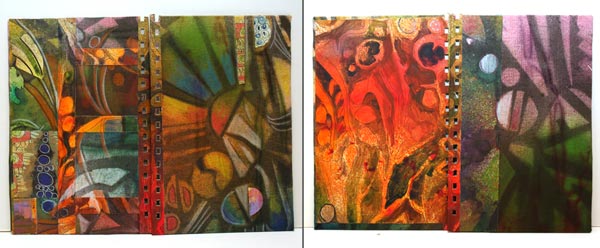
The front and back covers are shown on the left, and the inside covers on the right.
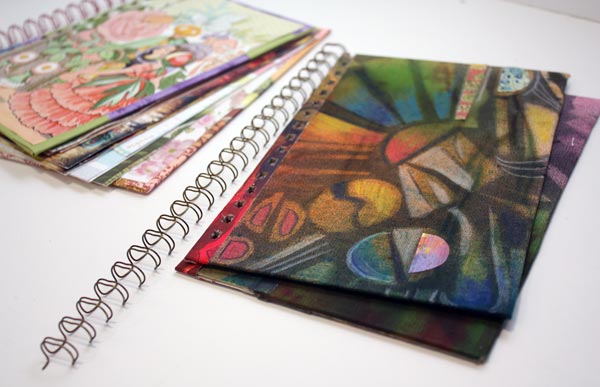
Now I just have to add pages, draw some art deco style ornaments to them and find a photo of my sister where she looks a bit like a beauty of that era!
Art Deco appeared first time in 1920-40s, just after Art Nouveau.
Leave a comment, what do you like in Art Deco or have you noticed it at all? Have you ever made anything Art Deco?
Artistic Embroidery with Pens and Paper
I am so excited!

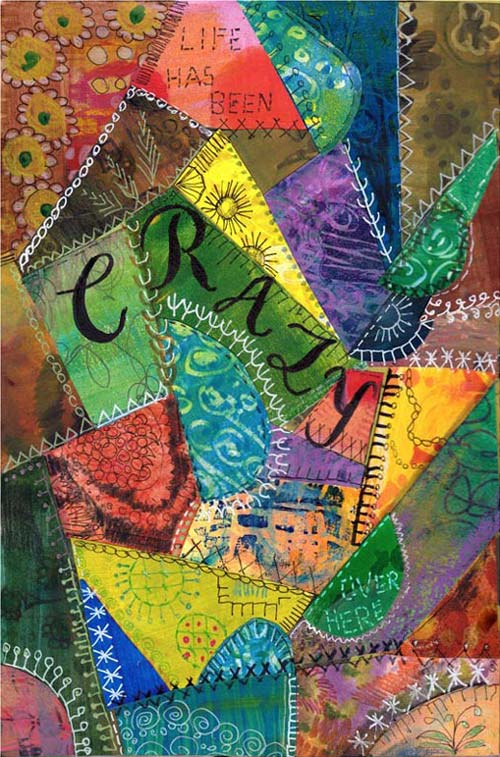
I will be teaching an online class as a part of 21 SECRETS Spring 2015! The class is called Artistic Embroidery with Pens and Paper.
Class Description
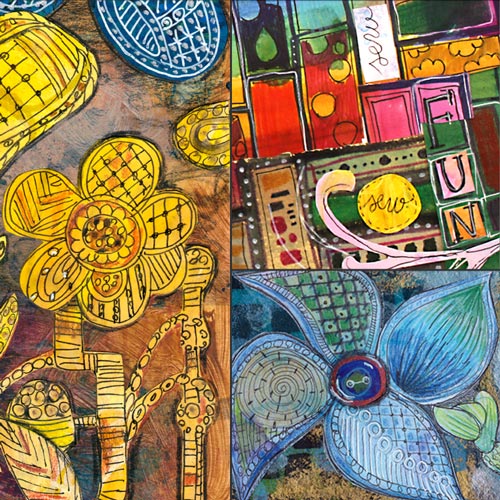
Let the long history of textiles show up in your art journal! For hundreds of years people have created textile art to express themselves. In the workshop we will discover ways to imitate embroidery and quilting using paint, pen and paper! No actual sewing needed!
We will find inspiration from various stitches and techniques like crazy quilting, silk ribbon embroidery and modern patchwork. These art journal pages don’t only make you feel warm and welcomed, but also let you express the luxury only handmade can offer. After the workshop you will look at the family heirlooms in a new way!
21 SECRETS – 21 teachers!
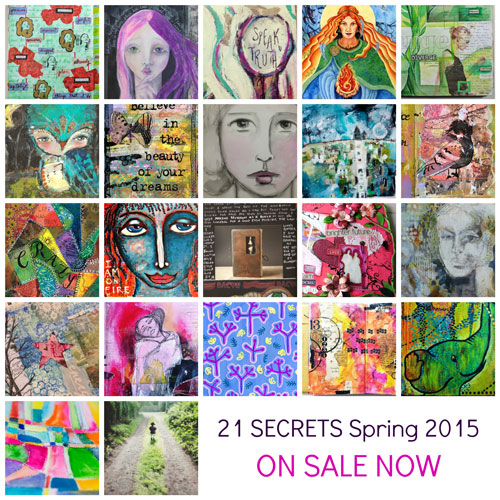
By purchasing the class you will not only get that but also 20 other online classes from 20 other great artists!
Starts in April – Now available for preorder!
21 SECRETS Spring 2014 starts at 1st April and it is now available for preorder. Once the workshop starts in April, you will get a downloadable PDF including all 21 classes. It is packed with videos, full color photos, printouts and instructional content. You will get unlimited access to all 21 classes and a membership to the private Facebook community where you can discuss with me and the other teachers and participants. If you want to learn or boost your art journaling, this is the workshop to choose!
Why preorder now?
I am a big believer of looking further ahead than to the next month. When you will see the spring light and start to wait for the summer, April is the perfect time to get something new for your journals and your skills.
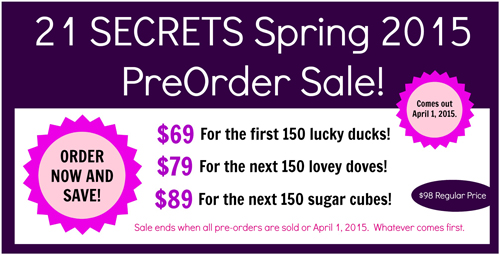
And here’s another good reason to pre-order! The regular price for the 21 classes is 98 USD, if you preorder now it is only 69 USD! But be quick, the lowest price is available for the first 150 participants only!
I hope to see you at Artistic Embroidery with Pens and Paper! Click here to read more and preorder!
Art Journaling with Still Lives
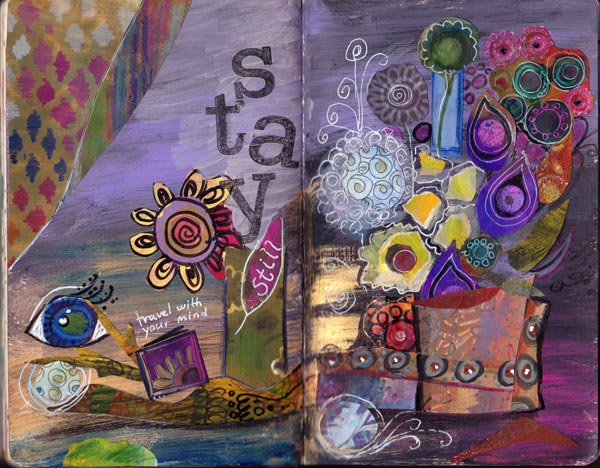
For the last couple of years, I have felt drawn to still lives. I even have the Pinterest board of the ones that I especially like. I used to think that old still lives are very conventional but they really are not! There can be anything happening in the painting, like a squirrel running on the table, and there can be a wide variety of objects too. And even the flowers look magical! Art journaling has a lot to learn from the old masters.
So, I thought it could be a fun concept to create still lives by applying the tips from the previous blog post. I could combine odd paper pieces and doodles with text and create surreal art journal pages.
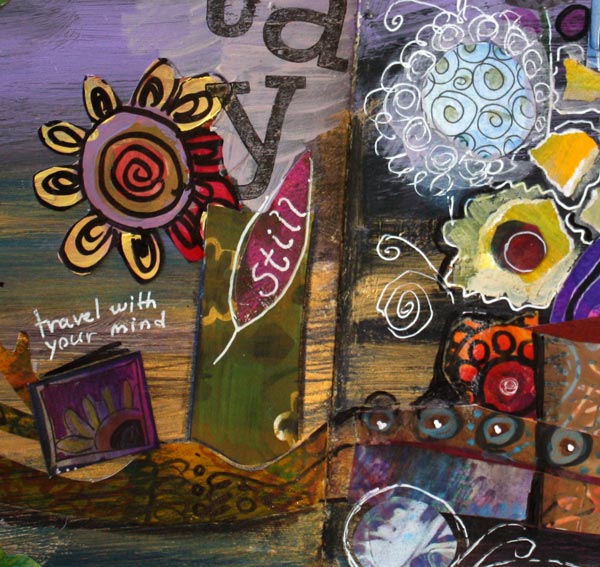
I kind of like how this first still life combines conventional elements like flowers with the more surreal ones, like the eye. The same contradiction is also seen in the color scheme: bright purples look mystical when combined with olive greens and warm browns.
Group the elements!
The principal of composition in still lives is simple. Just group the elements closely together!
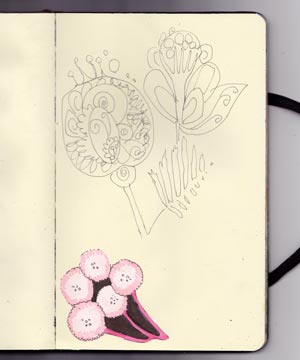 My art journals often have unfinished pages with elements here and there. This page had some doodles and a small illustration that I had drewn for a surface pattern. I often glue odd pieces to my art journals to save them. A page like this can be a great starting point for a still life!
I started working this page by adding the text so that it creates the vase for the flowers. I emphasized that with colored pencils. Then I colored the soft background with colored pencils. The softness is a great contrast to the graphic element on the bottom.
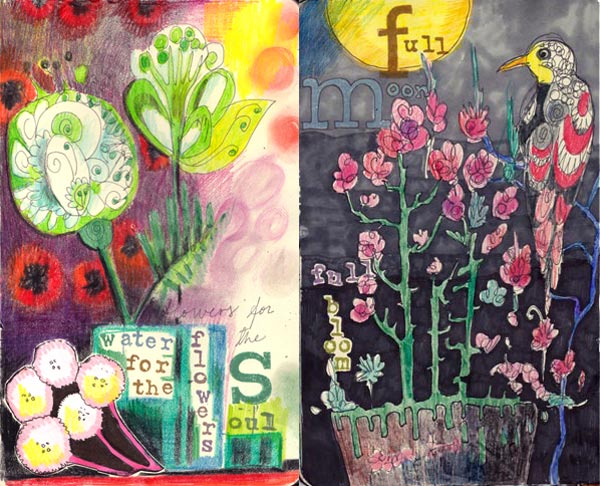
The third still life is formed around a doodle found on another page. It included just the bird and the flowers. I added the pot, stamped the text, colored the doodles with colored pencils and finally created the background with markers.
Why Are These Pages So Fast and Simple?
1) The starting point does not have to be grand, just some doodles, or paint, or odd pieces of paper.
2) Stamping few words tie the oddly placed elements easily together.
3) Coloring does not have to take a lot of time when it adds something new to the page.
More Still Lives
Watercolor 101 for Intuitive Painting – my video introduces an easy method which is especially suitable for surreal still lives and landscapes
A Formula for Composition – another way for creating a still life
Stretch Your Style – instructions to step out of the comfort zone, showcasing one of my favorite still lives
Visual Chronicles and Fast Art Journaling
In the newsletter sent 5th November, I mistakenly sent a wrong link, here’s the link to the latest video
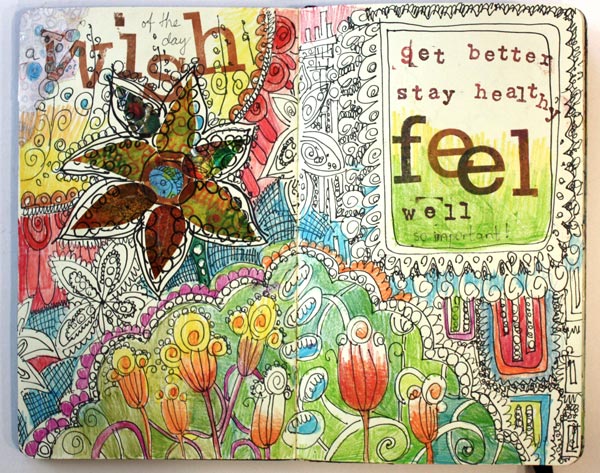
In Finland, the weather got colder last week and I got a terrible flu. It is so frustrating to be able to do nothing but sleep. Being healthy feels so important then!
If there’s anything positive in lying down and doing nothing, it’s the creative break. It is weird how much processing time some things require. In 2006, I saw a new book in Amazon.com. It was called Visual Chronicles. It was nothing like I had seen before and I felt strangely drawn to it. I was mesmerized by the concept of creating relaxed pages combining text, paint, simple illustrations and photos. Art journaling was a new word in my vocabulary.
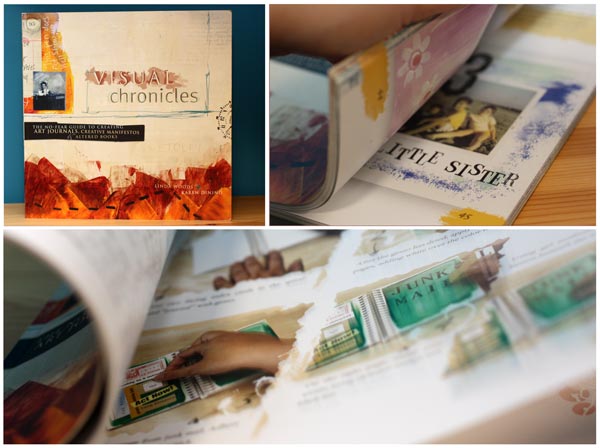
I took the book everywhere. While reading it, I tried to understand what it is actually about. I picked a blank book and tried to fill its pages. It was so disappointing to see how horrible my pages looked and furthermore, I did not have good time when I created them. I browsed the book over and over again. I could not get it!
But I did not give up. During the time I bought more books and made more experiments. I also noticed that there seemed to be other people doing the same thing. I took some online courses and finally… My first art journal was finished in 2010! (See the journal and my first blog post about art journaling)
Four years of agony! And now when I read Visual Chronicles, everything that I had learned stands there so clearly! However, there was still one thing that had been bothering me from 2006. The pages in the book are very simple and still I find most of them visually appealing. But if I tried to do the same, the end result was nothing alike.
After sleeping two full nights and the day between, I finally figured it out! It is the stamped journaling that makes the pages stand out in the book! I had never tried to stamp the words as I have always hated handling the alphabet stamps. But I do own two sets and had many pages waiting for journaling!
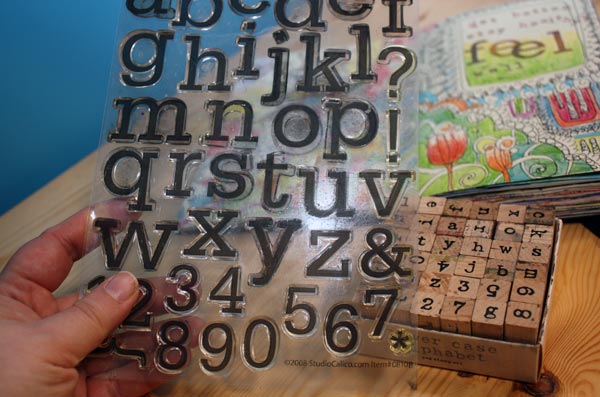
Now I am hooked!
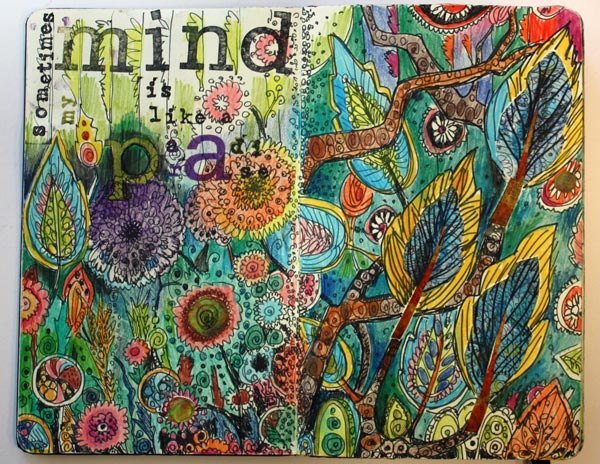
“Sometimes my mind is like a paradise”

“My life, my problems”
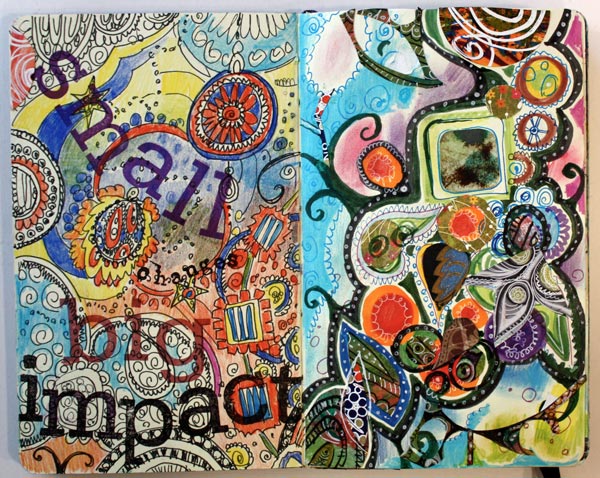
“Small changes, big impact”
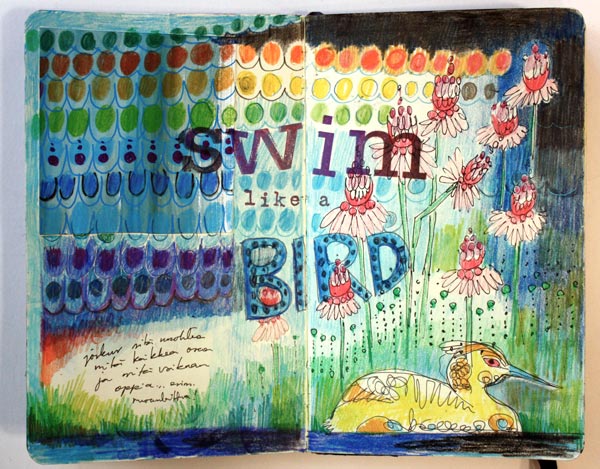
“Swim like a bird”
Visual Chronicles by Linda Woods and Karen Dinino is still one of my favorite art journaling books. It does not take art journaling too seriously. Linda and Karen also have a blog which is written with the same humorous attitude. “If you are alive you have succeeded” is one of their recent advices. While still recovering, it feels very relevant at the moment!
Tips for fast art journal pages:
1) Divide the making of the page into three phases: a) doodling with a black pen b) coloring the doodles c) adding the text
2) Use colored pencils for easy coloring. A Moleskine Notebook and the colored pencils work really well together.
3) Add the text by grouping stamped words with the doodles. Use big and small stamps to create contrasts.
4) Let your personal history of art journaling get recorded into your journals! If I could turn back time, I would not toss those first pages.
5) Buy the book: Visual Chronicles