
Find Where You Belong to

It took just a few seconds looking at the pictures of folk dresses to become almost overwhelmingly inspired. I hurried to my fashion themed Smash book and created this art journal spread.
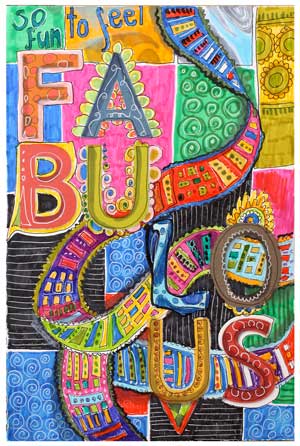 And then I had to make even one more page. Folklore and folk art always make me feel like this: fabulous! They give me both the sense of belonging and the sense of freedom. I feel that I am one part of the long chain of all the women, of Finnish women, of my mother and grandmothers. At the same time I am not defined by them, just empowered by them. With folk style, I can express my roots and origin without constraints.
They say that one of the basic needs is to belong to someone, to somewhere. I think that creating art can greatly enforce that feeling.
What kind of art makes you feel like that you are included? Maybe enjoying creating is not so much about finding one’s personal style but finding ways to feel belonged.
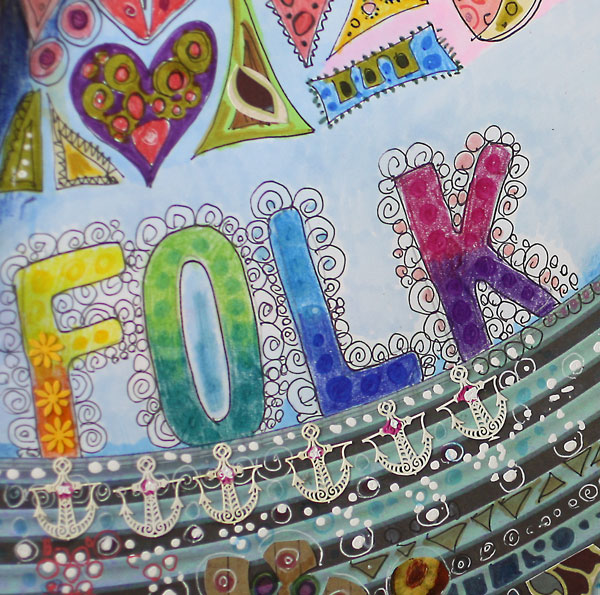
If you want to develop, it will be insufficient to create art that touches only you. You will want to get connected to other people as well. I claim that the deeper you go in your own self-expression, the more you will also touch others. Our mothers and grandmothers may have very little in common but we can share the goal to create something new and original from our heritage.
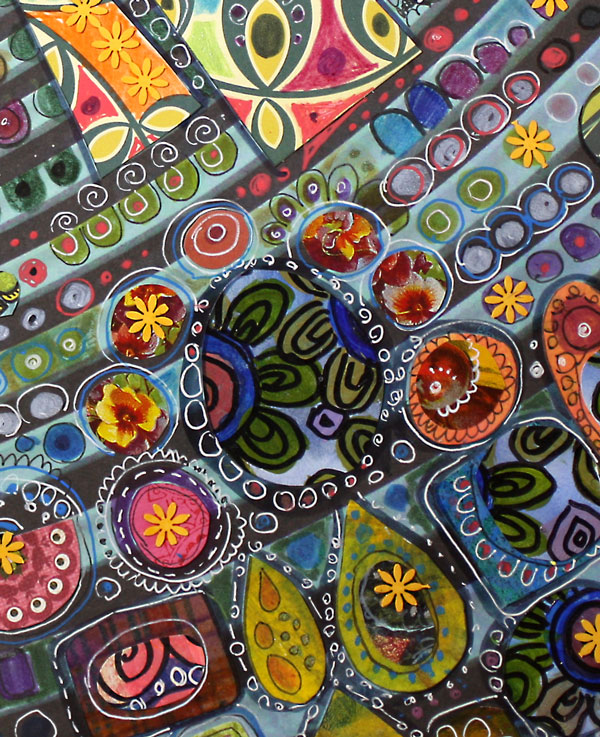
We do not have to think shapes or lines. It is often enough to dive into the colors. For me, colors represent the feeling. Shapes and lines are just to support them.

Find the colors from your origin and mix them with the colors of your present life. You are free to create any combinations! The best colors give you the sense of belonging. They will also inspire you to create art that is filled with meaning.
See this journal fully finished! >> Watch the flip-through video!
Draw Your Own Fonts
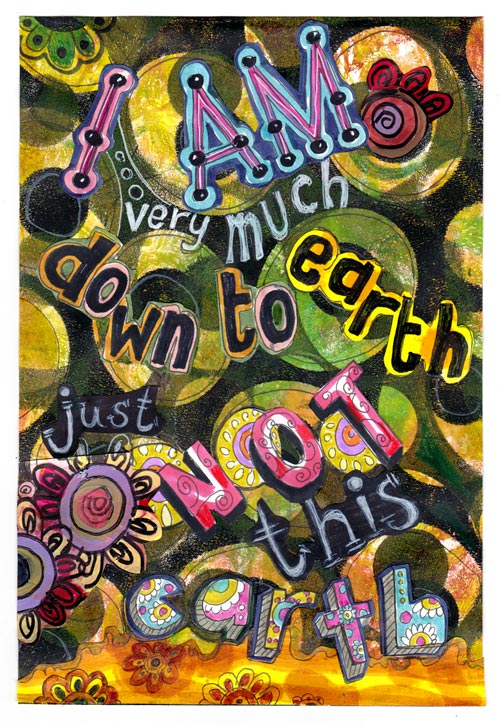
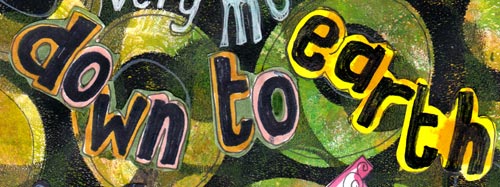
“I am very much down to earth, just not this earth“, says this little art journal page which I made for my fashion themed art journal. The quote is from a famous fashion designer Karl Lagerfeld. I kind of relate to his quotes and predict that my art journal will be full of them! Namely, I have found creating lettering so much fun! These two great books have inspired me for that.
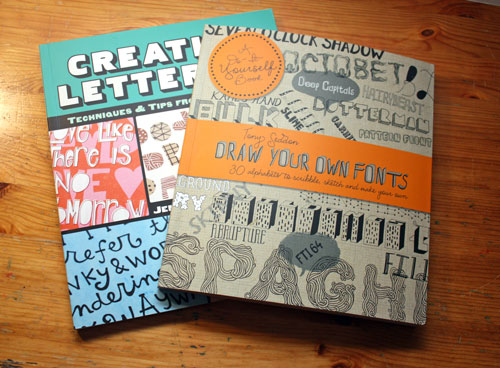
The books are:
1) Draw Your Own Fonts (also with a name Draw Your own Alphabets) by Tony Seddon
2) Creative Lettering by Jenny Doh
Both of these books try to bridge the gab between graphic designers and art journalers. If you want simple exercises and skeleton like starting points, I would recommend Tony Seddon’s book.
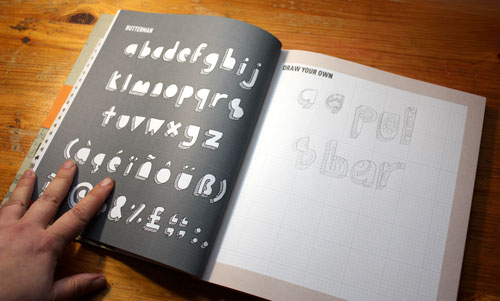
Draw Your Own Alphabets introduces each font as a simple concept which you can alter easily. It is also a workbook where you can practice drawing the fonts. I find this book easy and practical and every skeleton inspires me to create my own version of it. Clearly, if you are a graphic designer wanting to learn how to create elegant fonts, this book is not the best for you. But if you are an art journaler or card maker who wants to have fun with lettering, this book is just what you need to get started.

All the fonts shown in the art journal page are based on Draw Your Own Alphabets.
Another book that I have and like is Creative Lettering. It introduces 16 artists who show their way to use alphabets. The artists have very different styles from each other, which is great and which really inspires to use alphabets in different ways.

Creative Lettering is more beautiful than the previous one and it is still pretty easy to pick ideas from it. I am quite picky when purchasing books but these two I can warmly recommend!
(If you wondered how did I made the background of the page, it is explained in the blog post a while ago.)
Bad Art – How to Fix Mistakes?
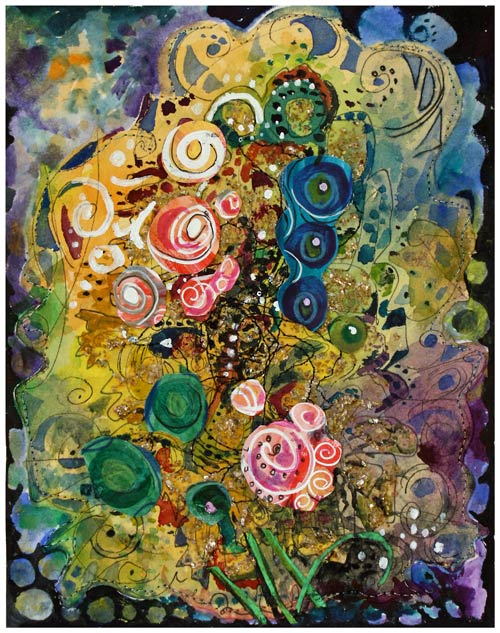
Have you ever created something you absolutely hate? Did you make a page in your art journal that makes you want to tear off the page? Did you create a card that you don’t want to keep neither give? I do that almost daily, with the exception that I don’t call that artwork finished. Making mistakes is the essential part of the creative process. Without destruction there won’t be creation!
I will show the process of the collage card that I made for my sister. You will see how I almost destroyed it with very bad decisions. You will also see that without those stupid mistakes the card would not look detailed enough in the end.
Yes, speaking of finishing, every art teacher that I have met always say the same thing: “Your art is finished when you feel so. If you can’t think of anything more to add, it’s finished.” I don’t think so. If you want to develop in making art, you will not stop when your brain says so. It is your rational side that is speaking and you need to get in touch with your creativity.
Let’s see how I began creating the collage and dive deeper in the process of making mistakes and letting creativity take over.
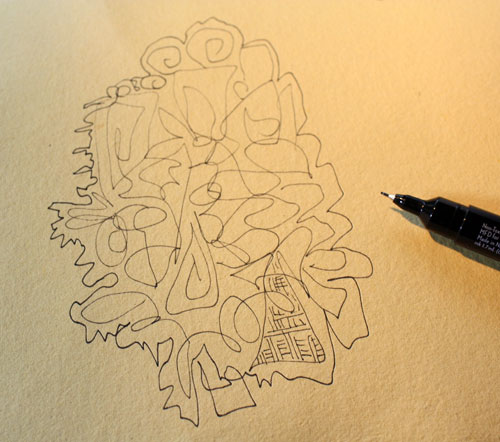
Here’s the fist step. I just grabbed a paper and had some fun doodling. I felt pretty light and cheerful at this stage.
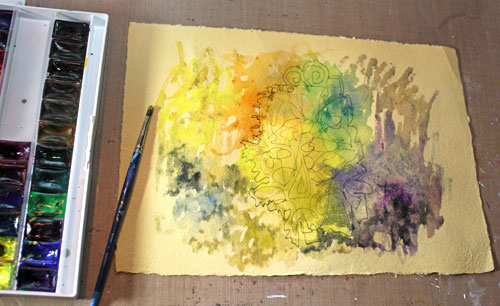
Then I took out the watercolors and realized that the paper that I had picked is perfect for them. It was handmade recycled paper that I had bought from a handcrafter a year or two ago. The paper is made from old linen sheets and I love the way it absorbs water.

To create something a bit luxorious I opened a jar of Golden Mica Flakes. It is actually grey paste which looks stunning gold after drying.
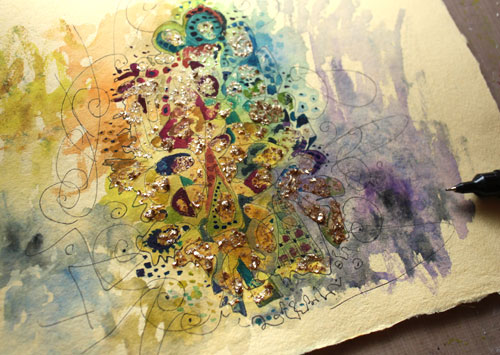
After adding some details with watercolors and extra doodling, you could be fooled to think I was finished. But knowing better, I moved forward and got a crazy idea to cut the piece.

Oh my. At this point I knew I had made the first move towards distroying my pretty little ornament. Next move to the same direction: sewing machine!
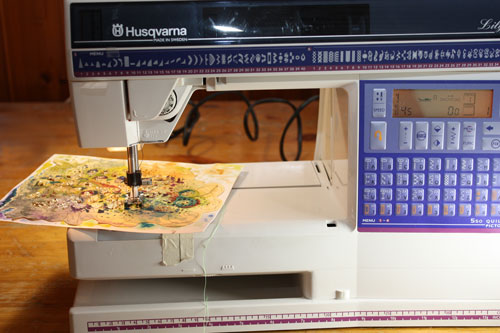
I got an obcessive idea to use machine sewing for the details. And after trying to fix everything with some more watercolors, I knew I had done it: it was ruined!
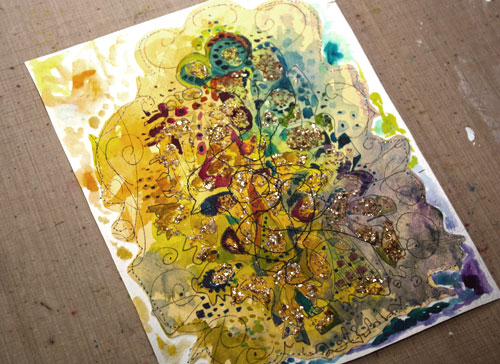
I could have stopped here and call it bad art. But while making a lot of bad decisions and messing up the good start, I had found the speed and the mindset of creative thinking. This is why you should never stop after making mistakes: you have then just opened the door to your imagination! And if you made no mistakes, you did not even enter the front yard!
Now, at this point of the process, you should not quit neither continue with the rational mind. Do not take any black or white paint and paint it all over! That is conscious destruction and far from what your creativity can accomplish.
You should just keep on working with high speed and continue adding new details. Even if it feels stupid, even if your mind is blank, just keep on adding. If you feel like you need any direction, then turn on some music or take a picture or a photo that you like and put it near to your work area. But do not look the picture intentionally. Just trust on your wild side!
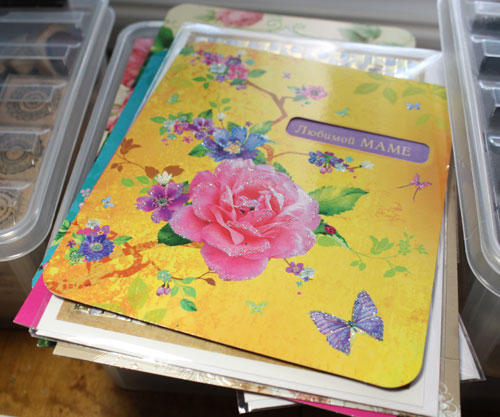
To save my ruined piece, I used this lovely card that I had bought a year ago while visiting St Petersburg, Russia. I set it so that it was a bit higher than the table top. That way it did not catch too much attention while I was working.
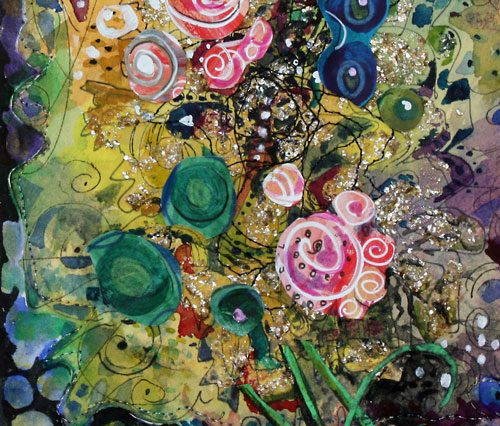
See how the russian roses began to appear to my work! I did not think of the roses or the rest of the russian card while I was trying to save the collage. I worked fast and intuitively without questioning anything.
How did I knew when it was finished? When the things I kept on adding became smaller and smaller, finally so small they were almost invisible.
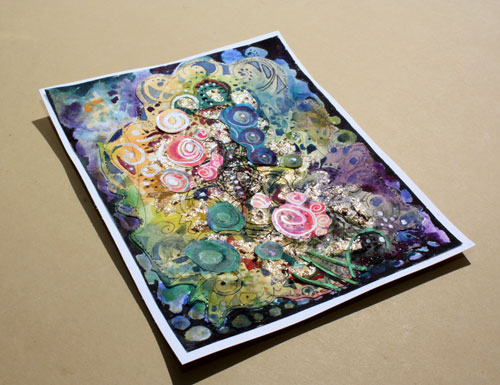
So, my advice is that if you made something pretty, destroy it with your mistakes! And when you made a punch of them, begin enjoying your creativity and finish your work!
I try to be prepared for the “bad art” part so that I begin lightly. Starting with skecthing and watercolors makes it possible to add plenty of layers afterwards.
I would love to hear what your thoughts and experiences are on this method. Leave a comment!
Fun Designs from Decorative Papers
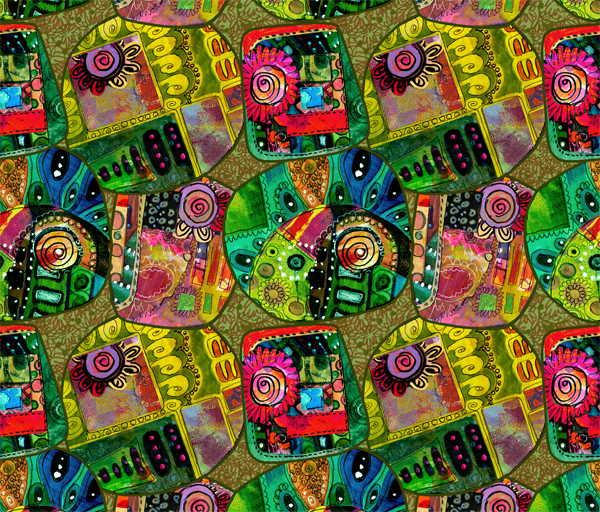
Were you ready for the color bomb? I just could not resist creating this design with the vibrancy that is almost inappropriate. Hopefully, you are like me and need to get your overdose of colors and patterns now and then!
Collage Elements
I have created this surface pattern from handmade collage elements. I often mention how I create single decorative elements which I use in collage art or art journaling later. This time, I made a pattern that is based on those odd elements. These elements are like mini collages. They were made by cutting handmade decorated papers and adding some doodling with markers.
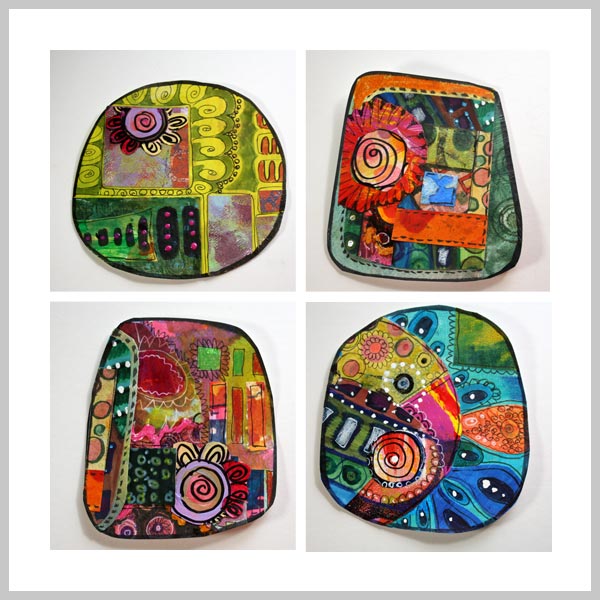
The elements might look complicated but are super simple to make:
1) Combine few paper pieces.
2) Add details with markers.
3) Cut the combined piece in half.
4) Repeat the previous steps changing some of the pieces as you go.
Cutting and combining the cut pieces repetitively is fun, and the result is like a mini quilt. Especially if you add seams with markers like I have done.
Surface Pattern
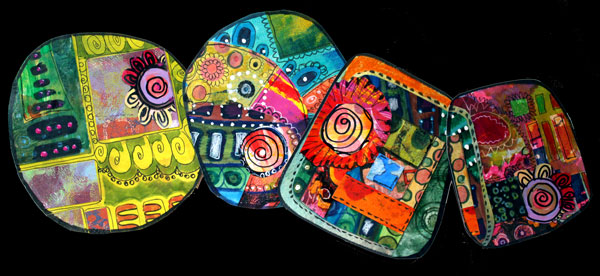
When creating a surface pattern, you also need something in the background unless you will put the elements tightly together. I wanted to add the background to make the design more interesting. The plain black background was something that I considered first. But it looked too separate from the pieces.
Luckily I save all kinds of doodles, even the ugly ones. I found a file called “blue mess,” a scanned image of the paper which I made a long time ago.
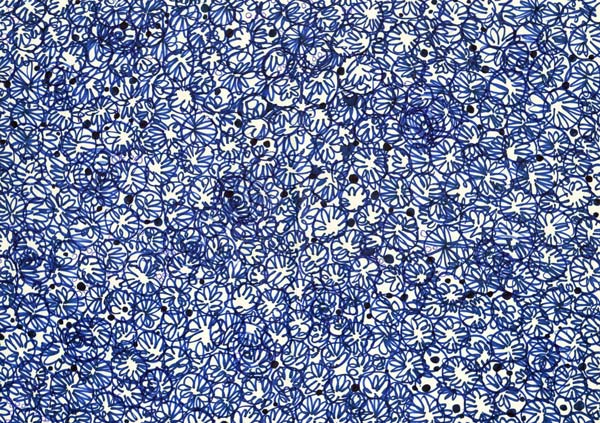
At the time I had thought this doodle was horrible, but now it would be just fine!
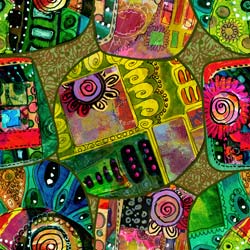 I processed my scanned images at Photoshop image processing software. At Photoshop I created a solid colored background, added the blue mess as the second layer and changed its color. Then I removed the white background from each of the four decorative elements and added a stroke to each element.
The repeat was created so that one decorative element is in the middle, two at sides and the fourth one at the corners. It takes some accuracy to place the elements so that they match when the design is repeated. It would have been easier to have each element separate, but I wanted to create a sort of appliqued look.
If you do not make a commercial pattern, you can just create an artwork manually instead of composing a repeatable pattern on the computer.
Here’s the design again, with more muted colors. This design reminds me of an old quilt, colors faded a bit unevenly but still suitable to be the centerpiece of any room.
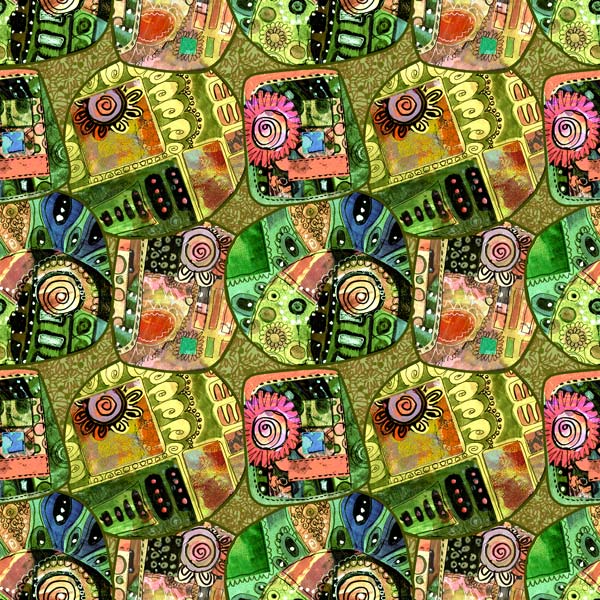
I call this pattern Kira.
Create more hand-drawn collages: Buy Doodled Luxury!