
Kiwi Patterned Paper

I am continuing the theme of the week to celebrate yellow. Here are step-by-step instructions for a striking patterned paper where yellow and orange are combined with dark colors. You can make variations on the pattern by choosing different colors, adding you own details and picking the materials that you prefer.
1) Fill the Paper with Big and Small Ovals
Fill the paper with intersecting ovals using freely cut templates. Cut plastic templates for a big and a small oval. To achieve an organic form, handcut the shapes freely. I used transparent plastic from a plastic sleeve meant for name tags. Also transpacency sheets for overhead projectors or any easy to cut plastic will do.
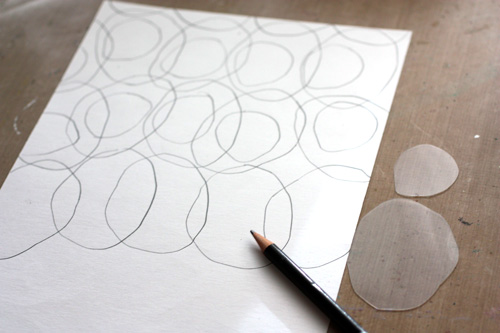
Starting with the bigger template, draw ovals on the paper so that they intersect slightly. Change the orientation of the template now and them. That way the pattern will look more lively. After filling the paper with bigger ovals, draw smaller ovals inside the bigger ones. Each smaller oval should cross one or two lines of the bigger ovals. Change the orientation and placement of the smaller ovals as you did with the bigger ones.
2) Paint the Centers of Small Ovals
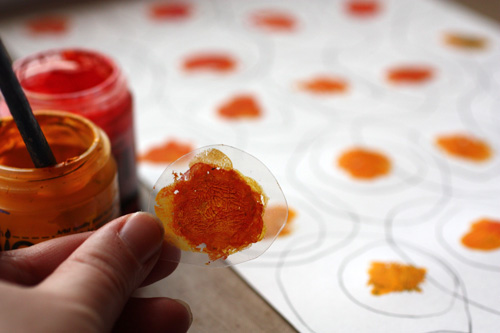
Add acrylic paint to the centers of the smaller ovals. Paint the centre of the smaller template and press one center at a time. Mix yellows and reds to get orange hues on the template. Each center can be a bit different from another.
3) Add Watercolor to the Smaller Ovals
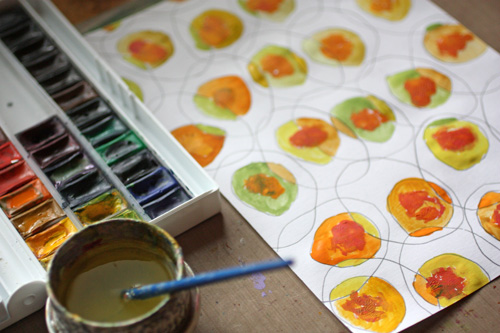
After the acrylic paint has dried, paint the smaller ovals with watercolors. Use yellows mixed with blues and reds. Color each part of the oval with different color. This way you will get an appealing look of ovals that have many hues.
4) Add Watercolor to the Bigger Ovals
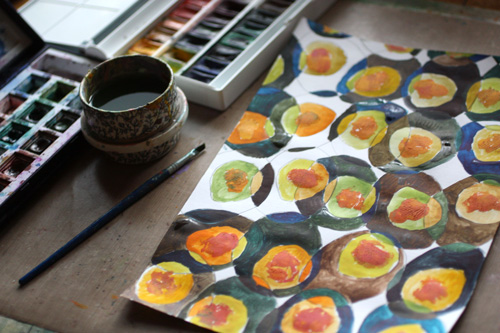
After the smaller ovals have dried, paint the bigger ovals with watercolors. Use mixes of browns, blues and blacks. Color each part of the oval with different color.
5) Fill The Background
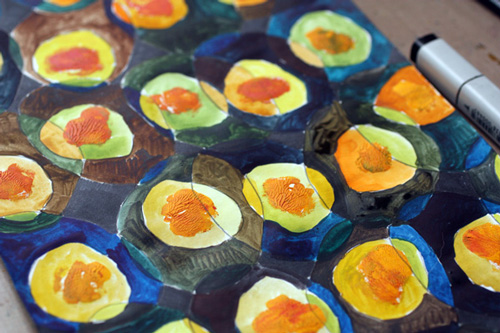
Using black marker, color pencil or watercolor, fill the small white background areas with black.
6) Add Details with Colored Pencils
Draw white lines around smaller ovals. Add black outline for smaller ovals. Color the edges of smaller ovals with red and green depending on the hue of the oval.
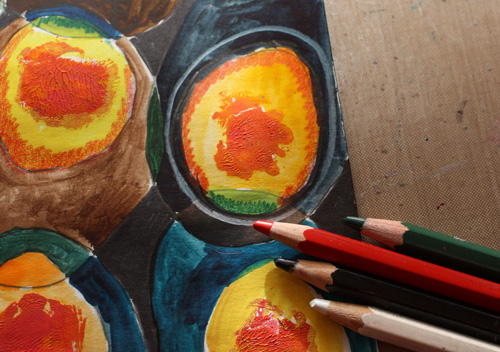
7) Final Touch: Thin Lines and Dots
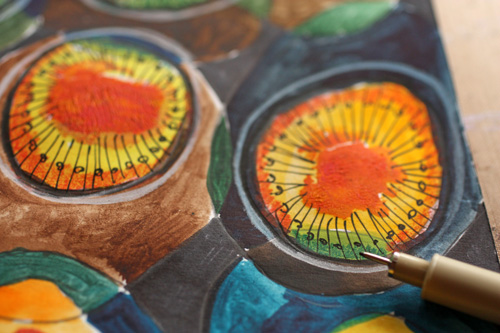
Finally pick a thin black marker or drawing pen. Add radial lines to the smaller ovals and decorate the lines with dots.
Let me be your art teacher: Subscribe to my weekly emails!
Subconscious Goals

Here’s an illustration that came out without any pre-planning. I just added a layer after another and in the end was surprised about the animals, and the scene. What was I thinking about?
Creating Subconscious Art
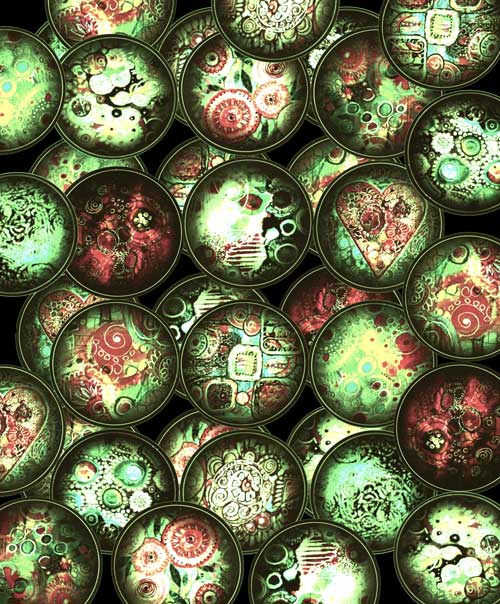
First I created the background paper in Photoshop. I duplicated my old sticker designs there!
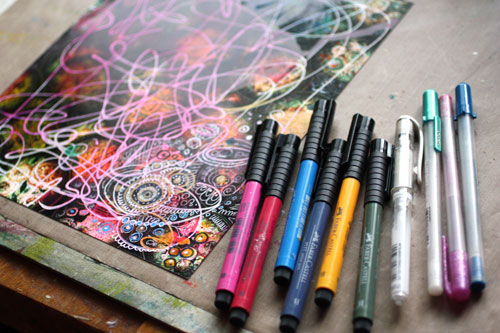
After printing the background I made some random spots with alcohol inks and random lines with white correction pen. Then I added a lot of details with markers and gel pens.
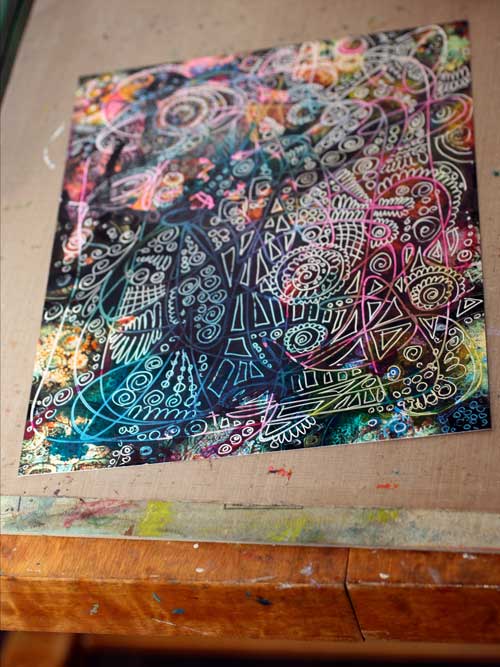
Yes, a lot of details.
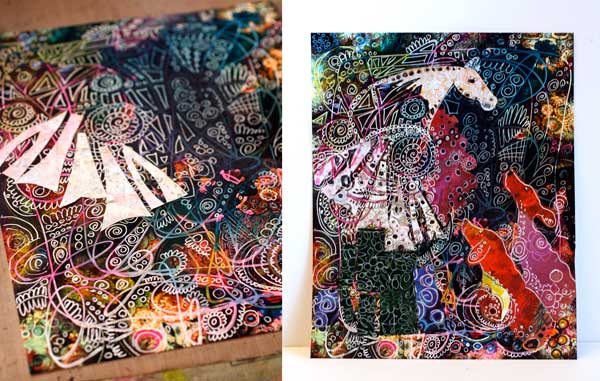
Finally, I constructed the main elements from decorated papers. Then it came: the horse on the pedestal and the dogs. The horse tells a story for the dogs, and the dogs are captivated by listening to it. When finished, I realized that I want to be that white horse! I want to develop skills to tell visual stories. I want to learn how to create images which not only appeal to the eye but the mind as well.
Isn’t it a wonderful thing that with creativity we can reveal our subconscious goals!
Subscribe to my weekly emails – Get a free mini-course!
Doodled Lace Patterns

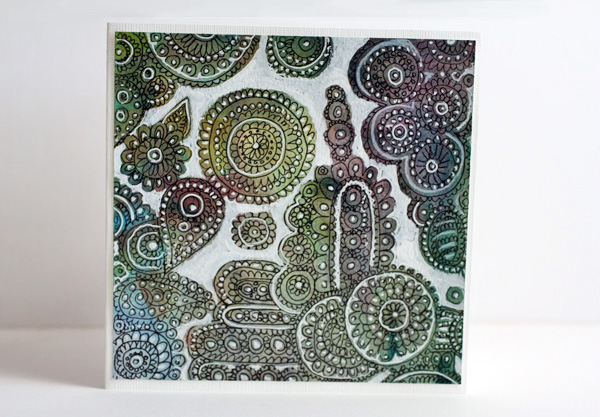
I am constantly inspired by surface patterns and textures. From a pile of doodled papers I found lace like doodling on unbleached printing paper. I decided to decorate it by adding white on some of the details and empty areas. It was a quick card: just adding the white and cutting it to the proper size. I pretty liked it so I made another card using the same concept but with different background paper. So, here are instructions to create these fun lace cards!
Doodled Lace on Paper
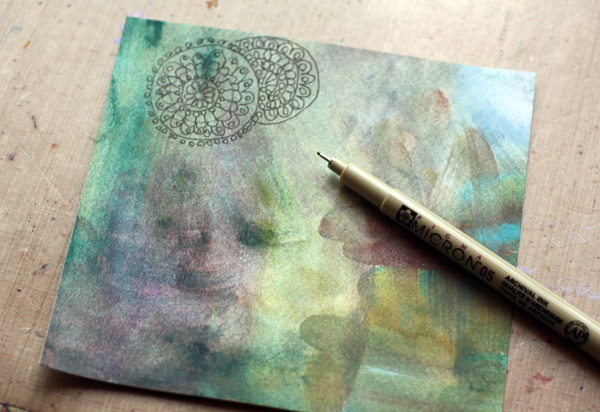
You can create an interesting effect of color changes in the background by painting the background paper with watercolors. Pick a thin black pen for doodles. I love making doilies that look like they are on the top of another. Draw the doily on the top first. Group your doodles and leave some empty areas around the groups.
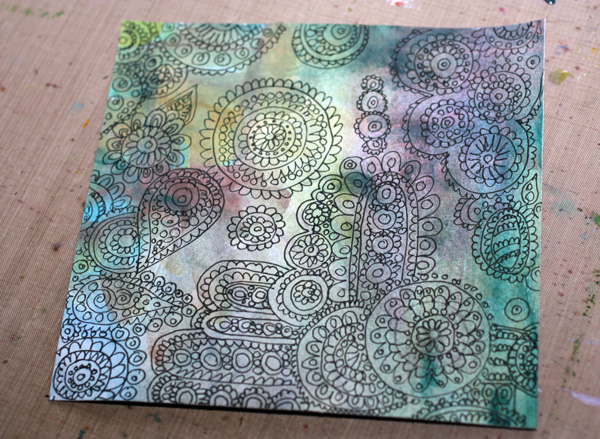
Add White to the Background
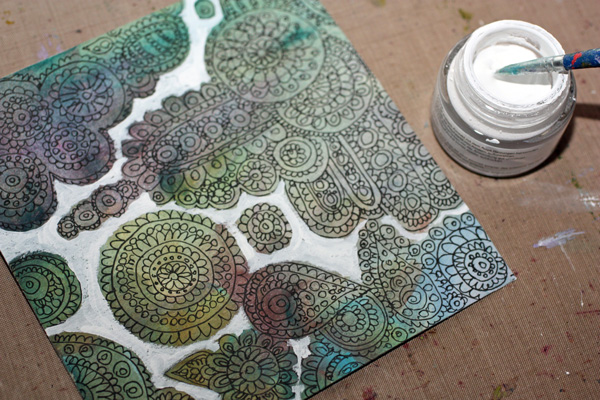
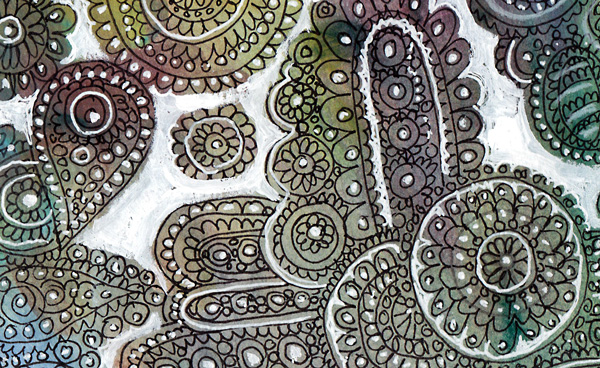
I used Copic Opaque White in a jar for bigger areas and Uniball Signo pen for smaller areas. A white color pencil was used too. White acrylic paint does the job too.
You can easily make georgeus and unique projects with this technique!
Let me be your art teacher: Subscribe to my weekly emails!
Pattern Design Simplified
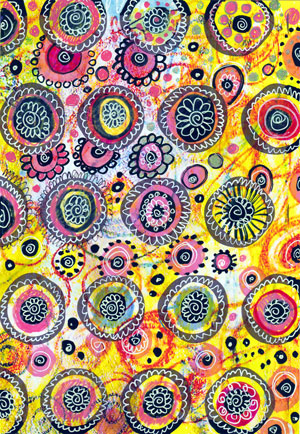 rsvMany artists love painting faces, but I feel drawn to patterns. It must be the little engineer inside me who, after seeing almost anything, needs to know: could this be simplified and repeated?
Don’t get me wrong: I am not a big fan of over simplifying everything. Living in a country of snow and white box like houses with white sofas, I have had more than enough of simple forms. But when simplifying involves some clever thinking, hundreds of ideas have been created instead of one.
Namely, you can tweak and change simple structures almost endlessly.
It is like an engineer has made the skeleton which an artist can decorate.
Designing a Hand-Drawn Pattern
The paper above began when the engineer in me found a scanned image of a handpainted paper. The circle pattern was printed on it. Then it was given to the artistic side of me which went a little crazy.
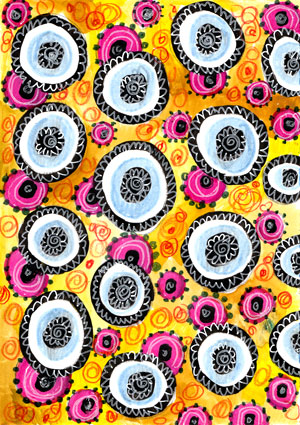 The pattern that the engineer had created was dull but the artist made it breathe. The result was analyzed carefully and a new surface pattern was born! This design is simple but fun, perfect for the use in collages or even for making cards or gift papers.
Creating Variations
I also made another version of the same design. Creating variations and studying various color combos is so fun! I always decide to make just a simple paper but end up adding smaller and smaller details!
When decorating these papers I never know beforehand whether I will cut them to pieces for collages or frame them as they are. But I always scan them once they are finished so that I can use them again if I want to.

Instructions for the Hand-Drawn Pattern
I have written detailed step by step instructions for the pattern which I call Spring Flowers.
>> Download PDF
Let me be your art teacher: Subscribe to my weekly emails!