
Quick Gelli Christmas Cards

This year I had two requirements for the Christmas cards: quick and handmade! The theme had also been selected: candles, suitable for all religions and all ages. All I had to do was to figure out how to make a lot of cards and fast. This first photo is a snapshot from my studio while I was making the cards.
Planning
Before I got my table full of cards and more under making, I had to discover the process of creating the cards. My artistic side wanted something that looked handmade but was still somewhat warm and painterly. The task was transferred to my engineering side who turned on the computer and made a sketch of a single card in Photoshop. The card would consist of two layers of paint. Needless to say, using the Gelli plate would be handy!
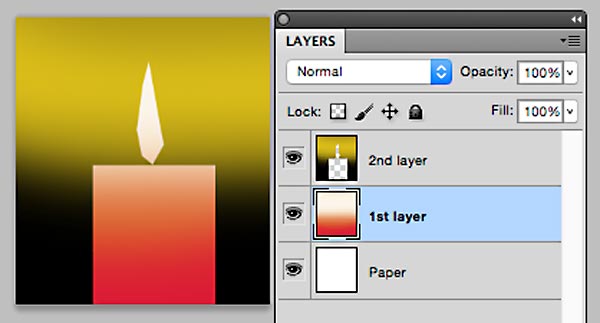
But this plan was not enough. I wanted to create not only one card, but several at the same go. While walking the dogs, I solved the problem. Here are the step-by-step instructions of how to make simple candle holliday cards. You can make them more complicated by adding doodles and such but the basic design is very simple. By following these steps, you can serially produce handmade cards!
Supplies

You will need: Paper, glue, cardboard, acrylic paint in few colors, brush, brayer, scissors, black pen and 8” x 10” size Gelli plate.
Optional: Paper trimmer for cutting the straight edges. Some kind of a stick, a pallette knife or a knitting needle for example, for drawing surface patterns.Double-sided tape if you prefer that to glue for attaching the printed image to the cardboard.
1) 1st Layer: Candles
Paint the center of the plate. The width of the painted area is 5 to 6 inches of the height of 10 inches. You can cut a paper of that width and use it as a guide by putting it beside or under the plate.
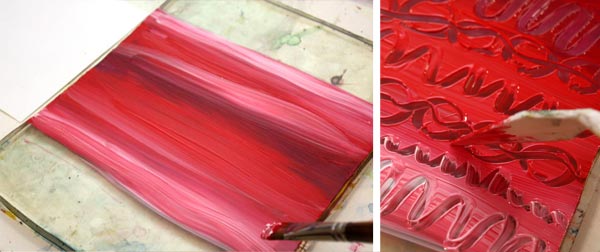
You can draw patterns with a stick if you like. I like to use more than one color to make the candles look lively. You can use brayer for the paint but I prefer to use brush and work horizontally. That way the candles will have horizontal color slides.

Cut your papers to the size of the Gelli plate before printing them. You will get 2 to 3 prints from the one layer of paint. Let dry.
2) 2nd layer: Backgrounds
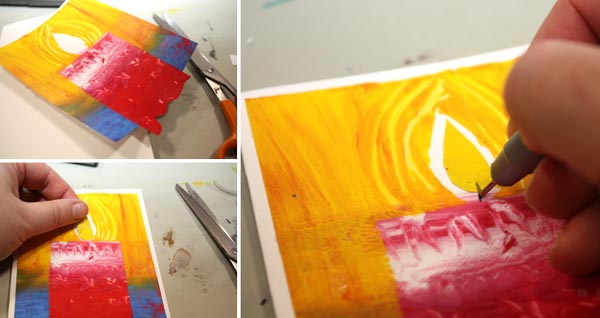
While waiting the paint to dry, cut the masks for the candles. You will make four candles from the one print. For the four candles, you will need four rectangles, 2-3 inches wide and 5 to 6 inches long. Furthermore, you will need four flames. Fold a paper twice in half and cut one flame at the same go or enjoy your time with the scissors and cut the shapes individually.
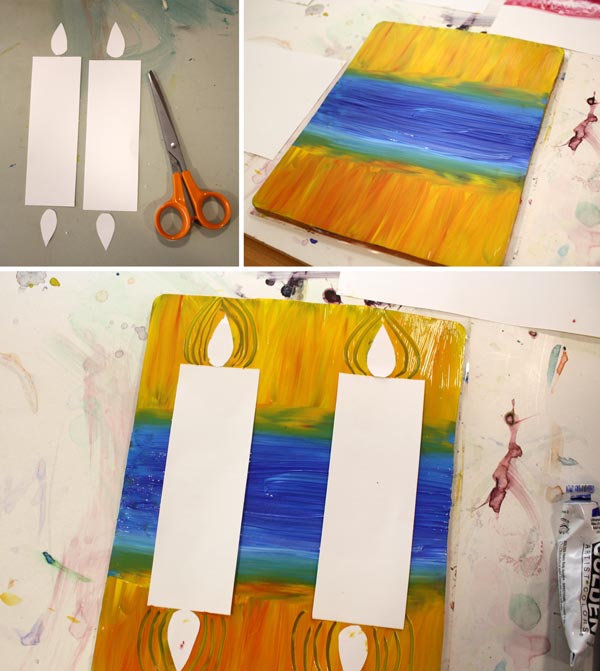
Paint the background with two colors. The center with a darker color (blue, black or green, for example) and the sides with orange yellow. I like to use color mixtures here too. Place the masks so that the distance between them is the twice longer than the distant from the edges. If you want, you can emphasize the flames by drawing lines around them. Make the prints. Let dry.
3) Cut the prints, save the flames
Save the masking papers for the flames. Cut the prints in four parts with scissors or with a paper trimmer.

In the third photo beside the trimmer you can see one alteration of this pattern: use Gelli plate in the other way and create an image with a several candles! By cutting various sizes of masks you get variation for your candles.
4) Finishing
Cut a small part of the background away from the both sides of the print. Cut curvy lines to the bottom edge of the candle. These will make the candle look like it’s set on the snow.
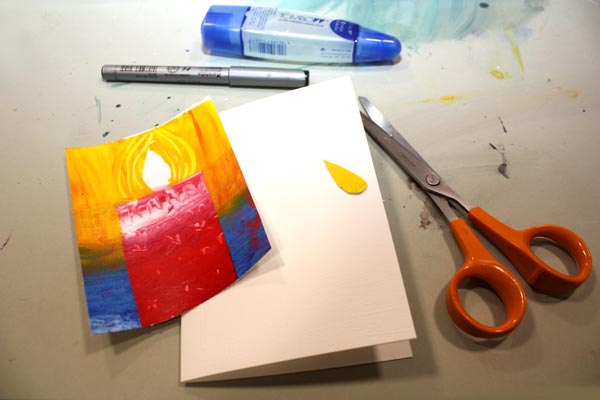
Attach the print to the cardboard. Glue the mask on place or color the center of the flame with a colored pencil or a marker. Draw a wick with a black pen.
5) Variations!
You can make all kinds of variations from the basic instructions. You can add the number of candles, cut them out and glue many candle on the same card, doodle on the candles etc.

I still have few cards to finish and one more task to do: Write “Merry Christmas” or “Hyvää joulua” (same in Finnish) on each one!
More holiday crafts from the previous years:
Wrapping Paper from Newspaper and Elegant Christmas cards
Happy New Year 2014

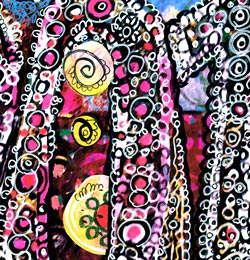
With this overly doodled number, I wish you happy new year!
Doodling Idea
I made this image by making a roughly doodled collage that I scanned to the computer. Then I adjusted the colors and printed the photo. I made the size bigger than in the original.
Then I began doodling again. After doodling I adjusted some areas by coloring them with color pencils. I also added some collage pieces.
Finally, I scanned the collage again and adjusted colors in some areas.
This way I was able to add detail after another. I could have continued these steps over and over! Crazy – I know!

Let me be your mentor in art: Subscribe to my weekly emails!
Wrapping Paper from Newspaper
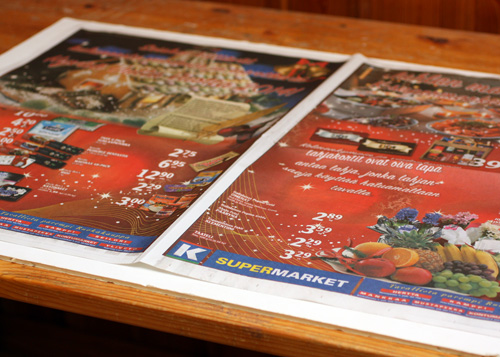
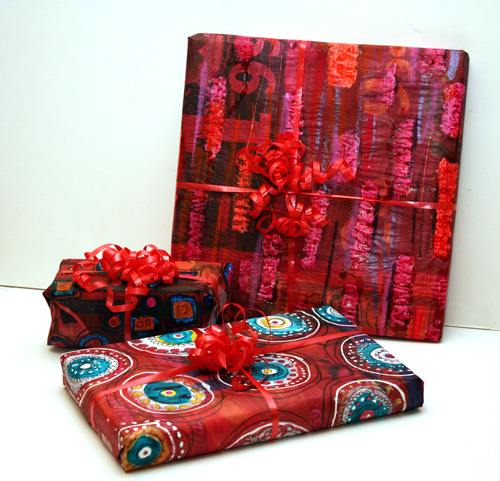
Did you know that newspapers are treasures? Neither did I before I began to wrap Christmas presents and realised that I had ran out of wrapping paper. I solved the problem by creating decorated gift paper from newspaper sheets!
Here’s the sheet in the beginning of the process.
I had three various reds of india inks which I used to color the background. Any ink would be suitable. And if you do not have ink, paint a thin layer using acrylic paints.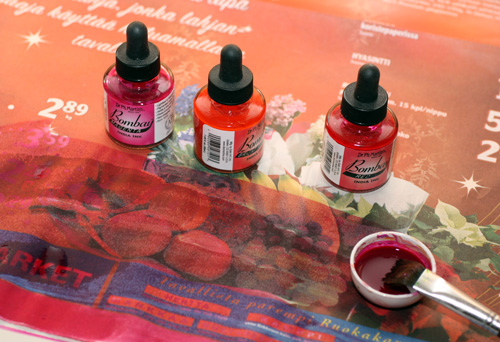
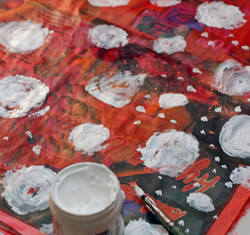 After the background paint was dry, I painted round shapes with gesso. If you do not have gesso, use white acrylic paint. Thin, even layers are better than thick and bumpy ones. Let dry.
Finally I took a correction pen, some markers and india ink to decorate the white areas.
Ironing makes the papers smooth and shiny.
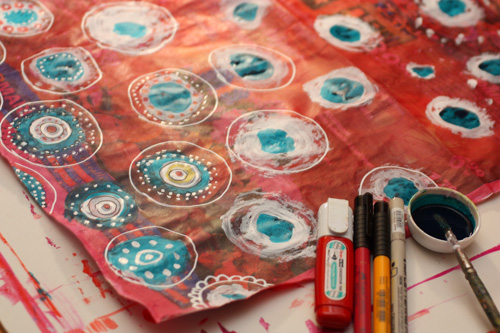
I could not help making some more. I varied the shape of white areas to make different designs.
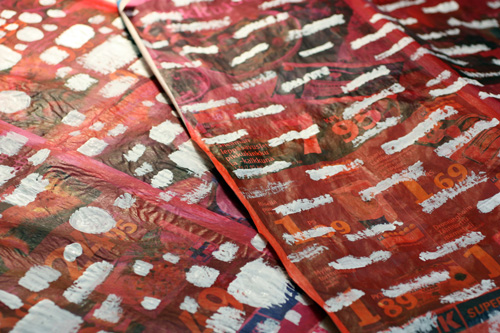
I was pretty pleased with all the three of them!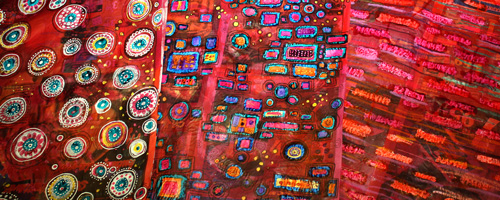
Who would have guessed these were just newspaper sheets in their previous lives!
Faberge Revisited
Now is the time to grab those handmade patterned papers and make your own Faberge eggs! I used the smallest scraps here!

I began with a polystyrene egg and covered it with gesso. After the gesso had dried I glued the paper scraps with matte medium. Then I drew few extra doodles on it and added some faux jewels.
The stand is made from used tealight candle tin. I covered it with paper and added a decorated ribbon on it.

You can’t have too many details here! The more the better!

Have a creative Easter!
Move forward from crafts to art: Get a Free Mini-Course “Loosen up!”