Varnishing, Framing, and Celebrating Your Best Paintings
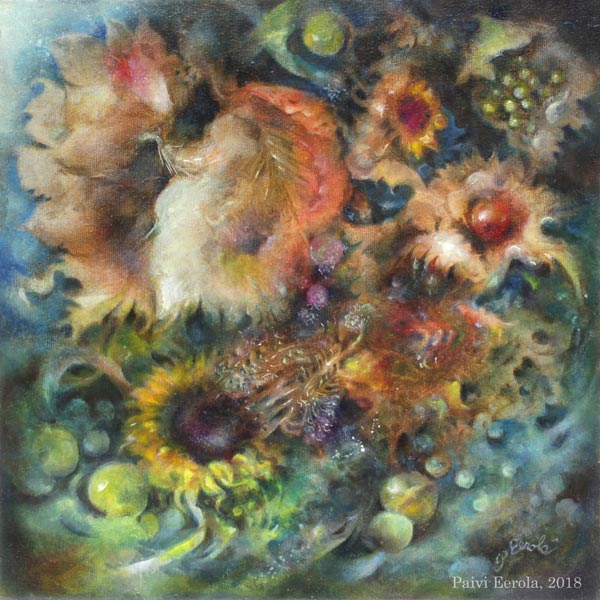
I have finished an oil painting called “Temptation.” I started it at the beginning of this year and after tens of painting sessions and weeks of drying time, I finally got it finished, varnished, and framed. So it’s time for celebration! So, the theme for this blog post is our best work, and especially our best paintings.
I have been planning this post for well over a year to get all the images I want to show you, and the experiences that I want to share with you, so I am happy that with the latest painting, the time has come for this article too!
Best Work – How to Know?
In art, there are very few absolute rights and wrongs, so this question can have many answers. But here’s how I know when I have produced my best work:
1) Time: I have worked on the painting for tens of hours and tens of sessions. Even if some artists work quickly, in general, most people underestimate the time that professional artists spend with their pieces. Overworking is rarer than underworking!
2) Message: I know why the painting exists. I can start a painting without a specific idea in mind, but when the painting progresses, I need to find a connection and a story to be able to make all the decisions needed.
3) Details: I have paid attention to every area of the painting. Some areas can be freer or less detailed than others but they have to be aligned with the overall message of the painting, supporting the most important areas.
Best Work – Test!
I have a couple of tests that I always use for my best work. Try these!
A) Do you want to hang your painting on your wall?
Here, I mean your painting, on your wall in your home. When I use this test, I don’t imagine anyone else’s home or anyone else’s wall. If I don’t want the painting on the wall, it’s likely that no one else will either.
B) Do you see your painting as a treasure?
Place the painting on the table, walk away from the room, and then come back and glance at it. If your instant reaction is that there’s a valuable item on the table, the painting is close to the finish. Here, the difficult thing is that you need to recognize your reaction quickly and glance at the painting from a distance. The further away you can be and get the impression of a treasure, the better. When I use this test, I try to alienate myself from the painting before entering the room.

When you have produced a painting that meets your criteria, why not varnish, frame and celebrate it?! These are all important steps to me. Let’s start with varnishing!
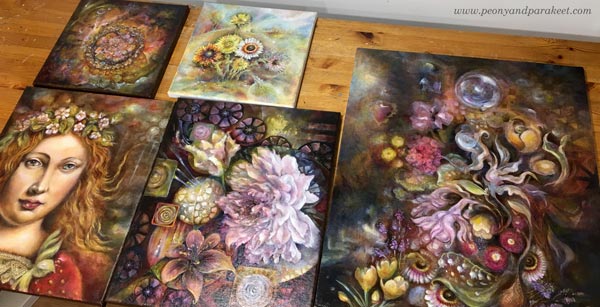
Before Varnishing – Take Photos!
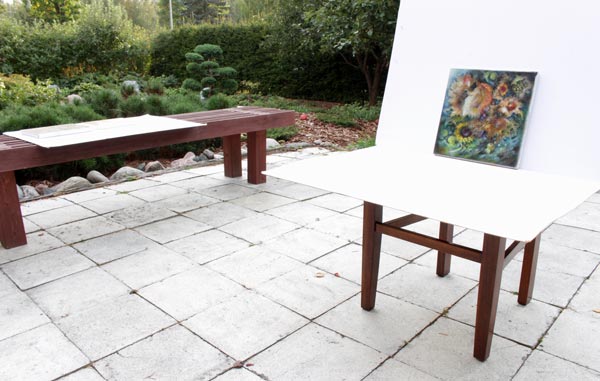
Varnishing makes the painting harder to photograph because it will have glares more easily. If you have produced your best work, you will also want to get good photos of them! I use a tripod when taking photos, and if the weather is good, I take the photos in natural light.
Varnishing an Oil Painting – The Traditional Way
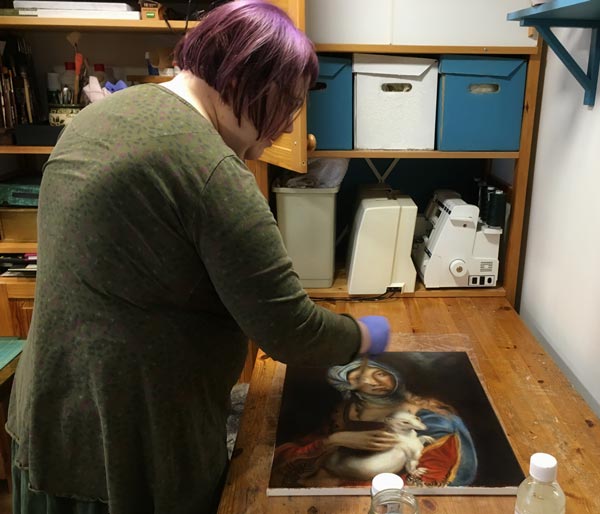
Oil paintings are tricky to varnish because they dry slowly. The drying time depends on how thick the layers are and how much drying time there has been between them. In any case, it’s months, and it can be more than a year! With “Gypsy Madonna,” I waited for nine looooong months. Every layer had dried a week or more, and they were very thin, so based on the advice that I got, that would be enough.
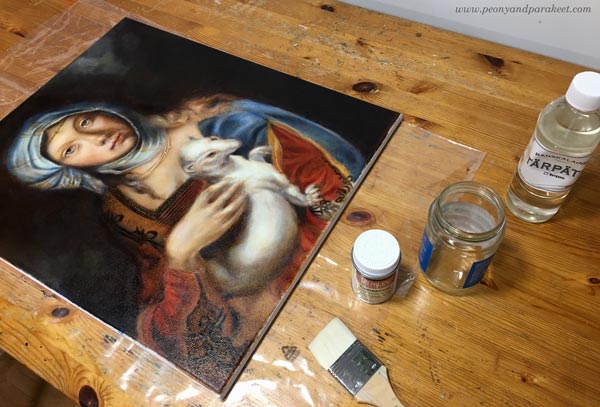
I bought Rublev Conservar Dammar Gloss Varnish with UV protection and applied it with a broad and soft goat bristle brush.
Always when varnishing, it’s good to:
1) double-check and follow the instructions of the specific product that you use. Don’t rely on the instructions that come with the bottle but go to the manufacturer’s website to see if there’s more advice.
2) apply a small amount of varnish and keep the layer thin.
3) let the previous varnishing layer dry properly before adding a new layer. Usually, a couple of layers are needed.
4) if possible, reserve a brush for varnishing only
Varnishing an Oil Painting – A Quick Solution
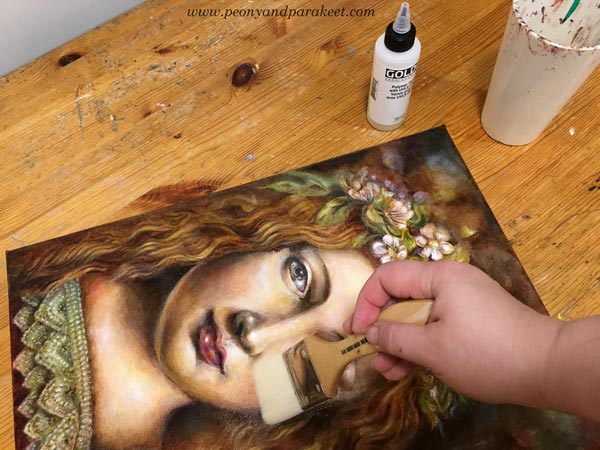
Luckily, there’s an alternative for traditional oil varnishes. It’s called Gamvar Picture Varnish. I got to know about it from my artist friend Eeva Nikunen. She has also made a process video about using Gamvar.
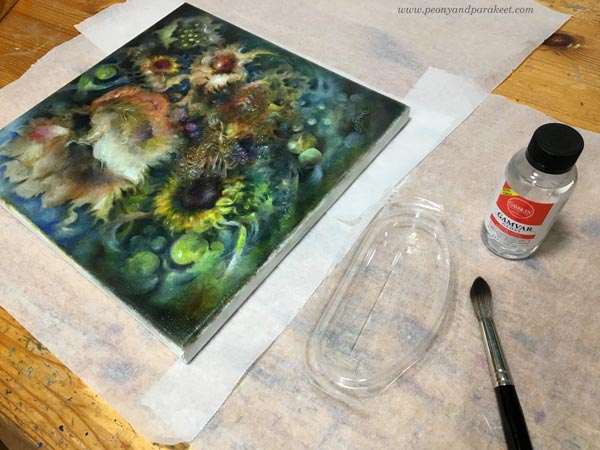
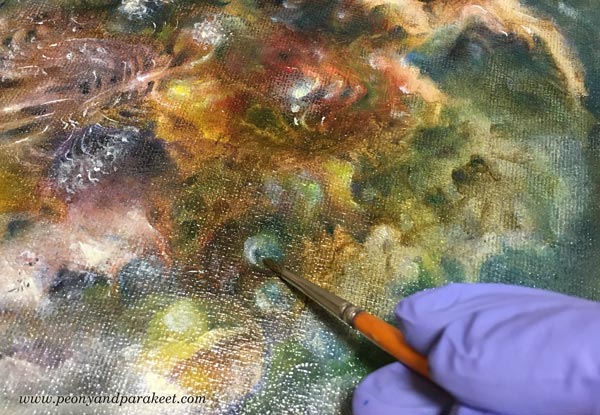
This medium only requires the surface to feel dry. So it can be applied after a few weeks after finishing the oil painting. I used Gamvar for the first time now, and because it’s thicker, it’s much easier to handle than the traditional varnish. Spreading Gamvar is more like rubbing with small strokes than painting with long strokes. A little sturdier brush works better here. I used a watercolor brush.
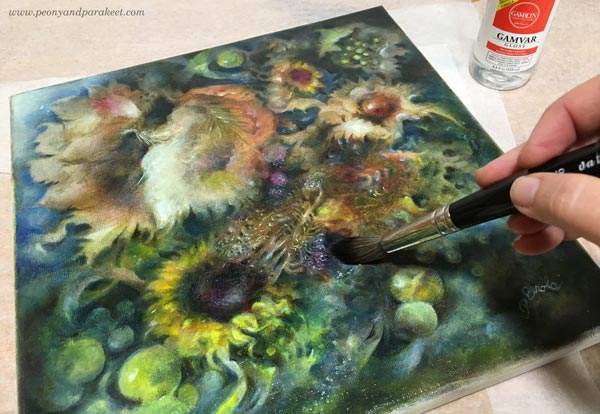
The pleasure of varnishing is the same regardless of the medium. The colors become more vibrant, and the painting begins to shine. I prefer using glossy to matte varnishes because I love the extra glow!
Varnishing an Acrylic Painting
Varnishing is not just for oil paintings! You can varnish acrylic paintings as well, just remember that they have their own products. I mostly use Golden acrylic paints, so when varnishing acrylic paintings, I have also used products of the same brand.
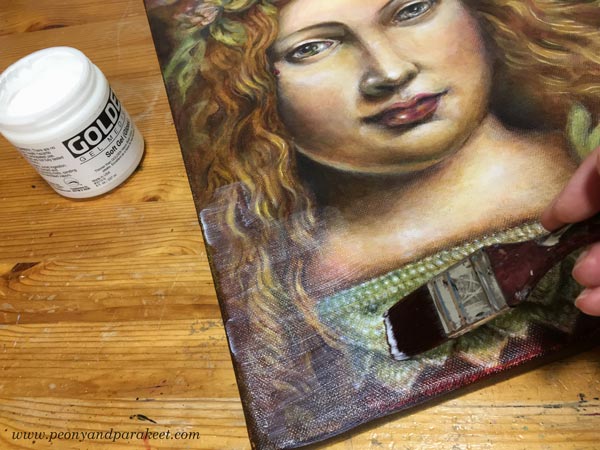
First, I add a layer or two of gel medium (Golden Soft Gel Gloss) before I begin the varnishing. Gel medium separates the paint layers from the varnishing layer. I mix some water with the gel medium to make it more fluid so that the brush strokes don’t show so well. I use a broad and flat brush and let every layer dry before adding a new one. It’s good to wait at least a day because polymer products can feel dry even if they haven’t dried properly yet.
Then I add 1-3 layers of Golden’s glossy polymer varnish. It has to be mixed with water, and every layer has to dry 3-6 hours before adding a new one. I try not to put too much pressure on the brush so that the brush strokes won’t show.
I think that after varnishing, the increase of the vibrancy is as visible as with oil paintings. Definitely worth the effort!
Celebrating the Finished Painting – Framing
If my opinion, the best way to celebrate the finished painting is to get it framed. If varnishing is the makeup, framing is the dress. The impact of the frame is incredible when it fits well and continues the personality of the painting. Sorry about the glare in the sample images!
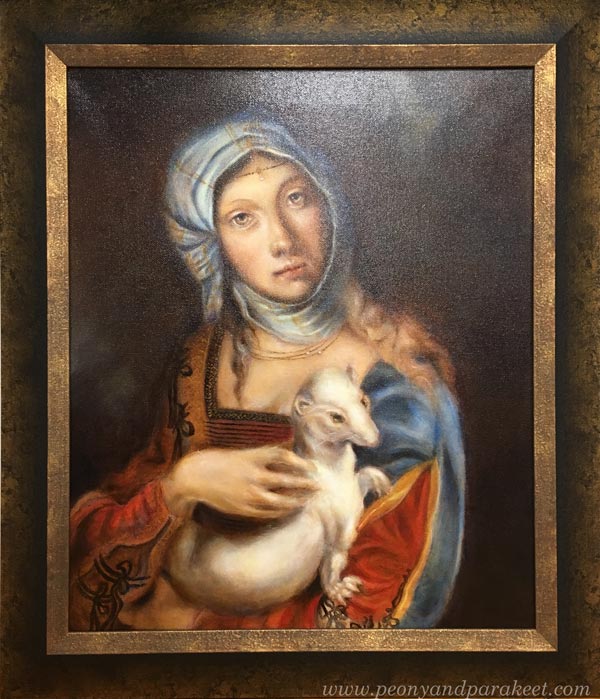
I use a local professional framer because I love the quality. I chose an old-fashioned and heavy frame for the Renaissance-style painting, and it made it look like an old masterpiece. Without frames, the image was much more modest.
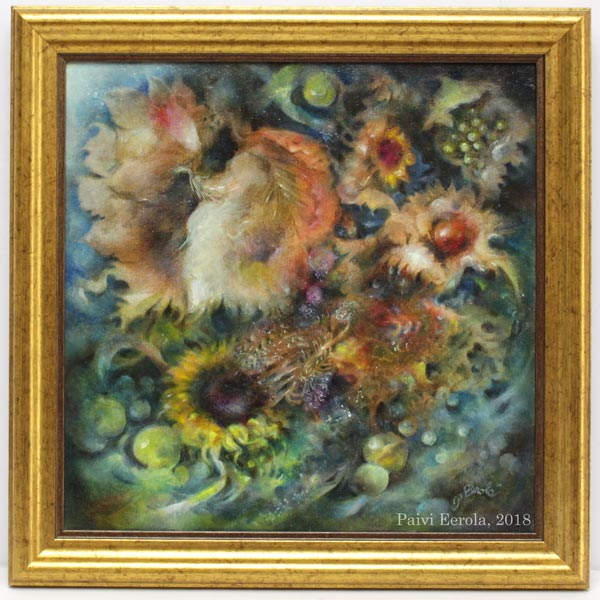
For this acrylic painting, I chose a dark frame that makes the colors shine.

If the frame were lighter, the dark colors of the background would have got more attention, and the result wouldn’t be as harmonic.
Today, I got “Temptation” from the framer. Because this painting is like a collection of treasures, I wanted the frame to be luxurious too.
Celebrating the Finished Painting – Music!
I also like to celebrate my best pieces by listening to some music when admiring them. I try to find a song that is aligned with the painting and it’s often a song that I have already listened when working on the piece. For “Temptation”, the song is Musetta’s aria from Puccini’s opera “La Boheme”. After exposing the painting to the critical eye for so long, it’s time to forget the struggles and enjoy the accomplishment. I find this combination of musical and visual pleasure one of the best joys in life.
I hope you too will celebrate your best work!
P.S. “Temptation” is now available in my art store, see more detailed photos there!
6 thoughts on “Varnishing, Framing, and Celebrating Your Best Paintings”
Comments are closed.
I thought you wrote : Vanishing and I loved the idea. How to know when to vanish!
Maybe an idea for a future blog post!
I certainly had no clue that paintings were varnished. I know that up close it must be much different, but even from here, I can tell that your paintings do look more finished with the varnish. Your music and art moments must be a real pleasure and I’m so happy that you have them. Some great artists were never happy and go went through life miserable that they are not perfect even if the world thinks they are wonderful. So sad for those creators. But not you, you are celebrating with joy for a finished work – congratulations!
Thank you, Mary! If the world celebrates us long after we have passed away, isn’t it sad if we don’t celebrate our work now?!
A great article — strange I was just looking on the internet for information on varnishing when your email arrived – perfect timing.
Thank you, Gloria!