
Fun Designs from Decorative Papers
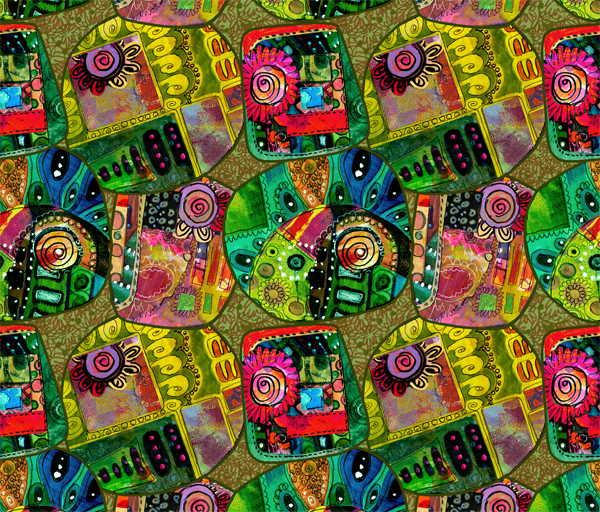
Were you ready for the color bomb? I just could not resist creating this design with the vibrancy that is almost inappropriate. Hopefully, you are like me and need to get your overdose of colors and patterns now and then!
Collage Elements
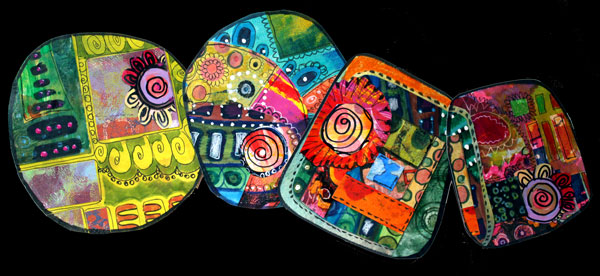
I have created this surface pattern from handmade collage elements. I often mention how I create single decorative elements which I use in collage art or art journaling later. This time, I made a pattern that is based on those odd elements. These elements are like mini collages. They were made by cutting handmade decorated papers and adding some doodling with markers.
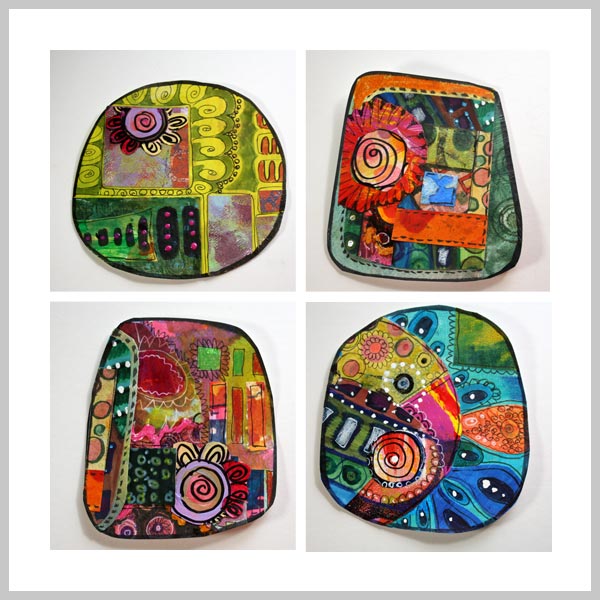
The elements might look complicated but are super simple to make:
1) Combine few paper pieces.
2) Add details with markers.
3) Cut the combined piece in half.
4) Repeat the previous steps changing some of the pieces as you go.
Cutting and combining the cut pieces repetitively is fun, and the result is like a mini quilt. Especially if you add seams with markers like I have done.
Surface Pattern
When creating a surface pattern, you also need something in the background unless you will put the elements tightly together. I wanted to add the background to make the design more interesting. The plain black background was something that I considered first. But it looked too separate from the pieces.
Luckily I save all kinds of doodles, even the ugly ones. I found a file called “blue mess,” a scanned image of the paper which I made a long time ago.
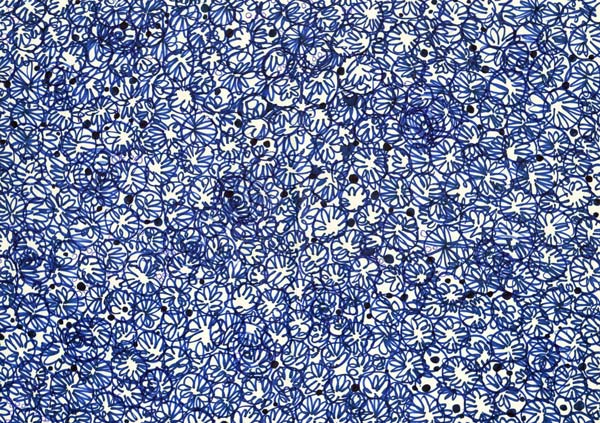
At the time I had thought this doodle was horrible, but now it would be just fine!
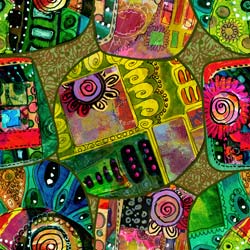 I processed my scanned images at Photoshop image processing software. At Photoshop I created a solid colored background, added the blue mess as the second layer and changed its color. Then I removed the white background from each of the four decorative elements and added a stroke to each element.
The repeat was created so that one decorative element is in the middle, two at sides and the fourth one at the corners. It takes some accuracy to place the elements so that they match when the design is repeated. It would have been easier to have each element separate, but I wanted to create a sort of appliqued look.
If you do not make a commercial pattern, you can just create an artwork manually instead of composing a repeatable pattern on the computer.
Here’s the design again, with more muted colors. This design reminds me of an old quilt, colors faded a bit unevenly but still suitable to be the centerpiece of any room.
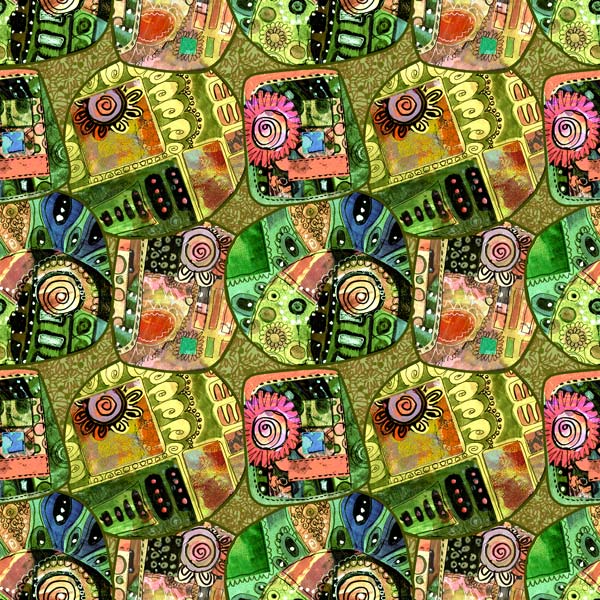
I call this pattern Kira.
Create more hand-drawn collages: Buy Doodled Luxury!
Fabric Collages

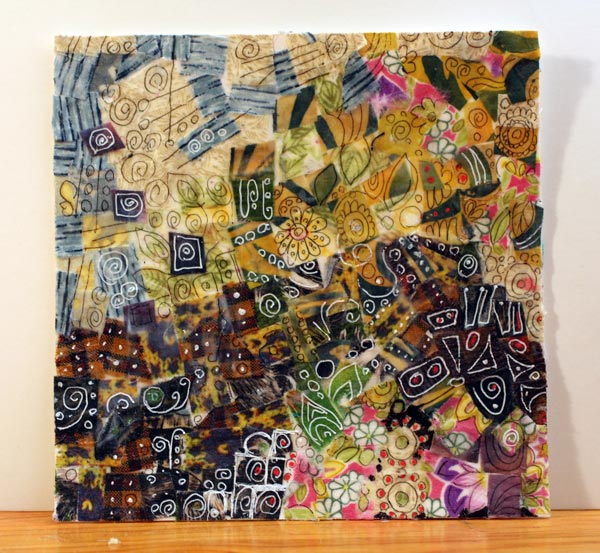
The idea for this card came from the pile of fabric scraps that I have. I began to wonder: could I use these instead of papers to create fabric collages?

Fabric Collages – A School Project from the Past
I also remembered one happy moment from the childhood. I was about 10 years old. A teacher asked us to bring fabric scraps to school. We were asked to cut the fabric into pieces and create a collage from them. My schoolmates were not excited but I was thrilled. I cut the fabrics into tiny pieces and began to glue them on a paper.
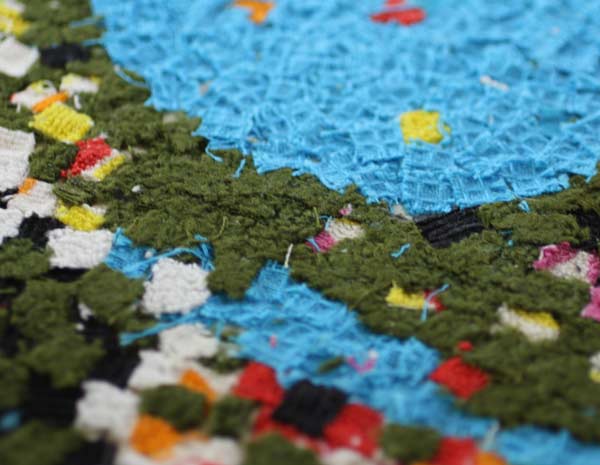
When I had finished the collage, I was very pleased with it. I had also had such a good time. Little did I know that I would be cutting tiny pieces whole my life – that the moment I picked the scissors was to follow me many times afterwards!

1) Cut and Glue the Fabric Pieces
The supplies for fabric collages are simple: scissors, glue, paper, fabrics.

2) Add a Layer of Gel Medium
Because my collage was small, I wanted to add some fine details and extra layering. To be able to do that, I covered the first layer with the gel medium. When dried, I would be able to doodle with markers and create dimensions by adding more layers.
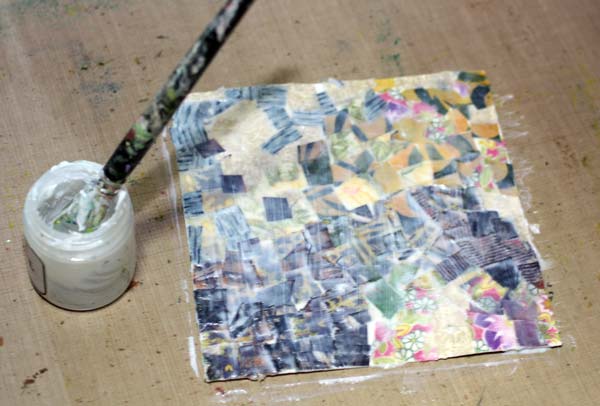
My favorite is Golden Soft Gel Gloss but any gel medium will do. Even if I am not a big fan of buying more stuff, purchasing this is a good investment. You can use gel medium not only to create surfaces but also glueing paper pieces when making paper collages.
3) Add Doodling
When gel medium dries it becomes transparent and you can doodle with thin markers or gel pens on it. Make sure to dry it first throughly!
4) Add More Details From Fabric Pieces
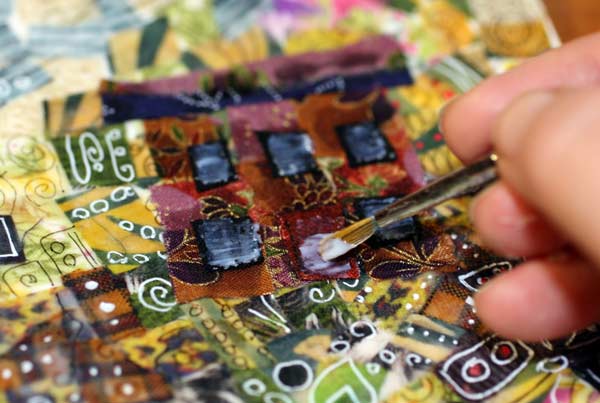
After doodling on the first layer, I wanted to add details like the house in the middle. After constructing the house with fabric pieces and glue, I added gel medium to the details to add some doodling on them.
The photo below shows how the fabric is layered. A part of the card is covered with gel medium and feels like plastic. There are also fabric pieces without any coverage on the top and they feel soft.
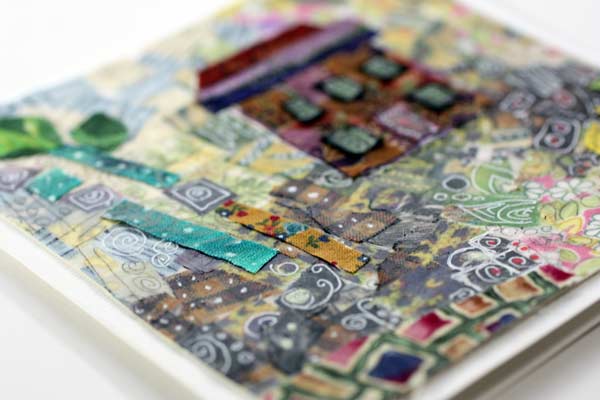
You do not need a sewing machine to enjoy working with fabrics!
Let me be your art teacher: Subscribe to my weekly emails!
Finished Art Journal
In 2012 I bought a pink Smash book. Two years later, it’s now finished. With this video, I want to encourage you to continue art journaling. Whatever a single page looks like, it will be pretty and meaningful when being part of the full book.
Finished Art Journal – A Thick Book!
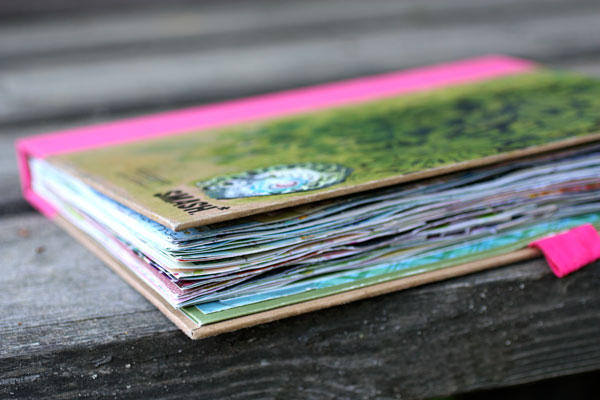
I love handling full books, the thick, filled pages just temp to open them again and again! Smash books have a lot of pages and I had to remove several of them when my book grew thicker page by page.
 See the blog posts written during the years about this finished art journal:
Pretty Art Journaling
the first pages and introducing the concept of the journal
There’s a Little Girl in All of Us
drawing faces
Smash Book or Handmade Journal
using Smash book as an art journal
Homemade Happiness
creating more pages
Art Journaling about Imagination
a spread celebrating imagination
Would You Try That
playing jewellery designer
You may also recognize some artwork on the video that has been shown in this blog. I often use art journals to save them.

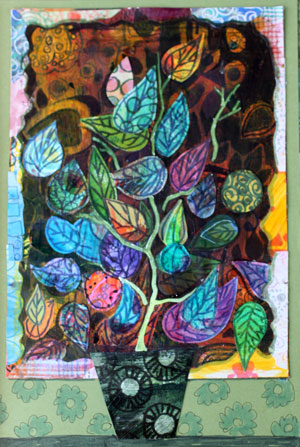
Here’s the back cover again which I finished on the video. I create decorated elements (like the centerpiece of the flower) now and then. They are stored with hand decorated papers and when I create collages they often work as jump starts. It always looks better if all the elements are not made in the same day! The same is with the journal itself – keep on decorating, day by day, one piece at the time!
Let me be your art teacher: Subscribe to my weekly emails!
Creating Collage Mandalas
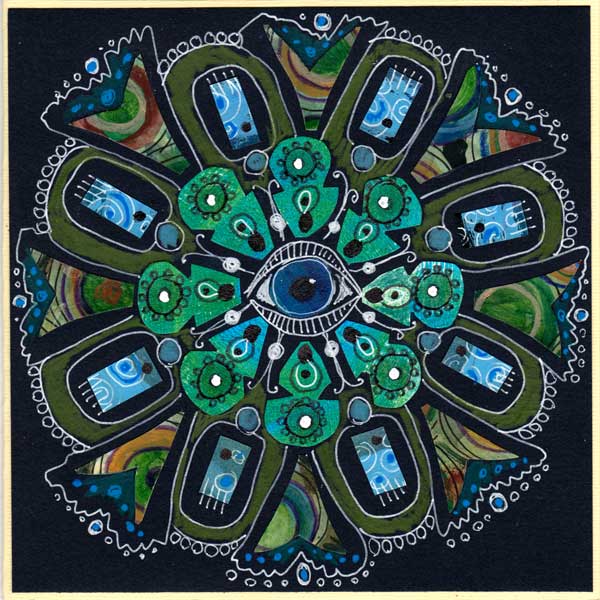
If you like cutting papers with scissors, create collage mandalas! And if you need more inspiration for cutting, read this post first: 5 Reasons to Enjoy Cutting Paper with Scissors)
Circles Are Everywhere
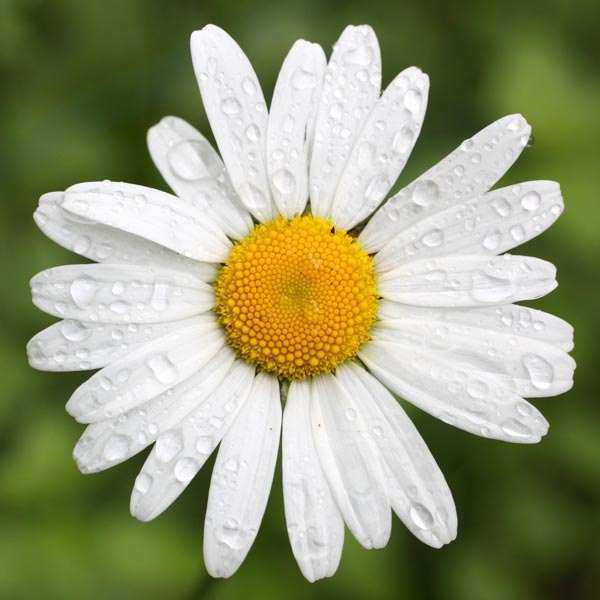
For some people, mandalas have spiritual meaning. They usually represent universe or unity. As the word “mandala” means “circle” they can be almost anything and seen almost anywhere. I am often inspired by the circular shapes that I see in nature. Mandalas are usually symmetric, so they are surprisingly fast to make. The mandalas that I made are very straight-forward, yet eye-catching.
Basic Instructions for Creating Collage Mandalas
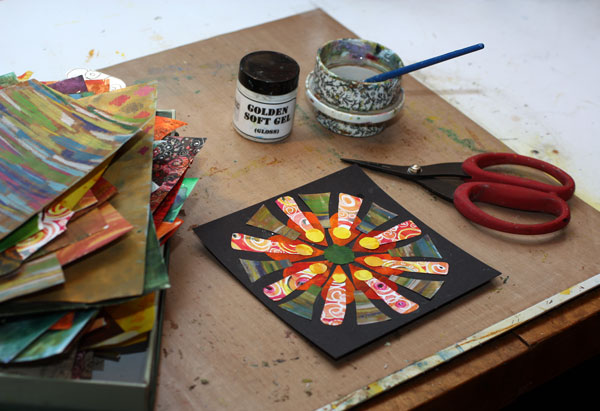
1) Cut a centerpiece and other pieces (3 to 5 different shapes, 6 to 12 pieces each) from decorated papers. I cut the pieces freely with scissors not worrying too much about their similarity.
2) Glue the pieces on the solid background paper. I used Golden Soft Gel Gloss gel medium, but you can use almost any glue. Measure the middle point of the background paper and start attaching the pieces from there.
3) Draw some more shapes with color pencils.
4) Doodle the finest decorations with a white gel pen and a thin black marker.

If you study my mandalas carefully, you’ll see how carelessly I have cut the shapes. They are not identical or perfect. I think that the result is more human when using scissors instead of cutting machines or shape cutters. Look at that photo of the daisy flower again, doesn’t the flower look more like hand-cut than machine-cut?
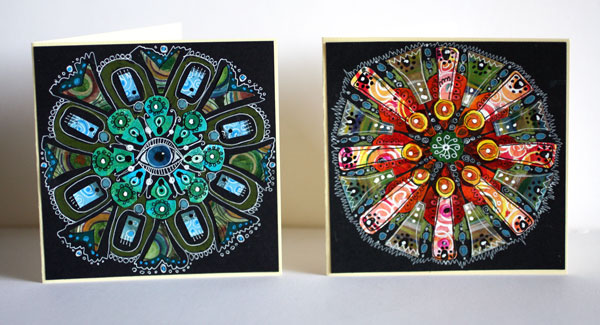
I made my mandalas as greeting cards. I think they would make great gifts!
Create more luxurious collage art: Buy Doodled Luxury!