
Using Molding Paste in Collage Art
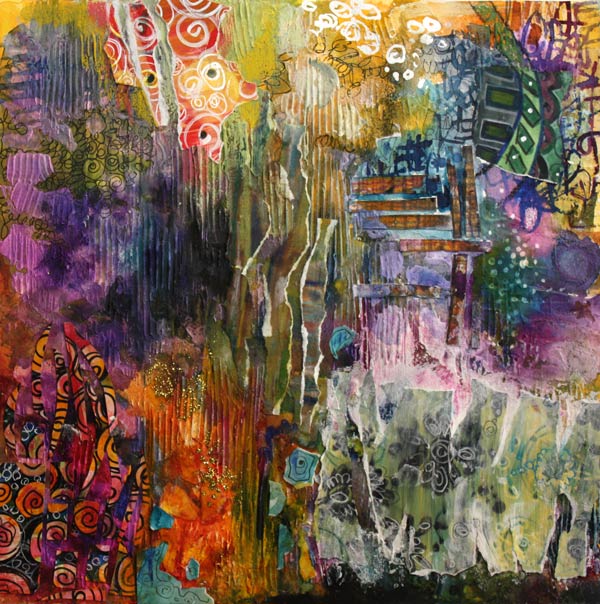
I have had the idea for this painting for a long time: to mimic fabrics including their surface structures. I wanted to combine watercolors and decorated papers with the structures I also had a deeper theme: being open for combinations. Fabrics in a quilter’s stash have no hierarchy between each other. Similarly, we can accept different sides of ourselves and our lives and make them work together.
Creative Process with Molding Paste
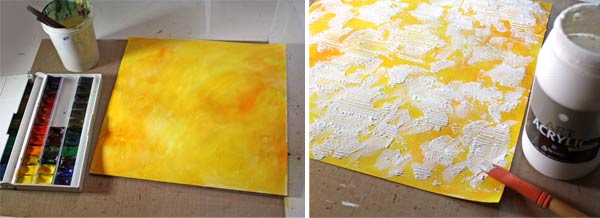
I began the artwork by painting a watercolor paper yellow. I love my White Nights watercolor set, its colors have such a great intensity! After the watercolor background, I added splotches of molding paste and made it look like corduroy by drawing straight lines. My paste is a Danish product, Schjerning Smooth Structure Paste, but if you are going to purchase some, I would recommend Golden Molding Paste.
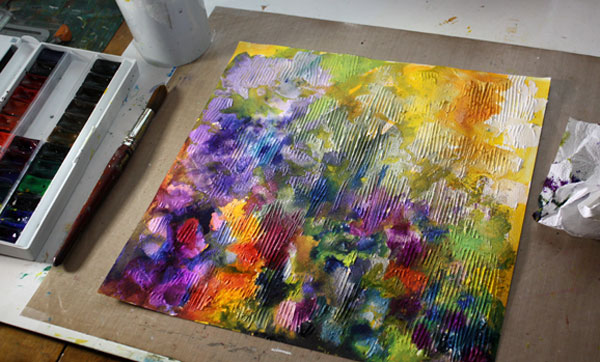
The great thing about molding/structure paste is that, after it dries, you can watercolor on it.

You can also paste extra layers.

It is difficult to doodle on the layers but if you leave some areas free of paste, you can doodle there. The combination of the structured surface and doodled areas create great contrast.

You can also add decorated papers and achieve a more detailed look that way. I tore most of my papers by hand so that their soft edges remind from the softness of fabrics.
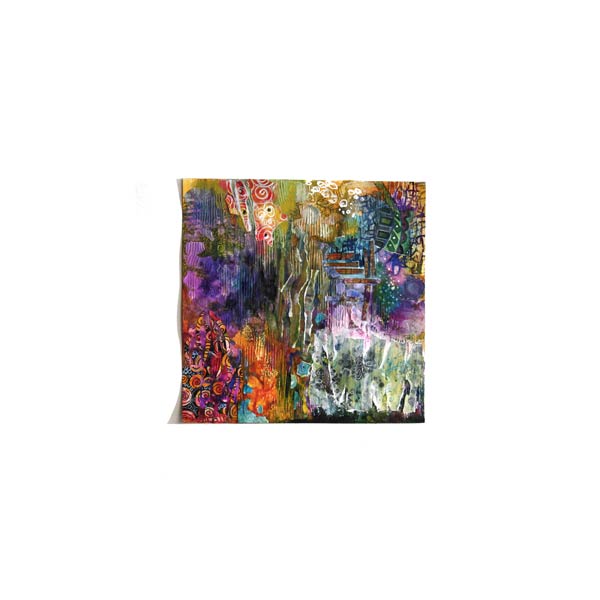
I do not usually look my paintings from the distance before they are almost finished. I feel it is unnecessary to try to balance an unfinished work. The last little details are added based on what I want to emphasize. In this work, I wanted to create a composition of several equal areas. The final step was to add the little turquoise pieces in the lower part of the work. Working as a contrast color, that made the weight of the orange equal to the other bigger areas.
Have you ever used surface structures in your art or craft? How? Which do you enjoy more: structure or color?
Let me be your mentor in art: Subscribe to my weekly emails!
Bad Art – How to Fix Mistakes?
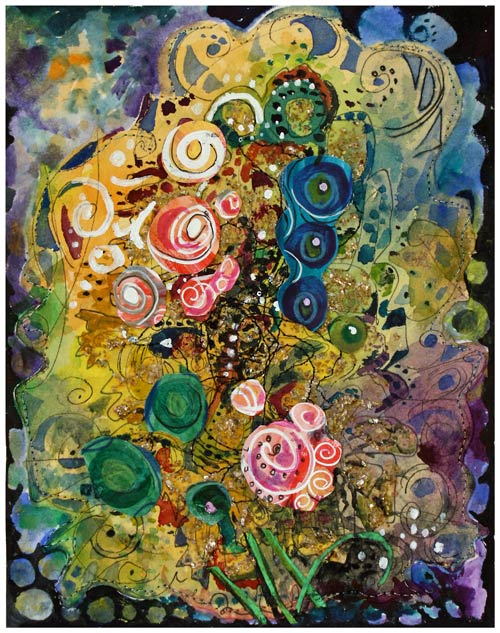
Have you ever created something you absolutely hate? Did you make a page in your art journal that makes you want to tear off the page? Did you create a card that you don’t want to keep neither give? I do that almost daily, with the exception that I don’t call that artwork finished. Making mistakes is the essential part of the creative process. Without destruction there won’t be creation!
I will show the process of the collage card that I made for my sister. You will see how I almost destroyed it with very bad decisions. You will also see that without those stupid mistakes the card would not look detailed enough in the end.
Yes, speaking of finishing, every art teacher that I have met always say the same thing: “Your art is finished when you feel so. If you can’t think of anything more to add, it’s finished.” I don’t think so. If you want to develop in making art, you will not stop when your brain says so. It is your rational side that is speaking and you need to get in touch with your creativity.
Let’s see how I began creating the collage and dive deeper in the process of making mistakes and letting creativity take over.
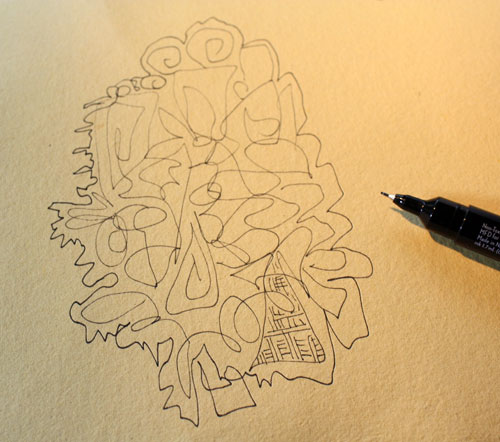
Here’s the fist step. I just grabbed a paper and had some fun doodling. I felt pretty light and cheerful at this stage.
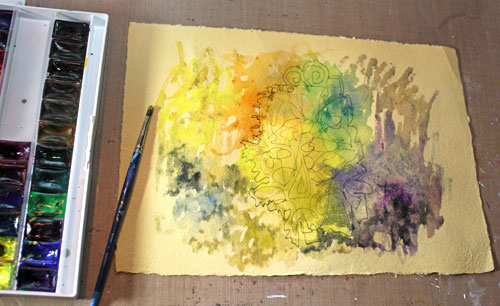
Then I took out the watercolors and realized that the paper that I had picked is perfect for them. It was handmade recycled paper that I had bought from a handcrafter a year or two ago. The paper is made from old linen sheets and I love the way it absorbs water.

To create something a bit luxorious I opened a jar of Golden Mica Flakes. It is actually grey paste which looks stunning gold after drying.
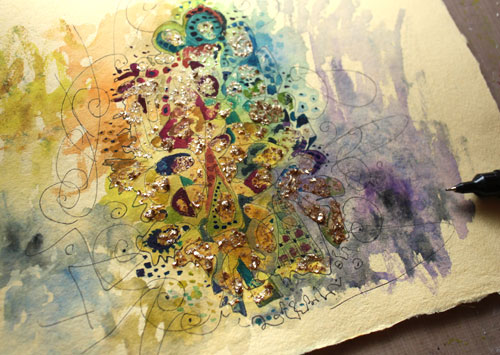
After adding some details with watercolors and extra doodling, you could be fooled to think I was finished. But knowing better, I moved forward and got a crazy idea to cut the piece.

Oh my. At this point I knew I had made the first move towards distroying my pretty little ornament. Next move to the same direction: sewing machine!
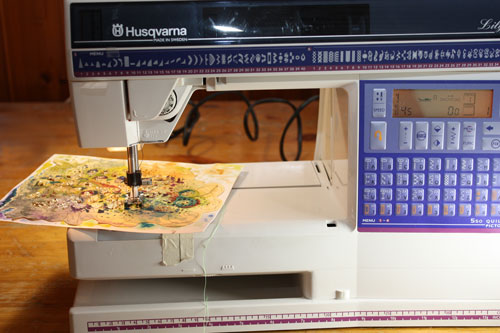
I got an obcessive idea to use machine sewing for the details. And after trying to fix everything with some more watercolors, I knew I had done it: it was ruined!
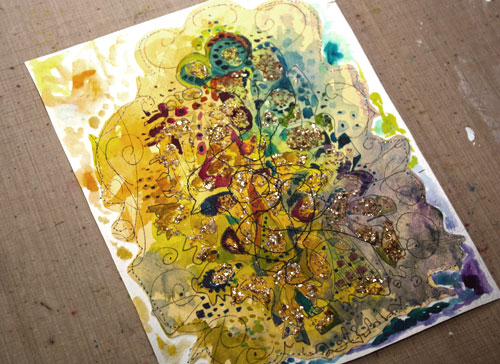
I could have stopped here and call it bad art. But while making a lot of bad decisions and messing up the good start, I had found the speed and the mindset of creative thinking. This is why you should never stop after making mistakes: you have then just opened the door to your imagination! And if you made no mistakes, you did not even enter the front yard!
Now, at this point of the process, you should not quit neither continue with the rational mind. Do not take any black or white paint and paint it all over! That is conscious destruction and far from what your creativity can accomplish.
You should just keep on working with high speed and continue adding new details. Even if it feels stupid, even if your mind is blank, just keep on adding. If you feel like you need any direction, then turn on some music or take a picture or a photo that you like and put it near to your work area. But do not look the picture intentionally. Just trust on your wild side!
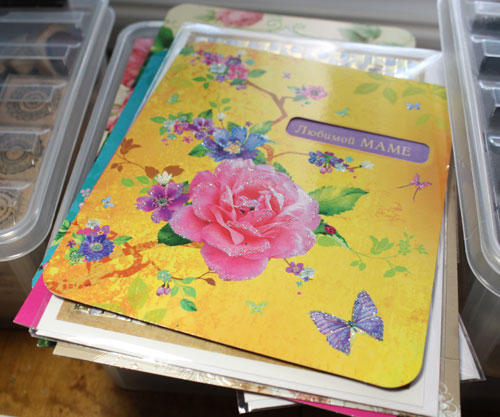
To save my ruined piece, I used this lovely card that I had bought a year ago while visiting St Petersburg, Russia. I set it so that it was a bit higher than the table top. That way it did not catch too much attention while I was working.
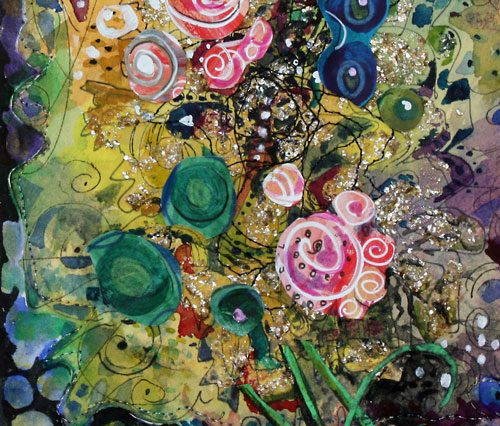
See how the russian roses began to appear to my work! I did not think of the roses or the rest of the russian card while I was trying to save the collage. I worked fast and intuitively without questioning anything.
How did I knew when it was finished? When the things I kept on adding became smaller and smaller, finally so small they were almost invisible.
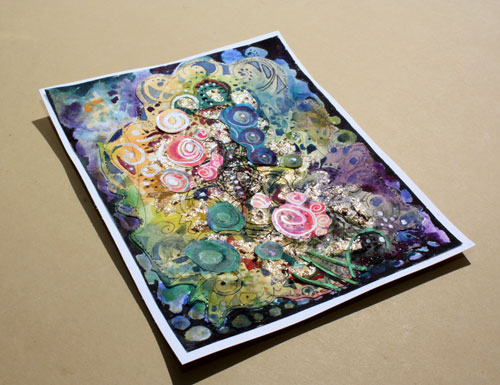
So, my advice is that if you made something pretty, destroy it with your mistakes! And when you made a punch of them, begin enjoying your creativity and finish your work!
I try to be prepared for the “bad art” part so that I begin lightly. Starting with skecthing and watercolors makes it possible to add plenty of layers afterwards.
I would love to hear what your thoughts and experiences are on this method. Leave a comment!
Found Your Style without Noticing It?

I was about 15 years old when I created this underwater scene. It was made at school, and I remember that we were told to draw fishes. Already showing a romantic character, I had to add the treasure chest too!

It is surprising to realize that even if tens of years have gone by and life has changed tremendously, my creations still look the same. Someone could even find it a bit ironic: no development has happened during all those years!
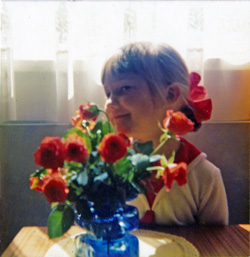
Have you saved any of the drawings that you made as a child? Have you ever compared them to what you create nowadays?
Back then, it never came to my mind that I had discovered my style. On the contrary: when I grew up I lost the grip of the treasure chest. It took tens of years to get back on track. Or better said: To let go and go with the flow. Those things are just easier for a child than for an adult.
The fact is that the more serious you are, the fewer opportunities you will give to your creativity. The more the days go by without playing, the less likely your imagination will guide you.
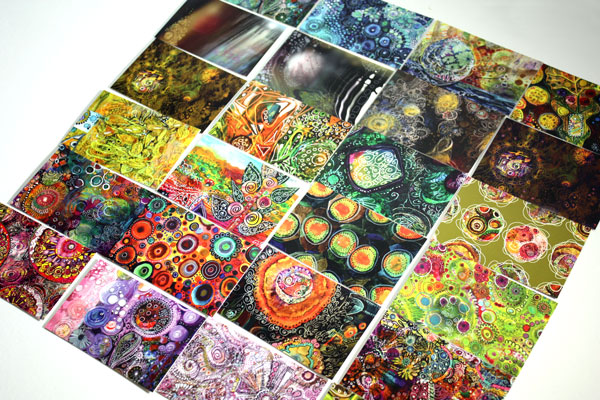
I believe that instead of thinking about single projects and their success, it is good to think about continuity. Some day you will be astonished how full your treasure chest is and even better: how your imagination has added value to your art or craft.
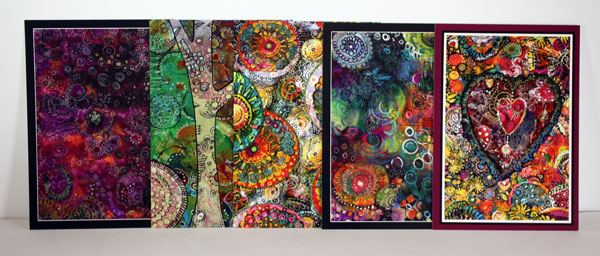
Save and cherish what you make. Within time you can create treasured collections of your work.

Plus it is good to remember that there are wonderful opportunities to create printed products from your art, for example, Society6 art prints and accessories, Spoonflower fabrics and Moo.com postcards.
Let me be your art teacher: Subscribe to my weekly emails!
Using Black in Art Journaling
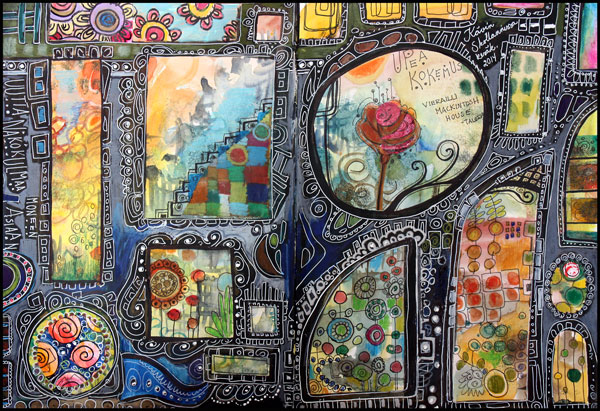
Last week was great. I went to Scotland! I started with a small business conference in Glasgow and then had a couple of days sightseeing. My husband joined me in the end of the week and we really enjoyed our time. To celebrate the journey, I made an art journal spread which is based on the easy, yet effective technique, using black in art journaling.
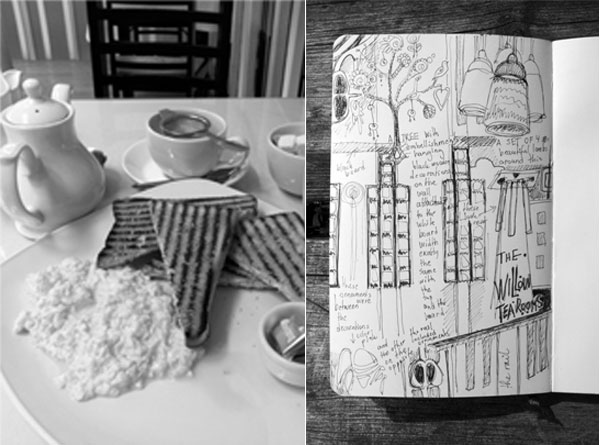
Before I get into the process of creating the spread, I want to show a page of a smaller art journal which I had with me. I made the page while I was eating breakfast at Willow Tea Rooms in Glasgow. It is a wonderful place for a Charles Rennie Mackintosh fanatic as I am.
Charles Rennie Mackintosh was a designer and architect in the early 20th century. I have admired his and his wife’s Margaret MacDonald’s work for ages, so I wanted to look around the tea room area really carefully. Because sketching not only makes me observe things in detail but also memorize better, I recorded most things that I saw. The first tip of this post is to create sketches before making the actual pages. It is easy to keep a black pen and a small journal in the bag.

When I saw this doorway of St Conan’s Kirk, I knew it would be inspirational after getting back home. When thinking of doorways and windows I remembered a page spread in my largest art journal which was started some time ago but was not finished. I often create jumpstarts for the future pages. This was just perfect for the theme!
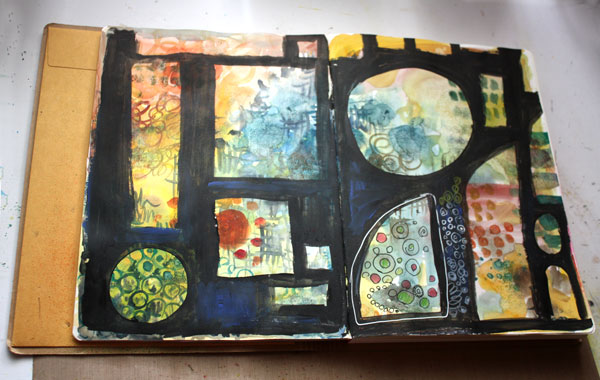
To get to this stage is really easy:
1) Paint a background with watercolors. Use various colors and brush sizes. Do not repeat colors or patterns too much but create areas that differ from each other. Create few layers and let each layer dry before adding the next.
2) With black watercolor, add a new layer on the top. Leave empty areas so that the previous layers show through.

And after the black layer is dry, the real fun begins:
3) Doodle on the black areas with color pencils and gel pens. You can also add details in the other areas. Feel free to use decorative papers too.

I wrote to the art journal that my best experience of the journey was to visit Mackintosh house. Taking photographs was not allowed but I did manage to take a couple of photos of Charles Rennie Mackintosh work. The first photo is from Kelvingrove art museum which is located near the Mackintosh house. In the second photo I am standing on the front door of Mackintosh house. There were no stairs as the house was a replica of the real house and was built inside Hunterian art gallery.
When walking around the interiors designed by the creative couple, Charles and Margaret, I wondered what kind of discussions they had had in their beautiful home. Margaret’s remarkable collage art showed extreme talent but she was not valued as an artist back then. Charles also struggled at times. Still, what those two people shared with each other, must have been wonderful and deep. I just wish I could take a time machine and spend at least one evening with them, talking about the form, design and philosophy of art!
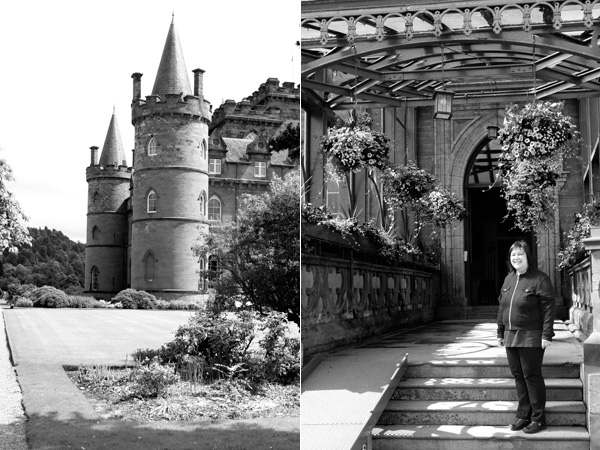
These photos also worked as inspiration to the art journal spread. Here is Inveraray castle and its beautiful entrance with summer flowers.
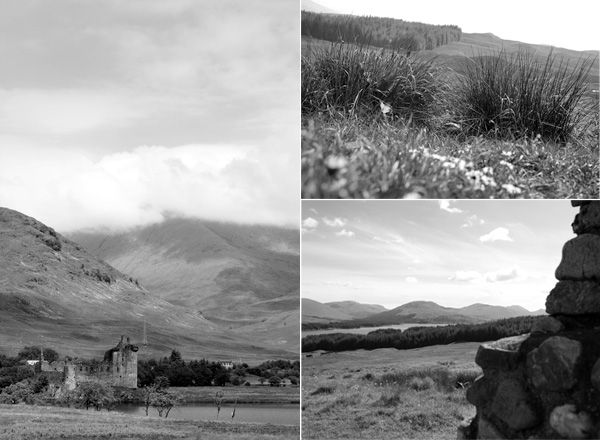
The day we visited the highlands was sunny and the nature looked incredibly beautiful. The Stalker castle was not available for visitors but the view from it must be breath-taking.
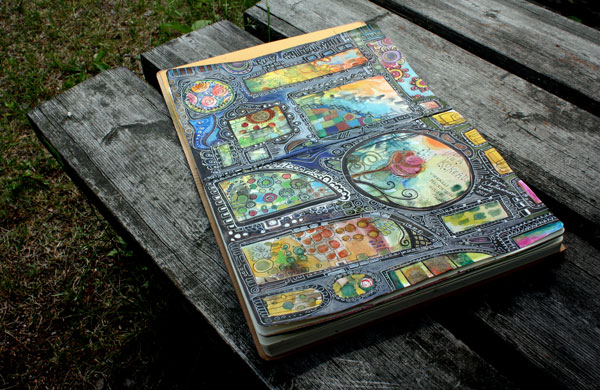
Here’s the finished spread again. Hopefully you enjoyed the photos of the journey and fell in love with Mackintosh couple’s work. I also wish that you’ll try my technique of using black in your art journal!
Let me be your art teacher: Subscribe to my weekly emails!