
Circulism – Freely with Colored Pencils by Using Circular Motions
This week, I want to bring up a technique called circulism. It’s great for colored pencils when you want to achieve a soft and somewhat vintage look. It’s also a useful technique if you find shading with colored pencils difficult or are hesitant about mixing colors.
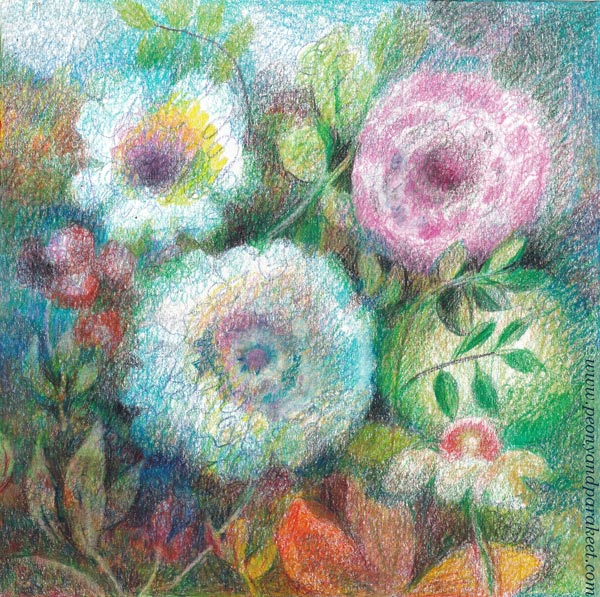
In this blog post, I show you how to use this technique to create freely and expressively, without any reference photos or even outlines. You can just pick a pencil and start making continuous circular lines without a specific plan, and let your intuition and imagination take over.
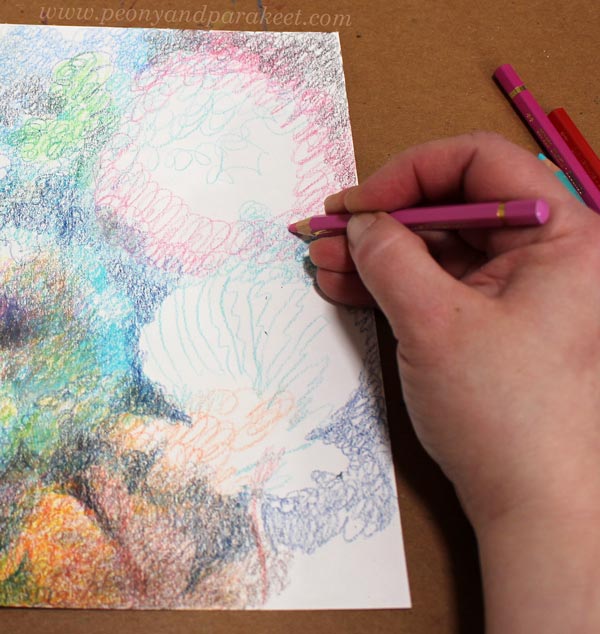
You can also combine circles with other kinds of lines, and thus create different textures that are like meshes on paper.
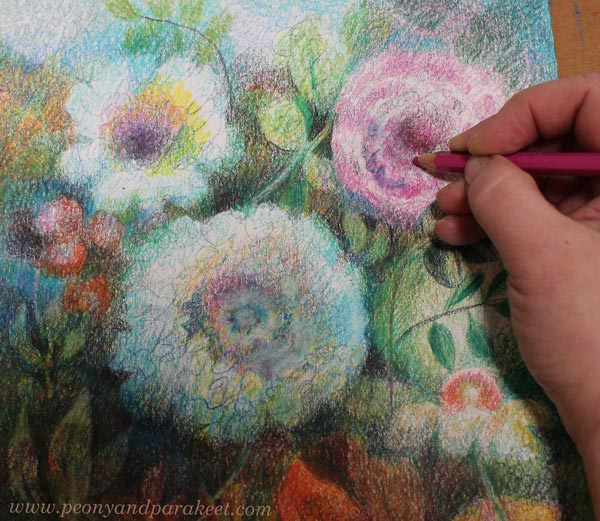
When you are close to finishing, include sharper lines to reduce the blur in the drawing.
Sounds simple, right? Let’s explore this technique in detail by coloring a mini scenery.
Circulism Tutorial – Mini Scenery Step by Step
Here’s my mini scenery, but yours can have different colors and a different atmosphere. The idea is to draw circular lines with different colors and get soft color transitions and mixtures.
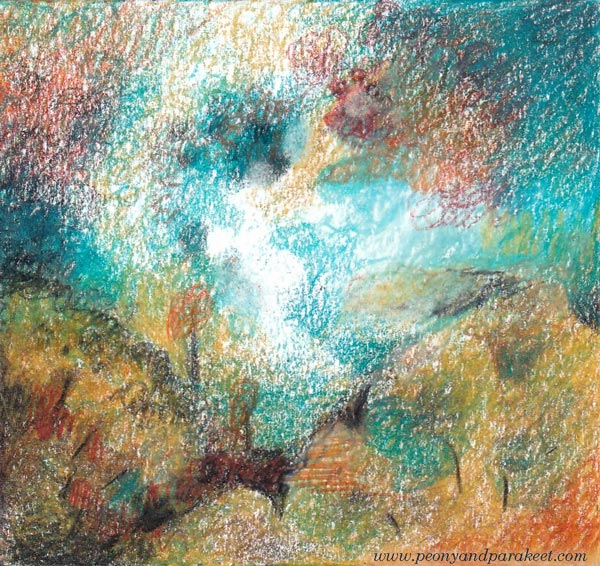
I got the idea for this mini-scenery after I visited Galerie Forsblom in Helsinki to see Petri Ala-Maunus‘s exhibition. His art is based on very small strokes, and the result is stunning and historical-looking. We can achieve a quite similar effect in colored pencil by using circulism.
Step 1 – First Circular Strokes
You only need colored pencils and a small piece of paper. Start by practicing the continuous circular line and, at the same time, marking the corners with different tones. Calm down and keep the circles small!
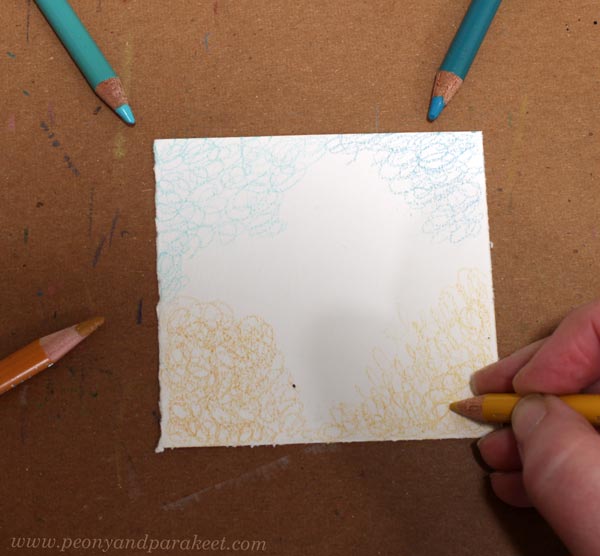
I have darker and lighter tones of two different colors. When every corner is a little different, either in color or in darkness, it’s easier to get inspired.
Step 2 – Layered Corners
Add some darker neutrals to your color selection. I have black, dark brown, and a little lighter, warmer brown. Add more layers to the corners by making circles with the first four colors and with the new neutrals.
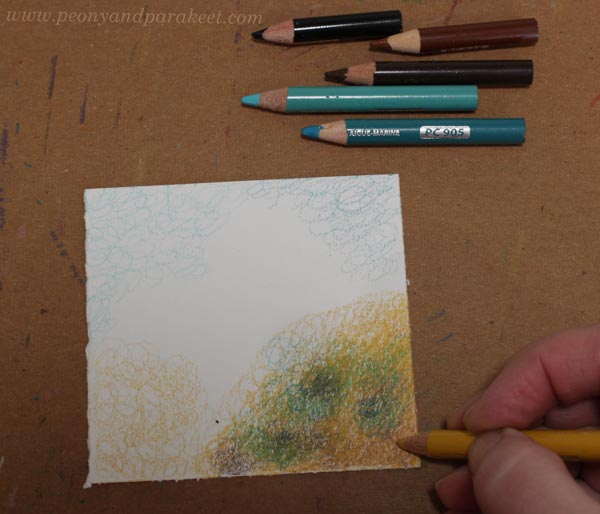
Work on one corner at a time. Make sure that the original color from step 1 dominates, even if you also use other colors. Don’t just color evenly, but create blurry clusters.
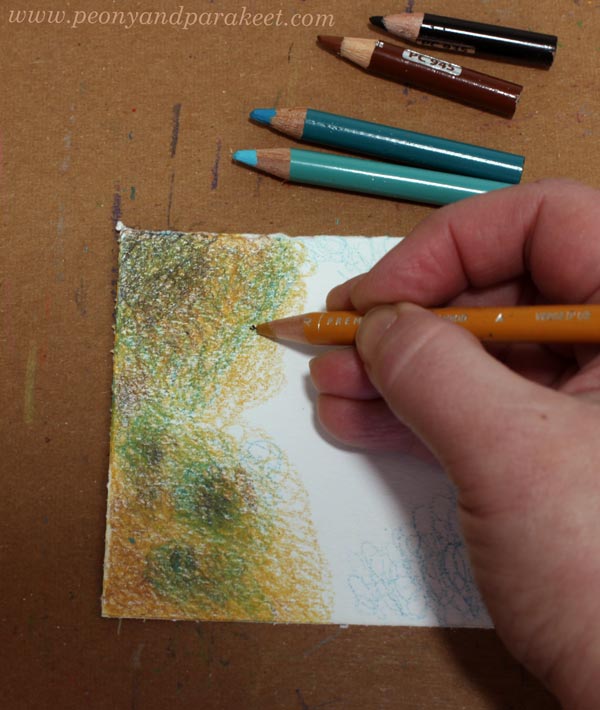
Change the orientation of the paper to achieve a more balanced circular mesh. Treat every corner a little differently.
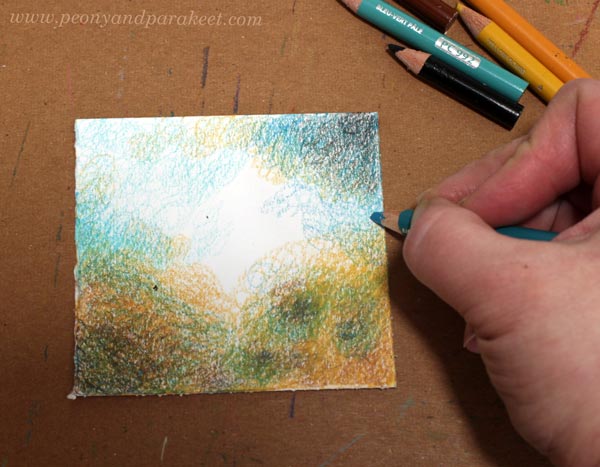
Here you can see how my corners are different. One is very light, for example.
Step 3 – Valley
Add a valley between the lower corners. Draw a route across the landscape and add the horizon. Use circular strokes wherever you can.
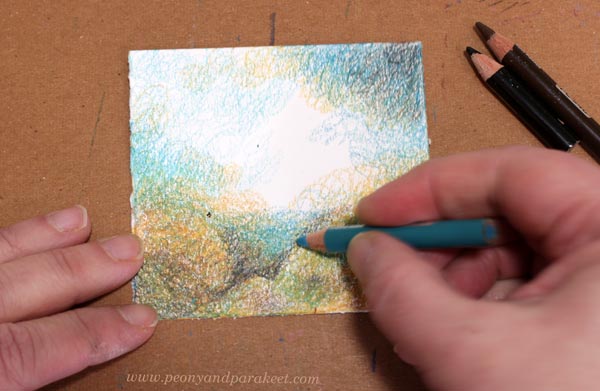
Make sure your valley is dark on the bottom. Keep the center blank.
Step 4 – Clouds
Make the sky more expressive. With circular motion, draw clouds by adding contrast and colors to the sky. Remember to keep the color transitions soft.
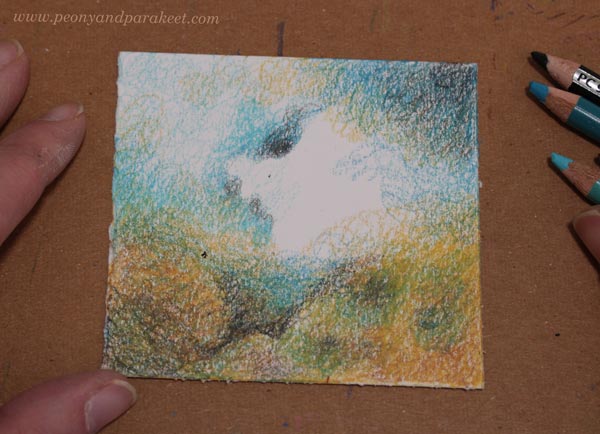
Step 5 – More Layers
Color more details in the earth and the sky. Color over all the layers so that the coverage becomes better. The sky can have some very smooth and pale parts, and there you can use a white pencil.
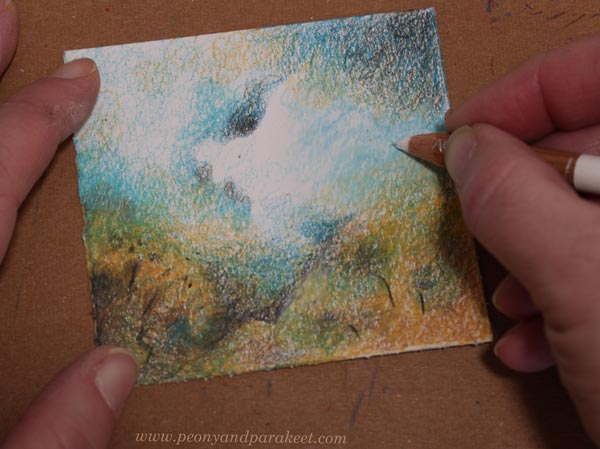
Notice the dark lines that define the valley and some trees.
Step 6 – Finishing Touches
Adjust the shape of the blank center area by coloring its surroundings.
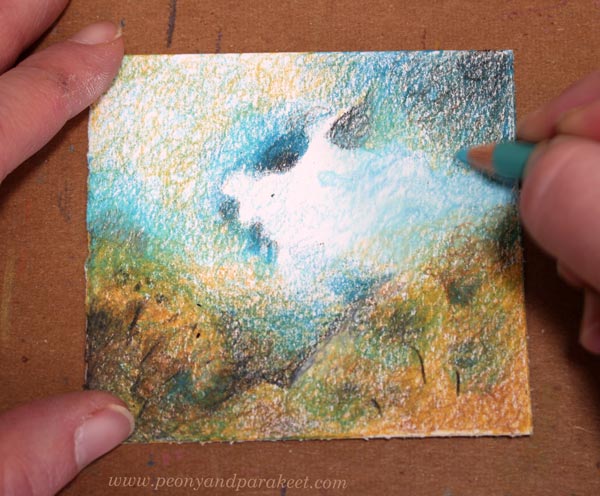
Bring in a couple of accent colors to make the color scheme richer.
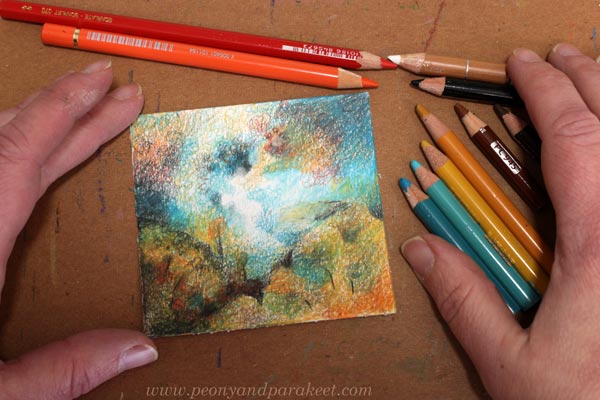
The Possibilities of Circulism
Try combining circular strokes with different methods to add depth to your art. We usually think about colors and layout, but don’t forget the texture. This enriches your visual language and makes the drawing much more interesting. Softness also brings more depth and adds spirit to your work.
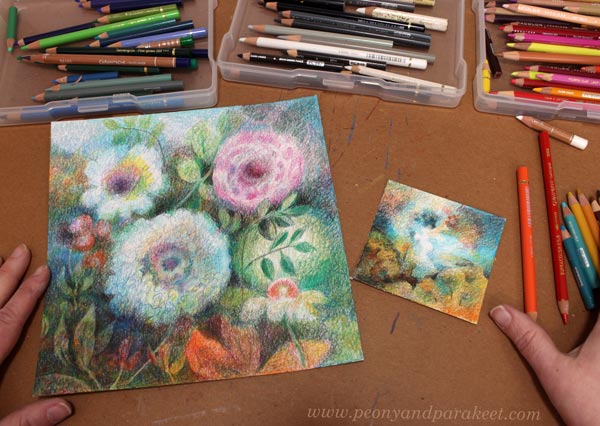
So, when you are working on my colored pencil courses, for example, Intuitive Coloring, you can add some circulism there too!
8 thoughts on “Circulism – Freely with Colored Pencils by Using Circular Motions”
Comments are closed.
oh wow, this give such lovely results.
Impressionistic in a new way. I will have to give it a try.
Thank you for sharing!
Thank you, Tammie! I am looking forward to seeing your versions at Bloom and Fly!
I love the soft muted tones of colored pencil… and this circulism is such a lovely way of attaining this dreamy effect … Are you using traditional colored pencils here? … I’m imagining that water-soluble or inktense pencils… would be far too extreme to accomplish this lovely mystical illusion….Thanks, Paivi … I’m going to have fun experimenting with this circulism technique …Hugs
Thank you, Roslind, I am yousing regular pencils here. I am looking forward to seeing your versions at Bloom and Fly!
Oh paivi
I just love this
I can’t wait to try it
I’m learning so much from you
Thank you, Suzie, have fun!
I’ve been using this technique with colored pencils before, because caressing the paper with pencils is difficult. My piece turned out to be a lace-winged butterfly!
That must be beautiful, thanks for sharing, Julia!