Finding Your Identity
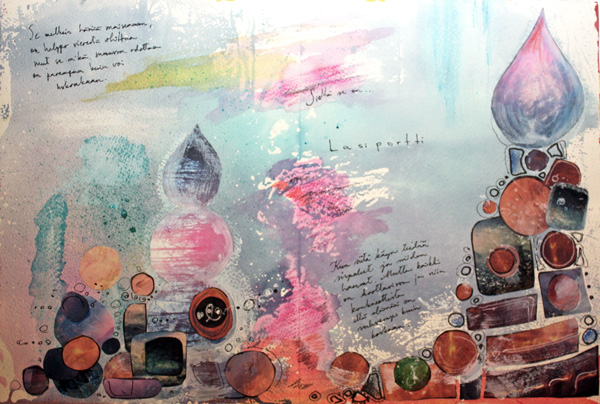
I am often unable to put my thoughts into words before I see them as a visual image. When creating this art journal page spread I had a strong feeling, a specific set of colors and a visual sketch in my mind. When I transfered the image to paper it became easier to catch the words that I was chasing: The Glass Gate.
 Finding what you are and what makes you happy is like traveling in the fog. You see things that you are drawn to. Often they do not seem to make sense. Once you spend enough time for searching it becomes more and more clear that all those things do have a connection. There’s something what you’ve made for. You only have to find this glass gate, standing in the fog. You pass by it, you are so close, you just don’t know it. Once you see it, it’s all so obvious. The gate is huge and the pilars are shining. You can walk through and it’s not a big task at all.
I strongly believe in this. By listening yourself and analyzing things around you, you will find your own style, your own mission and your true identity. It might be a journey that takes the whole life but once you are on a right track it feels so good.
For me one mystery has been the watercolor paper. I have always loved it but never really cared for painting watercolor landscapes or still lives. Now, when I began to used it as the foundation of my art journaling, I feel more free than ever when creating images. A very small little detail, not even very philosophical, but it has made a big difference for me.
Combining Acrylics with Watercolors in Art Journaling
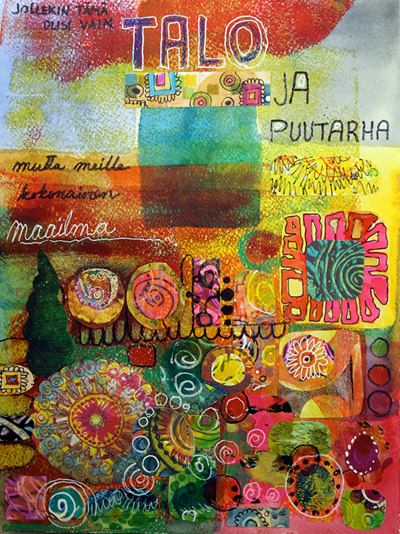
This summer has been sunny and warm in Finland. It has been great to spend time outdoors, gardening! Our garden is still work in progress. I think about it constantly. And it shows here in this art journal page, as well as the hot summer days!
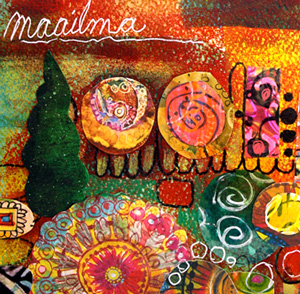
I love the combination of acrylics and watercolors. They make a great background. Start with the acrylics, leave some unpainted areas and the add watercolor to them.
I continued by adding some handdrawn papers and wrote: “For someone this would be only a house and a garden but for us it’s the whole world.”
Coming up in Espoo, Finland: art journaling courses by Peony and Parakeet (in Finnish). The first evening (19th September) is about creating pages about landscapes and places!
Art Journaling Doilies

I haven’t ever been brilliant with watercolors but I have grown to like them very much. Recently I have used them more and more in art journaling. On this page I have used just watercolors, color pencils and markers.
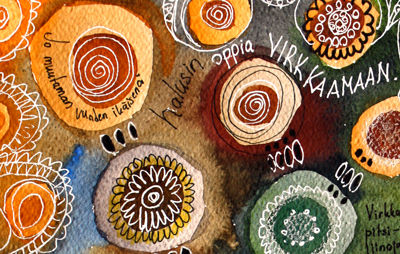
This page tells a story and that’s something I want to increase too: add more text and content to my pages. Here I write about how as a small child I wanted to learn how to crochet. I thought it is a part of good parenting to teach the child to crochet as young as possible! As soon as I learned it I was crocheting like crazy: doll clothes, doilies, clothes, valence curtains … I was the crocheting queen until I started dating and my boyfriend took me to see his family’s summer cottage.
All the textiles in that log cabin were crocheted! Full-sized curtains, bed covers, cushions, table cloths, you name it! His grandmother had done all that. I was speachless. When I met her she told me that a doctor had told her not to crochet anymore as her hands hurt. But as she wanted to do something she had started to learn printing fabric.
The relationship with the boy did not last and the grandmother must have been passed away already but now I know that you do not need to hold the hook to crochet. You can use your pen!
Illustration Basics
When looking at skillfull illustrations, I often remind myself:
It is all about the …

* * *
Just basic shapes and some doodling makes it all look much more complicated and creative than it really is.
