Magical Inkdom – Sign Up Now!

I am excited to open a new art class for registration! It’s called Magical Inkdom and it’s an independent sequel to Animal Inkdom.
Watch the introductory video and sign up now!
P.S. The early-bird sale ends on June 2nd so you really want to sign up now!!
Pros and Cons of Making Postcards from Your Art
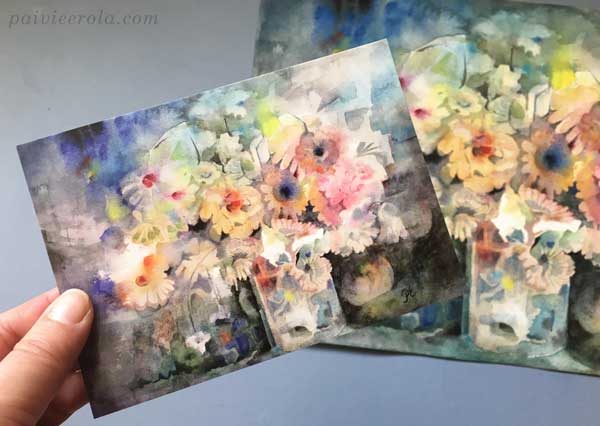
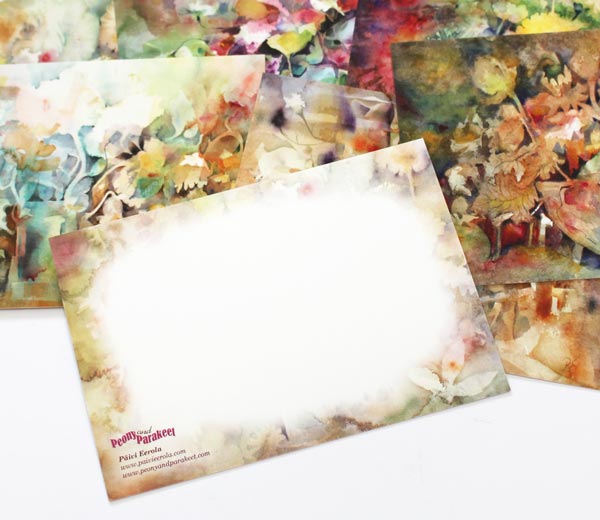
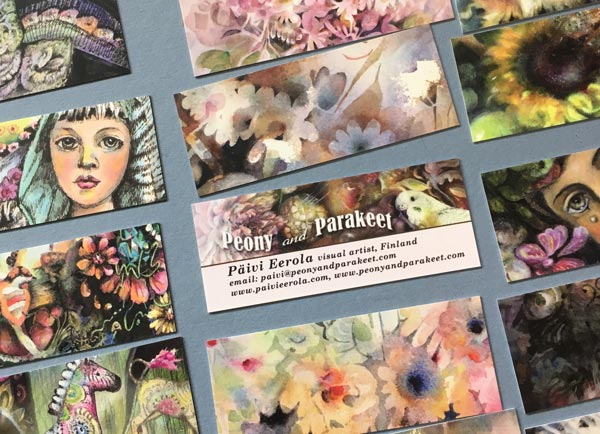
I have just got new sets of postcards printed from my art. These have been ordered from Moo (affiliate link) and are now available at Paivieerola.com. Here’s how I see the pros and cons of making postcards of your art.
Pro: Seeing Your Art as Collections
When selecting art for postcards, group similar work so that you can make sets. You can also aim for the specific set size and make more pieces with that style. This way the postcard project can inspire you to work in series and explore a certain topic, medium, and style.
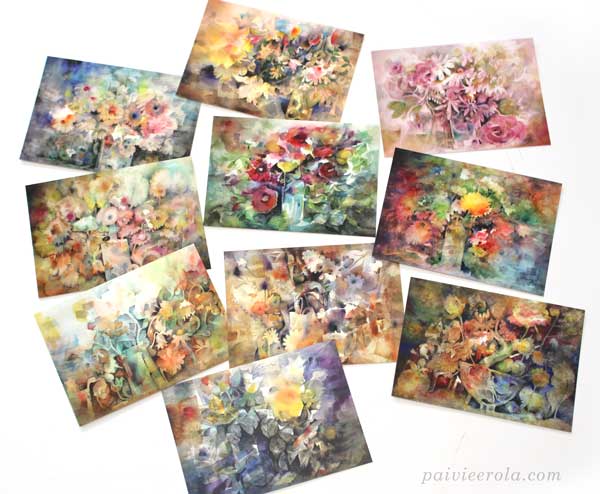
One of my new sets have watercolor florals, and another has acrylic and oil paintings inspired by art history.

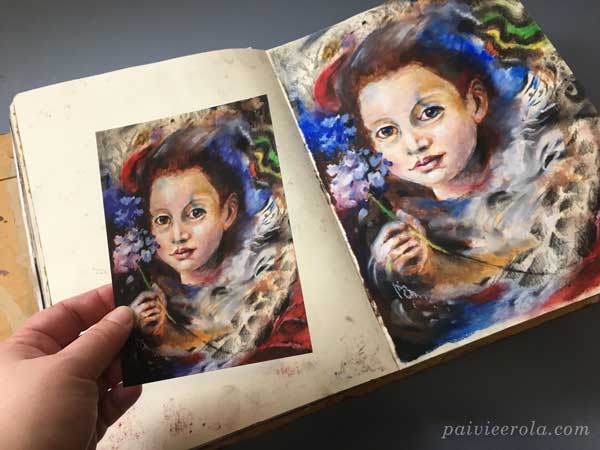
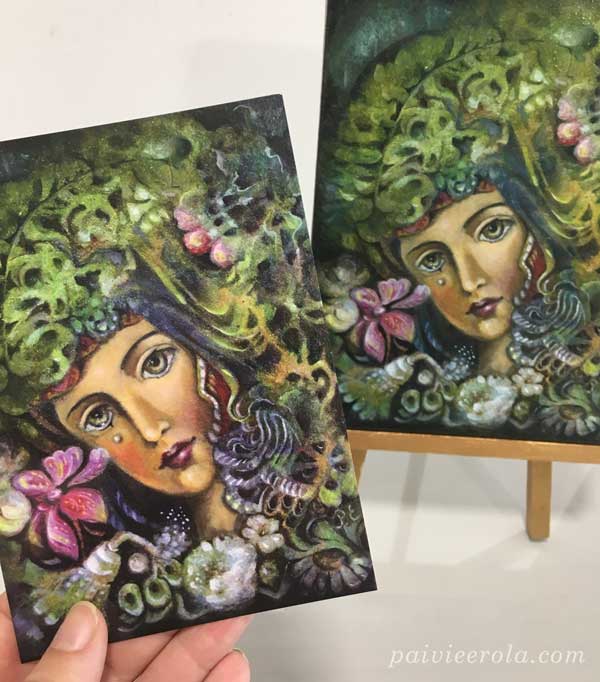
If you like to fill art journals as I often do, go through the journal pages too! This girl was just a sketch but I really like it as a postcard!
Pro: Saving Good Pictures of Your Art
It’s easy to neglect taking good pictures of finished work. However, there’s more use for them than just postcards. It’s easy to browse your pieces quickly when they are archived digitally. You will also share them more!
If you organize the image archive chronologically, you also see your progress at a glance. The archive also brings memories and inspiration. Whether you make postcards or not, it’s always good to take good pictures of your finished projects.
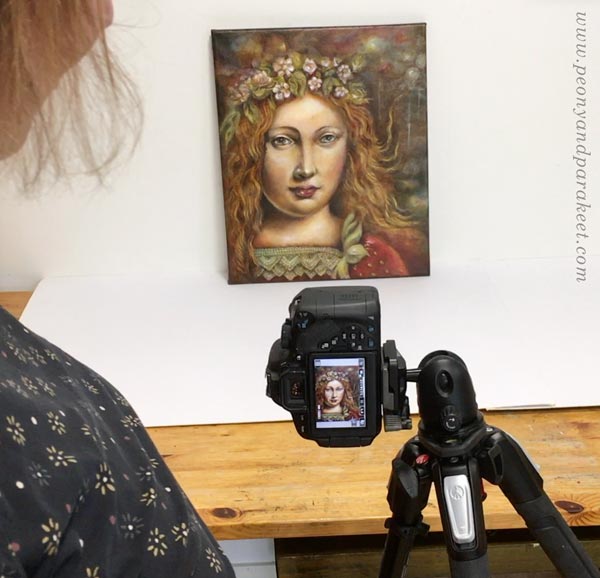
I use a tripod and manual settings of my DSLR camera to get the best possible photo. Then I crop and process the photo using Photoshop. New phone cameras take good pictures that don’t necessarily need more adjusting than cropping. Taking photos outside is also a good option!
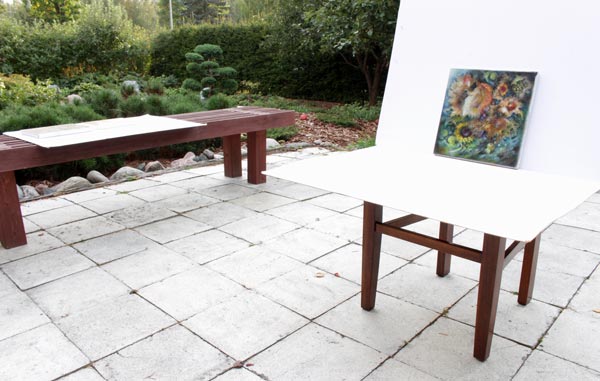
I like to use white cardboard so that I can adjust the image according to the white area first, and then crop it away.
Pro: Playing between Digital and Physical
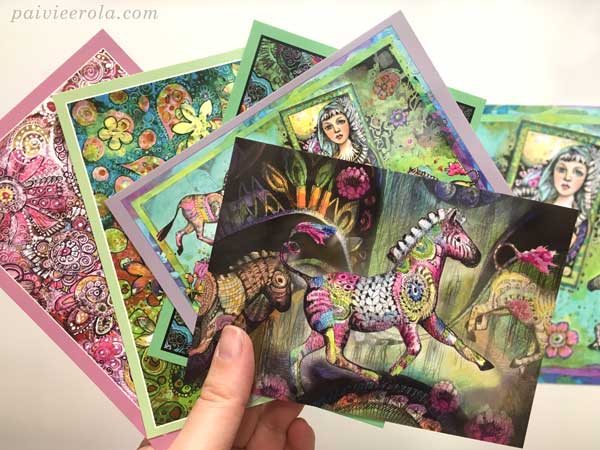
If you like to create digital art, seeing it in physical postcards is wonderful. I also like to play between physical and digital art so that I scan the elements of collage art, and then make the final image by combining them in Photoshop.

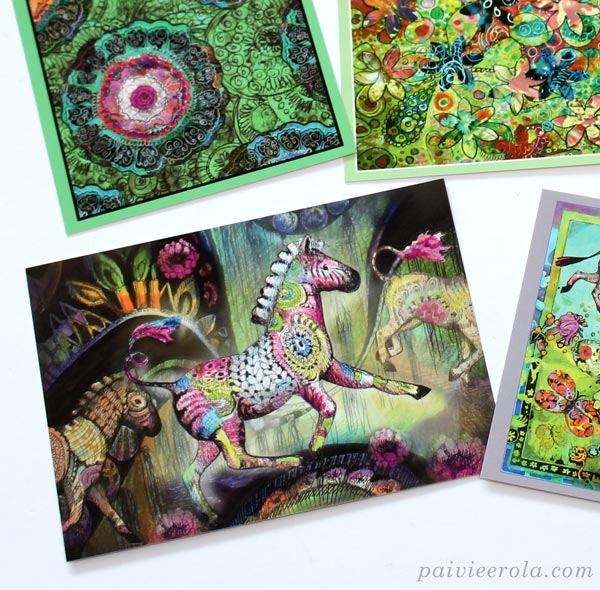
I really like this digitally composed but hand-drawn zebra postcard! You can find the instructions for drawing zebras in my class Animal Inkdom!
Pro: Getting Ideas for Other Products as Well
If you have good images and great collections, you can also make other products as well. There are services like Redbubble or Zazzle where you can make a variety of products. I printed some stickers to go with the postcards at Moo (affiliate link).

Pro: Postcards Market Your Art
By getting your contact information printed with the postcard you also spread the word of you as an artist.
I also like to think that postcards spread the joy that’s packed in my art. When I hear people keeping my postcards visible so that they can look at them often, it feels good and makes producing the cards meaningful.
Cons: Making Postcards Can Be a Bad Financial Decision
Good-quality postcards are expensive and selling postcards alone is not good business. Especially if you want to sell original art or bigger art prints, having postcards in the same shop or sales table can reduce other sales.
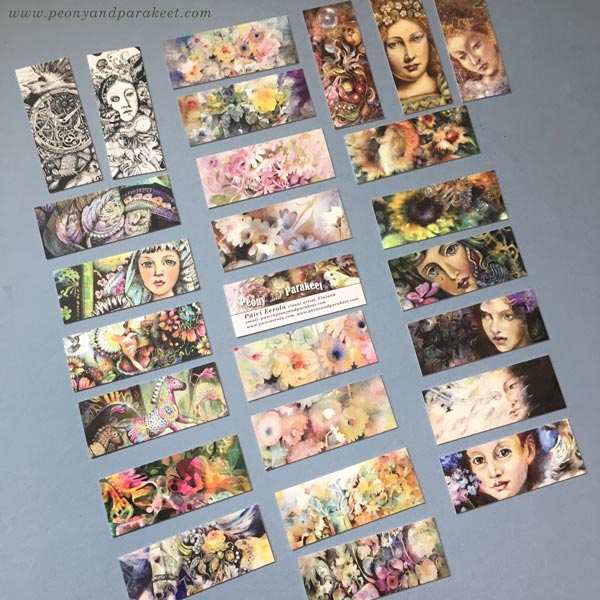
But I also have other experiences. If I go to an art fair or another small local event, I find it easiest to introduce people to my art by letting them select a business card first. Then I introduce them to postcards, then to prints, and finally to originals. That’s why I always get a selection of small business cards printed too, showcasing my latest work.
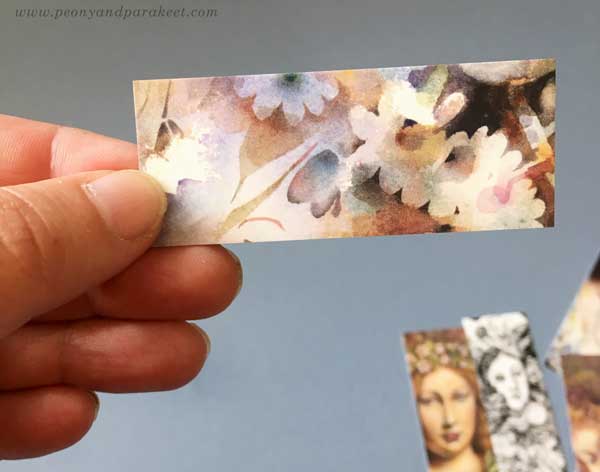
People love selecting their free image! They often explain it in detail why they selected it. It’s fascinating and useful information for me as an artist!
If you print cards – postcards or business cards – make sure that there’s some contact information where people can go to look before contacting you. Many are shy to call or send an email right away. Having a website is the best thing. But if you don’t have a website, write the address of your Instagram feed or set up a Facebook page for your art.
My final advice is to start small and print a very limited set and let people curate the collection. The image that appeals the most to you is most probably not your best seller. At least that has happened to me many times! As artists, we value the process of creating, but as customers, we only see the result and how it fits with our home and perspective. Sometimes the beauty of art is more in the process, sometimes more in the result. So, whether you make postcards or not, keep creating!
Buy my art at Paivieerola.com!
I ship every order personally from Finland!
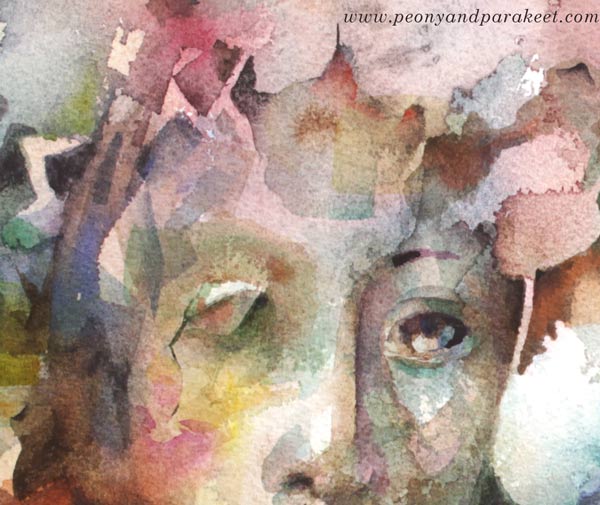
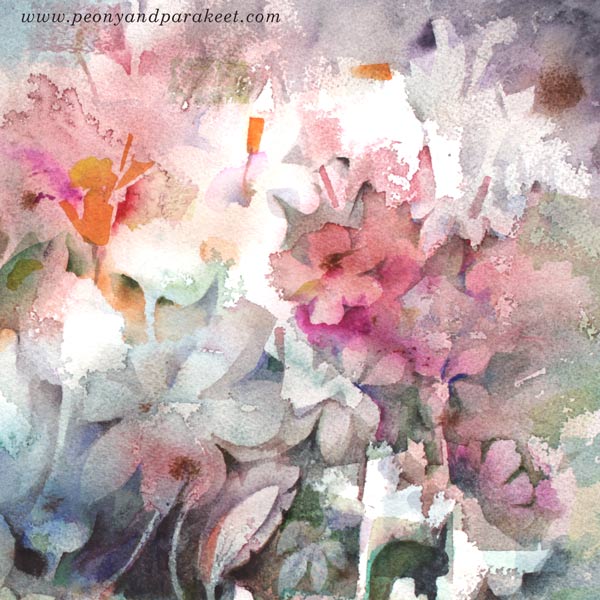
Watercolor Girl in a Spring Garden
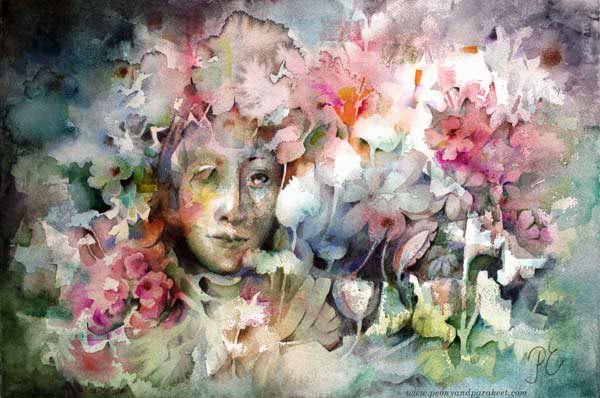
I have just finished this watercolor painting. It’s a continuum for this recent one:
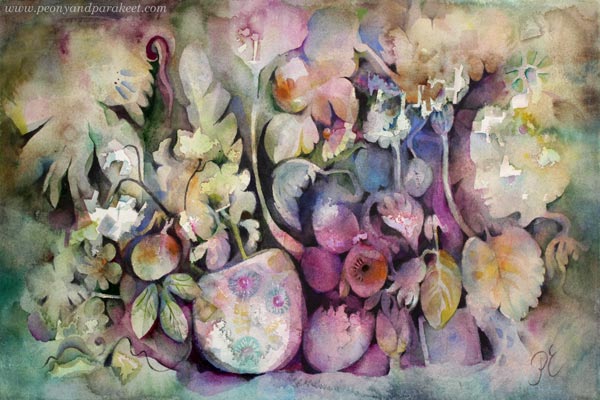
This spring, I have been painting flowers, fruits, vegetables, vases, and pots – my inner garden – while my husband has been busy taking care of our outer garden!
I don’t intentionally paint what I see in the garden, but I am fascinated by it. Our front garden had big changes last summer so it’s interesting to see what has survived through the winter and what hasn’t. It’s a bit like when starting a painting – some details stay, and some get covered.
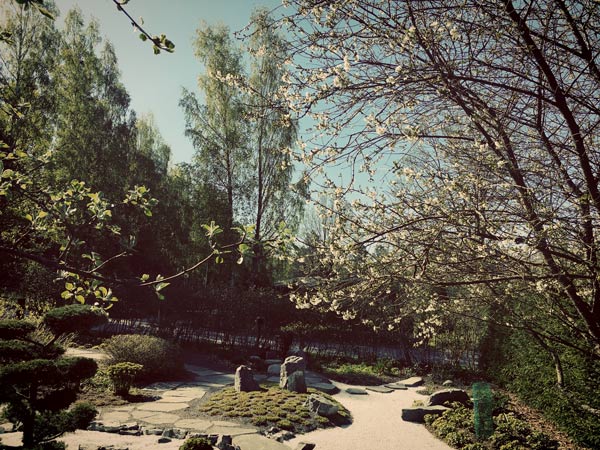
At the beginning of May, we got snow. We had just had a warm period but then it became really cold!
Fortunately, the weather has got warmer again. This morning, I walked in the garden and thought how perfect all the shapes and colors are. I imagined I am a watercolor girl in a watercolor world, translating all the beauty on a coarse cotton paper step by step.
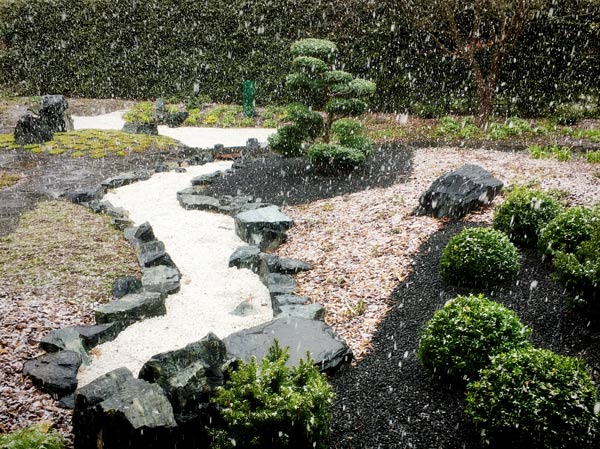
It’s just magical when the old cherry tree blossoms in our new Japanese garden for the first time.
I only wish our tree would have pink flowers. But for a watercolor girl, everything is possible!
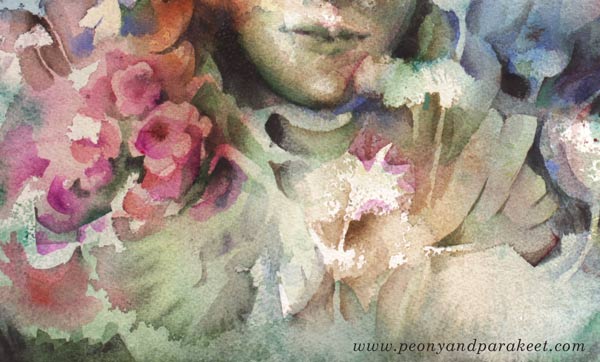
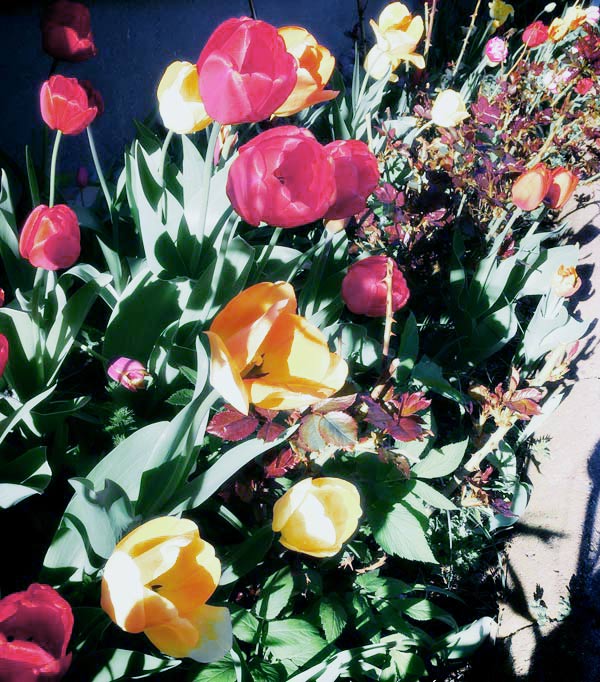
One of our flowerbeds is filled with a variety of tulips. We buy some new bulbs every autumn, and the bed gets fuller and fuller every spring.
I love to paint abstract shapes and then draw lines to make them flowers or filaments!
Does your garden appear in your art?
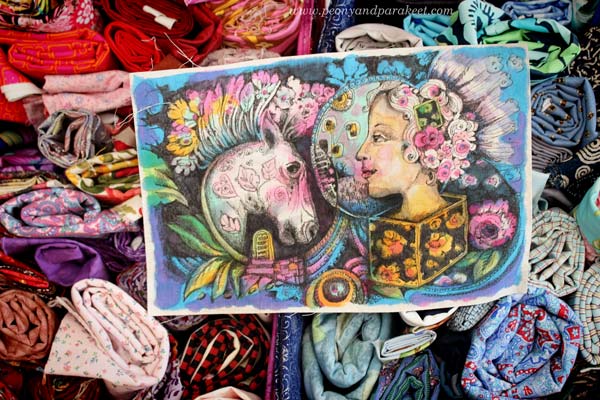
Drawing on Fabric – Illustrated Quilt Blocks
This week’s blog post is for all who love fabric! I have started building a new class, a magical sequel to Animal Inkdom! I want these “Inkdom classes” to be as versatile as possible so that you can use your illustrations in gifts, everyday items, and whatever you like to create. This goal perhaps brings out the designer from me – always seeking for ways to get the most of the beautiful pictures.
Brainstorming when Making a Quilt
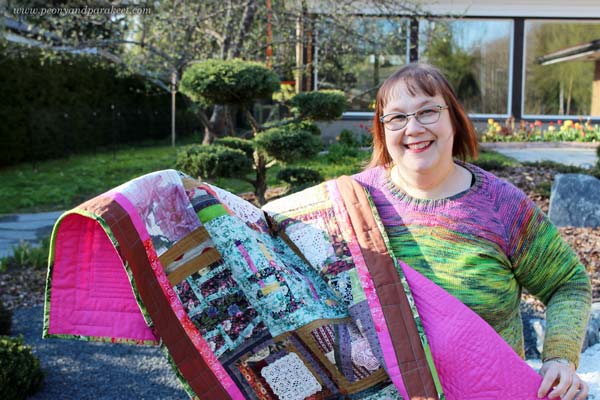
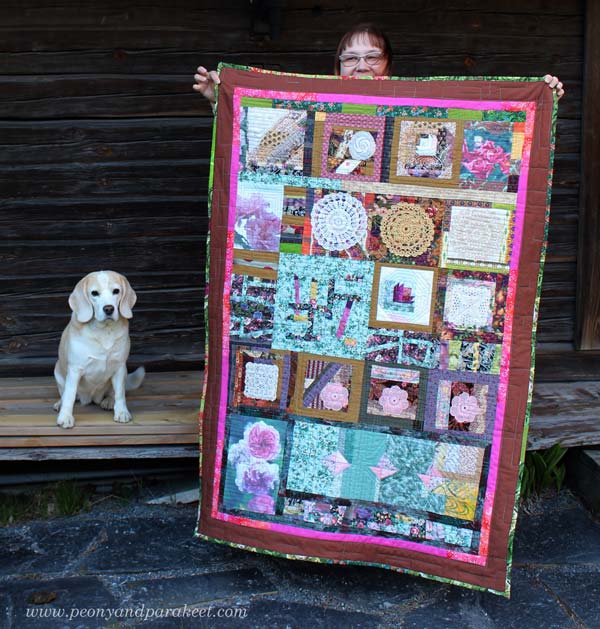
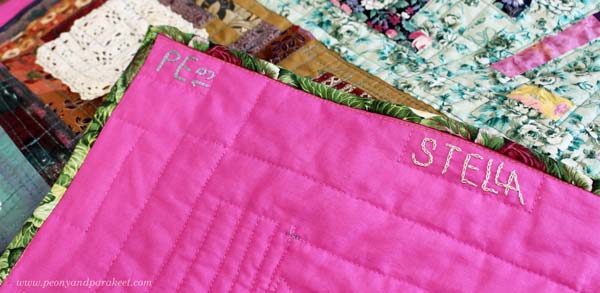
My best ideas come, when I am taking a break. Last week, I had to stop the class development for a few days, because my beagle Stella had been waiting for her quilt far too long. The old ones were so worn out that she could barely carry and wrap herself in them. I had almost finished the top of the new quilt but there was still quite a lot of work in quilting and binding it.
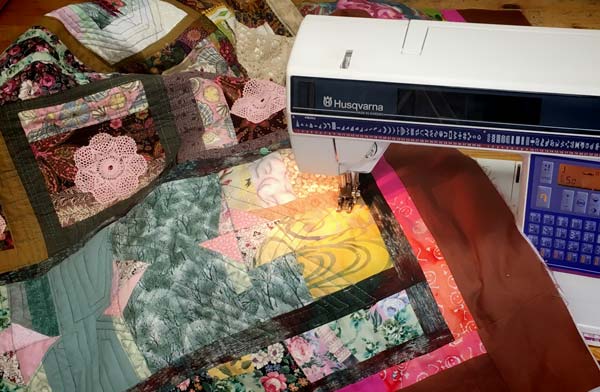
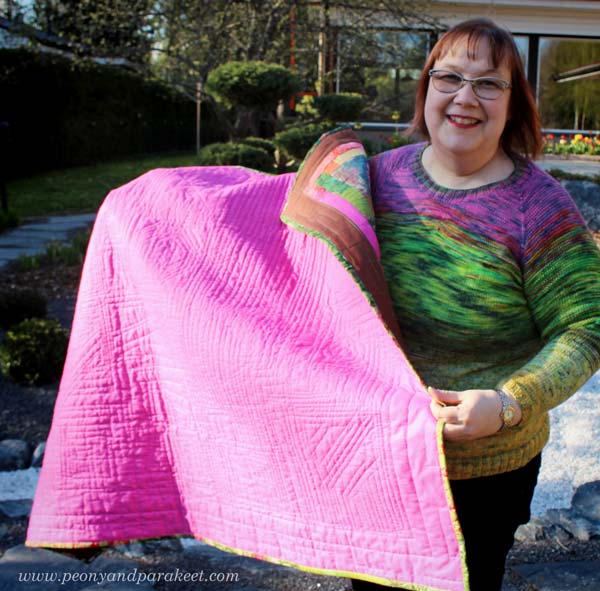
So I put the art supplies away, bought pink fabric for the back, and started stitching. The blocks had printed photos, crocheted doilies, ugly leftover prints, experiments that had piled up … I had just sewn them all together! But the more I worked on it, the more unique the blanket felt, and the improvisational way of working kept me energized. Just like when drawing!
So it hit me, that it would be wonderful to build bridges with this kind of fabric play and drawing.
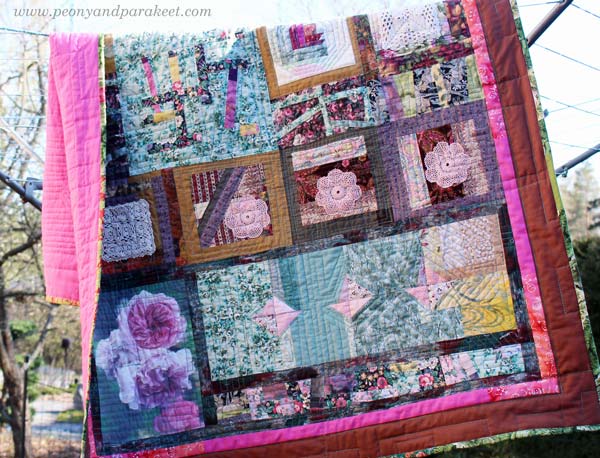
See how full of “doodles”, improvised quilt patterns, the top has!
I doodled a bit with the embroidery floss too. But that’s a lot of work, and it doesn’t feel the same as holding a pen in hand. I missed my markers!
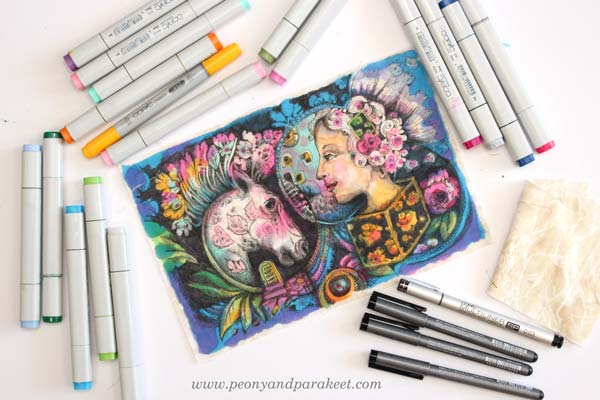
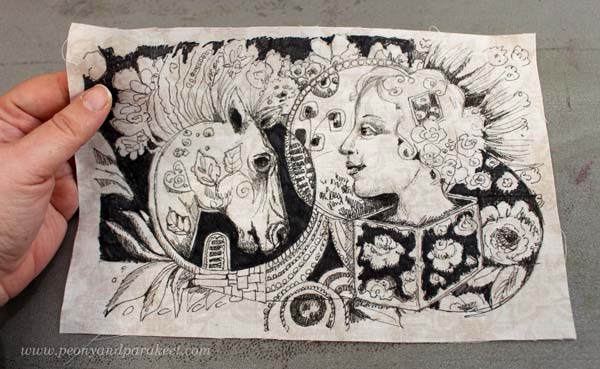
Drawing on Fabric with Copic Markers
Once Stella’s quilt was finished, I went to my Copic markers. I ironed a piece of natural white cotton fabric that had some print patterns. To make the patterns even more subtle, I drew on the wrong side of the fabric. So I had a lively background that wasn’t too busy. First, I made a line drawing with thin-tipped black pens. They were Copic brand too.
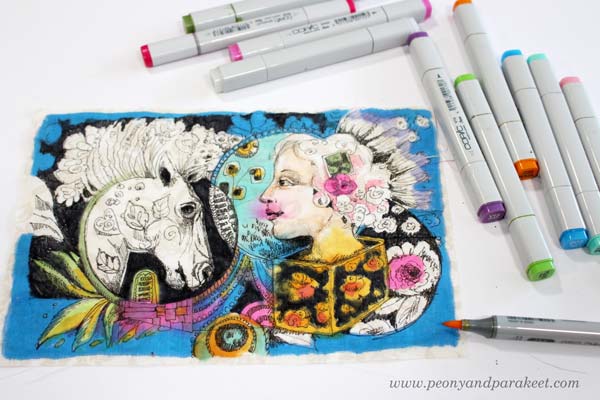
Then I started coloring and making the drawing more detailed.
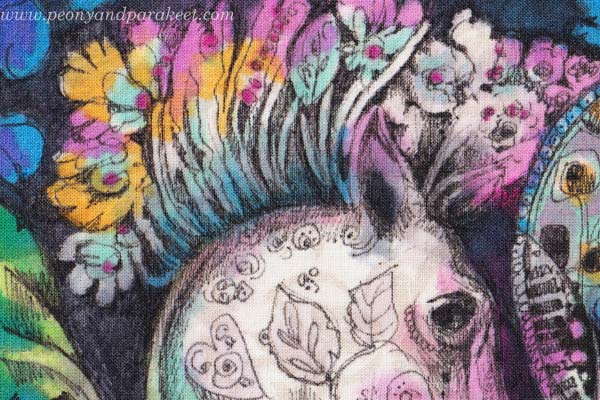
Here’s the finished piece. I loved the easiness, the softness of the lines, and that I now have a unique quilt block. I will certainly draw some more!
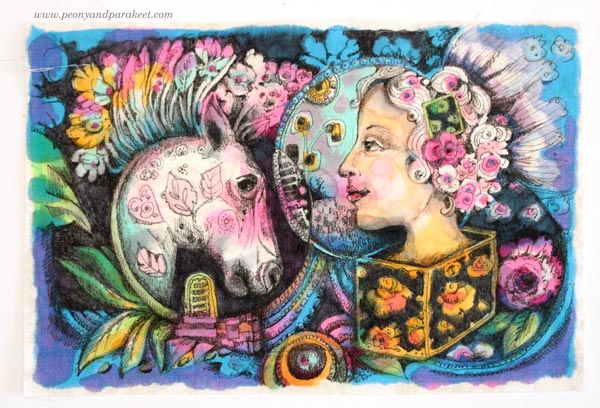
Here you can see how the lines, fabric and color blending go well together.
When I look at my fabric stash, this hand-made piece is definitely what I love the most.
My art studio looks so happy now! The best thing is when many things that I love to create come together.

While I am preparing the new class, tell me, what kind of ideas and instructions have you been waiting for building bridges between your arts and crafts!