Colored Pencil Collages – Playing with Color
Fall in love with colored pencils and make the most of your paper stash! I also recommend these classes:
1) Collageland – save time and effort by creating textile-inspiration with pens and paper
2) Inspirational Drawing – for you who wants to say: “I can draw!”
The Fun Process of Colored Pencil Collages
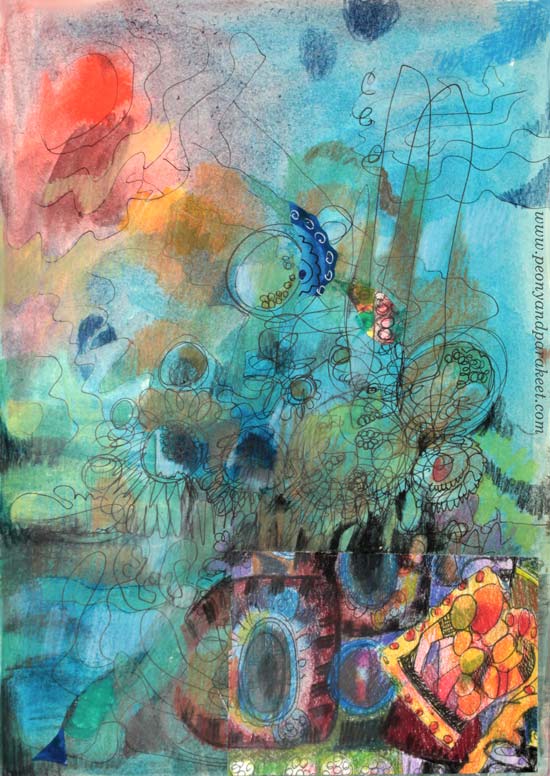
Here’s is an art journal page that started as a sad one. First, it only had some carelessly drawn lines. Months went by before it got some paint to accompany the doodles. After another long wait, it got some depth with colored pencils. It still looked unhappy, so I glued a piece of hand-decorated paper to cheer it up. Today, I found it again and was surprised how finished it looked.

This is often the way I make art journal pages: little by little, random lines, using up extra paint on the palette, saving a piece of paper from my stash. It’s a very unintentional process but after those finishing touches are added, it’s all good.
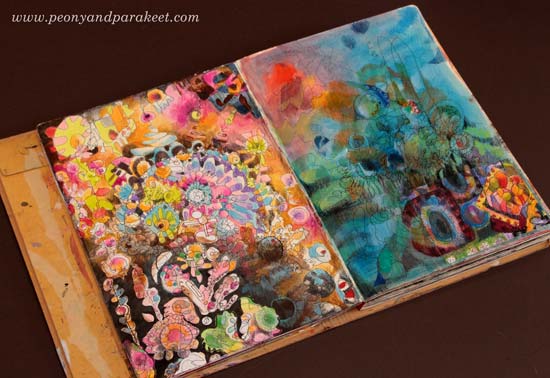
My Hand-Decorated Paper Stash
I have been doing this for a long time: making my collage papers and also saving the tiniest pieces. No matter what my main art projects are, there seems to always have time some scrap paper fun even if it’s sometimes just picking a small piece and gluing it on an art journal without analyzing what and why.

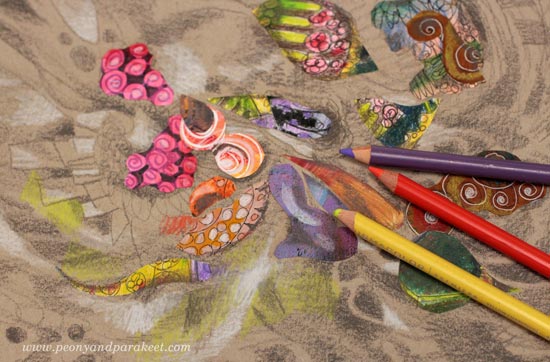
Colored pencils are one of my favorite supplies and I also have papers decorated with them. When I go through my paper stash, I often add some colored pencils on painted ones just to make them more valuable in my eyes. Then I also have some true treasures – papers that only have colored pencils on them. They take more time to make, and to me, they are like silk and others are more like cotton, the basic stuff.
Using Imagination with Colored Pencil Collages
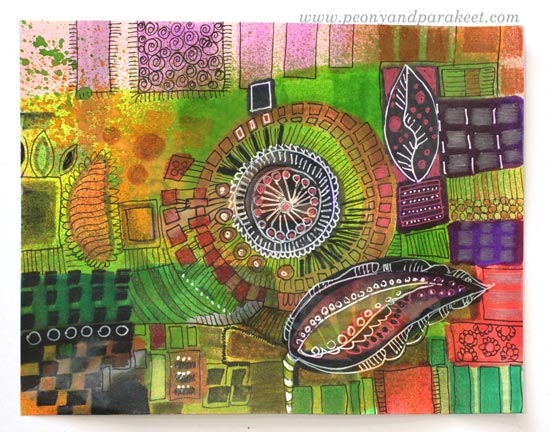
When I am playing, odd is good. Paper pieces sometimes have a mind of their own, and strange results may appear! Here’s an art journal page called “Three Sisters”. It started with paper scraps but really came to life when I added colors to the background with colored pencils. See how I used many colors for the background so that it completed the composition and made the piece more cheerful.
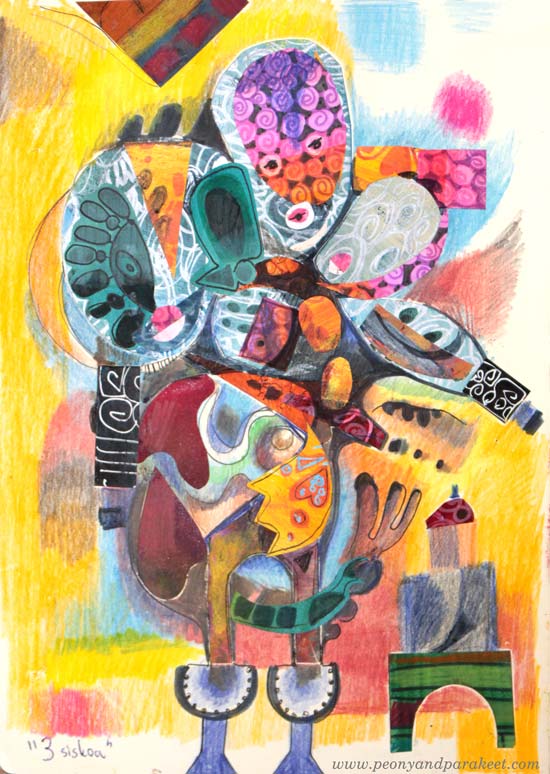
This collage started with a quite traditional idea. I wanted to make a doll. But when the doll got more heads, I followed the imagination instead of trying to stick with the original thought.
Start with the Expressive Background!
Create Step by Step!
Try this process if you often ponder these questions:
a) what to put in the background?
b) how to express with color?
In this process, you will start with the background so that it creates a structure for the rest of the work. A grey paper enables you to use color for expression rather than trying to tone down a screaming scene when using only “beautiful” tones.
Supplies: Grey Paper, Colored Pencils, Paper Scraps
You will also need gel medium or paper glue for attaching the collage pieces, and a black drawing pen for finishing touches.

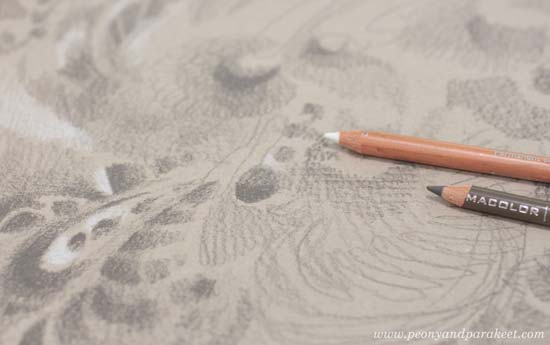
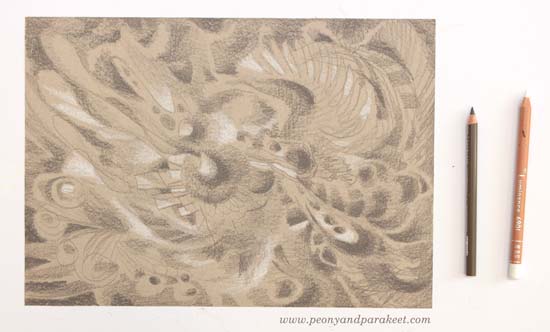
Step 1 – Coloring Freely
With white and dark grey (or black) colored pencils doodle random shapes. Fill some shapes by drawing, add shading, and have fun by playing with color values. Change the orientation once in a while so that your imagination keeps on going.
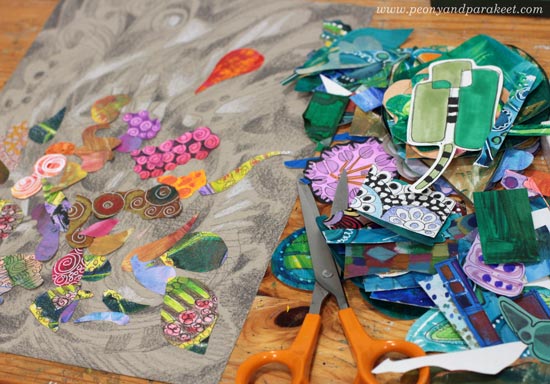
Step 2 – Cut Tiny Collage Pieces
The pieces for this step can be really small ones, and you can cut them even smaller. Here’s one piece from my stash and I cut a smaller shape out of it!

Don’t worry about the composition yet, just cut so many small pieces that you have a collection to choose from.
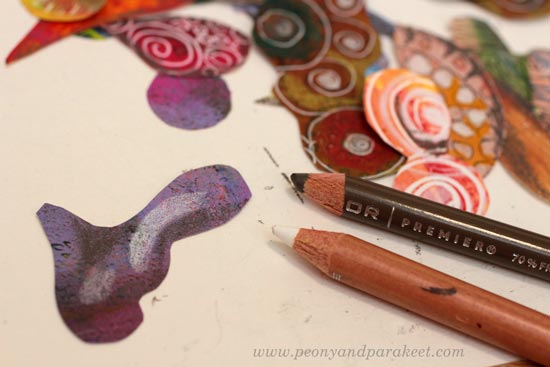
Step 3 – Add Some Light and Shadows to Collage Pieces
With the white and dark grey (or black) pencils, add some shadowing around the edges and some highlights with white. All the pieces don’t necessarily need this but it makes solid-colored pieces look much more interesting.
Step 4 – Glue the Collage Pieces
Use the background as a support structure and an inspiration source for your collage! If you have problems with composition, go through my free mini-course Loosen Up and follow the tips there!
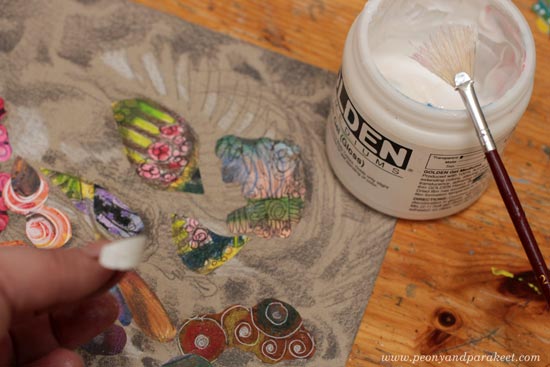
Step 5 – Add More Color with Colored Pencils
This step integrates your collage pieces with the background.
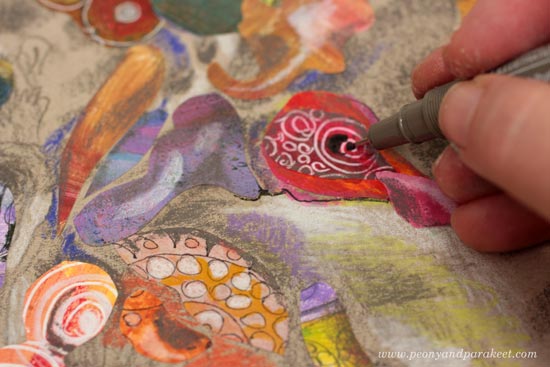
Step 6 – Draw Final Details with a Drawing Pen
Add some loose lines and dark details with a black drawing pen.
Here’s my finished piece, a fantasy creature!

Some Papers Last Longer than Others
I intended to cut some motifs out of this paper but maybe next time. Too precious for now! It’s inspired by Collageland.
Create Handmade Collage Art to Build Your Visual Dreamland – Buy Collageland!
Discover Your Style by Building Your Visual Dreamland!
This week, I talk about how you can change your mindset so that you really feel like you are heading towards the style that fits you. I show examples of my work and share how I have built my visual dreamland. I also tell more about the new class Collageland. Watch the replay of Thursday’s live broadcast!
Visual Dreamland – Watch the Recording!
Collageland is a class for you who loves decorative textiles but wants to save time and effort by creating with pens and paper. Rather than trying to succeed and capture your style through a single project, start exploring your creativity as a process, designing your visual dreamland one stroke at a time! >> Buy Collageland!
Coming Up!
Next week, there will be a written blog post! If you haven’t yet, subscribe to my weekly emails so that you won’t miss the blog posts and there’s also a bonus – a free mini-course Loosen up!
Subscribe to my weekly emails – Get a free mini-course!
Resilience, Interview of Eeva Nikunen, and a New Class!
Lots have happened this week! I hope you enjoy these videos!
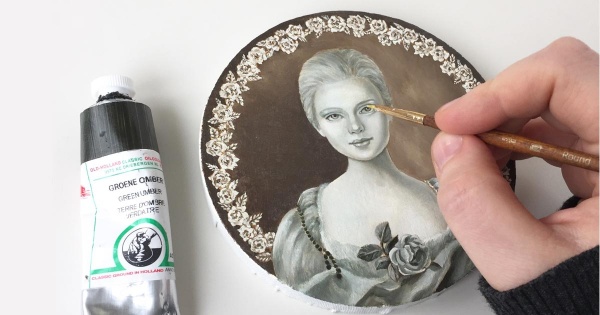
Resilience to Create a Big Project – Interview of Eeva Nikunen
This week, I interviewed fantasy artist Eeva Nikunen about her big project – creating a self-published book from her art. We are talking about resilience: what she has learned from creating a series from her visual dreamland and how she has been able to carry through the project all by herself. Eeva also shows the supplies that she has been using, and if you are curious about graphite pencils, this episode is truly inspiring!
New Class: Collageland!
I am excited to launch a new class called Collageland! It is a new, expanded version of an old mini-course that I made for 21 Secrets in 2015. It’s packed with inspiration from textiles and instructions on how to create handmade collage art. See the video below!
New Live Next Week: Discover Your Style by Building a Visual Dreamland
Rather than trying to succeed and capture your style through a single project, start exploring your creativity as a process, designing your visual dreamland one stroke at a time! I will talk about my newest class Collageland and what I learned in 2009-2015 when moving from crafts to design and from design to art.

Come meet me live next week, May 10, 2018, 5 PM BST (London), 9 AM PDT (San Francisco) >> Reserve Your Spot here!
Creating Small-Sized Art
Creating Small-Sized Art – Watch the Replay of the Live Broadcast!
Artist Trading Cards
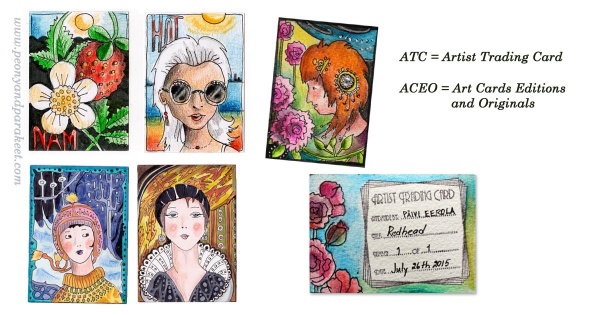
>> Pointillism in ATC cards – Instructions

>> My drawing class for those who can only draw stick figures!
Small Watercolor Panoramas
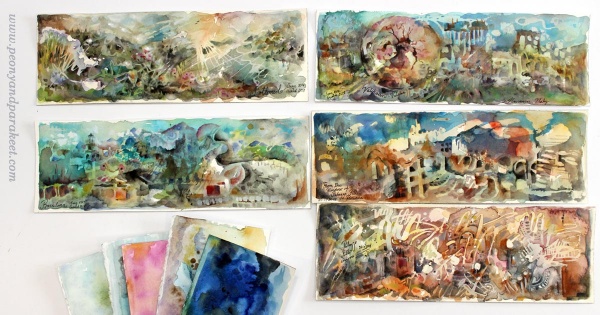

See more in this blog post: Watercolor Panoramas to Express Travel Memories
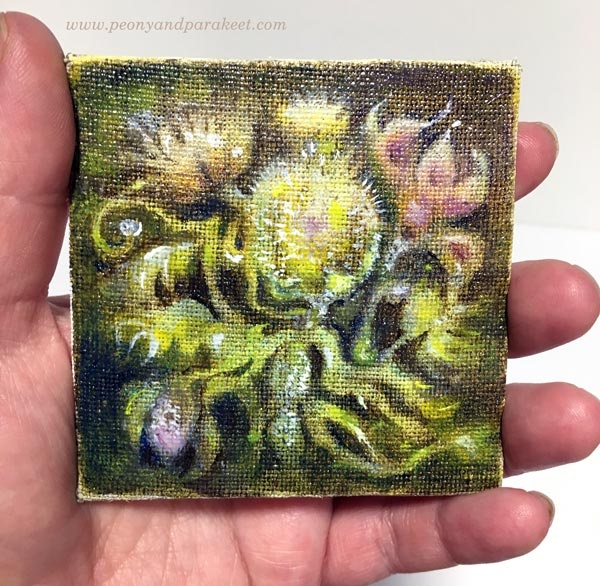
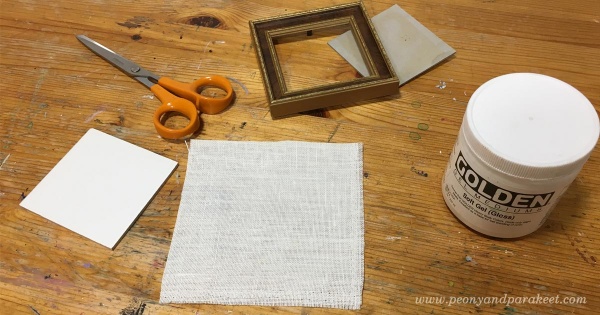
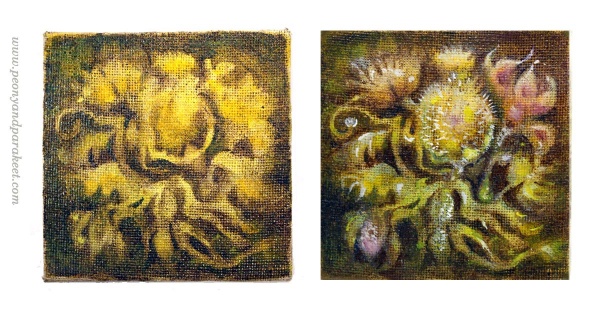
Creating a Small Canvas Painting


>> Add richness to your artistic expression – Join my art community Bloom and Fly
Eeva Nikunen’s Miniature Art
See more of Eeva’s detailed art at eevanikunen.com
Next Week: Eeva Nikunen
Resilience – How Eeva Nikunen Managed to Create a Series of 50 Drawings
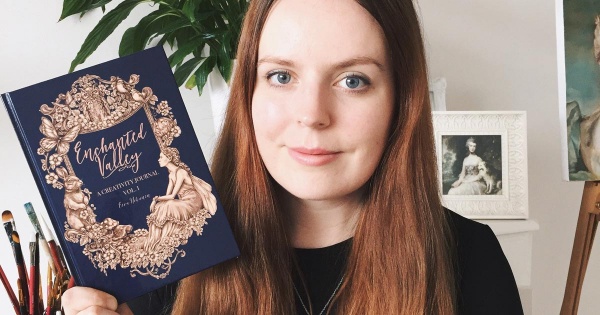
I will interview fantasy artist Eeva Nikunen on May 3rd 6 PM Finnish time (4 PM in the UK, 8 AM PDT) This is another live broadcast of my blog, and everyone is welcome to listen to us. Eeva has just launched a self-published journal of over 50 detailed pencil drawings. We will be talking about resilience and what she has learned from creating a series and how she has been able to carry through the project all by herself.
If you can, come see us live:
>> Save your spot here!