End of Summer – Freely with Watercolor Pencils
This week is about coloring freely with watercolor pencils. Let’s ponder about the change of season and how to process it through art-making!
New Season – New Colors Are Calling!
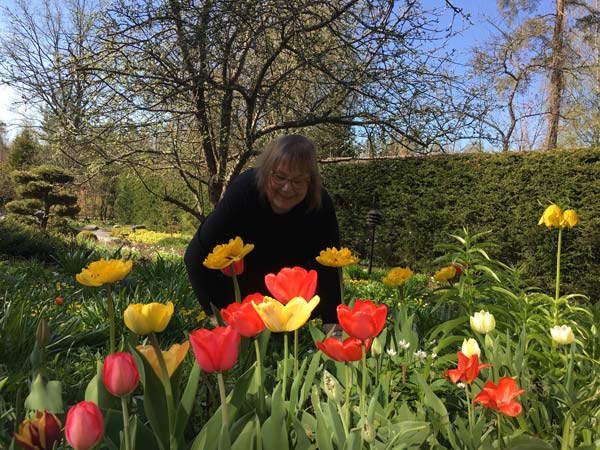
Even though the weather has been warm, I find that my thoughts are already turning to fall.
When I open the box of watercolor pencils, my eyes immediately go to the brown shades.
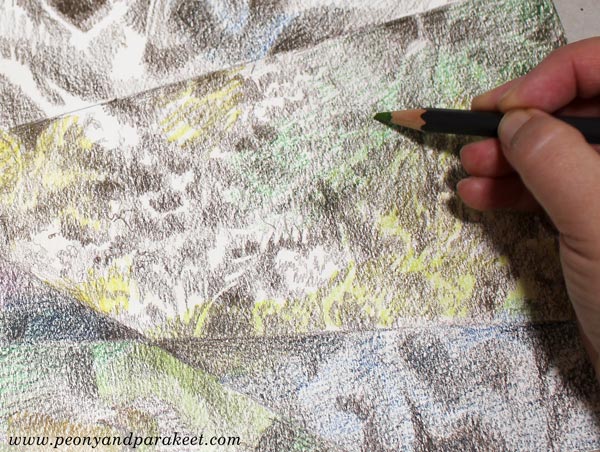
In the summer everything is bright and clear, the fall is darker and curlier.
When Coloring Freely, Art Can Be Your Friend
10 years ago, I started as a full-time artist. At that time, art was a queen who I placed on a pedestal and looked up to. Today, art is not only my colleague but also my friend. We look at each other eye to eye and smile like-mindedly.
“It’s such a sad feeling when summer is coming to an end. There is only a dark autumn and a cold winter ahead” I told her last week. “Don’t worry” she said, we have recorded the summer and there are many wonderful things in the fall too.
Indeed, summer is recorded. In July, I started working on the course Joyful Coloring. Now when I edit videos, I devour them like comfort food. The sun really shines there. Happiness can be heard in my speech and can also be seen on paper.
Everything indicates that I want others to have art as a friend too, not just on a pedestal.
Seasonal, But Freely with Watercolor Pencils
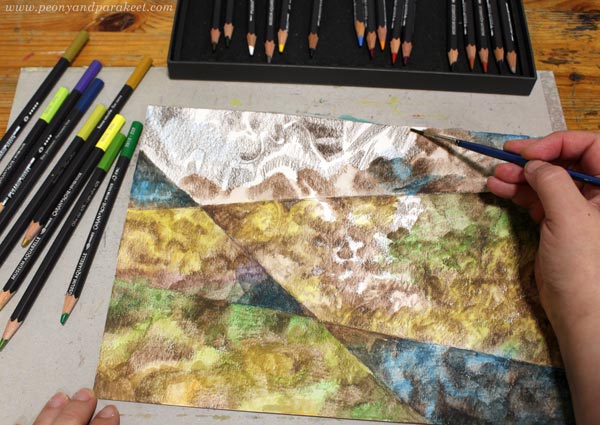
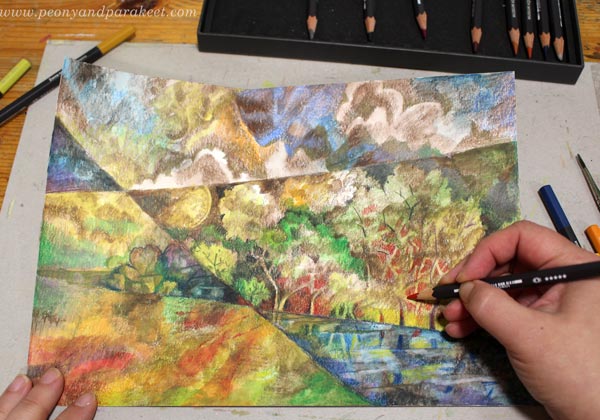
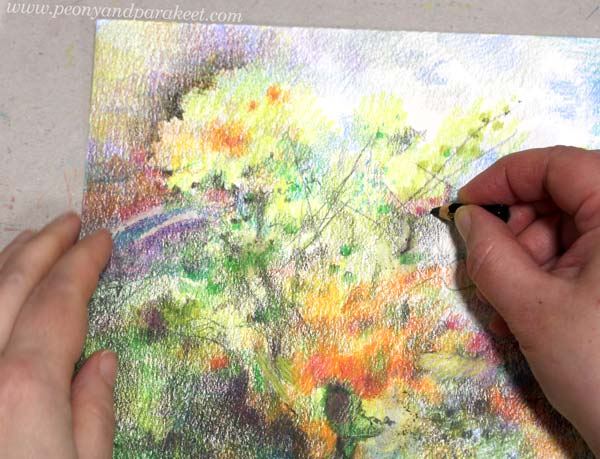
The watercolor pencils I bought in June (Caran d’Ache Museum Aquarelle) are already very dear. Because the color can be spread quickly with water, time is saved for details.
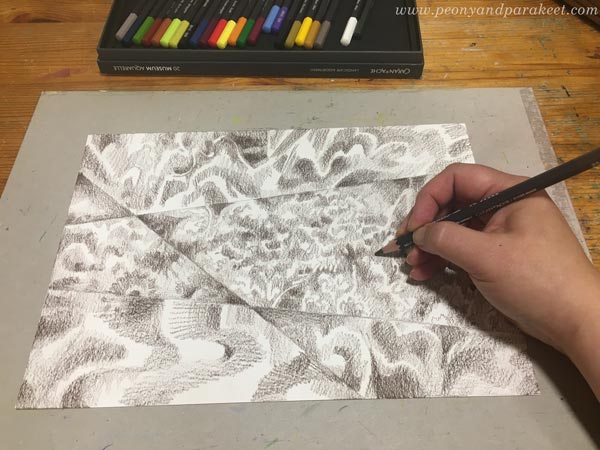
It is important for me to keep not only painting but also drawing. By drawing freely, we create a bridge between the outer and inner worlds. We can break the glass and travel between what we see and think.
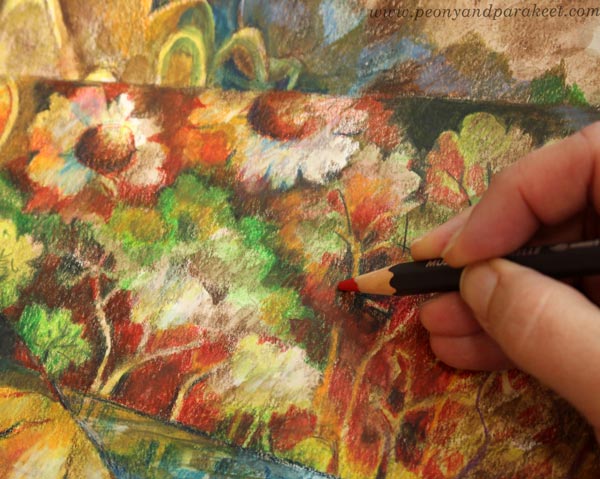
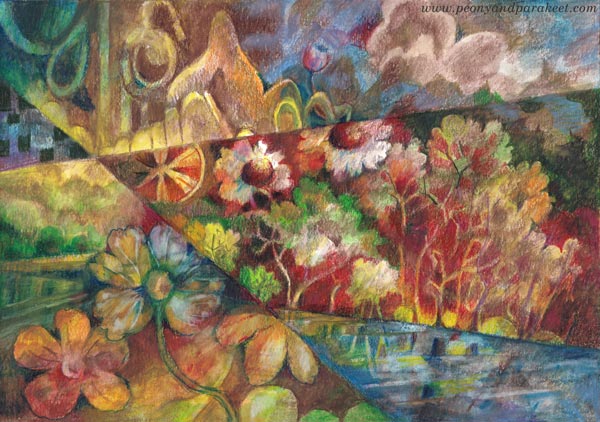
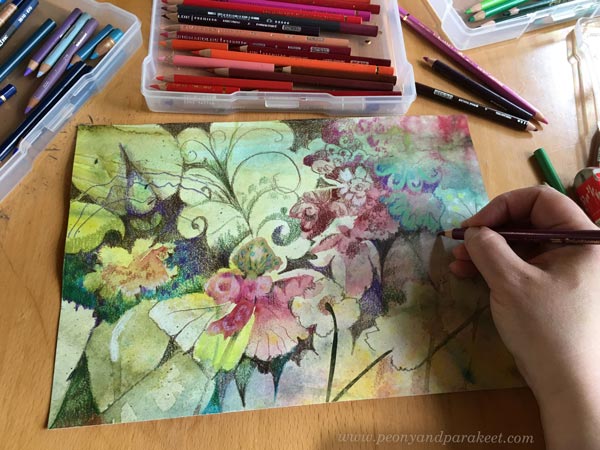
I gave this piece the title “End of Summer.”
When I look at it, I get the feeling that an end can also be a new beginning. A joyful thought!
Joyful Coloring – Sign Up Now!
Start with blank paper and create freely with watercolor pencils!
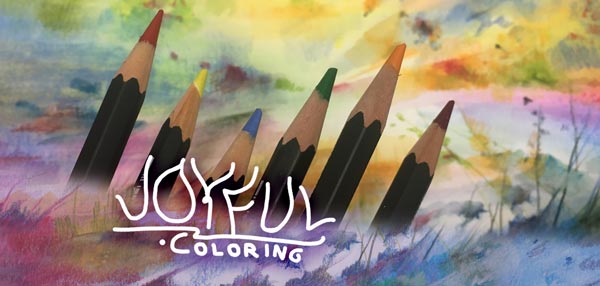
The new online course Joyful Coloring will begin on Sept 16, 2024.
>> Sign up Now!
Drawing Sceneries with Watercolor Pencils
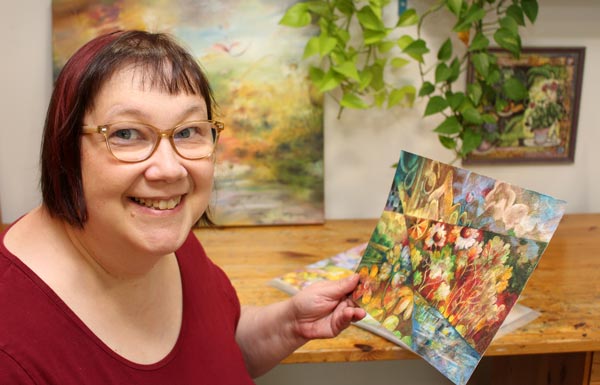
This week, I have a fun drawing idea: fill a paper with many small sceneries!

For this project, I have used watercolor pencils and Fabriano Accademia drawing paper (size: A4). The paper is very nice with colored pencils and goes well with watercolor pencils too.
Inspiration for Drawing Sceneries
Creating mini-sceneries is easy when you start playing with the scale. Think about a bumblebee – how it first flies over fields admiring the view and then finds a mini-world inside a flower.
Your mind can be a busy bee, collecting a variety of ideas – big and small.

Your hand can then pick some of those ideas and put them into one picture like it would be a treasured collection in a secret museum. “Faberge eggs,” said my husband when I showed my picture to him.
Watercolor Pencils
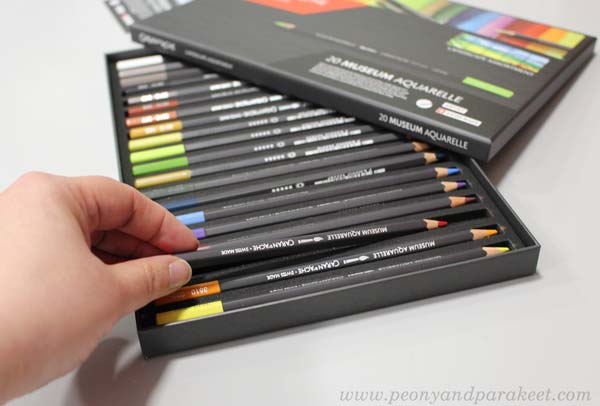
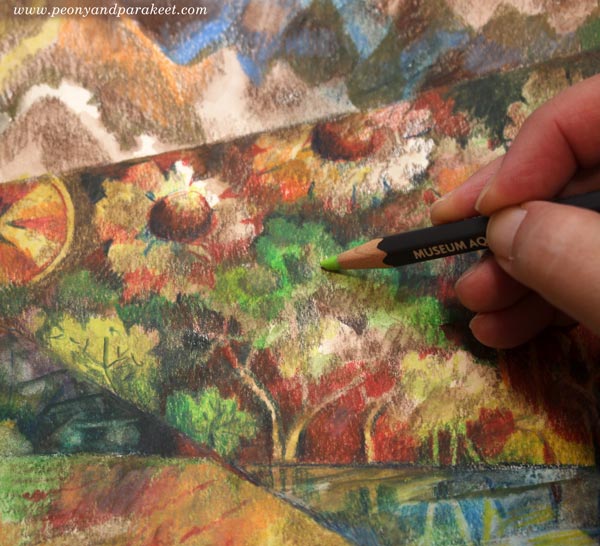
I often use regular colored pencils but slowly I have become interested in watercolor pencils too. I have had a few Caran d’Ache Museum Aquarelle pencils for a while and I love their quality – vivid colors, lovely to hold, and work well without water too. A couple of weeks ago, I bought 20 landscape colors to accompany what I already have.
Mini-Sceneries – Start Here!
Start your collection by picking a circle template, for example, a lid. Draw circles so that they overlap partially. Put one idea into one circle and color each of the circles separately.

This can be a “one in a day” project. Take your time to focus on each circle.
Watercolor Pencils in Use
Watercolor pencils are great for quickly filling larger areas. Color the area lightly and then add water over the colored area.

Let dry before adding a new layer on the top.
Drawing Sceneries – Playing with Styles
My favorite thing is to combine nature-related ideas such as landscapes and flowers with decorative motifs. I like to draw dots, other simple shapes, and lines so that they form frames and ornaments.

In this project, the circles are nature-related while the background has a more ornamental approach.

When you keep the background unified, you can use many styles in one piece. One paper then becomes a diary where anything handmade looks great together because it’s made by one hand and one mind.
Drawing in Ornamental Style

This project is another variation of the earlier blog post: Colored Pencils – Ornamental Approach. If you have taken the course Intuitive Coloring, would you be interested in creating something like this on a course next?
How to Add Depth When Coloring Freely
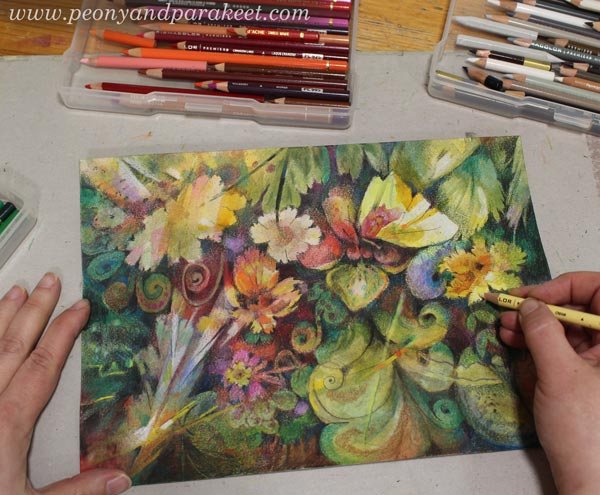
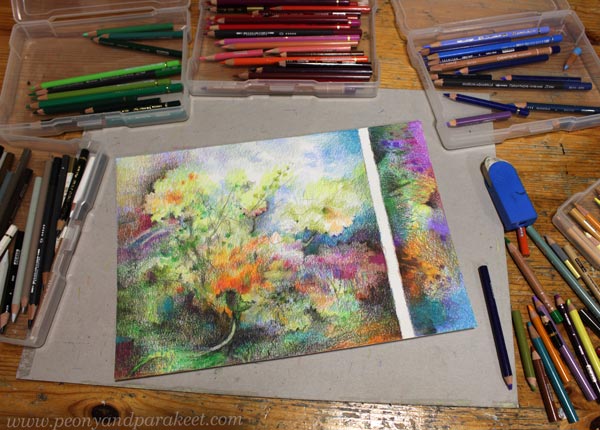
This week, we will color freely on a watercolor background and learn about adding depth to our colorings. I am using regular colored pencils, but you can also use watercolor pencils.

My drawing is inspired by the garden and the ornamental shapes of the plants, insects, and birds. So, let’s go deep in the garden and create lushness!
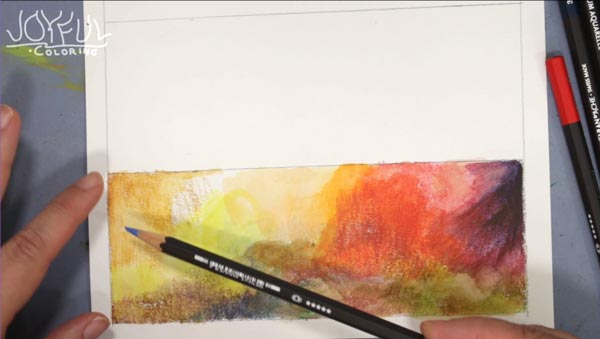
Quick Start with Watercolors
Blank paper can feel intimidating, but if you fill it first with watercolors, coloring is fun.
I was going through my paper pads when I found an unfinished watercolor painting.

It was just a background with random spots but the paper was smooth, just perfect for colored pencils. I think the paper is Arches Aquarelle Hot Press, nice and sturdy, 300 gsm/140 lbs thick.
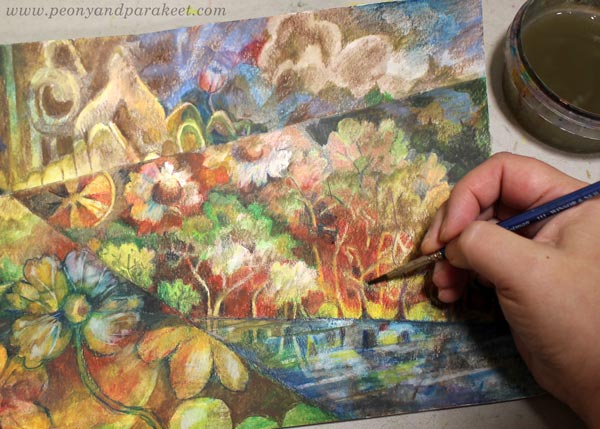
I picked up my pencils and started drawing and let my inspiration come from the painted shapes.

I drew flowers, leaves, swirls, and all kinds of odd organic shapes that I would then later adjust.
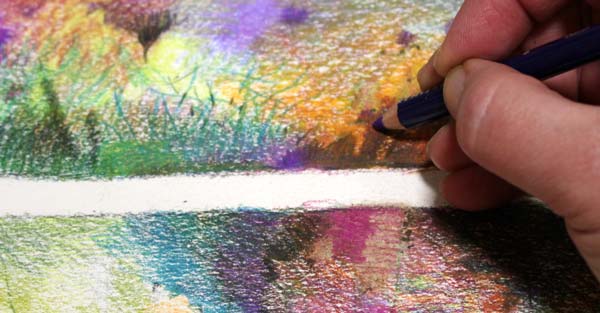
Add Depth – Expand the Outlines!
When you draw, don’t just outline, but broaden the lines to form larger areas. For example, a black outline can be broadened so that it gradually gets lighter (“shadowing”) or so, that it remains dark and solid but expands to a larger and exciting shape.
Dark and light should have clear differences so that you can point out separate areas: here’s dark, here’s light, here’s dark again, and so on.
Adding Depth is a Slow Process
When you are working without any references, you are on an adventure! What first looked like a flower, can become a butterfly after a while. Art is a shy fairy and it takes time to attract it.
In this intuitive coloring style, adding depth is a process where you slowly brighten or darken different areas. Start with a transparent layer, then add another one. When you have areas that haven’t been worked on with colored pencils yet, you can also use watercolors for layering.

Compared to accurately replicating a photo, this kind of free coloring may first feel much faster. But if you aim for depth, it’s not!
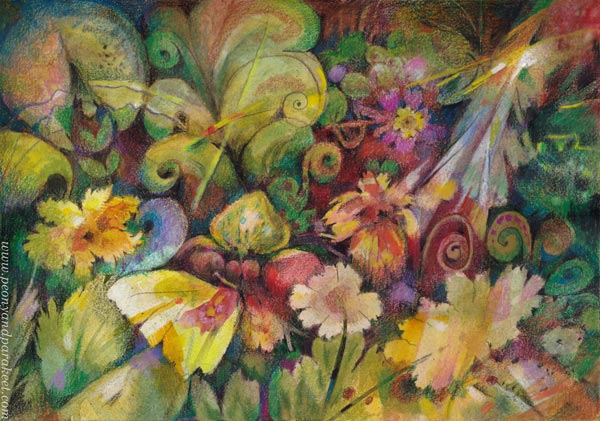
Add Depth – Find the Spirit!
At some point, your piece feels full and finished. But at this point, let me ask you a question:
Have you found the spirit of your piece?
Have you found something soulful that seems too gentle for this world?
Or is there something that cuts your heart and feels painful?
The depth in art is not only visual but something that evokes emotion.

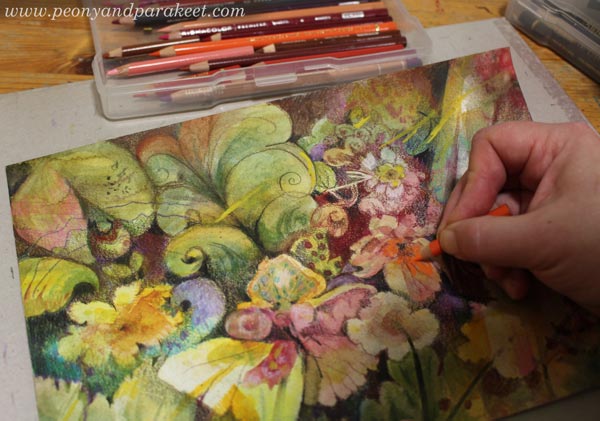
In my piece, I discovered a spirit in the right upper corner. It’s not a flower or anything recognizable, but I felt it strongly.
After you have found the spirit, give more visibility to it. Make it so that it impacts the overall piece.
You Are the Sun
In your art, you are the sun. First, you can bring warmth to the piece by adding yellow. If you have areas that still take in watercolors, add a yellow wash over the greyish tones and let the warmth in.

Second, remember that you really are the sun. So, you can decide how the light travels and where the shadows are. You don’t need to calculate how the shadows should go like there would be one correct solution. Start deciding who deserves the sunshine, and who doesn’t! Who gets more color, and who will stay more in the shadow?
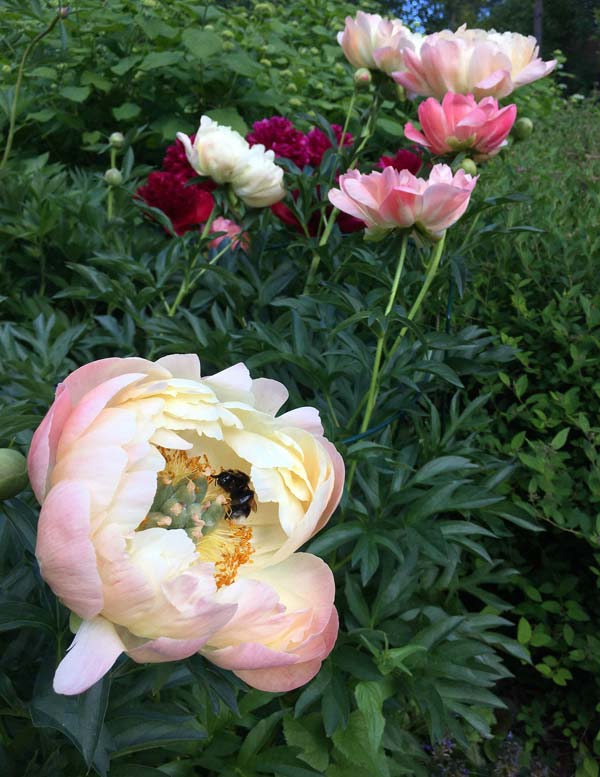
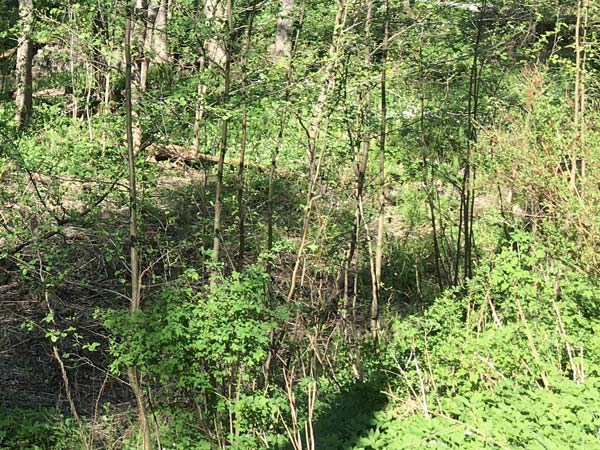
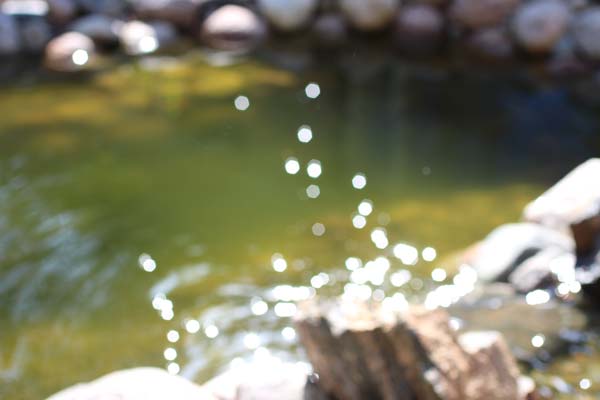
In nature, there are all kinds of reflections, and I find them artistically inspiring. Look at this photo that I took today from our garden pond!
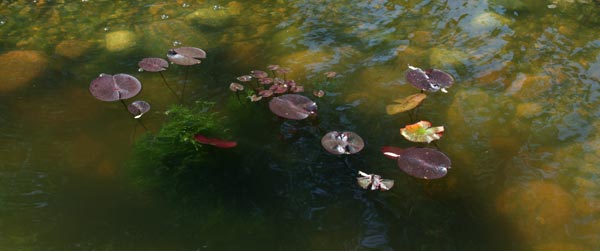
Playing with light, shadow, colors, and reflections is a lot of fun when you are creating freely. Remember that there’s no “shadow judge”, only “sun goddess” – you!
Add Depth – Force Yourself to Choose the Winners
Some people think about the composition all the time when they are creating, but I try to push that urge away as long as I can. You may have a lot of stuff on paper, but if you only highlight your favorites, balancing is easy. The problem is that you really have to choose!
Here, I have turned the paper upside down to get a different view of my work. That yellow flower looks very pretty, but the yellow butterfly shape near it is maybe even more attractive. Decisions, decisions!
When I was at this point, I thought this was finished.
But when you want to add more depth, you want to reduce the competition for attention. I wanted to make the spirit in the upper right corner and the yellow butterfly clear winners even if it meant I pushed back many pretty things.
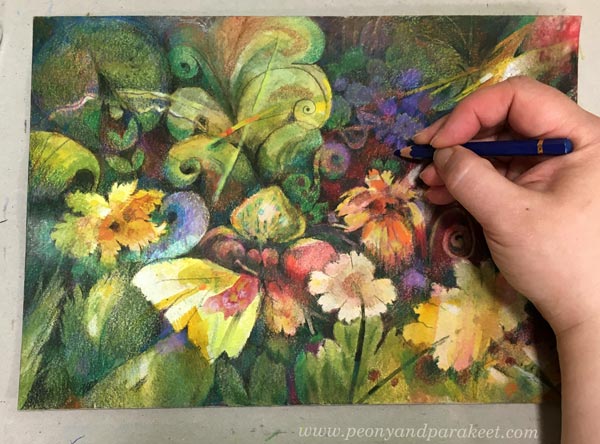
For example, the pink rose got toned down.
Room for Imagination
Things that are further away are blurry, like whispers, and things that are close, are sharp and louder. If everything shouts, and nothing whispers, the viewer will likely turn away. And vice versa, if everything only whispers, the viewer easily walks by.
If depth is lacking, you look at a wall and can’t see further. Depth is not only the impression but the imagination. With depth, you begin to imagine what more could be there. That’s especially why I want to add depth to my art whatever the subject is.
Learn more about watercolors and colored pencils together: See my course Freely Grown!
Joy of Nature in Colored Pencil
This week, we learn from nature and bring its joy to our colored pencil art.

It makes me sad how colored pencils are used only for replicating photos, and how little there is room for free expression. Nature grows freely, so why not give our art the same opportunity? I hope this post inspires you to do more intuitive coloring!
Joy of Nature: Patchwork
Think about nature sceneries as crazy quilts that have fabrics and seams! The fabrics are larger areas and the seams are lines. Patchwork has short seams, so keep your lines quite short too.

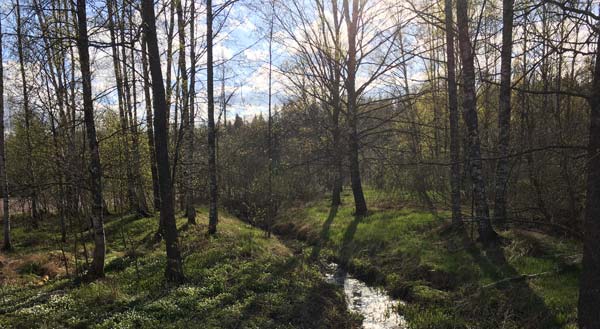
When you walk in nature, stop, and see the quilt by searching for the mesh of trees and bushes. Observe how twigs cross over each other and form nature’s patchwork.
Then when you start coloring a blank paper, focus on building the asymmetric and abstract style quilt, rather than thinking about trees and such.

I find this kind of “patchwork coloring” a lot of fun. Many call this mark-making, but I like to think about creating a patchwork instead. Marks are a more abstract term but textiles connect me to the creative world that is full of ideas.
Joy of Nature: Harmony
Despite its patchy structure, nature sceneries have harmony that our art often lacks. When you walk in nature, step back to admire the big picture and point out the areas by their dominating colors. You could think that the sky and earth both have a few quilts: patchwork areas that mostly have similar colors.
So, when your paper has all kinds of patchwork, compose larger areas by coloring over them so that they get a stronger identity in color. For example, you can have a couple of green areas, a dark area, a more neutral brown area, and one with very light colors.

So, first, you start coloring gently with a wider color scheme and then add larger unified layers over the colorful patchwork.
Joy of Nature: Spirit
I like to think that light is nature’s spirit. When you walk in nature, seek for this spirit. You miss the spirit, if you only point out the big concrete things in the scenery like bushes, trees, water, and sky. To see the spirit, you have to step into the abstract world and look for the light: odd shapes on the trunks of the trees, pattern play on the leaves, and in general, all kinds of small reflections.
For me, it’s helpful to think that the spirit has twins. One is the light and the other is the shadow. When you want more light, you will also get stronger shadows.
Light and shadows add contrast and scatter. When you add them to your piece, it becomes less harmonic, but also less boring.
Joy of Coloring Small
Recently, my colored pencil pieces have been quite small, and the paper has been divided into smaller pieces.

Coloring can be a bit like weeding: you can do it little by little.
First, the result is nothing, but it will bloom over time.

Colored pencils beat other supplies when we are creating this kind of small joyful art.
Here one A4-sized paper has two pieces of colored pencil art. So, you can take short walks or long walks to express the joy of nature in colored pencil.
Mother Nature is the best art teacher. That’s why most of my classes are about what I have learned from her.