A Formula for Composition

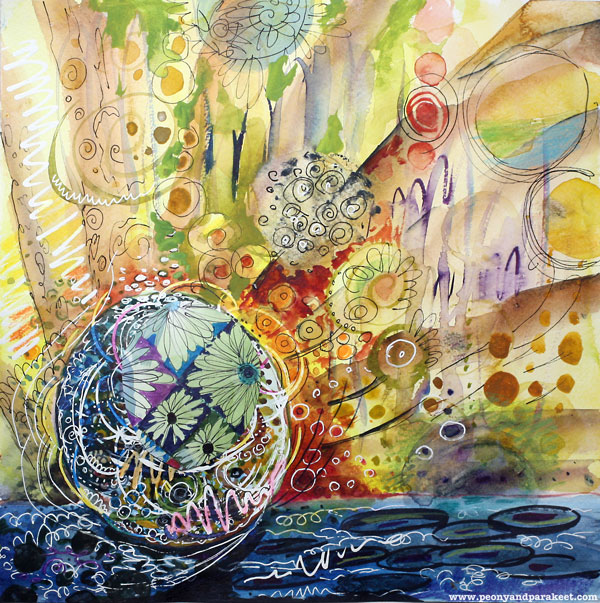
You can create wonders with composition. Many worry about the balance but it’s also important to add interest. In this post I will show you how this still life was created and give a formula for a balanced composition that is also appealing and interesting.
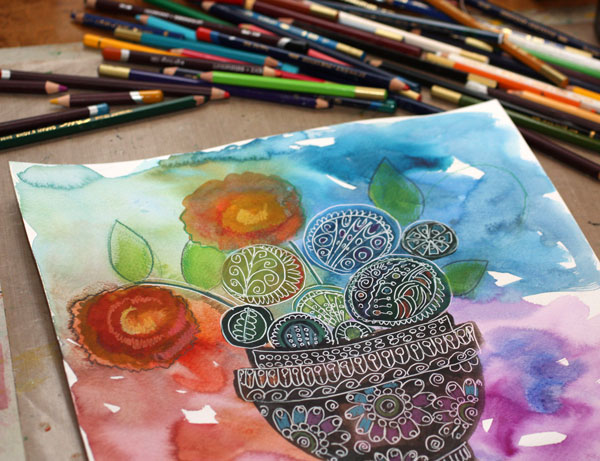
1) Create a background without color repeats.
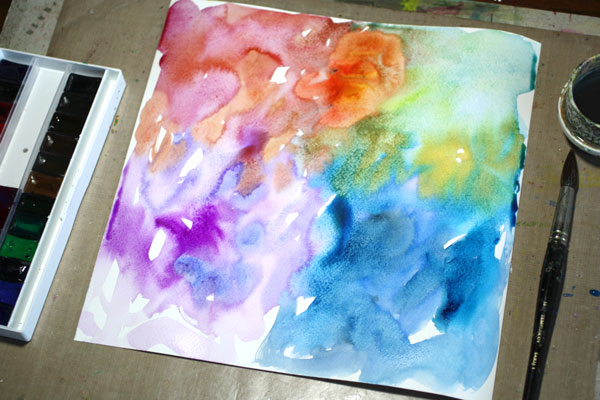
The background was painted with watercolors. I avoided repeating the same color. It is good to create separate colored areas instead of color repeats. That way our mind begins to associate colors with meanings. The areas seem to be individual elements and their relation to each other is more interesting than if we repeat the same color over and over.
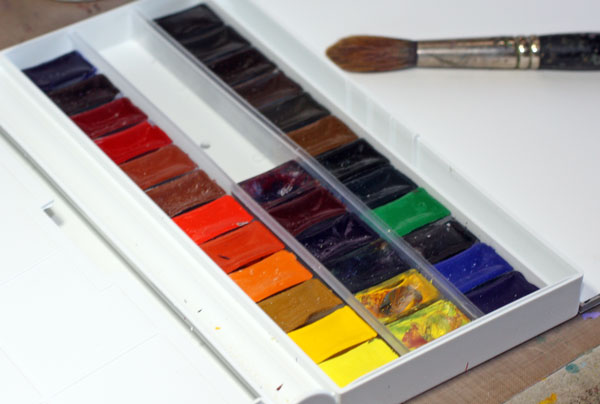
(Did you notice that I have a new set of watercolors, White Nights! Love them!)
Few tips on watercolors: I never wet the background paper first but use wet brush instead. That way I can control the areas better even if I use a lot of water. I also prefer to mix colors on background paper. The way the colors mix is beautiful to watch and the result is more interesting than when the color is even. Let the background dry before the next step. If you use a lot of water as I did, drying might take a while. I often make backgrounds on the previous day.
2) Change colors and brushes when adding elements.
I continued with watercolors. Much drier brush was used than when painting the background. And more importantly, I changed the brush! Use at least three different brush sizes in the same artwork. In my still life you can see the difference of brush strokes between the red splashes (flowers) to the other elements.
Also, change and mix colors as often as you can. Especially subtle changes in color look very appealing. (More tips to choosing colors)
3) Create focus with fine lines.
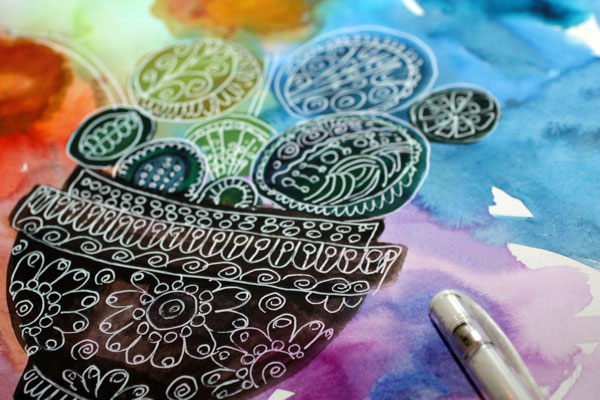
I love fine lines. They make the picture sharp and focused. I used Uniball Signo white gel pen for details. I love the way the watercolors get new shine when the white is added. And if the watercolor is slightly damp, it will also color the white, which I think is adorable!
4) Include a variety of elements.
Even if that white gel pen is enjoyable to use on the watercolor background, do not decorate everything in the same way. I added some details with color pens to add variety in colors but also to create new elements like leaves.
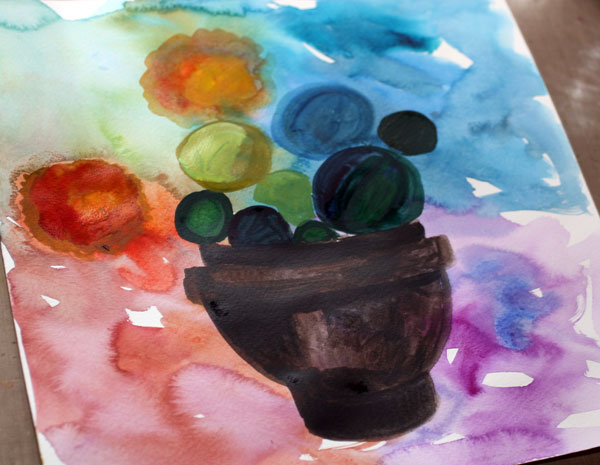
I often purposefully create a composition that is not in balance and only finally add the balancing elements. Here you can see how I left the blue area empty for a new kind of element.
Next I chose a new colour, yellow, and picked a paper that was painted with acrylic paints. I also added few other elements like some details on the bowl and a leaf, by cutting them from my big stash of hand decorated papers. When you create your own papers, they always fit seamlessly with your other art! Also notice that I used various papers to avoid too many color repeats.
5) Maintain a slight off balance.
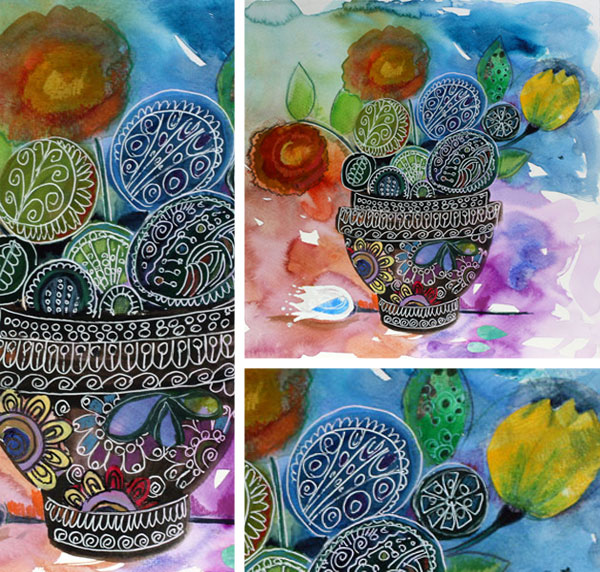
I used to create very balanced compositions until it hit me: a slight off balance is more interesting! The difficult thing is that it must be so slight that it’s almost controversial if the composition is balanced or not. Bringing that white tulip a little bit to the left would create a perfect balance. But with this still life I wanted to tell you that we are all human, we make mistakes, nobody is perfect or pure. When you notice your mistakes and allow them anyway, that’s when you stop copying and start creating unique art.
Let me be your art teacher: Subscribe to my weekly emails!
Pattern Design Simplified
 rsvMany artists love painting faces, but I feel drawn to patterns. It must be the little engineer inside me who, after seeing almost anything, needs to know: could this be simplified and repeated?
Don’t get me wrong: I am not a big fan of over simplifying everything. Living in a country of snow and white box like houses with white sofas, I have had more than enough of simple forms. But when simplifying involves some clever thinking, hundreds of ideas have been created instead of one.
Namely, you can tweak and change simple structures almost endlessly.
It is like an engineer has made the skeleton which an artist can decorate.
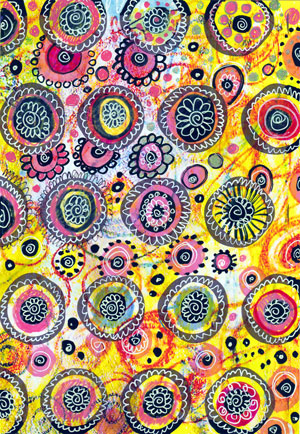
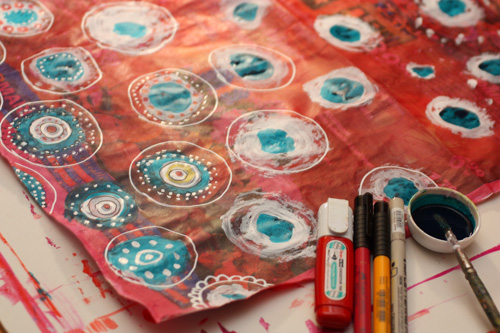
Designing a Hand-Drawn Pattern
The paper above began when the engineer in me found a scanned image of a handpainted paper. The circle pattern was printed on it. Then it was given to the artistic side of me which went a little crazy.
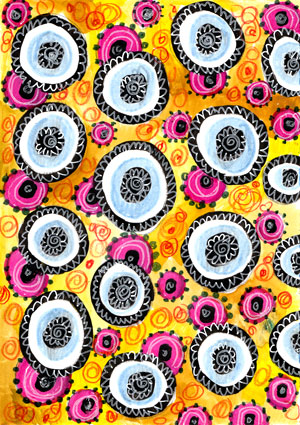 The pattern that the engineer had created was dull but the artist made it breathe. The result was analyzed carefully and a new surface pattern was born! This design is simple but fun, perfect for the use in collages or even for making cards or gift papers.
Creating Variations
I also made another version of the same design. Creating variations and studying various color combos is so fun! I always decide to make just a simple paper but end up adding smaller and smaller details!
When decorating these papers I never know beforehand whether I will cut them to pieces for collages or frame them as they are. But I always scan them once they are finished so that I can use them again if I want to.

Instructions for the Hand-Drawn Pattern
I have written detailed step by step instructions for the pattern which I call Spring Flowers.
>> Download PDF
Let me be your art teacher: Subscribe to my weekly emails!
Bursting Circle – Self-Expression Exercise
Here’s my interpretation of the creative self-expression exercise called Bursting Circle. It might sound too simple or a bit mechanic, but it can be used as a framework for self-expression: how am I today, how am I feeling?
Do the Self-Expression Exercise – Create Your Bursting Circle!
1) Pick a paper or a page of your art journal.
2) Draw freely a circle on a random area of the paper or the page.
3) Fill the circle with whatever you can think of: shapes, colors, anything. You can also use collage pieces.
4) Divide the paper by drawing a horizontal or vertical line.
5) Color each side of the line differently.
6) Imagine that the circle begins to leak or burst – how would you illustrate that?
Analyze After Creating!
Is your circle big or small?
What does it contain?
Is it located left or right?
Is it on the surface or under the surface?
Is it inside or outside?
Is it clearly shaped or is it merging into the background?
Does it burst, spill or radiate?
Is there any movement or does it stay still?
and so on …
Do not analyze the image before you are finished. There’s no one interpretation, but you can consider yourself as a circle and start from there. The part of the exercise is to get in touch with your own thoughts.
My painting tells me this: I feel more exposed than many times before. It is a good thing and it might even be a beginning of a life change. I might not be able to control it, but I feel I have a lot of decisions in my hands. I want to impact others, but I am also impacted at the same time. Maybe there’s a network where I am heading.
What does your picture tell you?
Another Version of Bursting Circle
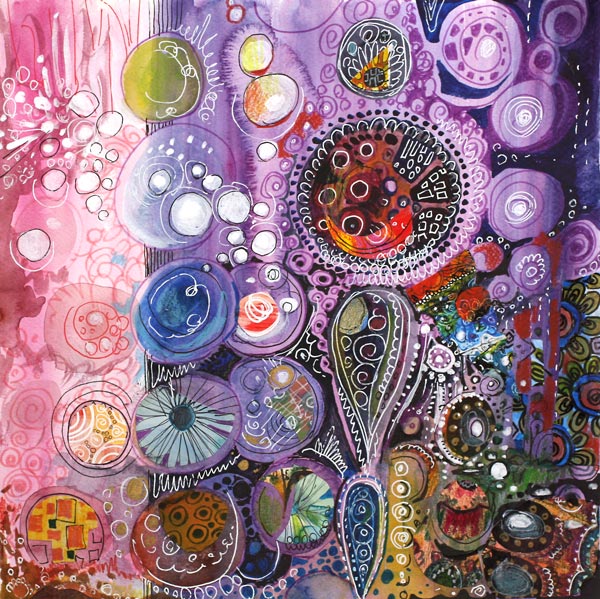
I made this using watercolors, markers and color pencils. When looking at this, I wonder: Is there too much going on in my life at the moment? Well, it might be so but if I need to choose between too much and too little I always pick too much!
Let me be your mentor in art: Subscribe to my weekly emails!
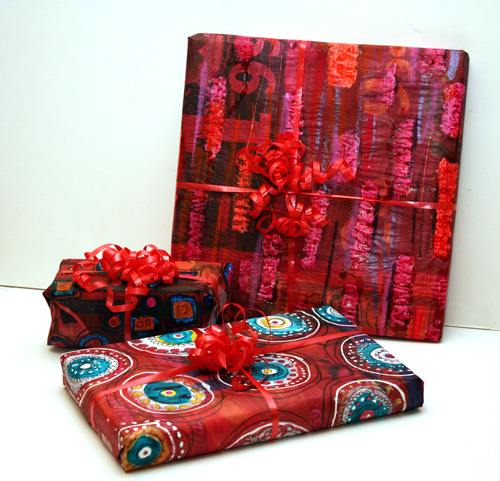
Wrapping Paper from Newspaper
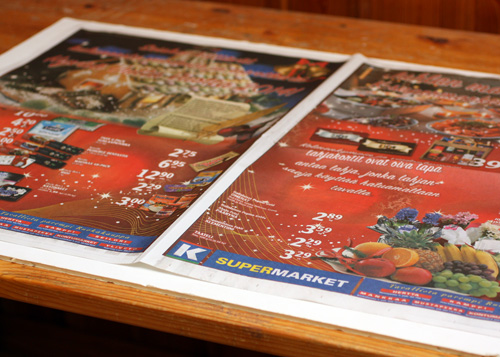
Did you know that newspapers are treasures? Neither did I before I began to wrap Christmas presents and realised that I had ran out of wrapping paper. I solved the problem by creating decorated gift paper from newspaper sheets!
Here’s the sheet in the beginning of the process.
I had three various reds of india inks which I used to color the background. Any ink would be suitable. And if you do not have ink, paint a thin layer using acrylic paints.
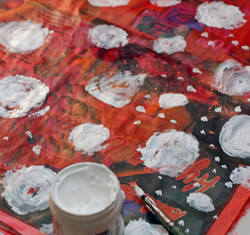 After the background paint was dry, I painted round shapes with gesso. If you do not have gesso, use white acrylic paint. Thin, even layers are better than thick and bumpy ones. Let dry.
Finally I took a correction pen, some markers and india ink to decorate the white areas.
Ironing makes the papers smooth and shiny.
I could not help making some more. I varied the shape of white areas to make different designs.
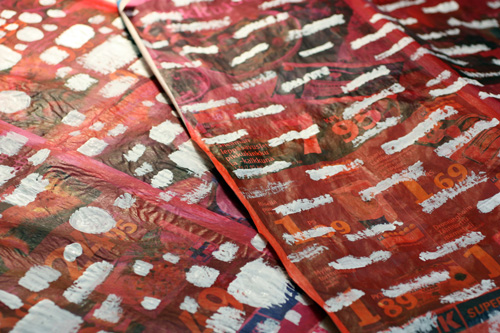
I was pretty pleased with all the three of them!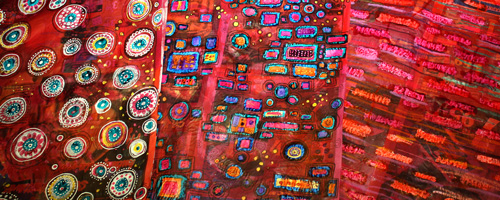
Who would have guessed these were just newspaper sheets in their previous lives!