
Abstract Portrait – Paint with Me!
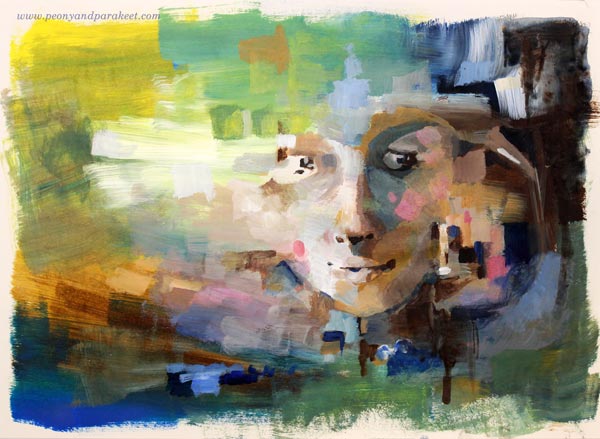
Here’s a quick abstract portrait from my sketchbook, painted with acrylic paints in 45 minutes. I didn’t use any reference photos for this one but just played with the shapes.
Create an Abstract Portrait – Watch the Video!
Get tips, ideas, and inspiration for your abstract portrait. Watch the video!
Innovative Portraits – Buy Now!
Innovative Portraits is about discovering new paths to painting and drawing portraits. Increase artistic looseness, find ways to get the proportions with ease, add more style by using shapes and colors, and invent ideas so that you never wonder what to put in the background. >> Buy NOW!
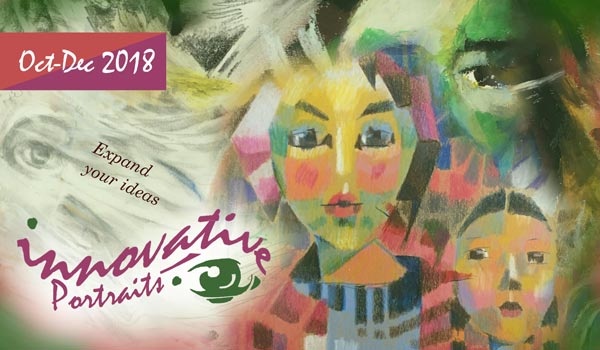
Draw with Me – Portrait of a Quilter

Portraits don’t need to begin with a face, and you don’t have to use up all the energy for perfecting it.
This week, I invite you to paint or draw with me! I show a fun and quick project that works with any pens or paints. And even if the central idea for the project is quilting, you can replace it with any hobby. Start with the basic shape or element related to the hobby and then let the elements have more variation and looseness – I show it all in the short and entertaining video!
Watch the Video and Draw with Me!
Innovative Portraits begins on Oct 1st!
Innovative Portraits is about discovering new paths to painting and drawing portraits. Increase artistic looseness, find ways to get the proportions with ease, add more style by using shapes and colors, and invent ideas so that you never wonder what to put in the background. >> Sign up NOW!
Innovative Portraits includes a 3-month membership in my art community Bloom and Fly so you will also get monthly live sessions and weekly feedback Tuesdays. >> Sign up NOW!
3 Weird but Working Tricks for Portraits
Here’s the replay of yesterday’s free webinar “3 Weird but Working Tricks for Portraits”. There was a slight delay with some pictures, but I have edited the recording so that it won’t show there. I hope you will enjoy these ideas and mindsets!
Drawing Faces – Refresh the Way You Make Portraits!
In my new upcoming class Innovative Portraits, we will discover new paths to painting and drawing portraits. We will gather ideas, make sketches to process them and find solutions to the problems that have caused frustrations. This class also includes a 3-month membership in my art community Bloom and Fly so you will also get monthly live sessions and weekly feedback Tuesdays.
Innovative Portraits – Reserve Your Spot Now!
The early-bird price is available when you sign up before Sept 16, midnight PDT.
>> Sign up NOW!
Take Your Art to a Passionate Level
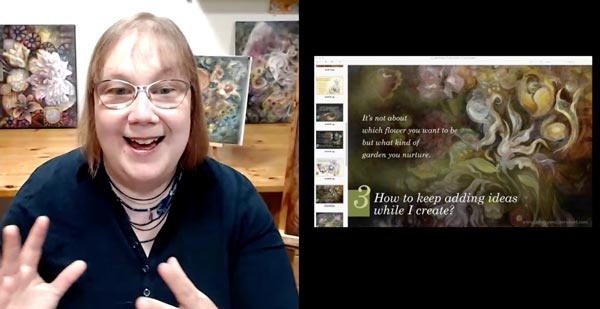
What Does “Passionate” Mean to You?
This week, I had a free live webinar of how to conquer the excuses and become more passionate about art. I asked what does “passionate” mean to you and then divided it into four categories. After that, I re-phrased five excuses so that you see them from a new perspective. It may sound theoretical, but you also get ideas of how to apply these things in practice as well. I hope you will enjoy watching the recording below!
Take Your Art to a Passionate Level – The Recording of the Webinar
The Exploring Artist Begins on Sept 10 – Sign Up Now!
The Exploring Artist is a 12-week group coaching program for artists, between Sept 10 – Nov 30, 2018. This coaching is for you who wants to get clear about your artistic passion and become more open about your art, for example, share your art in social media, blog about art, sell your originals and prints, teach classes, etc.

In The Exploring Artist, you will get coaching as a part of a small and tight-knit group. I will personally help you to put your passion into words and visual insights. We will work together to discover what you want to change in your art, where you want to move forward and how to do it.
The maximum number of the participants is 12,
and the early-bird sale ends on August 19 (midnight PST), so sign up now!