
Arboretum Patterned Paper
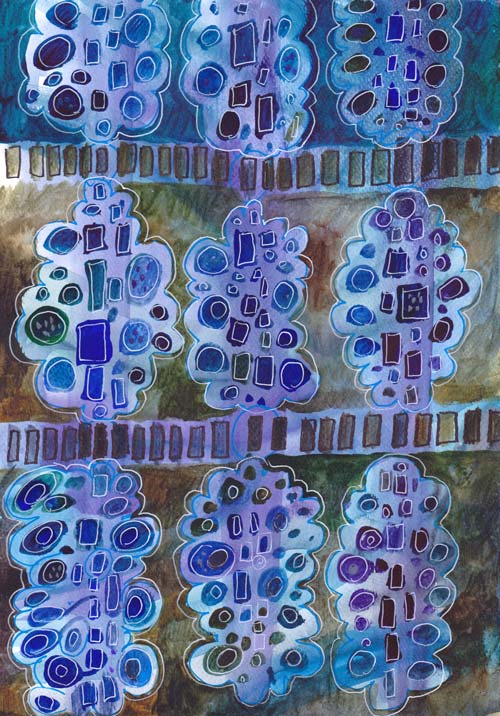
My newest design for hand decorated papers is called Arboretum. Arboretum as a word means a collection of trees. It is often used for the gardens where various kinds of trees from the collection. As you can see below, this design is very versatile: you can create any trees and play with the colors and pattern repeats.

I have used mainly watercolors here, but you can create this pattern with almost any supplies. When I designed this, I was inspired by two things: 1960s retro style and modern quilting.
Living in a house built in the 60s, we have brown, sturdy floor tiles and pine trees in the garden. The whole era celebrated the simple shapes forming simple designs. In modern quilting, solid fabrics are combined with modern patterns. Modern style quilts also often use asymmetrical and improvisational piecing.
I wanted to create a design that would be improvisational as well. I aimed for the painted design that leaves space for variations and self-expression. The simplified black and white pattern picture shows the structure more clearly.
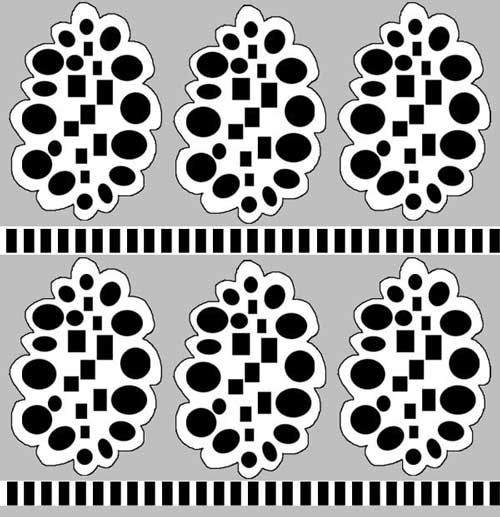
Each of the trees has rectangular shapes in the middle. They represent the trunk of the tree. The rectangles are surrounded by round shapes, which represent leaves. Each row is separated by the row of rectangles, representing the fence or earth. A single tree can also be used alone, as an element in an illustration or as the only image illustrating a text.
Step by Step Instructions for the Painted Design
1) Create the background

Use several colors to create the background. The colors can be intensive but not very dark as this is only the bottom layer that shows behind the trees.
I used thin watercolor paper, watercolors, broad brush and plenty of water. I worked with long strokes from top to bottom and vice versa. The paper was dry, but the brush was very wet. In the end, I added splashes of water to create even more variation.
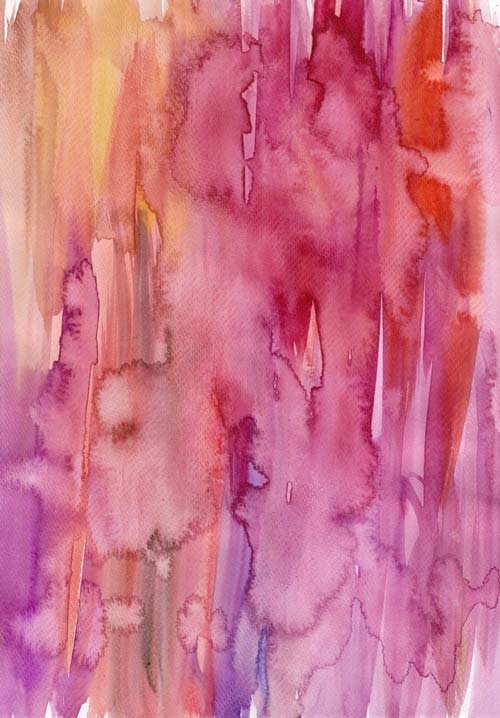
Let the background dry well. If you like the result, and you have a scanner, scan it so that you can use it multiple times by printing it!
2) Add the fences.
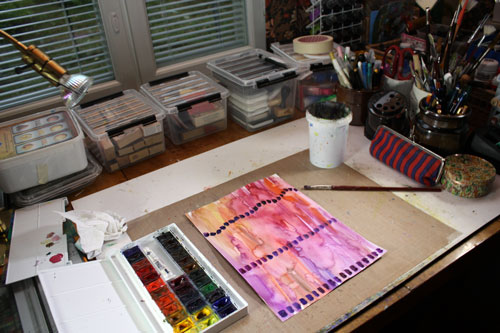
The fences can be straight or curvy. They can break or continue from edge to edge. The distance of these rows determines the size of your trees.
3) Add the trees.

Start with the rectangles of the trunk. Continue by adding circles near them. Create the rectangles and circles in different sizes and different colors. Color variation looks great especially if you maintain the intensity of the color fairly even between the shapes.

Leave some space between the trees.
3) Darken the background around the trees.
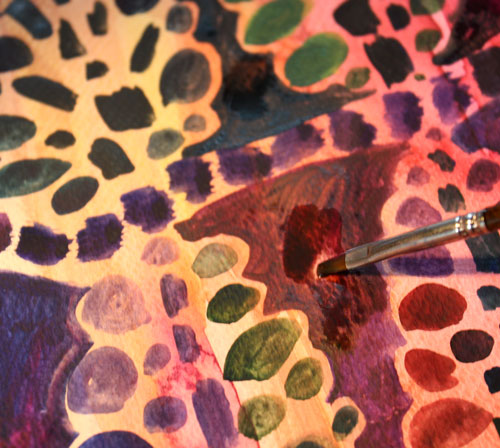
Add darker color to the space between the trees. You can use various colors here too. The dark background represents the sky.
4) Finish with doodles.

Create details to the rectangles and circles. I like to use white gel pen here. You can make each tree look different if you like.
My finished piece is inspired by fall. Thus some trees only had few leaves. On the top row, there ‘s also a tree that has rectangles set like branches. The darkest tree in the upper left corner reminds me of a cone. I could have made an art journal page too by replacing the fence with the journaling. There’s so many little tweaks you can make to this pattern to tell your personal story!

After creating these, I have begun to wonder: what if I cut some of the trees out and created a collage from them!

More patterned papers: Basic instructions + links to more
More inspiration from simple shapes: What to Create from Simple Shapes? 6 ideas
Let me be your art teacher: Subscribe to my weekly emails!
The Art of Finishing

This collage is called Dawn of Change. It is inspired by the history of art. There was a time when I preferred modern art. If I went to an exhibition showing older than 20th century’s art, I used to yawn and think how pretentious it was. But the more I have examined art, the more I see in the old art. I see colors and concepts that can be reproduced in many different angles. Also, seeing good art makes me think of finishing – how much it affects the experience of the viewer.
The Creative Process
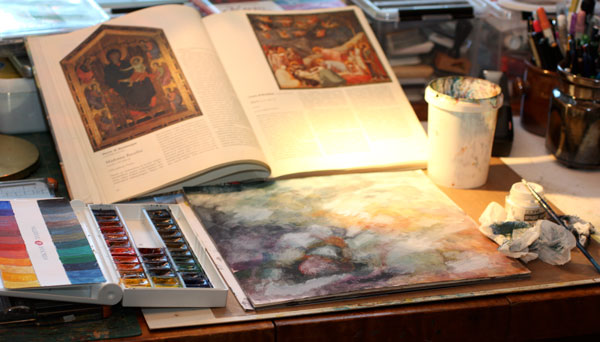
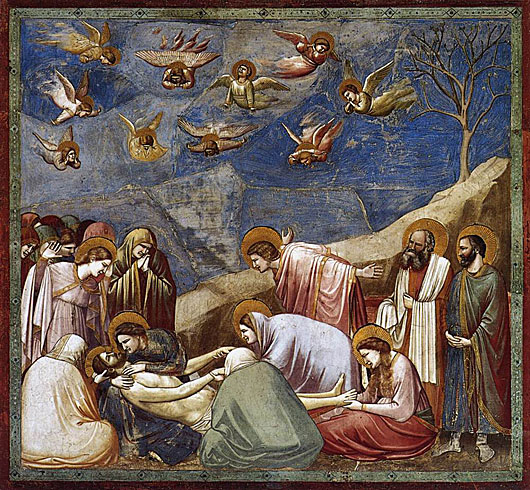
When I began to create Dawn of Change, I kept the painting of Giotto di Bondone visible on the table. I did not copy the image; I just kept it as a reminder of what to aim for.
The first layers were painted with watercolors. Then I added some Copic Opaque White to create lighter areas. The white layers were rubbed so that they shined vaguely on the watercolored surface. I also sprayed some Dylusions mists to make the background even foggier.
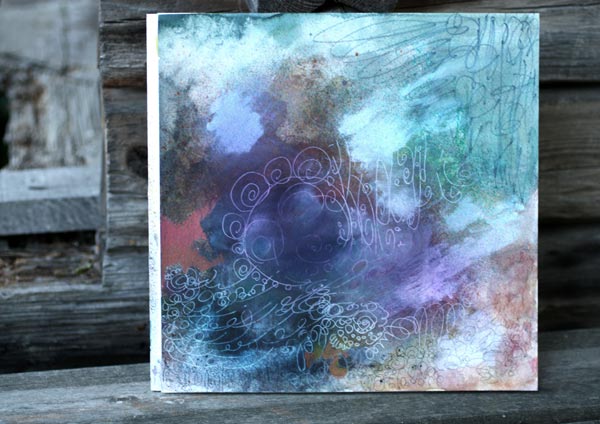
After a little bit of doodling with colored pencils, black marker, and white gel pen, the background started to show the guidelines for collage pieces.
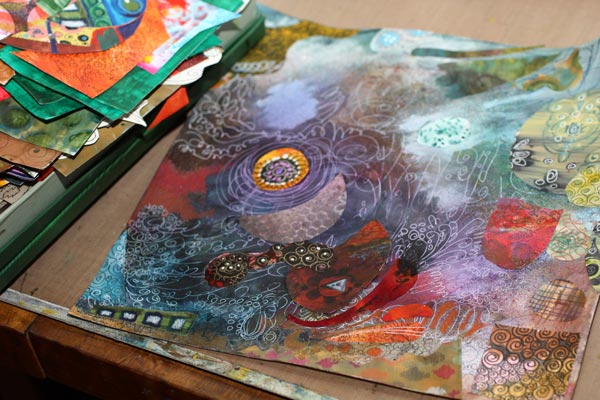
Then I picked up the box of hand decorated papers and began to attach the paper pieces. In this phase, I always get surprised how well the papers fit the artwork even if they are all different. Creating your own papers will bring you that happiness! Try to avoid using same papers many times in the same artwork. That way the result looks more interesting.
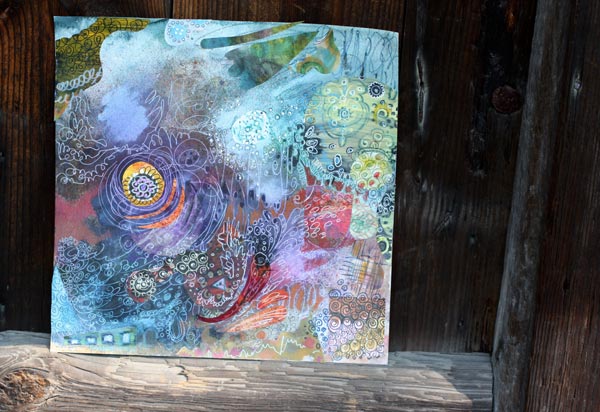
After a little bit of doodling, I was getting tired and decided to end my session. Even if the composition was accomplished and nothing major decisions left to make, I felt that the work was incomplete. I needed to ponder how I was going to finish it. Over the years I have noticed that finishing does make a difference. In arts and crafts, the finishing rarely alters either the message or the use of the work, but still has a high impact on how appealing we will find it. Sometimes that extra addition of quality will change entirely what we think about it.
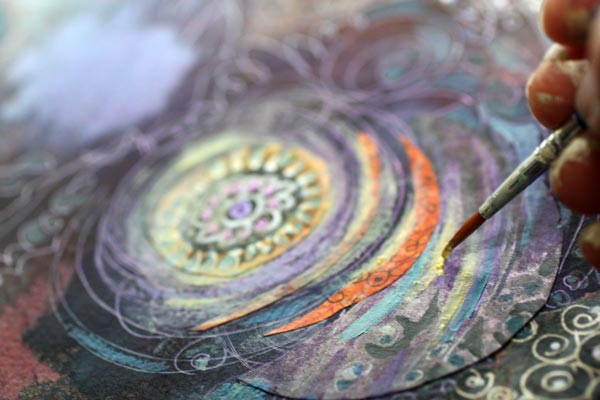
So, if you want to improve your results, get into the habit of taking breaks. I like to have a good night sleep, walk the dogs or work in the garden. Especially physical activities make the subconscious work best. Then, when I grab the thin brush I know exactly what I want to achieve and how to do it.
Finishing Art – Making Subtle Changes
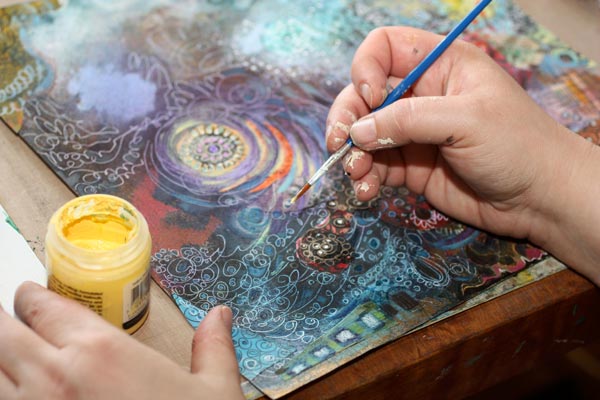
In this piece, I wanted to increase the impression of the colors fading together. The acrylic paints were the best to accomplish that. I added small strokes of various shades of grays to create a more muted look. Then I also added some pale yellow and off-white to create the fading in lighter areas.

The difference between before and after is not big. When placing the two pictures side by side, you have to search for the differences. But I claim that the overall experience of the quality is better after finishing.
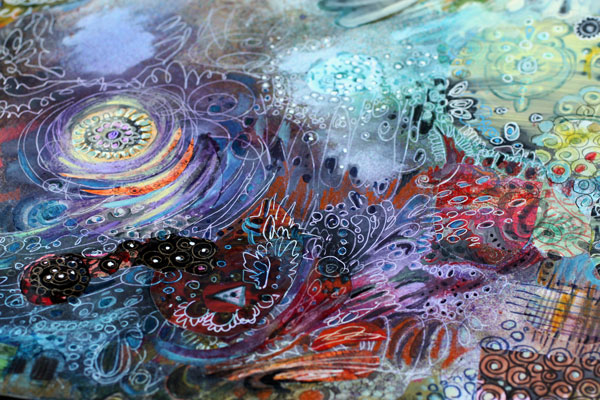
So I challenge you to finish your work – even if it already feels finished!
Let me be your mentor in art: Subscribe to my weekly emails!
From Photos to Art Nouveau – Doodling on Photos
One of my favorite styles, art nouveau, thrives from natural forms. So, when I am walking in the garden, I see art nouveau everywhere. I often have a camera in my hand, and I snap photos while admiring the flowers.
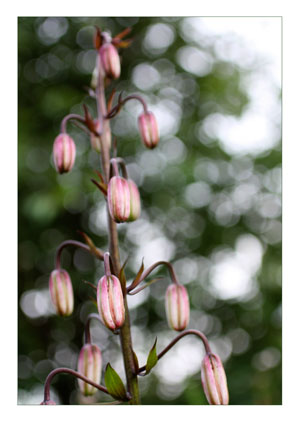 When checking photos after one of those walks, this snapshot of martagon’s flower buds caught my eye. It almost shouted art nouveau to me. Its shape reminded me of the Mackintosh lamp shades seen in Scotland a month ago.
Art Nouveau Martagon
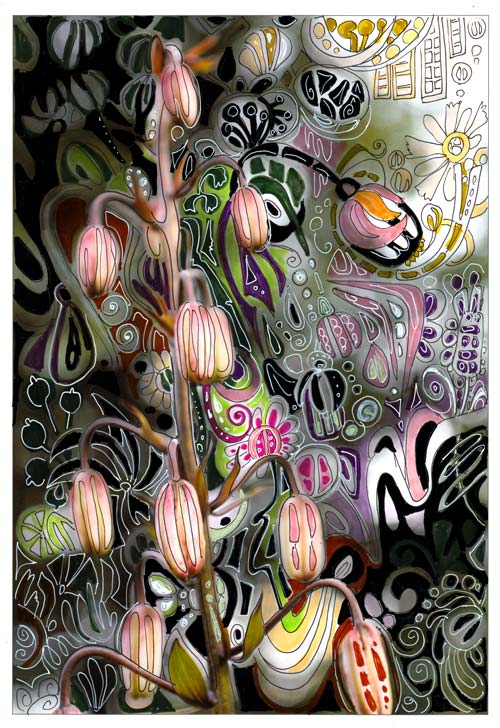
I printed the photo on Canon matte photo paper. Simply using markers and gel pens, I doodled streamlined shapes to move the martagon to the era of renewal and decorative beauty.
In the original photo, the direction of the elements was downwards. I wanted to change the composition so that it would be upwards. The upward direction would refer to the spiritual renewal, a centric theme in art nouveau. I doodled several upward shapes like the flower seen in the upper right corner.

The colors of the plant were also a source of inspiration. I wanted to keep the narrow range of colors seen in the stem but also brighten the muted tones with splashes of bright green and pink.

Drawing on a photo was such a fun process that I will do it again. One idea would be to create art nouveau portraits. Art Nouveau style doodles would look great on portrait photos too. Actually, like in the best days of art nouveau, anything can be “beautified”!
Doodling on Photos
This was not the first time I used the technique of drawing on the photo.
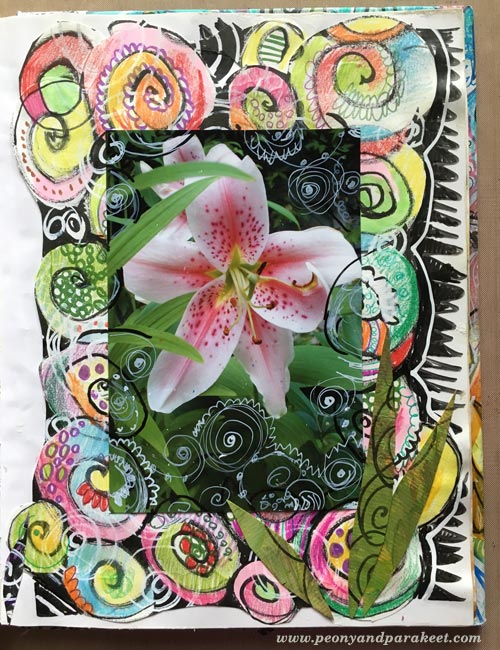
In 2010, I combined doodles and a photo. This page was also very easy to do:
1) doodle with pens on the background paper
2) attach a photo and then doodle on the photo.
More projects with doodling on prints
These posts also combine printed images and doodling:
>> Subconscious Goals
>> Creating Wood
Let me be your mentor in art: Subscribe to my weekly emails!
Using Black in Art Journaling
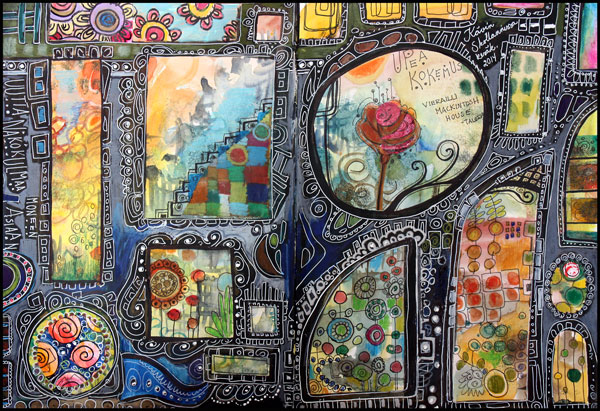
Last week was great. I went to Scotland! I started with a small business conference in Glasgow and then had a couple of days sightseeing. My husband joined me in the end of the week and we really enjoyed our time. To celebrate the journey, I made an art journal spread which is based on the easy, yet effective technique, using black in art journaling.
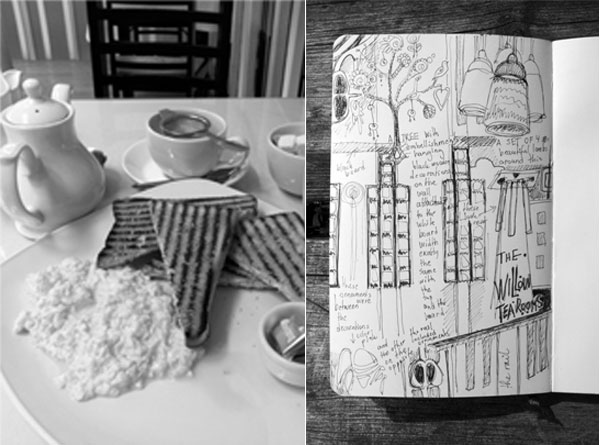
Before I get into the process of creating the spread, I want to show a page of a smaller art journal which I had with me. I made the page while I was eating breakfast at Willow Tea Rooms in Glasgow. It is a wonderful place for a Charles Rennie Mackintosh fanatic as I am.
Charles Rennie Mackintosh was a designer and architect in the early 20th century. I have admired his and his wife’s Margaret MacDonald’s work for ages, so I wanted to look around the tea room area really carefully. Because sketching not only makes me observe things in detail but also memorize better, I recorded most things that I saw. The first tip of this post is to create sketches before making the actual pages. It is easy to keep a black pen and a small journal in the bag.

When I saw this doorway of St Conan’s Kirk, I knew it would be inspirational after getting back home. When thinking of doorways and windows I remembered a page spread in my largest art journal which was started some time ago but was not finished. I often create jumpstarts for the future pages. This was just perfect for the theme!
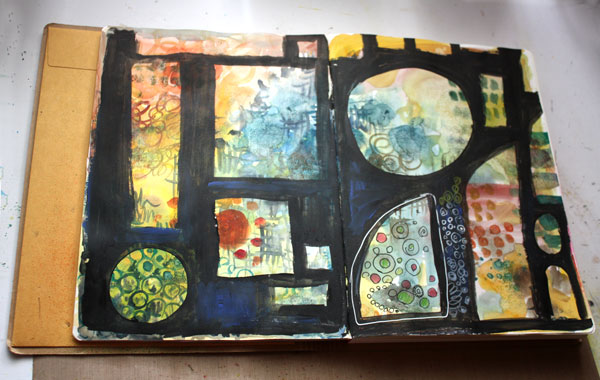
To get to this stage is really easy:
1) Paint a background with watercolors. Use various colors and brush sizes. Do not repeat colors or patterns too much but create areas that differ from each other. Create few layers and let each layer dry before adding the next.
2) With black watercolor, add a new layer on the top. Leave empty areas so that the previous layers show through.

And after the black layer is dry, the real fun begins:
3) Doodle on the black areas with color pencils and gel pens. You can also add details in the other areas. Feel free to use decorative papers too.

I wrote to the art journal that my best experience of the journey was to visit Mackintosh house. Taking photographs was not allowed but I did manage to take a couple of photos of Charles Rennie Mackintosh work. The first photo is from Kelvingrove art museum which is located near the Mackintosh house. In the second photo I am standing on the front door of Mackintosh house. There were no stairs as the house was a replica of the real house and was built inside Hunterian art gallery.
When walking around the interiors designed by the creative couple, Charles and Margaret, I wondered what kind of discussions they had had in their beautiful home. Margaret’s remarkable collage art showed extreme talent but she was not valued as an artist back then. Charles also struggled at times. Still, what those two people shared with each other, must have been wonderful and deep. I just wish I could take a time machine and spend at least one evening with them, talking about the form, design and philosophy of art!
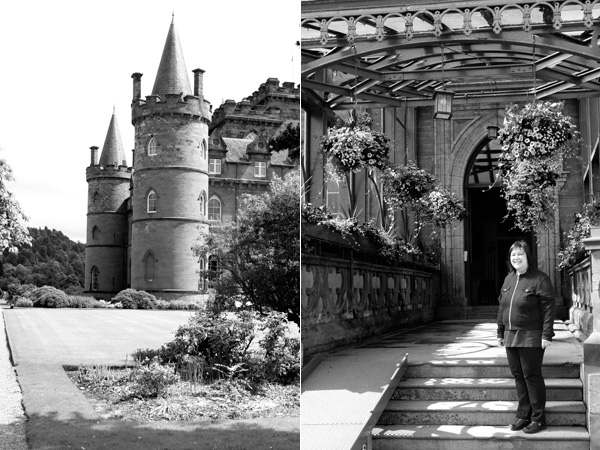
These photos also worked as inspiration to the art journal spread. Here is Inveraray castle and its beautiful entrance with summer flowers.
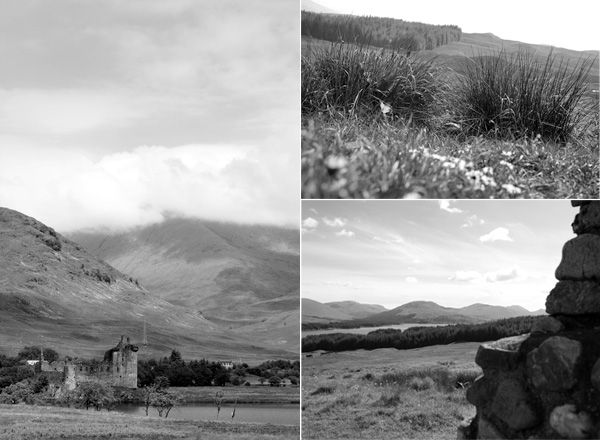
The day we visited the highlands was sunny and the nature looked incredibly beautiful. The Stalker castle was not available for visitors but the view from it must be breath-taking.
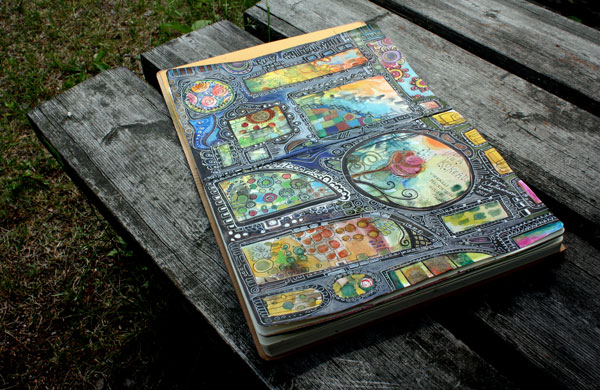
Here’s the finished spread again. Hopefully you enjoyed the photos of the journey and fell in love with Mackintosh couple’s work. I also wish that you’ll try my technique of using black in your art journal!
Let me be your art teacher: Subscribe to my weekly emails!