
Paint Gentleness – Watch the video!

It’s the time for a video blog post! This week, I talk about gentleness and how you can experience that through a painting technique. I show some basic elements from the old masters painting techniques. In the past, artists painted with oil paints. For acrylic paints, the secret is to use glazing medium for thinning the paint. Have fun!
Let me be your art teacher: Subscribe to my weekly emails!
Consistency and How to Get Inspired by It

When artists say that they need to focus and find their style, a big part of the problem is the lack of consistency. To me, “consistent” used to be a negative word meaning “boring,” “predictable,” and even “unimaginative.” But during the recent years, I have realized that there can be a lot of freedom in the consistency.
Here’s an example. Last Sunday, I wanted to do some art journal pages inspired by my recent trip to Italy. I was already heading towards my paints and brushes when something else came to my mind. It hit me that I have art supplies I haven’t used for a long time. One of them was Faber-Castell Gelatos. They weren’t very cheap, but I had only used a little of them. They were too clumsy and creating with them felt like painting with lipsticks. These were definitely a wrong choice when thinking about old master paintings and the era of Renaissance.
But now the challenge of using Gelatos started to intrigue me. The idea of bringing those crafty sticks to the past felt like turning on a time machine. For some artists, it would be a sign of inconsistency not to stick with particular art supplies only. But when my goals are to bring people with different skill levels together, reveal the treasures of art history, and regularly offer new ideas for creating art, it’s very consistent. So I didn’t unnaturally have to limit myself but was able to enthusiastically create the art journal pages and write this blog post.
Inspiration: Palazzo Doria Pamphilj, Rome

My favorite place in Rome was a private art museum Palazzo Doria Pamphilj. It was located in the busy center, but after entering there, I was in a peaceful and beautiful world. There were a lot of inspiring paintings, but Jan Brueghel was a new artist to me, and his landscapes were unbelievably detailed. These paintings could have been huge, and they would still look detailed. But they weren’t very big; the length was under 1 meter in the painting below.

Another interesting thing was that Jan Brueghel collaborated with another artist Hendrick van Balen, who was specialized in painting figures. No wonder, the quality of these paintings is amazing! The painting above belongs to the series of four allegorical paintings, expressing the elements of water, fire, earth, and air. What a great theme for today’s artists too! And speaking of consistency: painting a series can also enforce that.
Abstract Landscape with Faber-Castell-Gelatos
I usually create art journal pages when my ideas are not mature enough for bigger paintings. Documenting these ideas in an art journal keeps the creative process flowing and maintains one aspect of consistency: the regularity of creating.
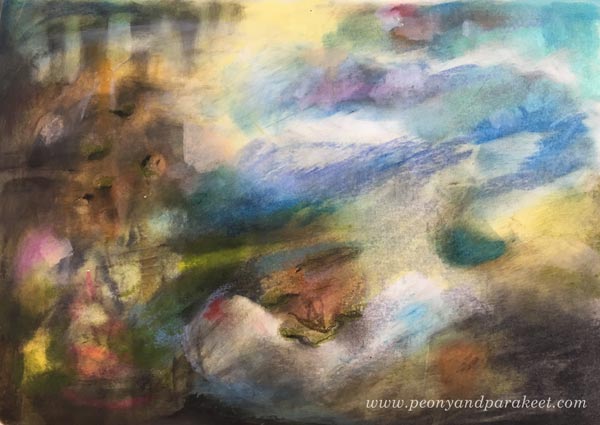
Experimenting with Gelatos was fun, and I especially enjoyed inventing ways to add details with those clumsy sticks. By building layers, I was also able to achieve a color scheme that brings old paintings in mind. The consistent inspiration from the many styles seen in the history of art sets me free. It goes so deep into what I ponder the most: how things change all the time and how timelessness can still be present.
3 Technique Tips for Art Journaling with Faber-Castell Gelatos
One way to be consistent is to develop techniques that are reusable. Often when I invent a technique for a specific media, it can also be applied to a variety of supplies. I will now show you some ideas for working with Faber-Castell Gelatos. You can adjust these for many other art supplies as well. I begin a second art journal page to demonstrate the techniques.
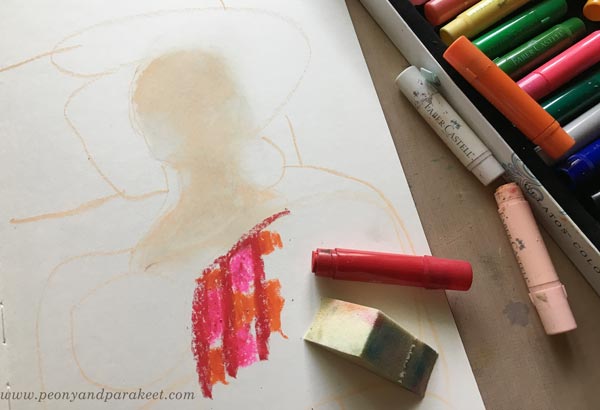
1) Blending and Softening
The more I have studied Renaissance art, the more I have been into creating soft color transitions and muted colors. When beginning a new painting, I like to blend and soften a lot. With Gelatos, the best way to mix the colors is to use a sponge. In the photo below, you see that I have mixed white and pale pink for the face but haven’t blended reds and oranges together yet.
2) Adding Details
Thick sticks don’t work very well for details. You can use the edge of the stick and get fairly thin lines, but to me, they weren’t thin enough!

However, I discovered that by using water, it’s possible to draw thinner lines with a brush. By adding water and rubbing gently, you can also remove some color and make tiny decorative spots that way.
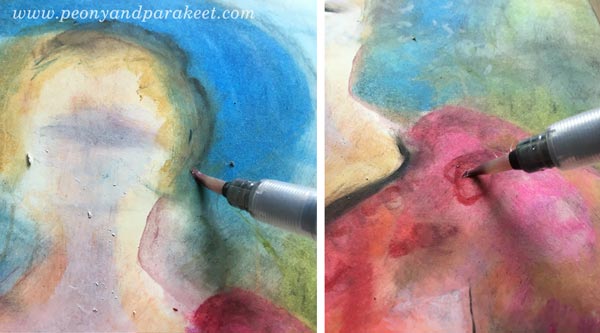
When painting with watercolors or acrylics, I like to work similarly: add a splotch of paint in one area and then quickly use it for details in other areas. It’s a fast and handy way to color details that need only a tiny portion of color each.
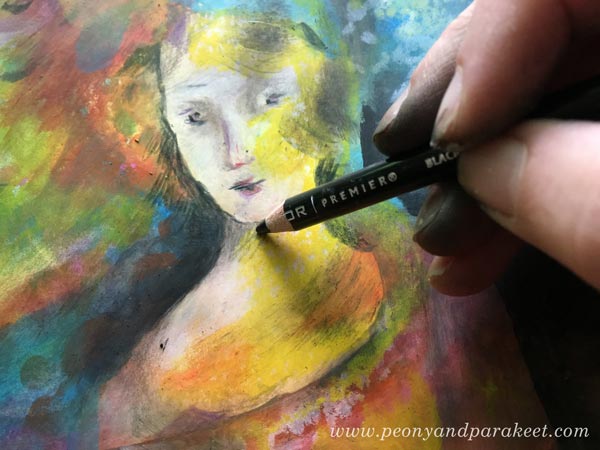
When finishing the face, I used colored pencils to draw the tiniest details. When keeping the Gelatos layers thin and smooth, it’s easy to add other media on the top.
3) Keep on Adding Layers!
When I started making the art journal page, I only had an idea of a lady or a Madonna because that would complement the landscape. I rarely use reference photos when creating art journal pages. To me, it’s more about getting in touch with vague ideas and then process them to express something that’s deeper and more defined. When I was in the middle of making the page, I was pretty clueless about what to express. But I kept on adding layers and slowly improving the image. One way to practice consistency is to keep on working with the same piece even if it looks like crap. See how much my page changed – examine the phase photos below!

In phase two, I remembered the atmosphere and the candles of Santa Maria Novella, a huge church in Florence. After finishing the page, I went to my photo archive and found an image that looks very similar to my page. It’s so surprising how many of its elements exist on the page even if I didn’t look at the photo at all!
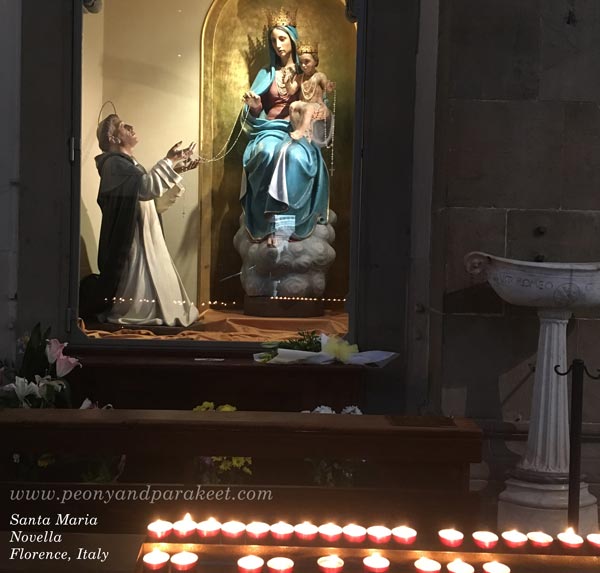
Regularly taking photos and browsing them is one way to add more consistency to the creative process.
Consistency is In the Way You Adjust the Nuances
After I had created the page, I felt that the opposite page should continue the same atmosphere. So I quickly made an abstract landscape there. Now when I open the spread of the journal, it feels more intense.

However, there are many things in these two pages that I don’t like. First and foremost, I don’t like the color scheme. It has too many bright colors and too few muted colors, and thus, it looks more modern that I would like it to look. I would like a color scheme that would be more like this:
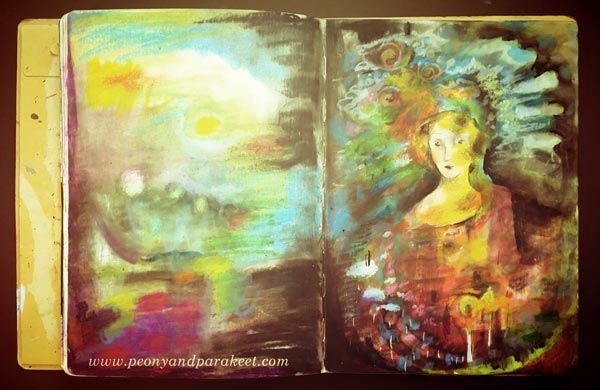
Also, if my art journal spread would be a big painting instead, I would make the face much more detailed. It’s simplicity, and the 2-dimensional look bothers me! By self-evaluating your work, you can also increase the awareness of the nuances you like. Adjusting the nuances, in turn, results in more consistency. Because many times consistency is more in the way you work with the nuances than how you select the themes and choose the supplies.
Let me be your mentor in art: Subscribe to my weekly emails!
Bad Ideas Make You a Better Artist!
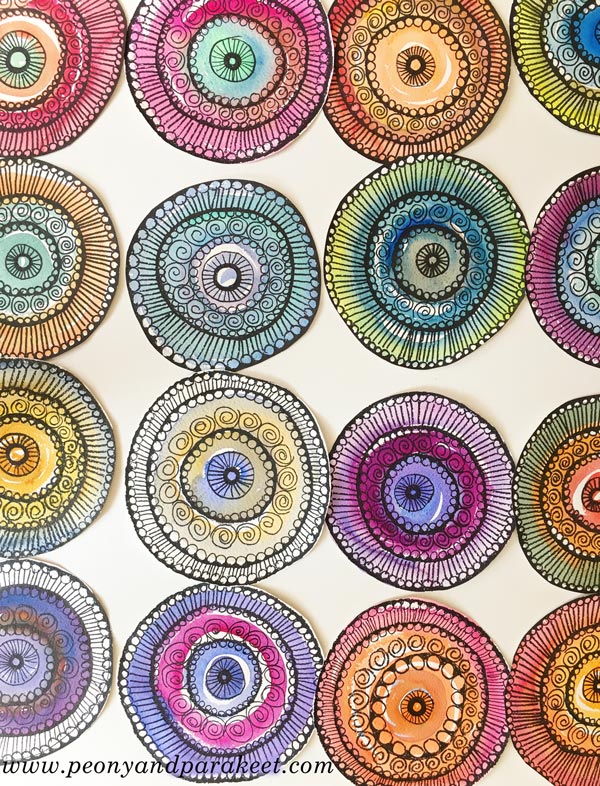
About four years ago, I got a crazy idea to draw doilies on a watercolor paper and cut them out like they would be crocheted pieces.
Handpainted Paper Doilies – Not So Good Idea
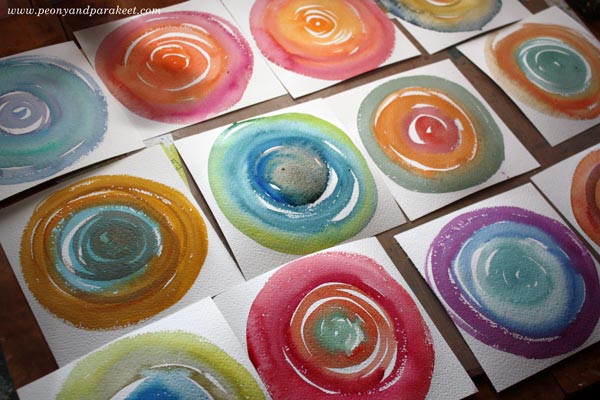
The process of painting the background circles and then decorate them with doodles was so much fun that I got carried away and made plenty.

After I had finished a pile, I enthusiastically showed them to my husband: “Look what I have made!”
– “What are these?”, he said. “What are you going to make from these?”
– “Maybe I share the idea on my blog or make a big wall hanging by joining the circles together. Wouldn’t that be cool!?”
I saw it on his face. He didn’t get it. And furthermore, he didn’t want paper doilies on our walls either.

But to me, the doilies made perfect sense even if they weren’t crocheted. By painting them, I wanted to build a bridge from crafts to art. The paper doily was a raw idea, and as I, fortunately, learned later, raw ideas can look really bad at first.
Big Ideas Come from Bad Ideas
The idea of a doily translated into art didn’t leave me alone. Last year, three years after inventing it, I launched a workshop called Planet Color, where I teach people to paint abstract compositions.
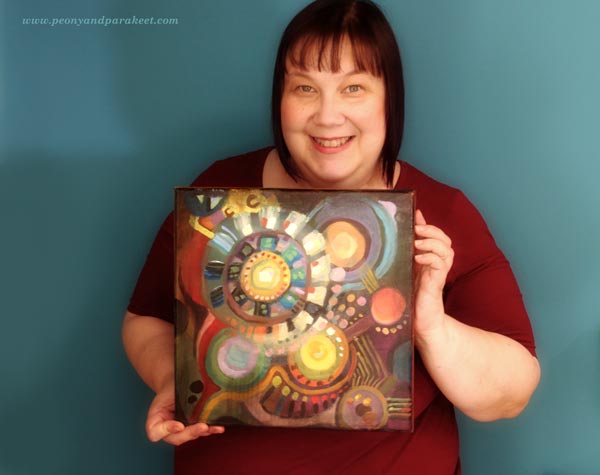
For the class, I needed a lot more ideas. I also needed to build a system and a structure that any beginner can follow. I needed to set it loosely so that everyone can use their imagination, but make it clear so that there would be no room for frustration. The idea of a paper doily was a seed, but it took some time to grow the flower.
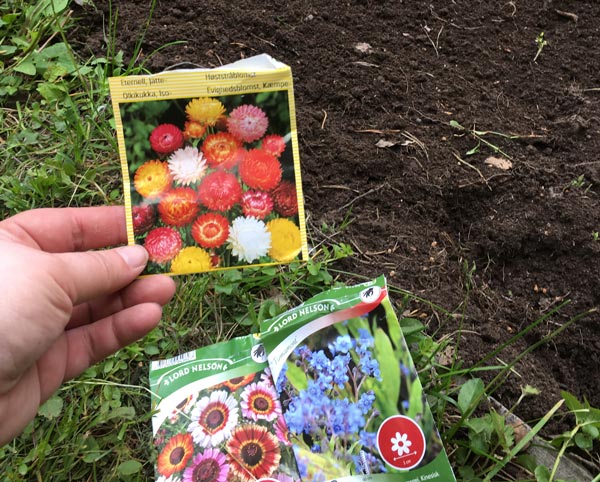
Often when we admire other people’s art, we see the flowers instead of seeds. Most artists don’t show the seeds because many times, like in my case, they are pretty pathetic. Still, it’s the seeds, the raw ideas, that make the published work possible.
Finland 200 – Not So Good Idea
Before I started making a new big painting, I saw some elegant yet simple still lifes in my mind. I had just seen a superb piece of art, a Finnish sculptor Laila Pullinen’s bronze sculpture Spring in Man. So I wanted to start a new painting with the intention to create something grand and dramatic to celebrate Finland’s 100th anniversary. “This would be called Finland 200”, I declared.
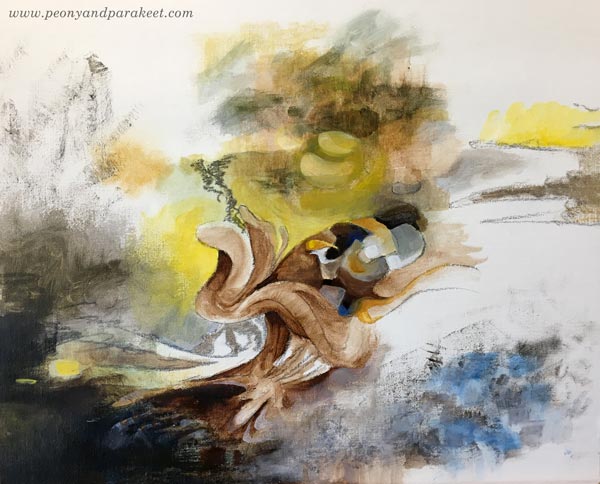
After painting for a couple of hours or so, I began to wonder what I wanted to say. Starting the painting with this much drama felt like a bad idea, and I wasn’t convinced about the centerpiece either. Would that be some kind of mushroom or what? Then my bad ideas just got worse – I decided to continue by writing an imaginary story about Finland after 100 years.
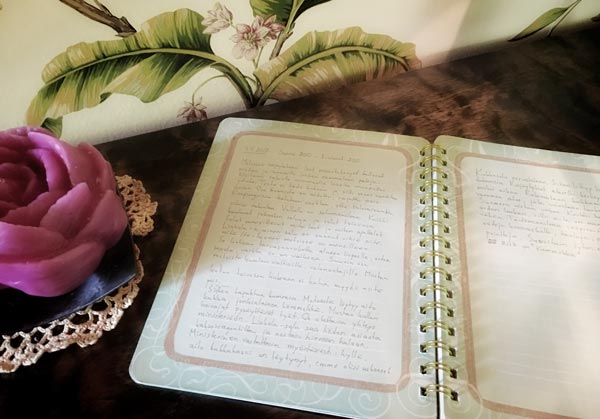
While quickly pouring the words out in my journal, I didn’t realize that I was actually writing a dystopia. The idea of a catastrophe in nature seemed exciting at first, but while painting, I realized that my visuals became very gloomy and weird-looking. I tried to make something positive out of it. I wrote a happy end to my story and painted a pink bubble with rare flowers inside it. That would be a new treasure of Finland, something everyone would want to come and see.

Even if the painting wasn’t finished yet, I already hated it. My original idea was bad enough, and now I had some more. I felt the despair rising.
New Vision – Imagination Takes the Lead
Luckily, I have a secret weapon in these situations. I connect with my passion and use the imagination to go to my happy place. It sets the mood, reminds why I create art and loads the right atmosphere into my mind while I am creating. The side of me that wants to control steps back and the side of me that is good at persuading re-evaluates the work.
– “What about changing the orientation of the painting,” she said.
– “And lose all the hard work?”, my pessimistic side responded.
– “No, nothing would be lost, we would just add a little bit of color to it.”
– “Color? What color?”
– “Brown,” she said cheerfully.
– “Why on earth would I pick brown of all the colors?”
And then she reminded me gently of my passion, about what inspires me and how I can feel free.
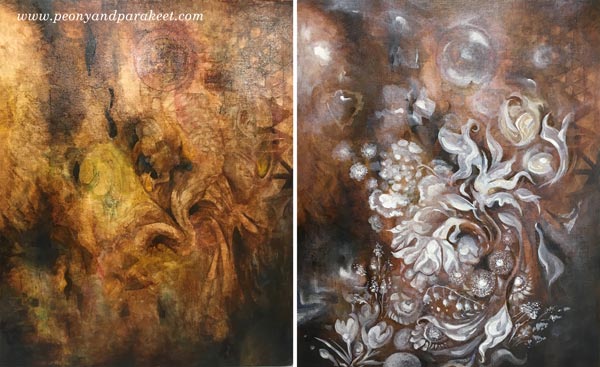
And she was right. I loved the painting after adding layers with umber. It became clear to me what the painting would be. Not Finland 200, but expressing something that has been here for hundreds of years and most probably stays the same for the next hundred: nature’s wonders when exploring the garden. I continued the painting by adding flowers that I have had in the garden. I adjusted the elements in the first layers so that they became the building blocks of the new vision.
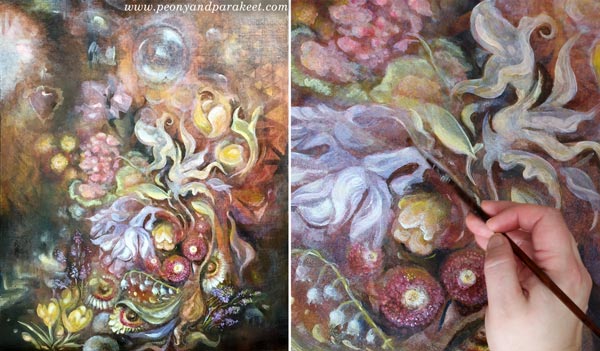
My painting is not finished yet, but it’s already a good example of how the raw ideas can be translated to more inspiring ideas with the help of imagination.
Bad Art, Bad Ideas – Also Behind This Blog Post!
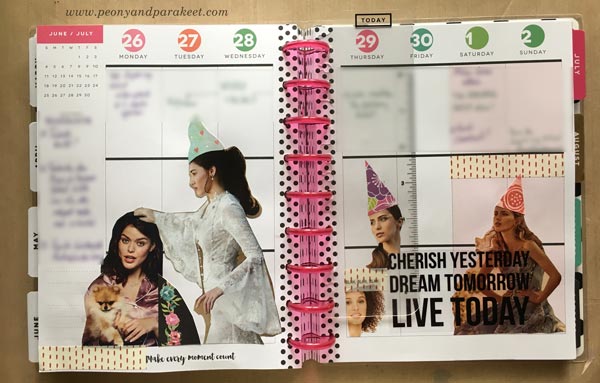
Before I wrote this blog post, I decorated my work planner to get ideas for it. I cut pretty ladies from a wedding magazine and put funny hats on them. While creating this, I thought how this kind of activity would be seen something that a “real artist” would not do, yet it’s essential to me to have a bit of play regularly. So that’s how I got the idea of revealing some bad ideas and how essential this kind of exploration is for producing work that you want to publish.
When Your Best Art Exists Only in Your Mind
Before I started making the paper doilies, I had wonderful daydreams inspired by my beautiful yarn stash. By seeing beautiful images in my mind, I came up with my bad idea, the ugly version of those daydreams.
Daydreaming is good, but it’s not successful when you try to translate something you see in your mind to paper. The creative process rarely works so literally. The images in our minds are often vague. Copying them detail by detail is practically impossible. The imagination is more like the leader who supports your art making, not a manager who controls it or the specialist who does the work. During the recent years, I have developed a method of using imagination to connect with the passion of creating art. I teach this method in the group coaching program called The Exploring Artist.
6 Steps to Making an Impact
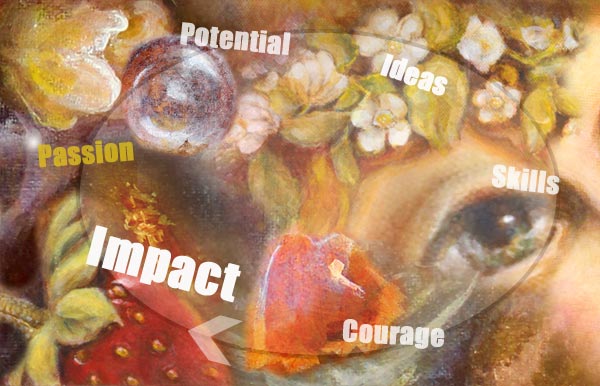
The Exploring Artist helps you to connect the play with your deeper passion and use that to move forward in all levels of art-making. During this program, you will:
– lead yourself by playing and imagining
– grow ideas from your personal feelings and experiences
– remove blind spots and build skills through the challenges
– get confident in publishing your art, whether it’s just friends or a bigger group of your people
The Exploring Artist is also about connecting and soul-searching within a friendly group. We will work through 6 steps and have live group coaching sessions, where your art and your art-making is in focus.
This is not a class where you create after me and try to get the similar result. It’s for you who wants to get support and guidance for creating freely from your personal standpoint. You can use any media you are comfortable with and apply the methods to your visual project(s). If you feel that you are “all over the place,” and want to find a creative direction, The Exploring Artist is the program for you!
The Exploring Artist will come back in 2018 – Subscribe to my emails to be the first to know!
Boosting Imagination + Last Days to Sign Up for Planet Color!
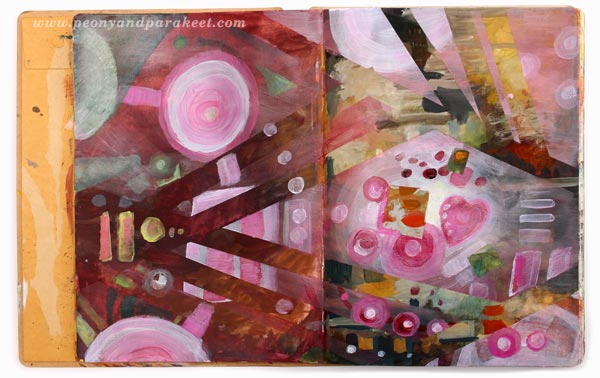
Sometimes it’s difficult to use words when you want to give a hug. Like when I get emails that say: “I am afraid I have no imagination.”
I know how the story goes because I have experienced it several times myself: First, there’s no imagination and then if you manage to get started, there are problems with the composition. I often turned the music louder just to make my brain make some sense of what I had created. And then next morning, I wondered why it’s so difficult to say whether my work is good or bad.
Regular practicing, getting a degree in design, educating myself through classes helped but if I could turn back time, I would have just given myself the formula that I have created for Planet Color and stop all the fuss. So nowadays when I get some occasional thoughts about lacking imagination, like last Monday, I open the class material and get started. The heart is for all of us who sometimes feel the need for boosting imagination.
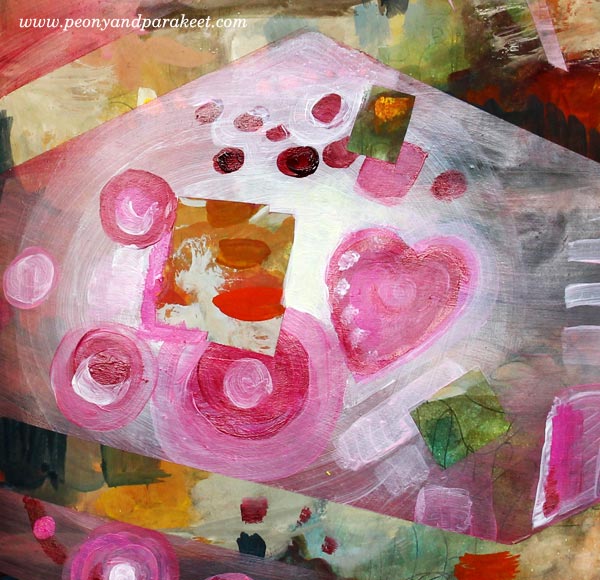
It’s the last week to sign up for Planet Color!
Watch a new video below to see what I think about boosting imagination, and to get more information about the class!
Last fall when I ran this class for the first time, it was for acrylic paints only.
But now I have included an extra video for those who want to apply the techniques to watercolors.
Planet Color is currently available as a self-study class – Buy Now!