
Hand-Drawn Oracle Cards
This year has been rough, and I have been thinking about the next year for many months already. So, I decided to draw some Oracle cards for the new year. I want the new year to bring us hope, light, and connection to our inner being.
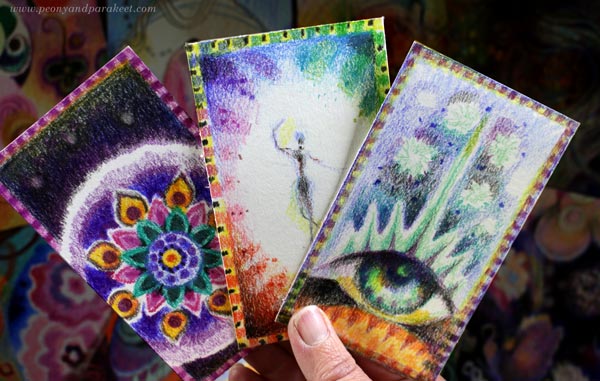
I don’t have any Oracle or Tarot decks, but I could still drew some cards. So, not drew like randomly from a pack, but really drew. I believe that by creating hand-drawn art we can explore our inner wisdom more actively than just picking the cards someone else has created.
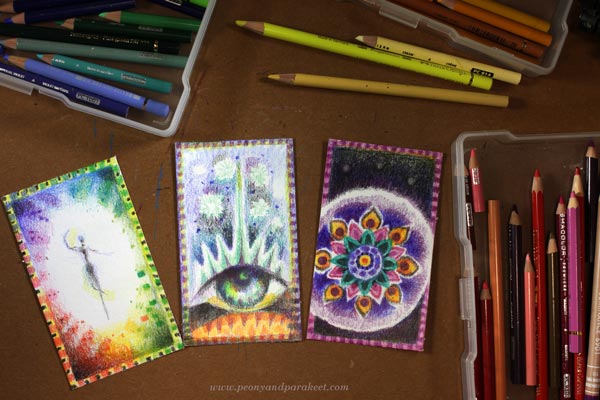
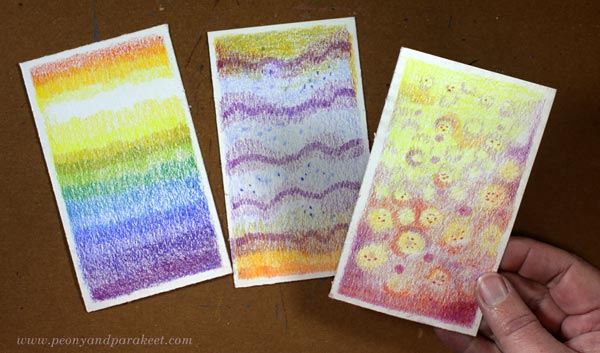
You only need some paper and colored pencils to make these hand-drawn Oracle cards. I also colored the backsides of the cards, each differently, expressing the idea of each card, but in a simpler way.
These cards are very small, only 2.75 x 4.75 inches (7 x 12 cm), which is a common size for Oracle and Tarot cards.
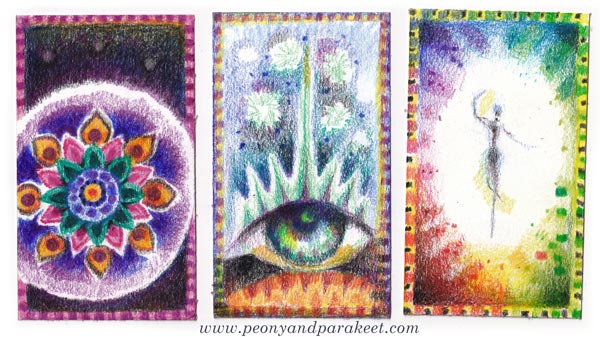
Notice the simple but decorative borders that make the drawings look like a real Oracle card!
P.S. Remember the big sale! All classes are 20% off.

>> Shop here!
The sale ends on December 1, 2025, at midnight PST.
Making Florals More Modern
This week, we are making florals more modern! So, when you want to get away from a botanical look, and draw and paint flowers that are more abstract and expressive, here are my tips for you!
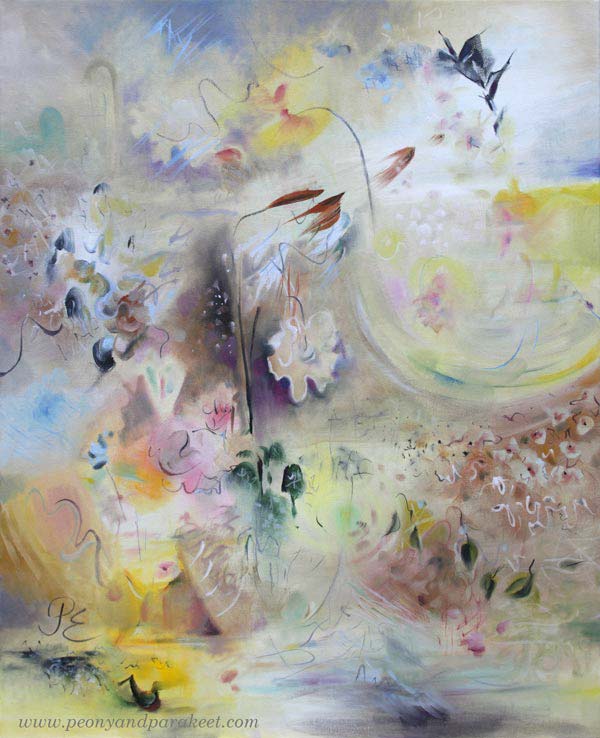
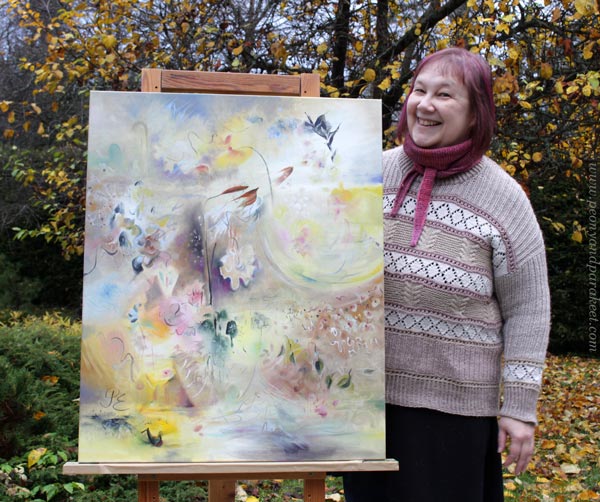
In my recent painting Gossamer, I have stretched my style to a modern direction. The painting was born much faster than usually if you count the actual painting time only. But that’s not the whole truth because I practiced this style several times. You too, can make your florals more modern in this way!
#1 Choose Your Muse!
Pick a painter that has a modern abstract style for flowers.
My choice was Helene Schjerbeck (1862-1946). She was a famous Finnish modernist, and even if I find many of her paintings a bit too melancholic, her style fascinates me.
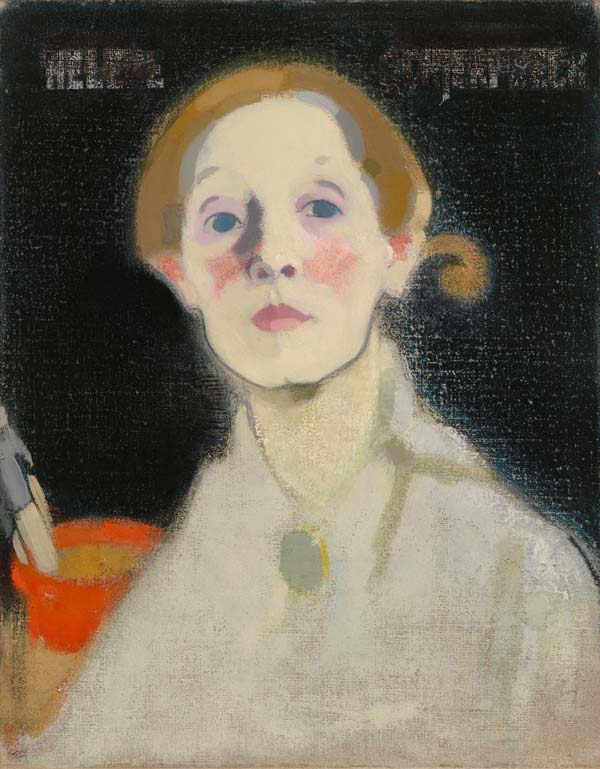
Helene is more of a portrait painter, but she also painted many still lives. (By the way – I also have a blog post about mimicking Helene Schjerfbeck’s style in portraits in colored pencil.)
#2 Make Many Tiny Sketches on One Page
Paint or draw small sketches where you pick ideas from your muse’s paintings. Combine many paintings on one page. When the size is small, you need to simplify and thus, find the core of your muse’s modern style.
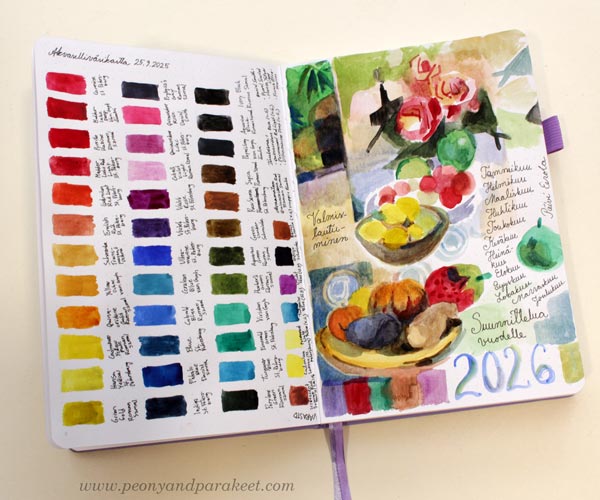
I examined several Helene Schjerfbeck’s paintings in watercolor and combined them on one art journal page.
Focus on the shapes and lines and answer to these questions while working:
- Are the muse’s shapes light or heavy?
- How angular are the single strokes?
- How light and shadows are expressed?
- Where can you find playfulness and creativity?
Helene Schjerfbeck’s shapes are rather heavy, and her strokes are quite angular. The light and shadows are treated like they are objects as well. The result is a puzzle where the material and immaterial are treated identically.
I didn’t first think that Helene’s paintings are playful, but when I browsed more of her paintings, I started to see humor in the way she painted the shadows. There is something human in their shapes. It is shown brilliantly in this piece “Trees and Sunset.”
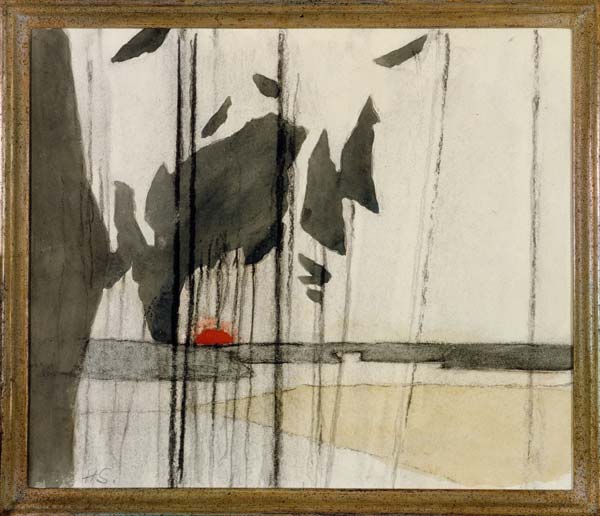
I started to think that maybe for my muse, the shadows were like animals, or dolls, and that they could be a little like toys in my paintings too.
#3 Create a Bigger Study More Freely
Next, use your observations to create a bigger study. Work freely and mix the observations with your original style.
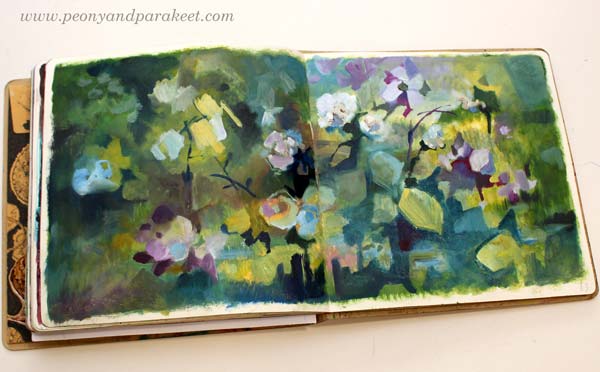
I used left-over oil paints and made this spread for my Dylusions Creative Journal. I really like how playful the shadows are, and painting this was a lot of fun!
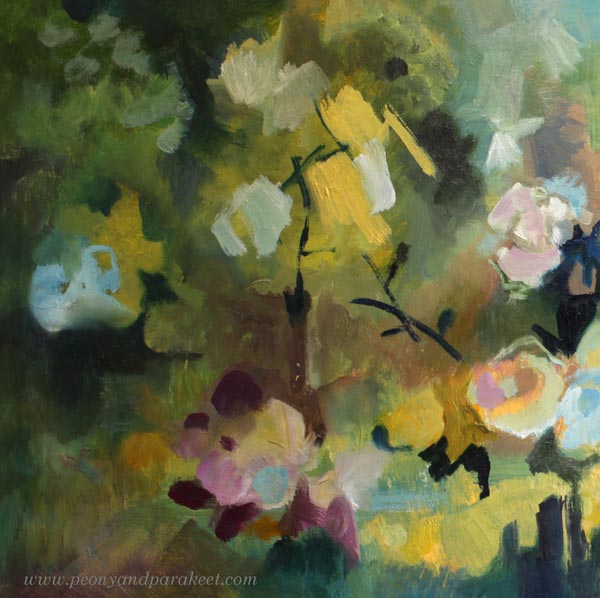
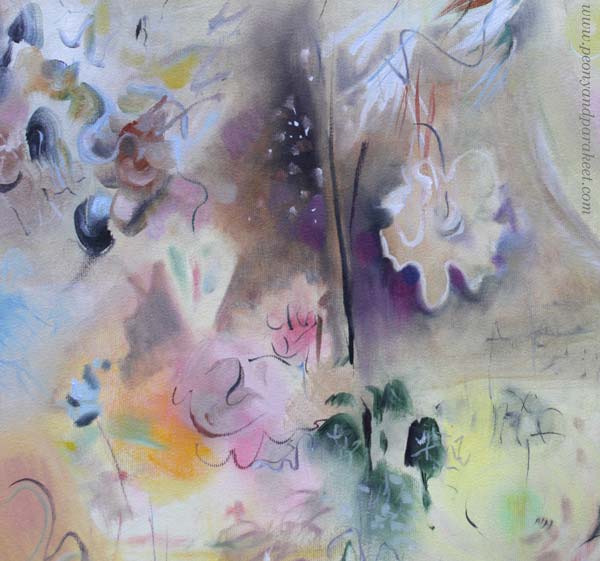
In the detail pic below, you see how angular my strokes are.
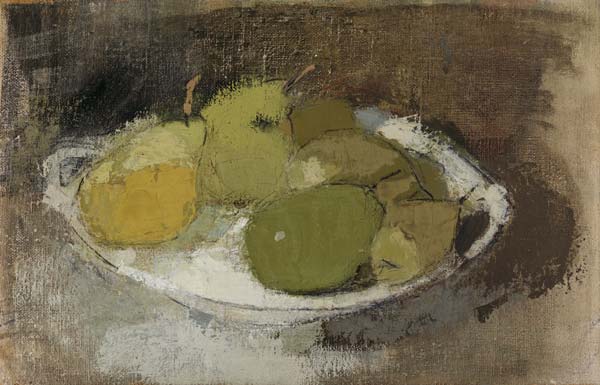
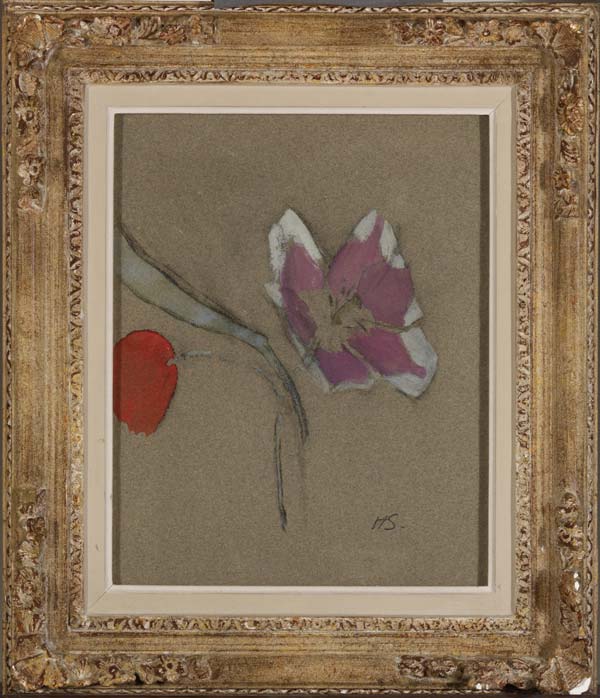
When searching for images for this blog post, I found this small painting from Helene Schjerfbeck. My flowers are different, but still there are similarities as well.
My best tips for making florals more modern:
- While working, think about surface patterns in interiors and clothing rather than the actual flowers.
- Use angular strokes to build puzzle-like compositions.
- Similarly to the parts of the colorful flowers, see the shadows and light as the shapes of the puzzle.
#4 Make the More Modern Piece
After practicing, you can now create a piece where you spend more time for finishing. Modern strokes often appear quick and careless, but they are still packed with aesthetics and style. Those kind of strokes can take a lot of attention and focus.
Here’s a pic from the early stage of my painting Gossamer. I started with a narrow color scheme, and many of the shapes and strokes were more like suggestions – a whispering start, you could say!
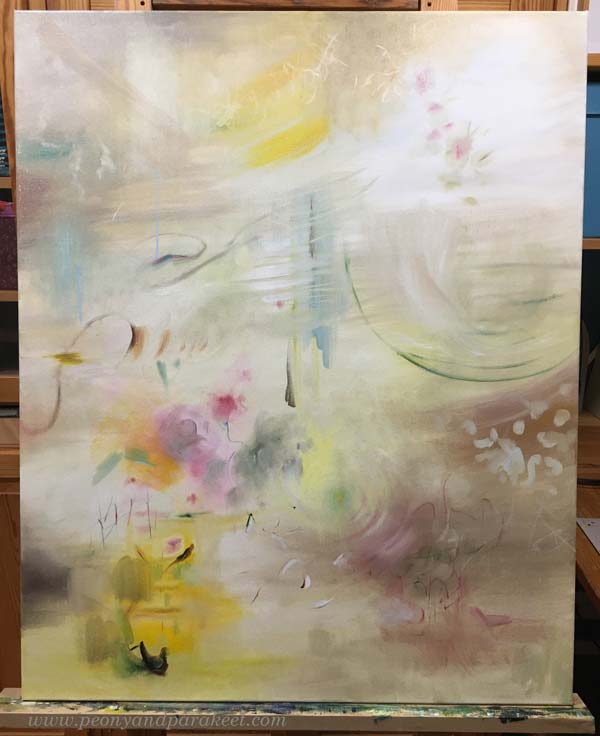
In the finished piece, I especially enjoy the playful color changes in the background and the new playfulness is present in lines too.
#5 Old and New – Compare!
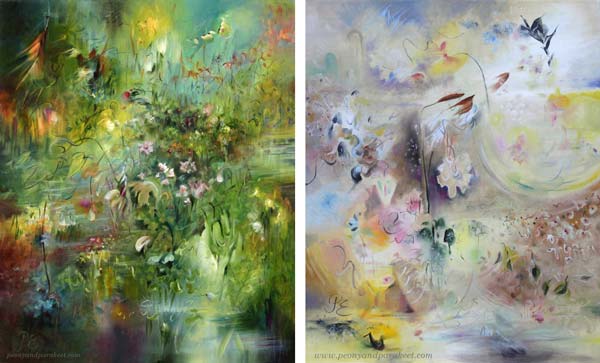
Here you can see my previous painting of the same size and the finished Gossamer side by side. The styles of the two paintings are slightly different, but not totally!
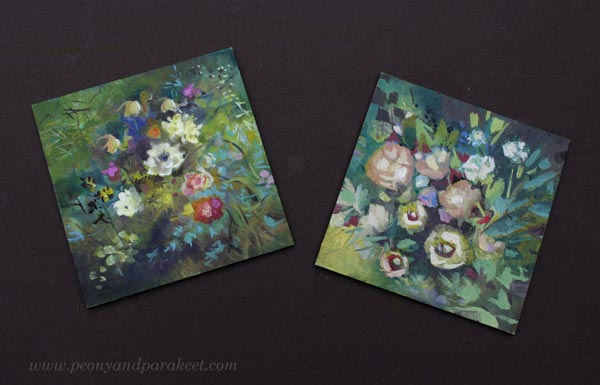
I used leftover paints for these two miniature paintings. The one on the left is more of my original style, the other one is more modern.
If the weather allows, I always take the photo of the final piece outdoors. This fall has been exceptionally long and warm. There are still leaves in the apple tree, and it’s November!
I hope you enjoyed this little tutorial on how to make florals more modern!
Pumpkin Drawing Step by Step
This week, I wish you Happy Halloween with this pumpkin drawing tutorial. Draw one pumpkin or many, make a simple drawing or an atmospheric illustration – these easy ideas have many possibilities!

My drawing is about 29 x 29 cm (11,5 x 11,5 inches) but you can use these ideas for any size. Start with one pumpkin and then decide if you want more. I started from one on the left bottom corner.

Even if the pumpkin looks very decorative and detailed, it’s fun to color with colored pencils. But first, we make a simple sketch.
Step #1 – Sketch a Pumpkin
Pick a pencil and sketch a pumpkin. Start from a circle and then divide it into sections.

I also added one vertical and one diagonal line to mark the perspective. But as you can see in the image below, my guiding lines for the perspective are short ones. They only define a very small section of the background.

After coloring the first pumpkin, we will add more guidelines to the background.
Step #2 – Decorate a Pumpkin
For each section, color a column of simple circles.

Use zigzag strokes and have fun with colors.
Step #3 – Color the Rest of the Pumpkin
Add a background color for each section.

Leave some white around every circle to get more decoration. You can now decorate the stem too.
Pick a yellow pencil and color over the pumpkin. Yellow adds wamth and makes the colors shine.

Step #4 – Add Shadows and Finish the Pumpkin
Add some shadows around the pumpkin and in the centre.

You can now adjust the decorations and make sure that you have colored the pumpkin carefully. The coloring should cover the paper.
Step #5 – Start the Background Patterning
No matter how big your drawing will be, I suggest that you first focus on the surroundings of the first pumpkin. This is “the seed pumpkin” or “the mother pumpkin.” Draw a safe place for her first before drawing more.
By following the guides from the first step, color checkered patterns.

Use a neutral color. You can later add more color on them.
Step #6 – Draw More Pumpkins
Imagine the magic – so, pumpkins flying freely in the space! With a pencil, draw pumpkins in different sizes.

Make sure that some of the pumpkins are only partly visible and that they are oriented in different directions.

First draw a circle and mark the orientation with the stem. Then divide each pumpkin into sections.
Step #7 Color More Pumpkins and Expand the Background Patterning
Now you can let go with the stiff idea of a perspective and make your own. Color the checkered patterns so that they flow in different directions. Again, use neutral colors for them. You can leave a small part of the background without patterning.

At the same time, you can start coloring the pumpkins as well. Change the orientation of the paper while coloring so that your little squares and circles don’t get distorted.

If you were a little careless when sketching (like I was), the pumpkins may look less like pumpkins and more like decorated circles. Add little bumps to the sections between the ribs to correct this.

Step #8 – Color the Background and Finish Your Pumpkin Drawing
The idea of background patterning is to get a sketch for “the air” – so for the 3-dimensional space where the pumpkins are flying. You can now color over the neutral grid and add new checkered patterns with colors as well.

Get creative and let all kinds of fun stuff appear in the background!

To get the festive feel, spend some extra time with the drawing to make sure your colors are strong, your darks are dark, and the paper doesn’t peek through. What started as a simple pumpkin can now become pumpkin art!

Happy Halloween!
P.S. If you liked this tutorial, check the course Fun Botanicum!
Intuitive Art Journaling
Art is more than re-coloring what we already see. This week, I talk about intuitive art journaling and inspire you to follow your spirit and create more freely.
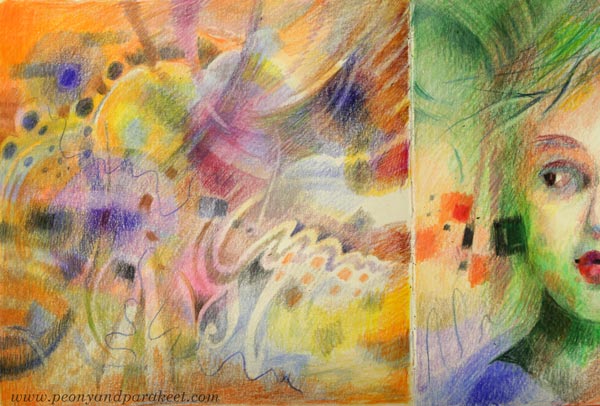
Even if we continuously grow our skills as artists, the joy of art-making disappears if we use too much reasoning. It’s good to practice the technical skills, but it’s also important to arrange time for the intuitive ideas to emerge.
Two Words – “Intuitive Power”
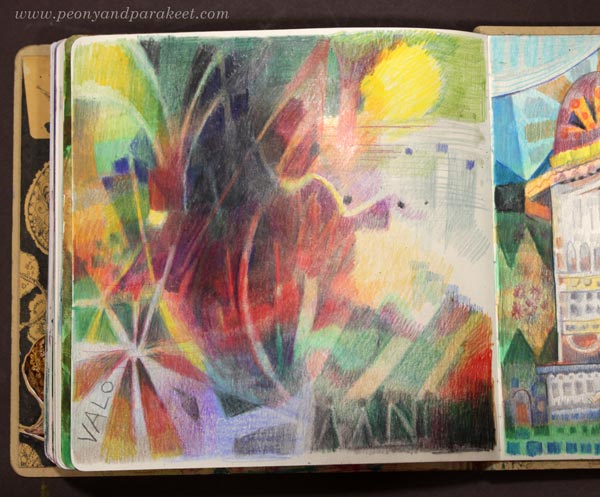
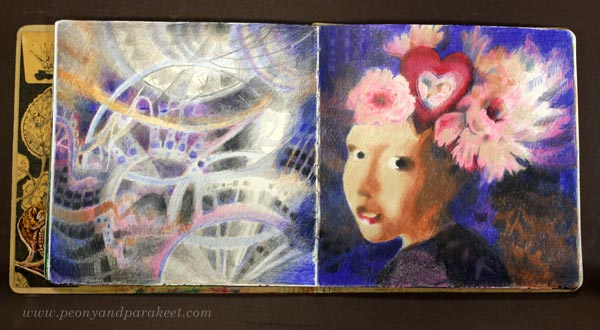
“Intuitive power” – these words suddenly came to mind when I looked at my colored pencils recently. I have been painting a lot, and it has made me miss my colored pencils, those powerful helpers! So, while working on the last pages of my Dylusions Creative Journal, I have been spending some quality time with them.
I started with a house, but then moved on to color more freely. I wanted to catch the atmosphere of that place rather than stay in the material level, drawing windows and such.
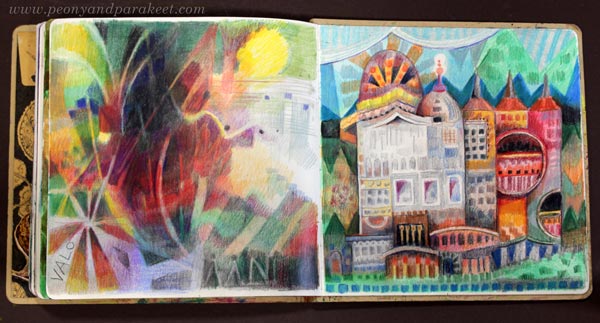
The longer I have been an artist, the more I have wanted to work with invisible things. More than tangible things, I want to express the spirit and the complexity of the world that can’t be photographed. I want to create images that are more like keys to many questions rather than direct answers to one.
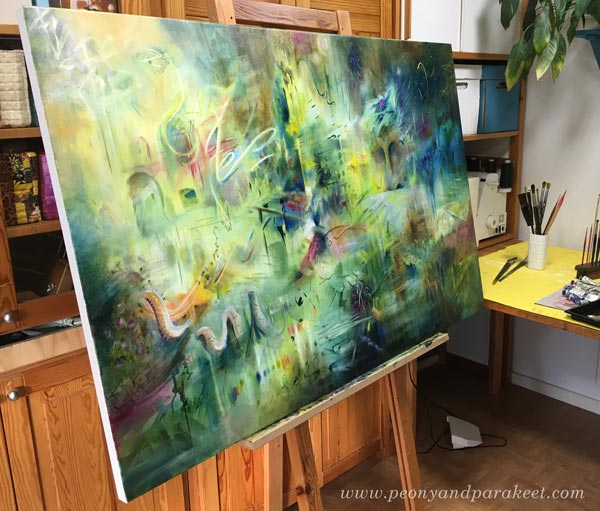
Intuitive Artist
Even if I have embraced and used the word “intuitive” for over ten years, I have now realized that it’s not just one word of the many, it’s “the word” for me. And I don’t mean to narrow myself with the word, but to expand my thinking and creating in the direction that feels natural to me.
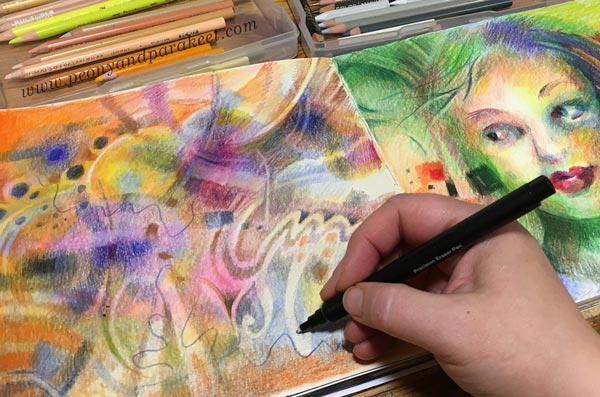
More than a building, I want to visualize the spirit of the place – the sensations that it causes in me.
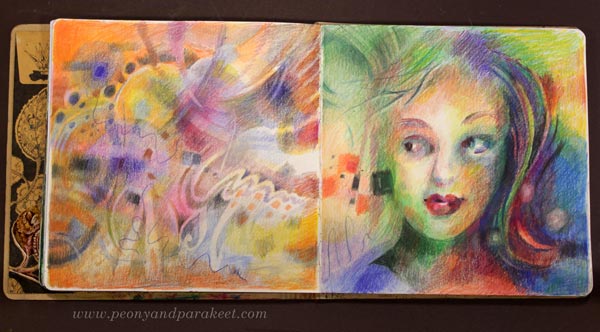
More than a face, I want to visualize the spirit of the person.
Art Journaling Without Words
Rather than words, intuitive insights can come up as pictures. So, intuitive art journaling can be as simple as creating a series of drawings. The connection with a certain color can be enough to get started.
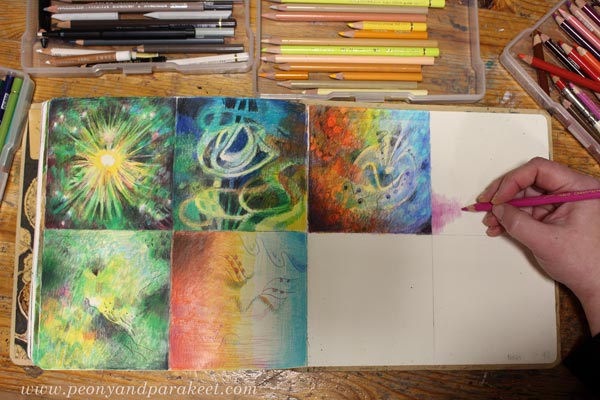
Color is a hole, and if you jump in, you enter the immaterial world. Colored pencils are the easiest tools for breaking the ice between the inner and outer.
“Intuitive power” – what do these words evoke in you?