
Colored Pencil Collages – Playing with Color
Fall in love with colored pencils and make the most of your paper stash! I also recommend these classes:
1) Collageland – save time and effort by creating textile-inspiration with pens and paper
2) Inspirational Drawing – for you who wants to say: “I can draw!”
The Fun Process of Colored Pencil Collages
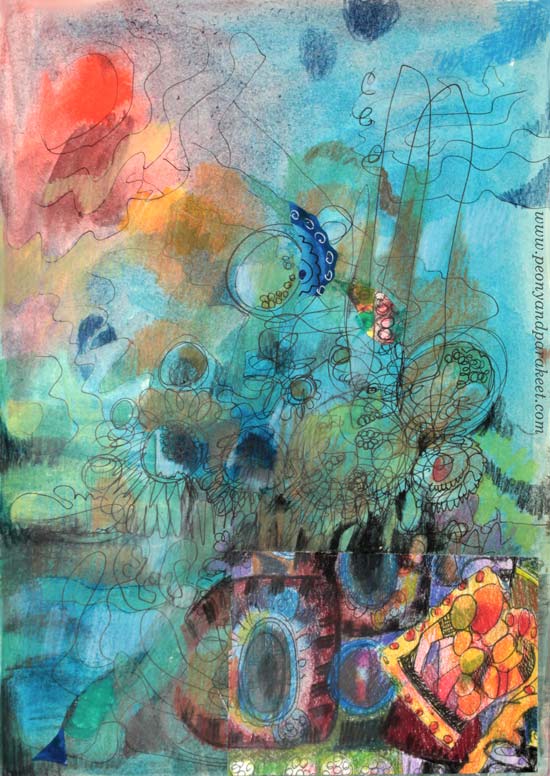
Here’s is an art journal page that started as a sad one. First, it only had some carelessly drawn lines. Months went by before it got some paint to accompany the doodles. After another long wait, it got some depth with colored pencils. It still looked unhappy, so I glued a piece of hand-decorated paper to cheer it up. Today, I found it again and was surprised how finished it looked.

This is often the way I make art journal pages: little by little, random lines, using up extra paint on the palette, saving a piece of paper from my stash. It’s a very unintentional process but after those finishing touches are added, it’s all good.
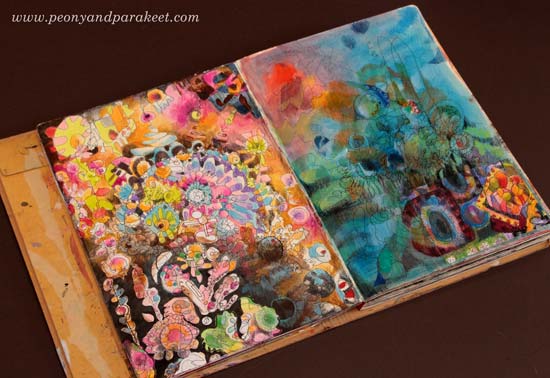
My Hand-Decorated Paper Stash
I have been doing this for a long time: making my collage papers and also saving the tiniest pieces. No matter what my main art projects are, there seems to always have time some scrap paper fun even if it’s sometimes just picking a small piece and gluing it on an art journal without analyzing what and why.

Colored pencils are one of my favorite supplies and I also have papers decorated with them. When I go through my paper stash, I often add some colored pencils on painted ones just to make them more valuable in my eyes. Then I also have some true treasures – papers that only have colored pencils on them. They take more time to make, and to me, they are like silk and others are more like cotton, the basic stuff.
Using Imagination with Colored Pencil Collages
When I am playing, odd is good. Paper pieces sometimes have a mind of their own, and strange results may appear! Here’s an art journal page called “Three Sisters”. It started with paper scraps but really came to life when I added colors to the background with colored pencils. See how I used many colors for the background so that it completed the composition and made the piece more cheerful.
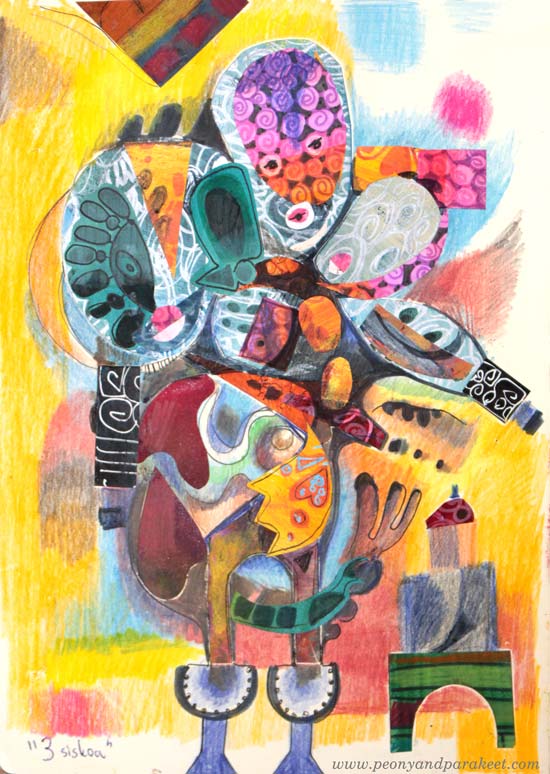
This collage started with a quite traditional idea. I wanted to make a doll. But when the doll got more heads, I followed the imagination instead of trying to stick with the original thought.
Start with the Expressive Background!
Create Step by Step!
Try this process if you often ponder these questions:
a) what to put in the background?
b) how to express with color?
In this process, you will start with the background so that it creates a structure for the rest of the work. A grey paper enables you to use color for expression rather than trying to tone down a screaming scene when using only “beautiful” tones.
Supplies: Grey Paper, Colored Pencils, Paper Scraps
You will also need gel medium or paper glue for attaching the collage pieces, and a black drawing pen for finishing touches.

Step 1 – Coloring Freely
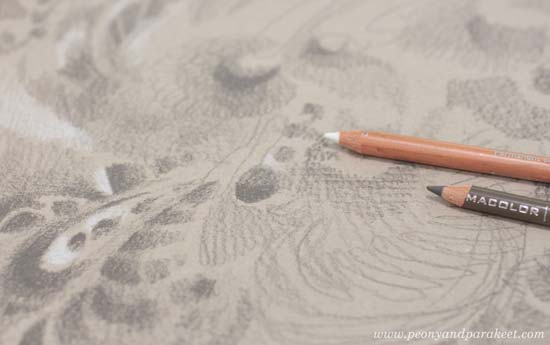
With white and dark grey (or black) colored pencils doodle random shapes. Fill some shapes by drawing, add shading, and have fun by playing with color values. Change the orientation once in a while so that your imagination keeps on going.
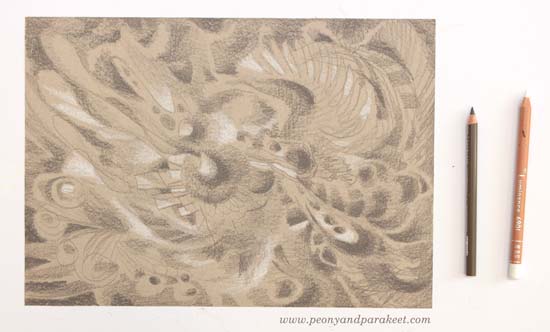
Step 2 – Cut Tiny Collage Pieces
The pieces for this step can be really small ones, and you can cut them even smaller. Here’s one piece from my stash and I cut a smaller shape out of it!

Don’t worry about the composition yet, just cut so many small pieces that you have a collection to choose from.
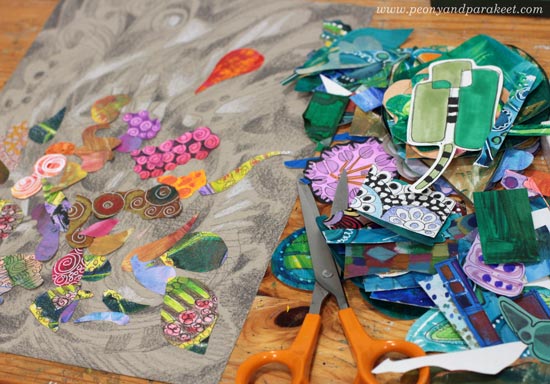
Step 3 – Add Some Light and Shadows to Collage Pieces
With the white and dark grey (or black) pencils, add some shadowing around the edges and some highlights with white. All the pieces don’t necessarily need this but it makes solid-colored pieces look much more interesting.
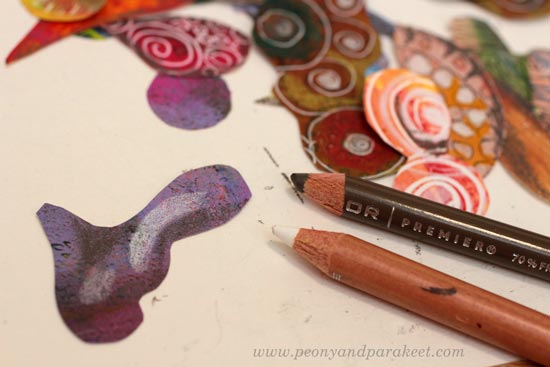
Step 4 – Glue the Collage Pieces
Use the background as a support structure and an inspiration source for your collage! If you have problems with composition, go through my free mini-course Loosen Up and follow the tips there!
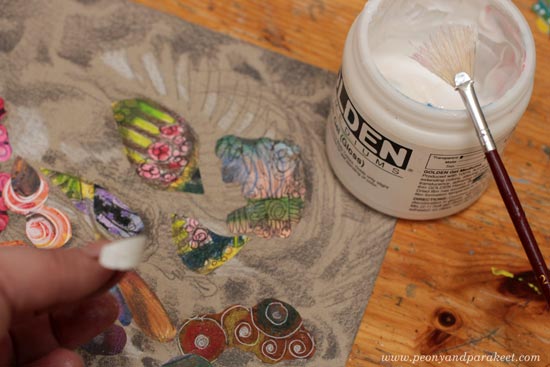
Step 5 – Add More Color with Colored Pencils
This step integrates your collage pieces with the background.
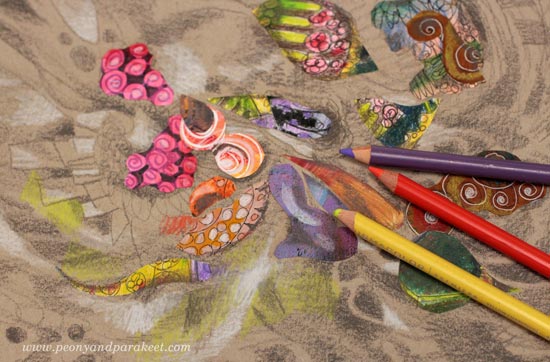
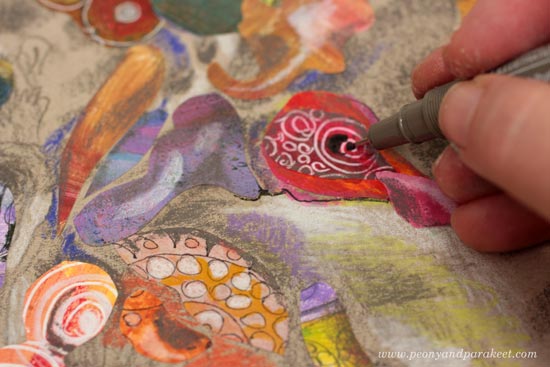
Step 6 – Draw Final Details with a Drawing Pen
Add some loose lines and dark details with a black drawing pen.
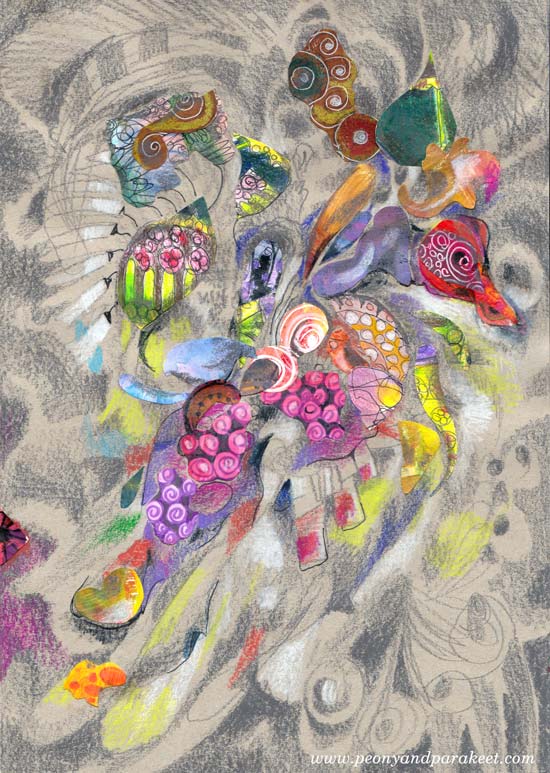
Here’s my finished piece, a fantasy creature!
Some Papers Last Longer than Others
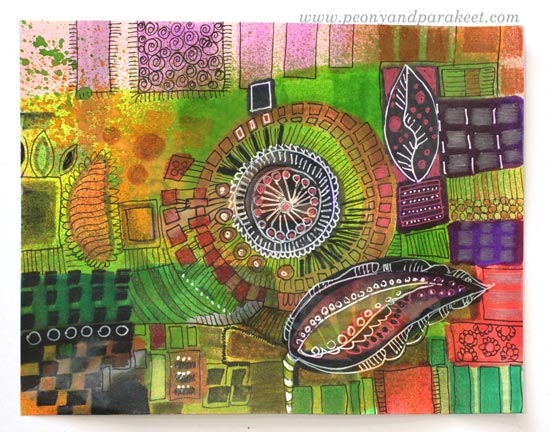
I intended to cut some motifs out of this paper but maybe next time. Too precious for now! It’s inspired by Collageland.
Create Handmade Collage Art to Build Your Visual Dreamland – Buy Collageland!
A Decorative Pattern for Art Journals and Beyond
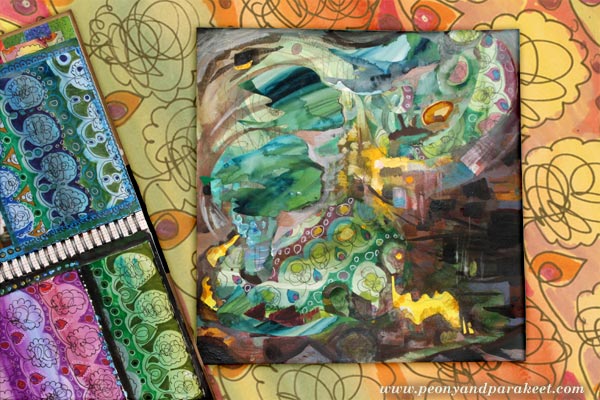
A couple of months ago, I made a flip-through video of a full art journal. Many noticed a spread that was made from decorative papers mostly. I remembered that I took some photos while making the papers and I will share step-by-step instructions here. This pattern is good practice for motoric skills and drawing, but it can also go beyond! I used it for a more expressive purpose, for a collage art piece.
1) Paint Stripes with Watercolors
Use a fairly thin paper and paint it with watercolors. Use a selection of colors to create stripes or curves.
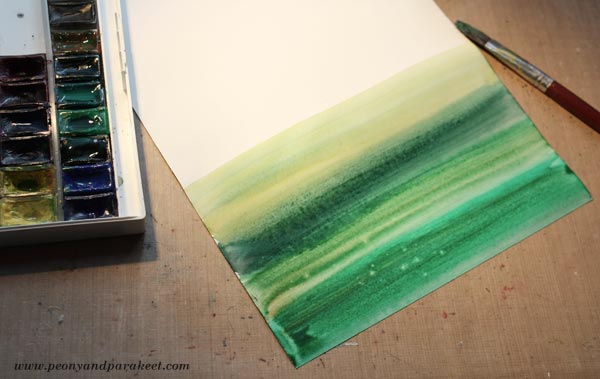
You can add drops of water if you want to make the background more interesting with bleeds.
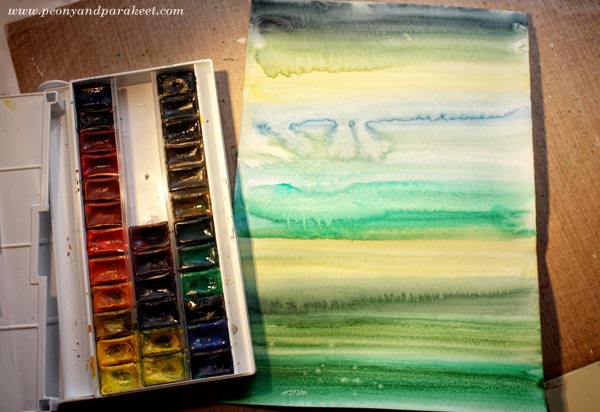
Let the paper dry properly.
2) Decorate the Stripes with a Simple Loop Pattern
Using a thin-tipped black drawing pen, draw a simple loop and end it with a curve upwards. Without lifting the pen off the paper, add a bunch of loops on the top of the curve. Then continued by drawing a curved line downwards. Repeat and draw the whole row on the same go. Work fast and don’t worry too much about the symmetry or similarity of the loops.
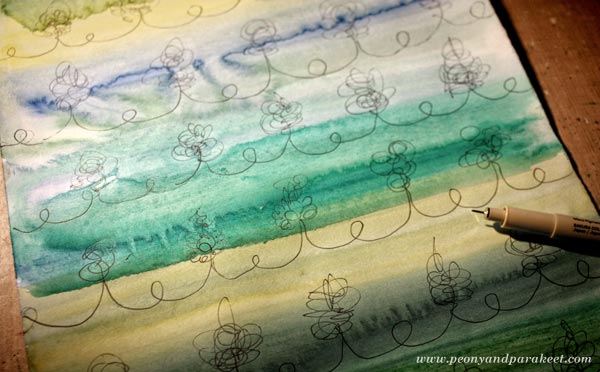
After drawing the rows, frame the loops to make them more distinct. I used simple shapes to create flowers and leaves.
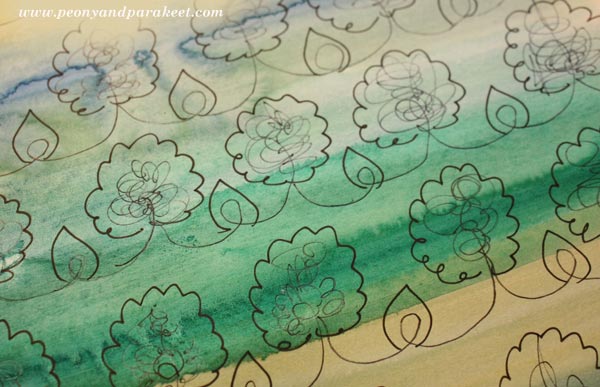
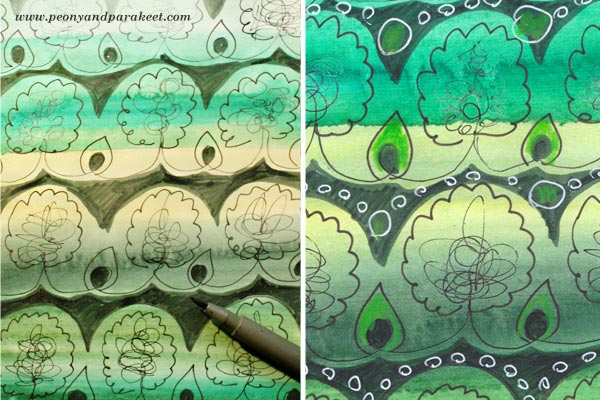
3) Color the Background and Add More Decoration
To make the watercolored layer look more lively, use felt-tipped pens (marker pens) and color the background around the doodled shapes. You can also add more color to doodled details and use a white gel pen to add more decoration to colored areas.
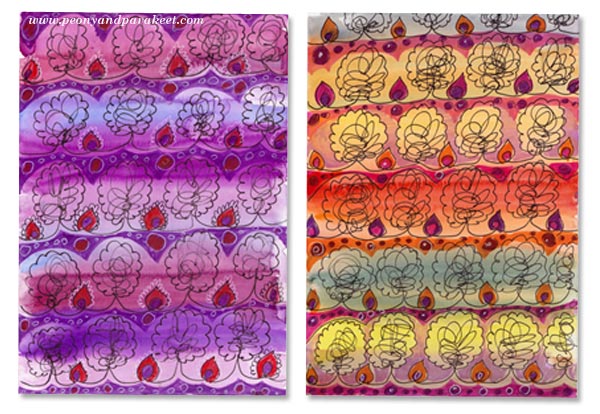
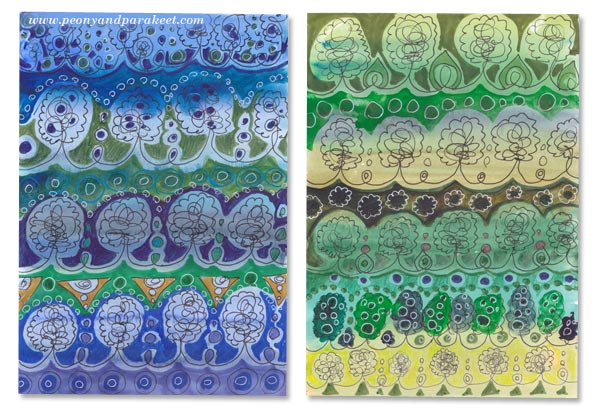
Decorative Pattern in Many Colors
This pattern looks luxurious when you make many papers in many colors with slightly different decorations.

Here are some that I made!
Decorative Pattern in Collage Art
I am fascinated by the interface between art, design, and crafts. The idea for the pattern came from knitting. I wanted to find a similar relaxing circular motion using a pen instead of a knitting needle. So that’s how a craft transformed into a design. But design can also be a part of a more expressive piece.

In this collage, I use decorative paper pieces with paint. My starting point was a watercolor background, acrylic paint, and a piece of decorative paper.
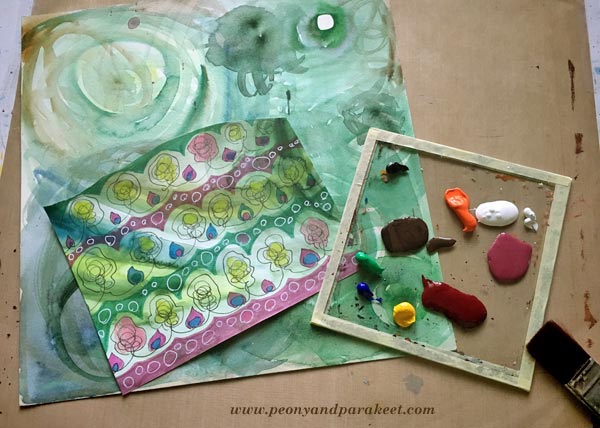
I cut a couple of decorative shapes and glued them on the background with gel medium.
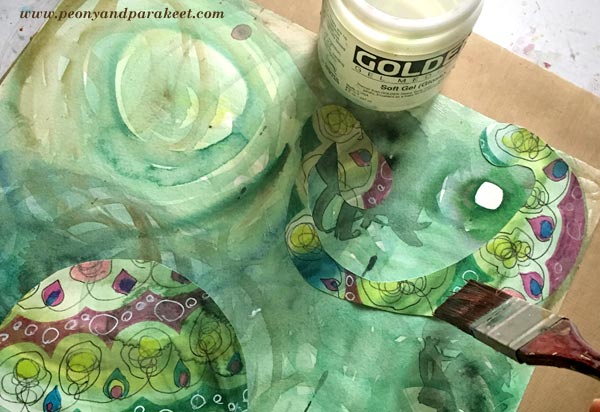
Then I continued with painting using acrylic paints. In the finishing phase, I also used some more paper pieces and few colored pencils. A week or two ago, I heard the geese flying over our house. They were leaving Finland, going to a warmer place for a winter. Their sounds made me think how limited we people are, not being able to fly so freely, not always being able to stick so tightly together. The screams of the geese felt bright yellow and for a short moment, I wanted to join them and not stay in Finland, waiting for snow …
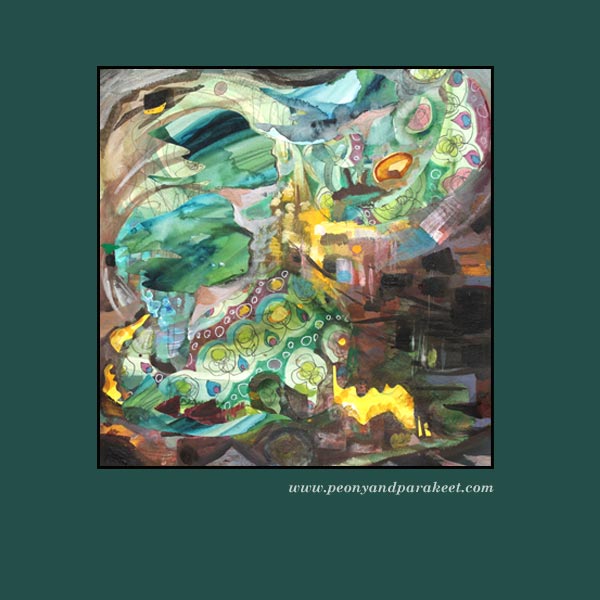
Get step-by-step instructions for doodled collage art – Buy Doodled Luxury!
More Time, Better Art?
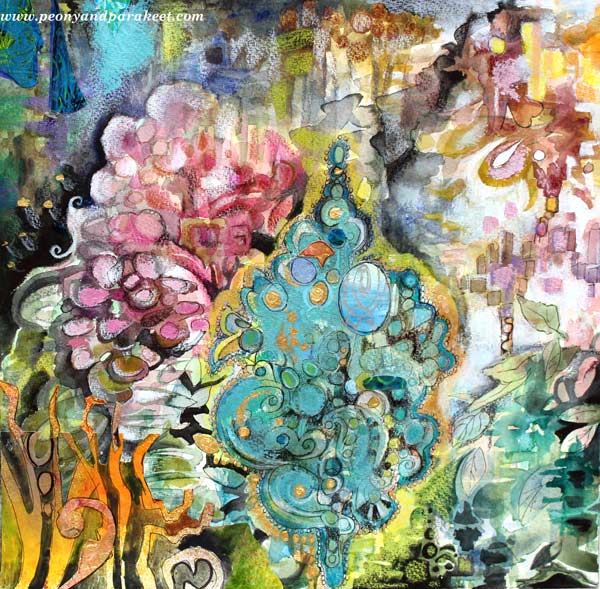
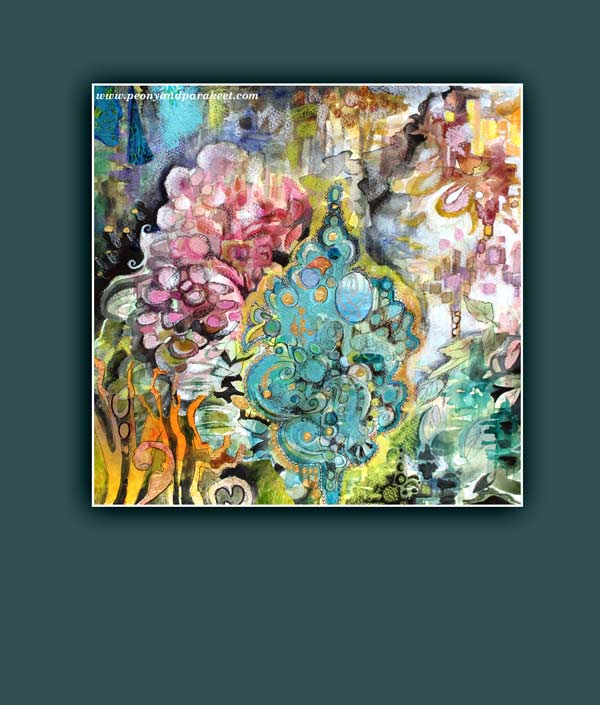
This artwork was inspired by Rococo, the 18th-century-period style with curves, asymmetry, gold, and ornaments. When I think of Rococo, I think of time. How long did it take to sew those elaborate women’s dresses? What about the porcelain table clocks, how many people, how many months did it take to get one finished and working?
The time we are living now is totally different. Not that I want to spend half of my life embroidering one chair. But I cannot help thinking: sometimes we create quantity but not quality. We get frustrated with our lacking skills and weak artistic vision, but often, there’s a simple solution: time. So, instead of creating three pages in a week for your art journal, make one!
Creativity needs time. The first thoughts are often the least innovative. When we take time to dig deeper, we reach not only frustrations but also new solutions.
Working in Short Periods of Time
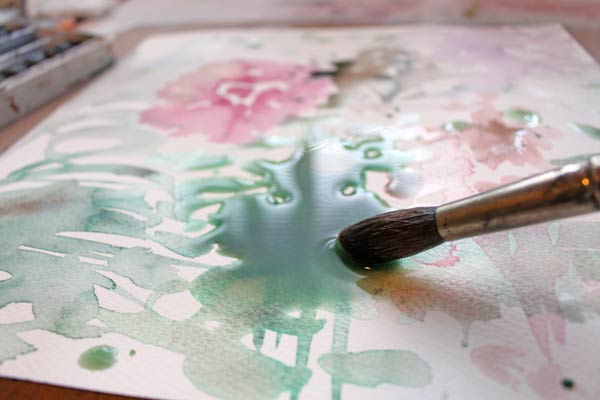
I used to have a difficult time working in several sessions. I wanted my work to be finished in one go. Leonardo da Vinci certainly did not have problems like that! He spent over ten years painting Mona Lisa. Of course, he did not dedicate all of that time to one painting; he did other things too. But he let his subconscious work during the breaks. So I did da Vinci – while waiting for the watercolor to dry, I engaged myself in other activities.
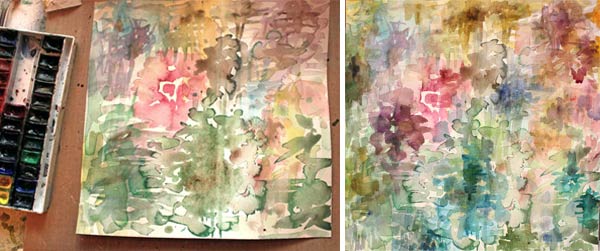
I built the foundation for this work with several thin layers of watercolors. Then I worked with colored pencils and watercolors to add details. A small flat brush is my favorite when adding details with paint.
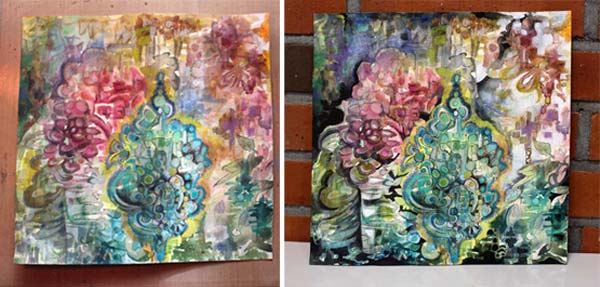
Some might call it finished at this point, but I wanted to add tension and interest. As this was about Rococo, some shimmer seemed appropriate!
Rococo Glitter!
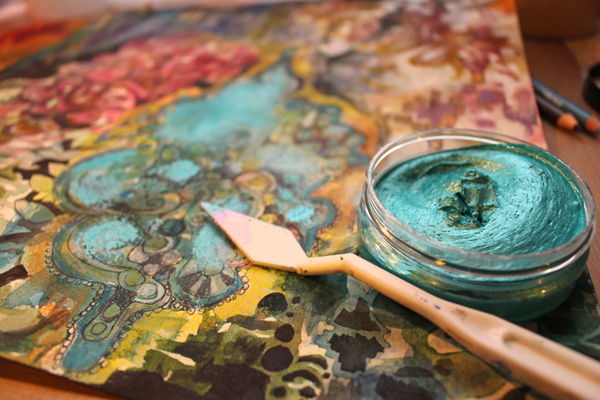
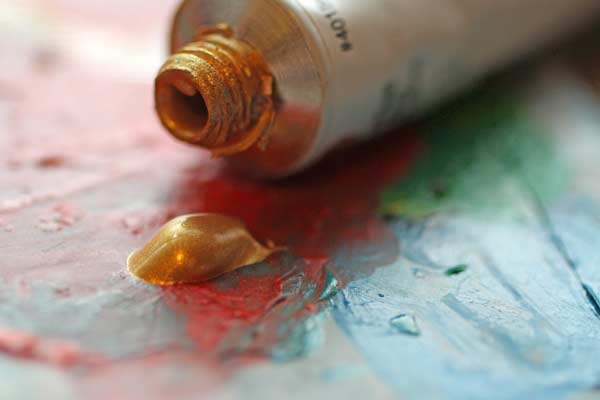
I have a few jars of Inka Gold, beeswax-based metal paint. They seemed just right for this artwork. And speaking of Rococo, some gold would be appropriate too. I love Golden brand’s gold acrylic paint.
Finishing
Some hand-decorated papers added richness and variation. Then I continued completing the tiny details.
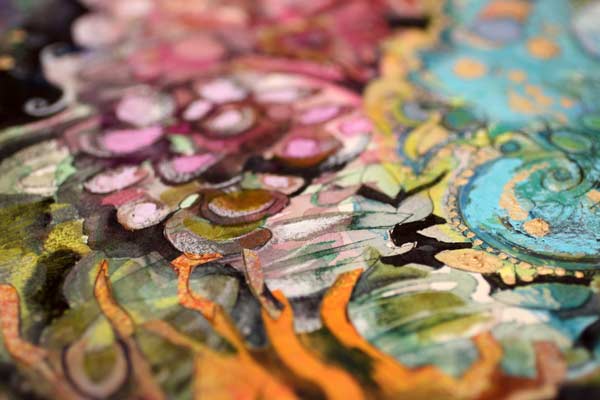
The size of the artwork is 12 inches by 12 inches. It took about three days from start to finish.
The quality of one artwork cannot be measured by the time the artist spent with it. Great art can be born quickly when skills and creativity meet. But on the other hand, if you want to improve your art and increase your creativity, why not focus on one artwork for a bit longer time.
What do you think? Can you make time work for you?
The Feelings while Creating Art
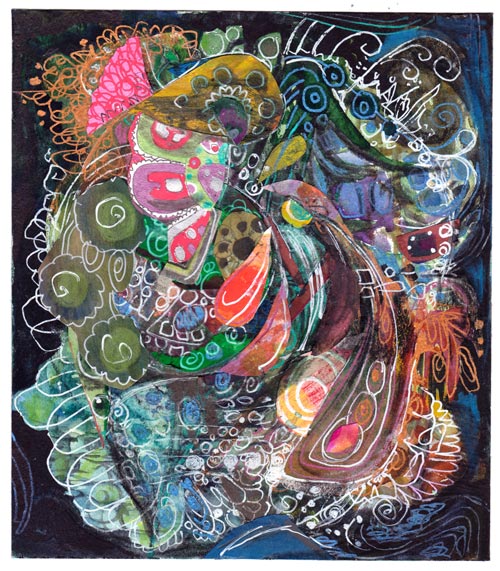
I wanted to create a video blog post again but due to my flu, I was unable to speak. So I made the video with the background music only, but I think that the subject of it is most interesting: the feelings while creating art! During the creative process we often experience a variety of feelings that have affect on the end result too. You will get to see what I felt while creating this collage!
I often start pretty smoothly, then face several problems and in the end it all comes together. Feeling vulnerable at some point of the process is very common for me. I think that when creating you have to open up so much that it can feel intimidating. But if you do not cross that line, the end result does not feel so close.
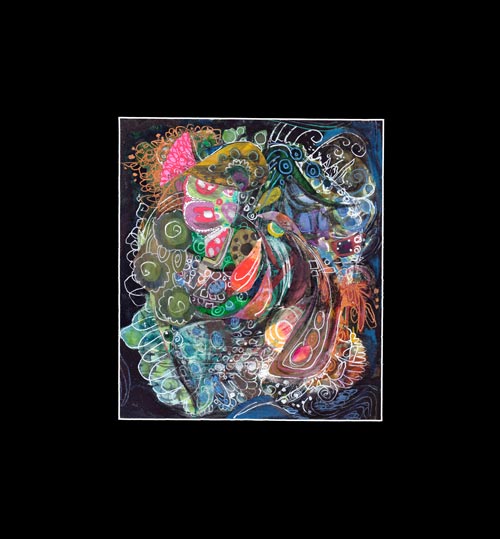
Record your feelings while creating! Then analyze how they show in your artwork!
Subscribe to my weekly emails – Get a free mini-course!