
Visual Chronicles and Fast Art Journaling
In the newsletter sent 5th November, I mistakenly sent a wrong link, here’s the link to the latest video
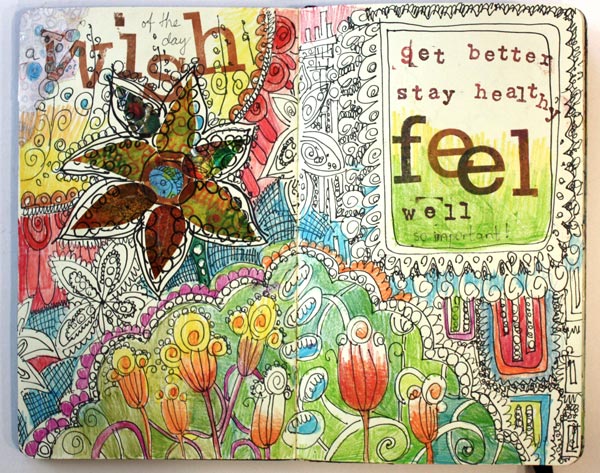
In Finland, the weather got colder last week and I got a terrible flu. It is so frustrating to be able to do nothing but sleep. Being healthy feels so important then!
If there’s anything positive in lying down and doing nothing, it’s the creative break. It is weird how much processing time some things require. In 2006, I saw a new book in Amazon.com. It was called Visual Chronicles. It was nothing like I had seen before and I felt strangely drawn to it. I was mesmerized by the concept of creating relaxed pages combining text, paint, simple illustrations and photos. Art journaling was a new word in my vocabulary.
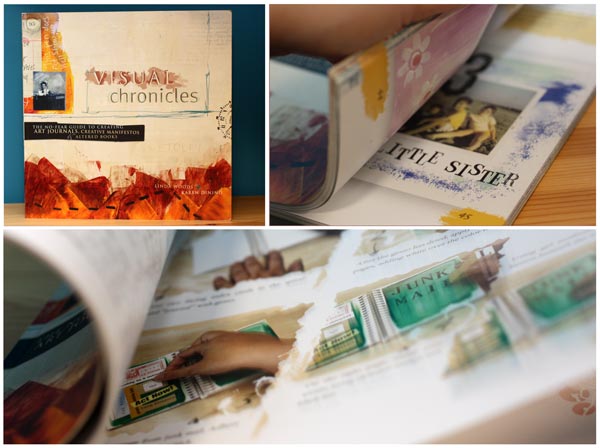
I took the book everywhere. While reading it, I tried to understand what it is actually about. I picked a blank book and tried to fill its pages. It was so disappointing to see how horrible my pages looked and furthermore, I did not have good time when I created them. I browsed the book over and over again. I could not get it!
But I did not give up. During the time I bought more books and made more experiments. I also noticed that there seemed to be other people doing the same thing. I took some online courses and finally… My first art journal was finished in 2010! (See the journal and my first blog post about art journaling)
Four years of agony! And now when I read Visual Chronicles, everything that I had learned stands there so clearly! However, there was still one thing that had been bothering me from 2006. The pages in the book are very simple and still I find most of them visually appealing. But if I tried to do the same, the end result was nothing alike.
After sleeping two full nights and the day between, I finally figured it out! It is the stamped journaling that makes the pages stand out in the book! I had never tried to stamp the words as I have always hated handling the alphabet stamps. But I do own two sets and had many pages waiting for journaling!
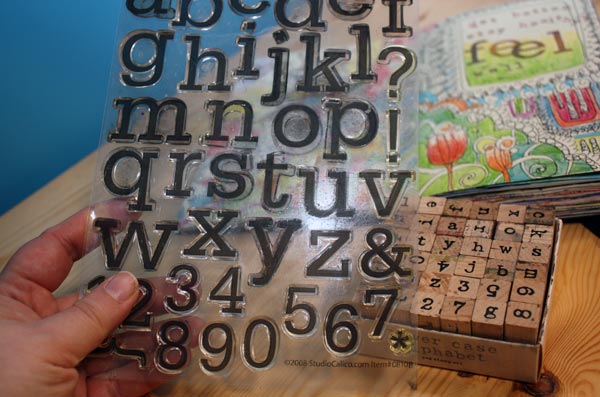
Now I am hooked!
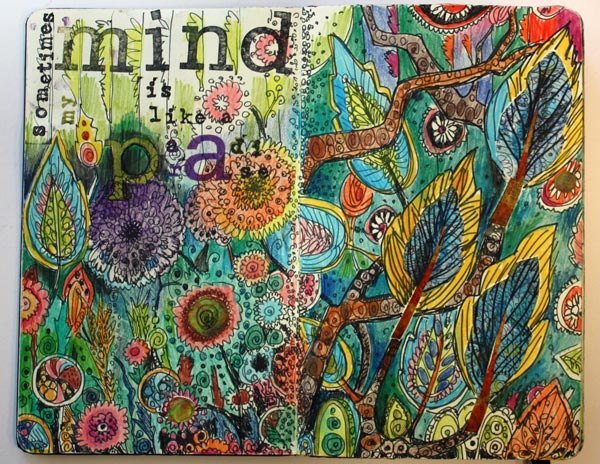
“Sometimes my mind is like a paradise”

“My life, my problems”
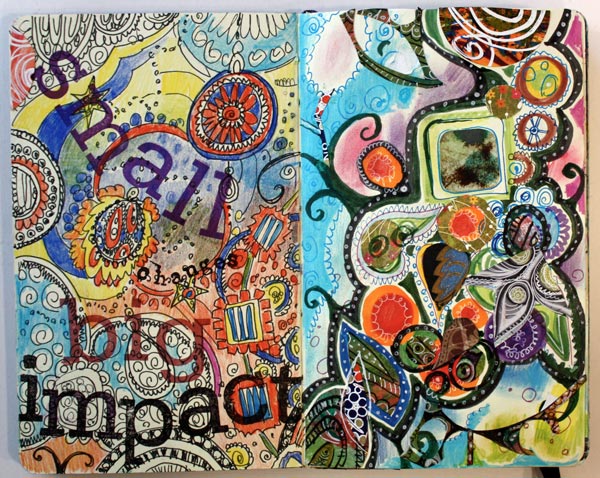
“Small changes, big impact”
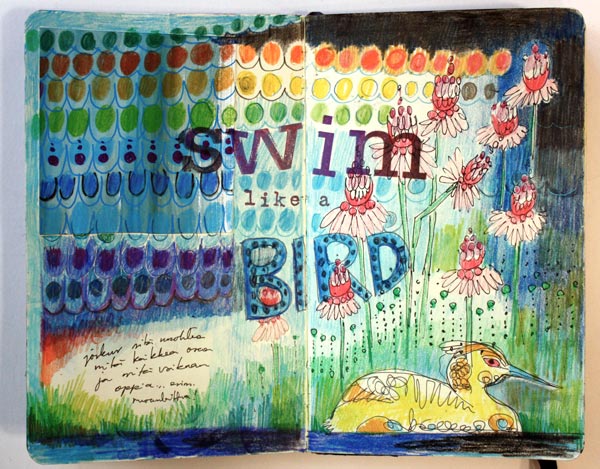
“Swim like a bird”
Visual Chronicles by Linda Woods and Karen Dinino is still one of my favorite art journaling books. It does not take art journaling too seriously. Linda and Karen also have a blog which is written with the same humorous attitude. “If you are alive you have succeeded” is one of their recent advices. While still recovering, it feels very relevant at the moment!
Tips for fast art journal pages:
1) Divide the making of the page into three phases: a) doodling with a black pen b) coloring the doodles c) adding the text
2) Use colored pencils for easy coloring. A Moleskine Notebook and the colored pencils work really well together.
3) Add the text by grouping stamped words with the doodles. Use big and small stamps to create contrasts.
4) Let your personal history of art journaling get recorded into your journals! If I could turn back time, I would not toss those first pages.
5) Buy the book: Visual Chronicles
Can You Draw?
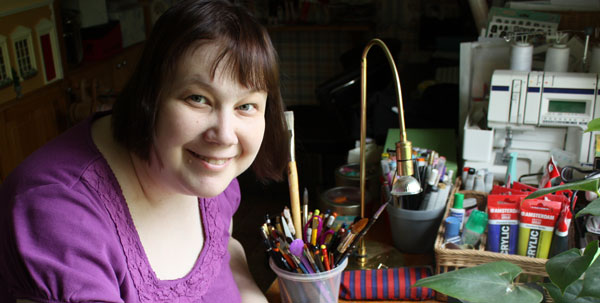
All my life I have wanted to learn how to draw. Whatever skills I have learned over the years, there has always been this one yearn: to know how to draw. Sometimes I have thought that I finally master the skill, only to realize it again: No, not yet.
But now, when most of this agony is over, I want to share my story and ask you: what does it mean when you say you can or can’t draw? People often say: “I can’t even draw a stick figure!” That probably means that they refuse even to try.
Drawing Stick Figures

My most humiliating moment connected to drawing was when I was about 8 years old, and we had to draw trees at school. “Do not make a mess,” the teacher said. But oh no, I did make a mess, and I had to watch my teacher show me how to draw a tree. The tree that she drew looked nothing like one. It was barely a branch, almost just a stick. At least it was not a living tree. I heard her sighing and saying that she could not draw either!
Drawing Realistic Images
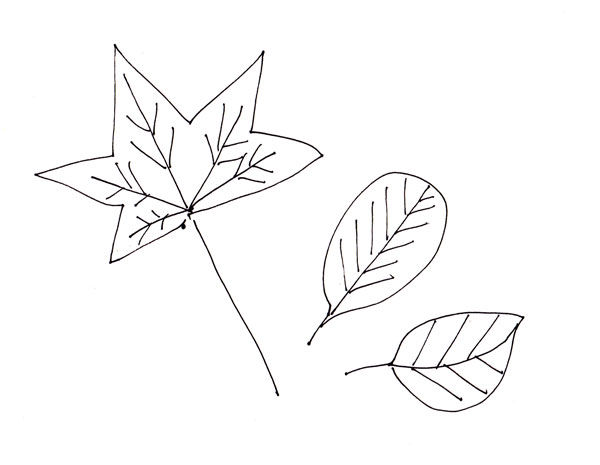
I continued practicing. As a result, I realized that those who drew stick figures did not actually look at the object. When they were given the three leaves, they drew three symbols of leaves. So I thought that if I examined the objects like they were not leaves at all, I could draw them more realistically.
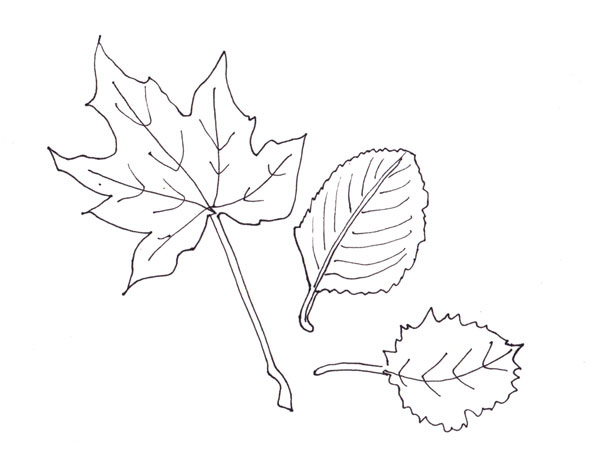
But the three leaves, which I brought home in a pocket, are beautiful, natural, living things. When I look at them I feel their presence and they evoke thoughts. They are not just flat objects either. If I drew how my eyes trace the leaves, how would that look like?
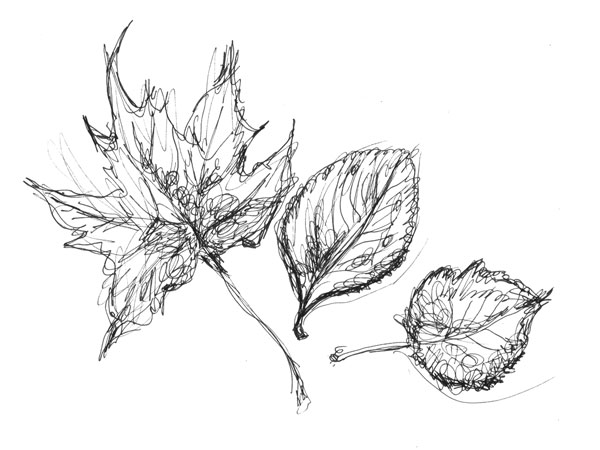
This is what I learned in my teenage years: I could use several lines for drawing, starting with thin and light lines and ending with strong dark lines. The result would not be bad at all, even if I made mistakes in the beginning. This was when I first assumed that I could draw. At least I was able to produce realistic looking pictures.
Drawing without Models
But soon, I got doubts. Browsing art books every week at the local library of the small hometown, I saw many outstanding masterpieces. The deeper I dived into the art history, the more I thought about the difference between copying and drawing from the memory. I assumed that most of the great artists had the ability to understand proportions and structures so that they could draw anything, without having a model or a photograph.

So I abandoned the models, mirrors, and other images. My goal was to draw whatever popped up into my mind. The amount of drawing that I had done had left marks in my memory. With some practice, I was able to draw ordinary objects, like leaves. But again, it did not satisfy me. I had discovered a new factor: a line. A line is not just a line. It is a kind of signature. It can be fast and effortless or slow and dull. And mine was more the latter.
I discovered artists who really can draw. Like Finnish female artist Miina Äkkijyrkkä. I envied those flowing lines. Meanwhile, I had graduated as an industrial designer. Should I get back to school again? And if so, where? I decided to learn by myself.
At this point, I have to tell you that I have learned many crafts by myself, and it has not always been very efficient. When I learned quilting, I refused to iron even if every quilting book said so. It took me ten years to master that skill, meaning: use that iron and acknowledge that it does make the difference. When I decided to learn drawing, I was afraid that I would omit something important again while rushing towards the goal. So I took a very slow approach. I figured out that if I start with a basic shape and make enough repeats, I will learn to draw. So I picked my favorite shape, a circle, and began doodling.
Drawing Styles
While learning to draw a circle with an expressive line, I realized that I could pick out my circles from those made by others. So I added a new factor to the definition of drawing: a style. I wanted to have my own style, my own line. Most evenings, after the day job, I drew circles examining my thoughts and the way of looking at the world. I learned that a simple circle could be a very complicated shape. And even more: when combined with other circles, it’s almost too complicated. You can draw small circles, big circles, closed circles, open circles, ovals … add circles inside another circle, build a tower with circles … I became fascinated by the circles. It felt like knitting: a small movement after another, and within few weeks, you will have something grand to look at!
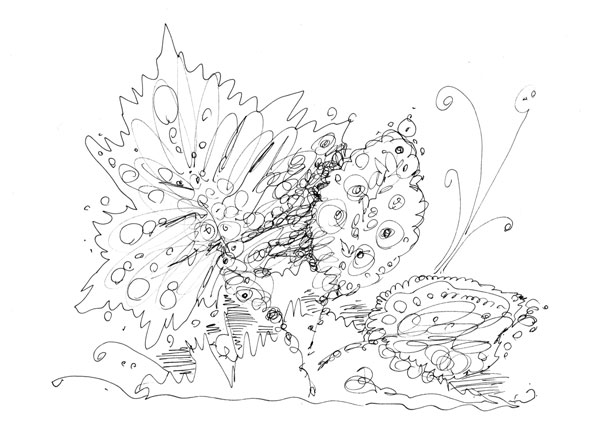
As months and months went by, I had a growing hunch that I had found my style. I became convinced that if I am brave enough to let that circle alter its shape, I can draw with my own voice. Once I jumped into that, I felt tremendous joy. Looking at the shapes flowing out of my pen was amazing. Could I finally call that drawing?
Then I remembered something that I had always loved: imitation. The joy of finding my own style changed to the urge to learn to imitate different styles. It would be so great to draw like many masters that I had admired since browsing the art books at the public library!
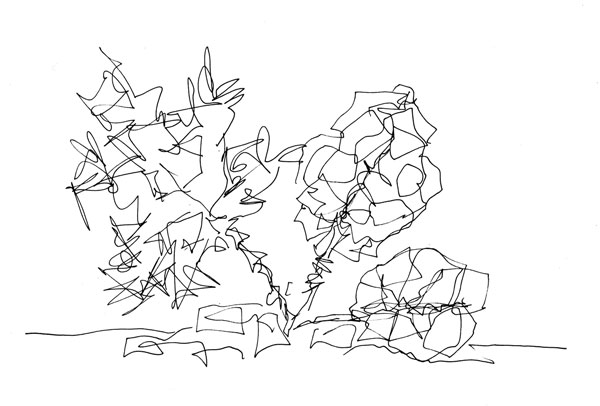
I wanted not only to draw like romantic, but I also wanted to draw in an edgy and masculine way.
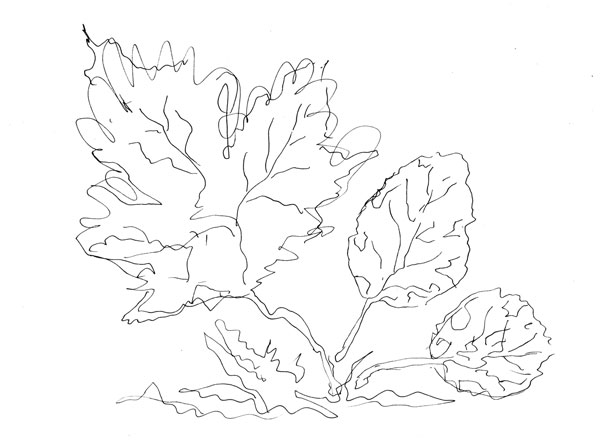
I wanted to simplify without taking the life out of the drawing.
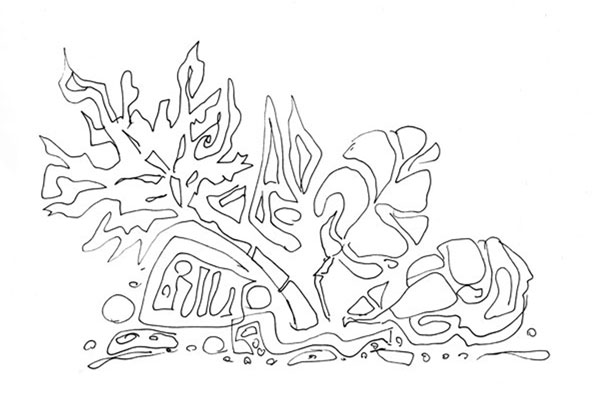
I wanted to learn various historical styles, like art nouveau.
Drawing from Imagination
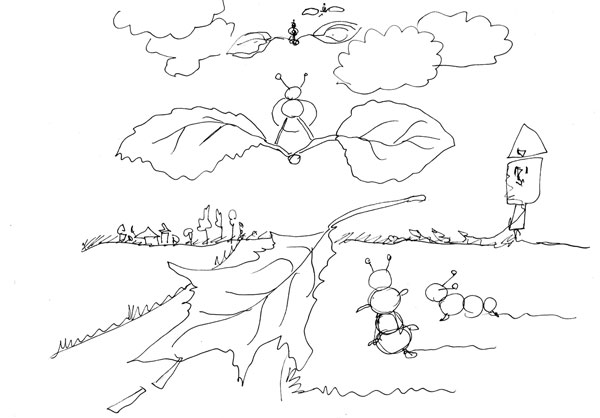
And I also wanted to learn to use the imagination and play with the theme. Wouldn’t it be cute if ants could use the falling leaves as airplanes? Then they would certainly have their own landing strip and air traffic control!
The Definition of Drawing
Then one day I realized that, for me, learning how to draw is not about me drawing. It is more about making you draw. I think that teaching drawing is my final definition about the ability to draw. That’s why I am currently creating a book about how to learn drawing in a way that is enjoyable and something very different from the tutorials you have seen around the internet and book stores.
Let me be your art teacher: Subscribe to my weekly emails!
Video Blog Post: Free Doodling
Here it is – my first video blog post! Here you can see how I create a small artwork by doodling freely with colored pencils and markers. It took about 30 minutes to create the drawing. You will see every single phase, but a part of it is fast forwarded.
This was terribly exciting, so please excuse my slow talking and grammar mistakes!
Start Art Journaling!
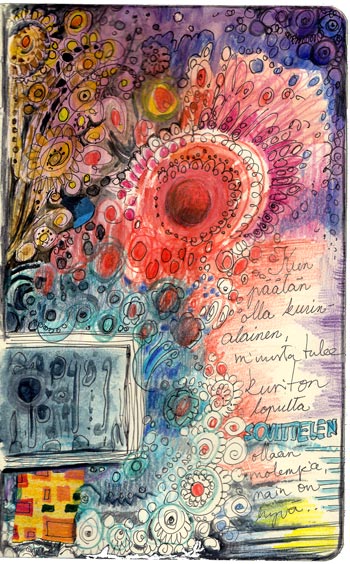 With this post, I want to introduce more people to art journaling. I will create this art journal page step by step using a simple concept and few basic supplies. You only need watercolors, colored pencils, and a thin black marker pen.
I have created this page on a Moleskine notebook (size: 5 x 8 1/4 inches, 13 x 21 cm). Your journal can be larger or smaller. This page is created on the actual page of a journal. But you can also use a separate paper and attach it later, so you do not even need a journal to get started!
Journals
You can make an art journal from almost any notebook or old book. You can also bind one yourself. If you paint on the pages, thick pages are better than thin ones. For watercolors, absorbent paper is better than waxy one. But if you use water sparingly, even pages with a waxy surface can handle some watercolor.
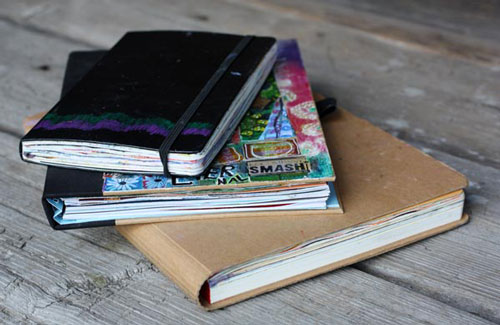
I am currently working on three various sized journals. In addition to the Moleskine notebook, I have a black Smash book and a Dylusions journal. The paper in Moleskine notebooks is less absorbent than in the other two, but it still works with watercolors.
General Inspiration
An art journal can consist of any visual material. You can create a collage of cut-out images or printed photos. Or you can paint or draw, or do it all! The pages often have some writing too. You can cut words from magazines, write them on a computer and print them or journal by hand. As art journaling is a form of self-expression, I think that pages are at their best when you create everything by hand.
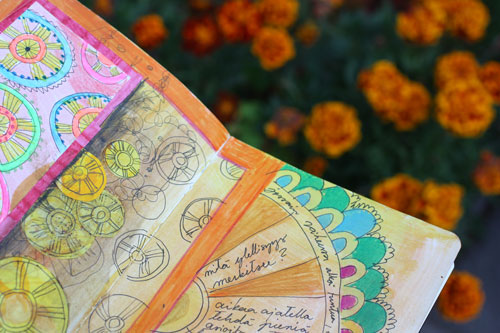
I do not believe in waiting for the inspiration. Once I have made the page, I usually realize what things have affected on it. Like when walking in the garden, I realized that my marigolds had had something to do with the page! So, do not wait until you have something to say or draw, just start creating! With these step by step instructions, you do not need a single idea before you begin!
Step by Step Tutorial for an Art Journal Page
1) Choose the page and draw the first shape
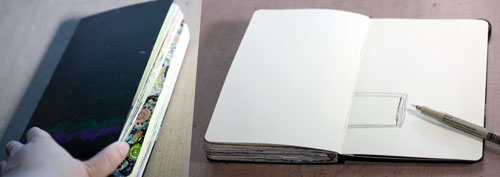
When I begin an art journal page, I usually feel quite stiff. The routines of everyday life can block our creativity. So it is no wonder that when you hold that brand new journal, you feel intimidated to start. Pick the page randomly as the first pages are the most usual causes of the blank page syndrome. Then take your thin marker and begin to draw. Slowly. Then a bit faster.
My imagination at this point was close to zero. I drew a rectangular and was able to mess it up so that I needed many lines to hide those clumsy strokes. Now I could have easily given up, no inspiration, nothing, just ruined one perfect blank page. But I knew better and went on.
2) Paint the shape with watercolors

To get my creativity flowing, change the marker to the watercolors. Constant interruptions are something that our rational side hates. That’s why it is important to be impatient, work quickly and continuously change the way of working. Paint the shape with watercolors and do not care how ugly it looks!
Painting the square did not make me feel especially creative. And with all the color choices I had, I chose a very conservative blue. Some would say that all the hope is lost, but I promised myself to continue to the next step.
3) Doodle around with colored pencils and finish with a large shape
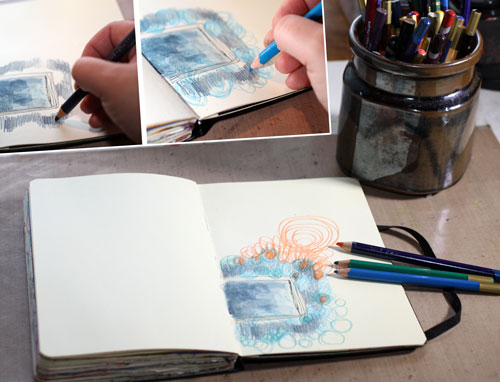
Start doodling with colored pencils. Believe me; you want to stay focused and work close to the shape. The rational thing to do would be doodling all over. Just stick to the area around the shape!
At this stage, I began to feel a bit anxious. It would have been so much fun to fill the page. But I followed my rules and remembered to change the color so that the process of coloring got interrupted. You can see that I began very traditionally, just with strokes. Then I changed the color and moved to drawing circles. After that, I picked another pencil and colored the circles.
The whole process so far has been pretty dull: First a square, then strokes, then circles. I felt a bit sarcastic at the moment: “What next? Triangles?” You can choose your doodles freely but end this phase with a bold movement: draw a large shape. Then abandon the colored pencils for a while.
4) Paint a new large shape with watercolors
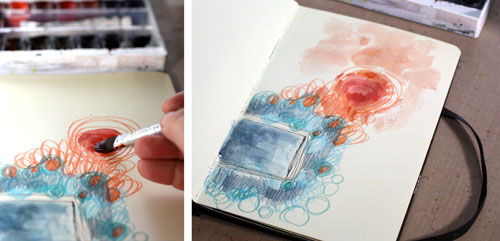
Watercolor the large shape drawn in the previous step. Then clean your brush by dragging it around the shape.
You can see that when choosing the colors, I did not repeatedly use the same colors so that they would have spread evenly. Instead of that, I created two color areas: blue and orange. They both contain various hues of color. The blue area varies from gray-blue to blue-green, and the orange area includes warm red. This way there are two elements on the page: blue rectangle and orange circle.
They say in poetry: two is a conversation. Even at this early point, the page looks like an image. It makes you think: who are they?
5) Doodle with the marker
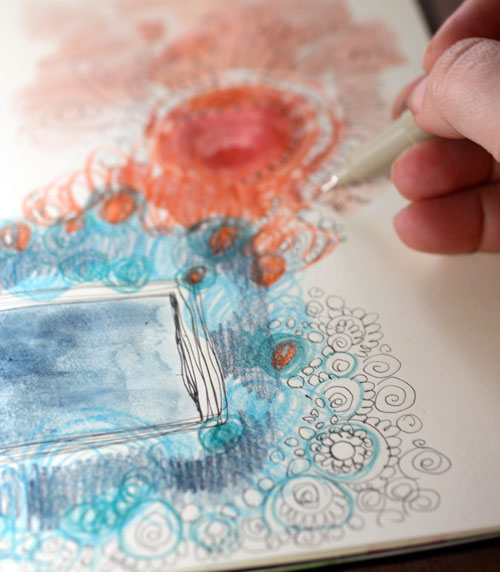
Fuzzy watercolors and soft color drawings look beautiful when they are partnered with a thin marker. Like in photos where something is blurry, and something is sharp, your page will look more appealing when you create the same effects.
Doodle around and over the shapes that you created in the previous steps. Don’t be afraid of crossing the shapes. In art journaling, a lot of time and energy can be spent in layering, but it requires nothing more than drawing over something beautiful to create even more beauty!
6), 7), 8) Colored pencils, watercolors, doodling
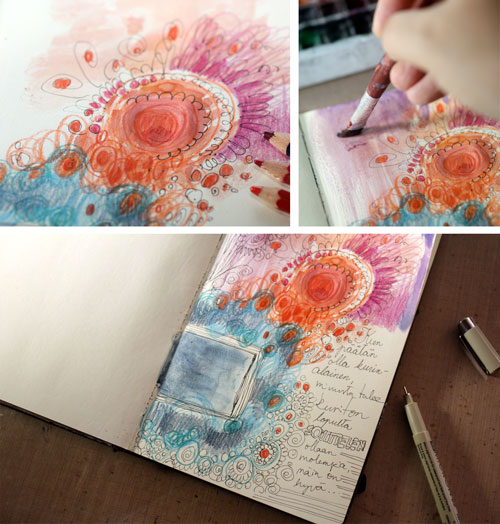
At this point of repetition, I began to feel pretty inspired. After coloring some doodles with colored pencils and painting some blank areas with watercolors, I felt inspired enough to write something that I thought that I am experiencing. I wrote: “When I decide that I have to be under control, I will be out of control. Then I make an agreement with myself: let’s be both!”
9), 10), 11) Watercolors, colored pencils, doodling
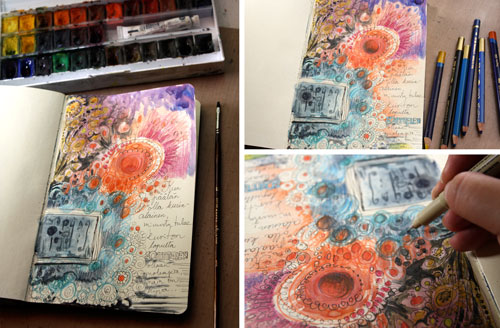
Now we are in the final round of making the page. Because these are the steps where you fine-tune your artwork, use a thin brush and very little water with watercolors. When adding details with the marker, change the orientation of the work once in a while. Many times it is easier to focus on the details if you turn the page upside down.
In poetry, they say that if two is a conversation, then three is a dance. I emphasized the upper left area to create a third element. It made the page more dynamic. Namely, at that point, I was feeling super dynamic and inspired!
12) Finished?
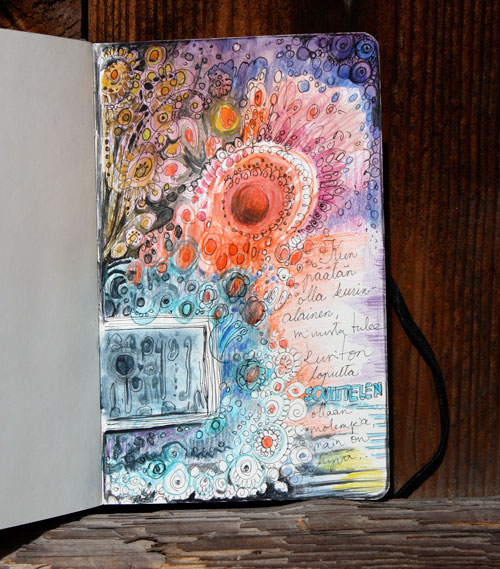
When you assume that your page is finished, it is time to take a pause and examine the work.
When I examined mine, I saw that my rational side is there in the form of a computer screen and my creative side in the form of an orange flower. I decided to add a little hand decorated paper piece under the computer screen to make it look more like a computer. Then I added another tiny blue piece besides the orange flower to make the orange pop.
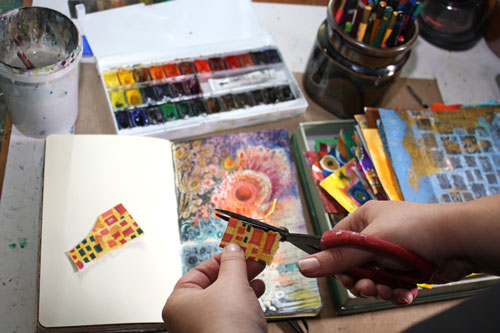
When you use your own hand drawn papers for collage, they will integrate beautifully. (New to hand decorated papers? See the basic instructions.)

The finished piece now expresses my love for the internet and computers. If that subject was given to me at the beginning, would you think that I could have created that image? Never! I would have stared the blank page and after a while, be as bored as my beagle is at the moment! Getting started even if you don’t feel like to and still finding the happiness of self-expression along the way – that is the magic of art journaling!
Let me be your art teacher: Subscribe to my weekly emails!