
Art Journal Inspiration from Children’s Books

The art journal spread shown above is created from hand decorated papers, colored pencils, and markers. The main message here is “You can ride with your imagination in any way you want.” As it implies, I like my art journaling to capture dreams and fairy tales, not so much everyday life.
Mini-Worlds and Fantasies
I think that an art journal can be childish and playful. The way I see it, children’s books are the predecessors of them. Children’s books also combine illustrations and text to create mini-worlds and stories. I love to add both decorative and naive elements on the same page, and children’s books are great inspiration for that!
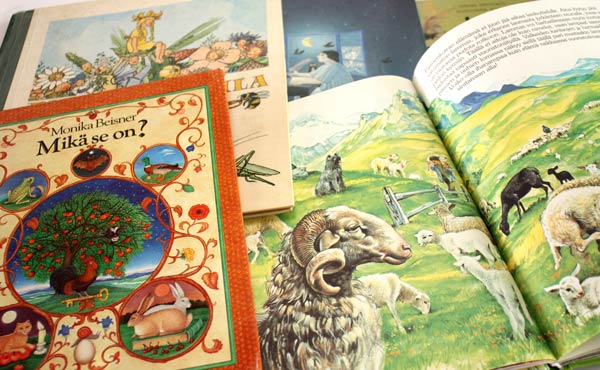
I buy used children’s books from recycling centers. They cost only a few euros (few dollars). That is a fantastic value considering all the inspiration they can give. I pick the books that have a lot of good quality illustrations. As I love detailed drawings, I try to find books with sharp lines and many details. Browsing children’s books can be a good practice for finding your artistic style. Pick the books that you feel most drawn to and then list all the things they have in common. I prefer books that have matte pages because I sometimes create collages from them. Then it is good if I can draw or paint on them.
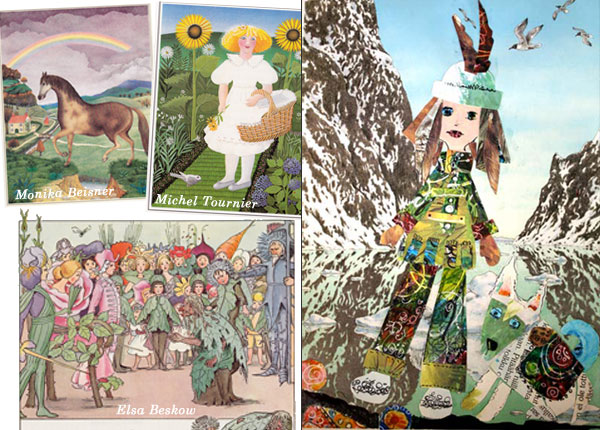
I made the collage on the right while teaching at a workshop last fall. It’s one of the pages where I have used the papers from children’s books. I often give few pages from various books for each participant of the workshop. It’s much easier to start creating when you don’t need to stare blank paper.
That little explorer resembles anyone who is entering the world of children’s books!
Subscribe to my weekly emails – Get a free mini-course!
Imitate Ceramic Art!
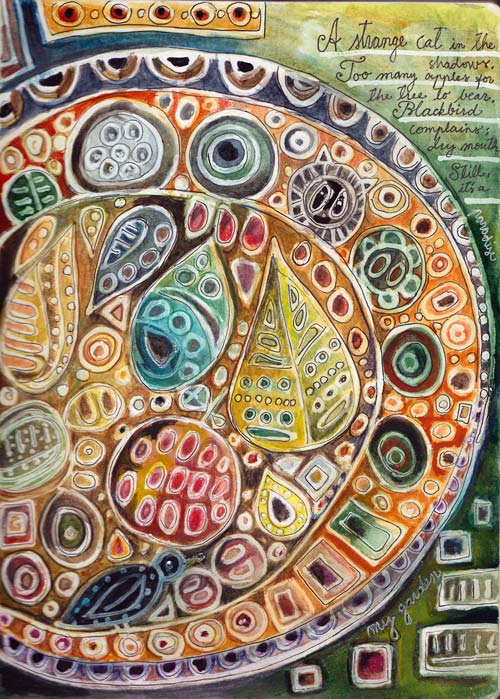
A strange cat in the shadows.
Too many apples for the tree to bear.
A blackbird complains: Dry mouth!
Still, it’s a paradise: my garden.
This is an art journal page where I wanted to achieve two things:
1) imitate Scandinavian ceramic artists of 1940-1960s
2) write a poem and illustrate it
Scandinavian Ceramic Art
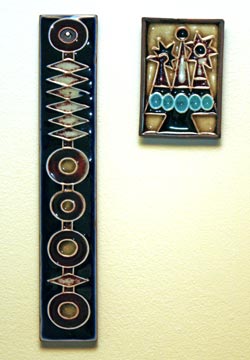 Let’s start with the artists: Annikki Hovisaari from Finland and Lisa Larson from Sweden. They are women who made beautiful ceramic art in 40s-60s. Annikki Hovisaari died in 2004 but Lisa Larson is still alive and she has a website too.
Me and my husband own a couple of Annikki Hovisaari’s work. We have bought those from antique fairs.
I found out about Lisa Larson in Scandinavian Retro magazine nr 1/2014. You can also see the best work of hers by searching from Google with the search term “Lisa Larson tile”
When I examined the work of these two artists, it was clear that a white correction pen would be perfect to imitate the lines. I made a couple of small pages by combining the correction pen with acrylic paints and PITT Artist Pens. However I was not fully satisfied with the outcome. These did not have the liveliness in color that I wanted to achieve.
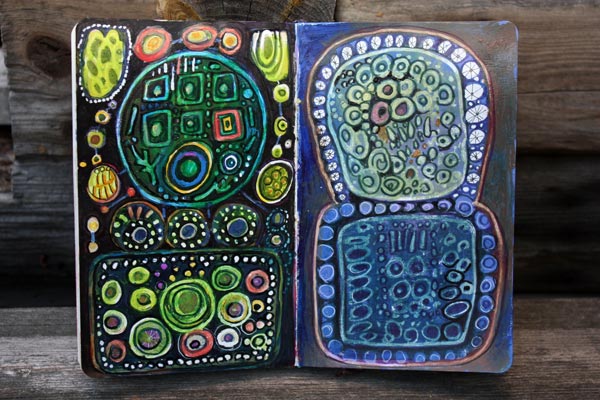
But after making these I realized how I would use the correction pen and what I would combine it with: watercolors! Here’s how you can create your own ceramic tile look!
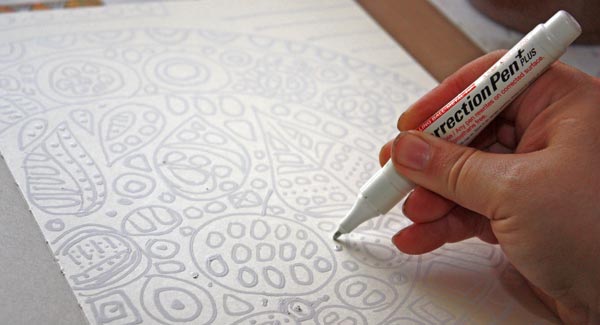
1) Doodle with correction pen
2) Use watercolors for coloring
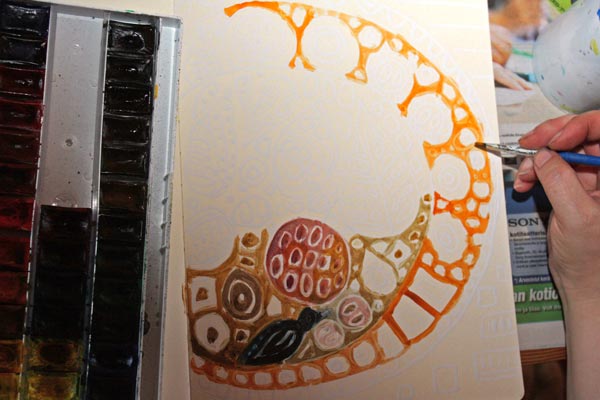
The correction pen works as a resist. You can watercolor over the white doodles. After painting add some water and wipe the paint off from the doodles.
3) Add contrast and draw thin black lines

When you are done with watercolors, don’t stop yet. Add color variation and contrasts to doodled shapes. You can also work with colored pencils when finishing if it feels easier. Finally, take a thin black marker and add thin lines in the center of white doodles or both sides of the doodles. These lines will make your work look sharper and more dimensional.

Here you can see the difference that finishing makes. At this stage, I have also added the poem. Actually, my process began by writing the poem. I have discovered that if I want more depth in journaling, it’s better to write it first.
Have fun with this simple technique!
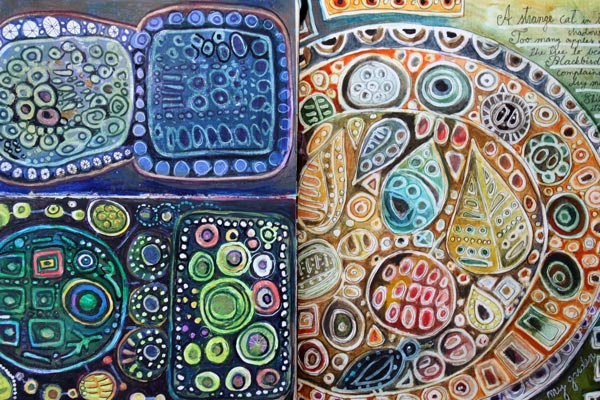
More ceramic art inspiration and playing with simple shapes
>> Modern Mid-Century art journaling mini-course
Surface Patterns for Hot Summer Days

This July has been wonderful in Finland. I have enjoyed gardening and photographing and it shows in my art journal too.
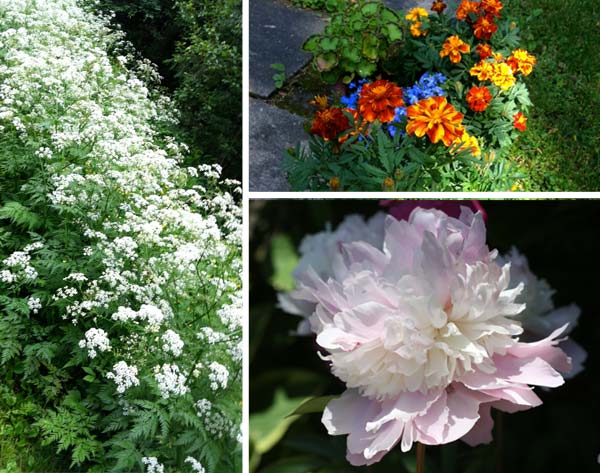
Both the wildflowers and flowers in the garden look great with a dark background. So when I made the drawing with colored pencils, I added some shadows too. Great way to express sunshine is to combine black with yellow!
But my main focus was on summer fabrics. It is so much fun to design prints for summer dresses.
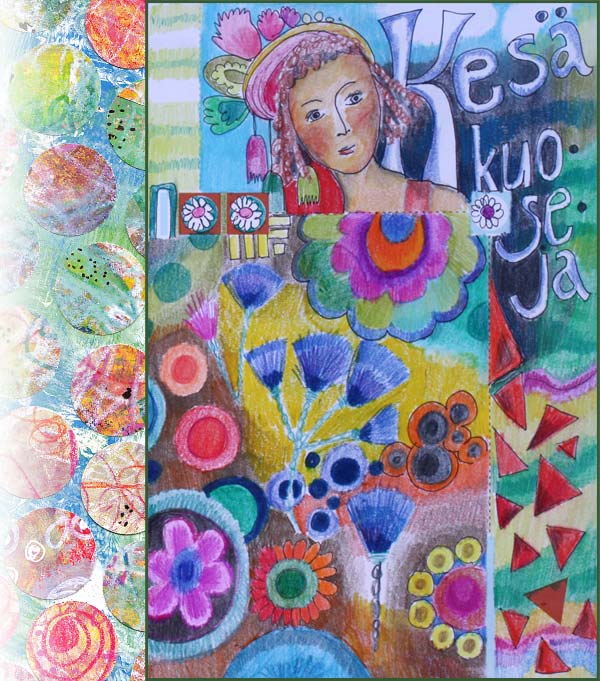
The collage of the left is an old one. A sketch for a surface pattern made in 2011. It was made by cutting circles from handdecorated papers. This time I replicated the design by cutting circles from stamped papers.
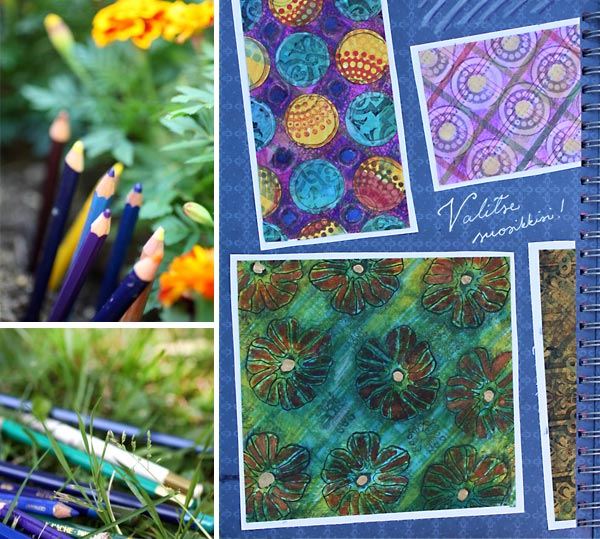
The summery prints are mostly made by stamping here. Paper scraps like old scrapbooking papers can be altered easily with markers, colored pencils and stamps. I always try to add subtle color variation in the background to keep the result interesting. Thinking about shadows help here too.
As you can see, my colored pencils are always with me! Hopefully your summer has been as wonderful as mine!
Make Samplers to Save Bits and Pieces

My sampler madness began when I found an unfinished embroidery project. I had started it two years ago on an online course called Happy-Go-Lucky Stitchalong. It was led by Amy Powers and the goal was to embroider a sampler showing all the things that make you happy.
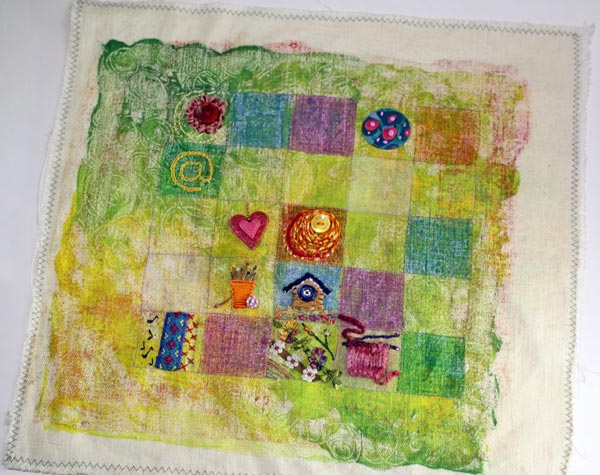
It was only a two-week course and I got some more squares done than what is shown here but there was still plenty to go. I had dyed the fabric with monoprinting method and quite liked it. I was not happy with all the embroidery that I had made but I felt compelled to finish this project. The embroidery floss I had to finish this looked so tempting!
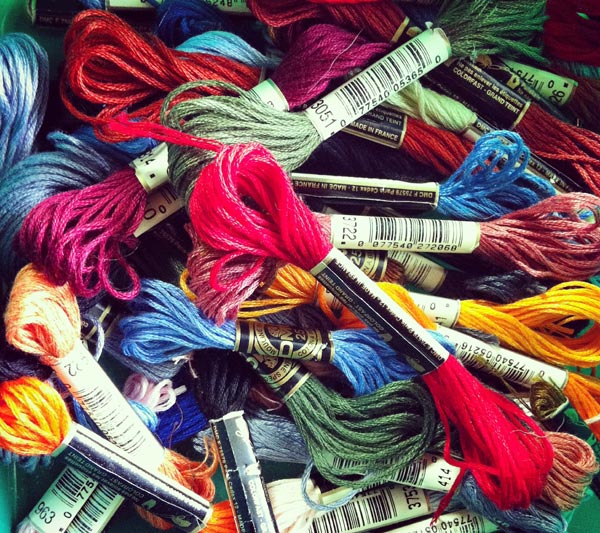
So I began to work little every day for a couple of weeks. Some of the squares were remade and some were complemented with extra stitches.
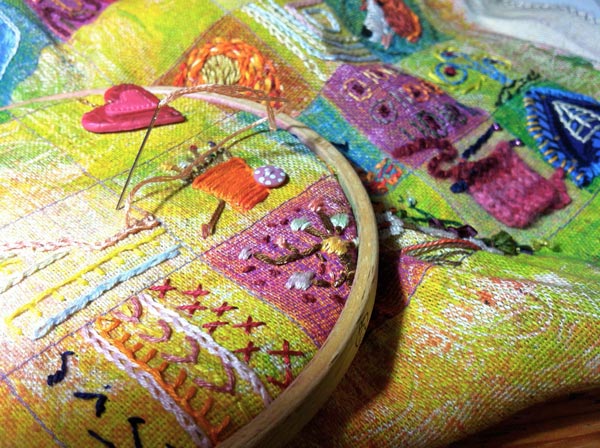
In the end I added some more details to the background fabric using the same method than in the beginning. By using a glass plate and textile dye I was able to prints some more color and doodling to make the result even more interesting.

I painted the frame with bright coral red to create an athmosphere of hot summer days (which I love and which are all too rare in Finland).
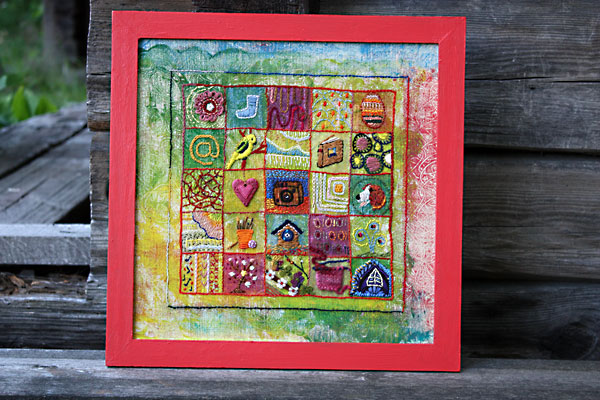
I am pretty happy with the finished piece. Can you spot a peony and a parakeet there?
While stitching the sampler, I was thinking about samplers in general. They can be really handy of saving things. Even virtually! Isn’t Pinterest like a big sampler too?
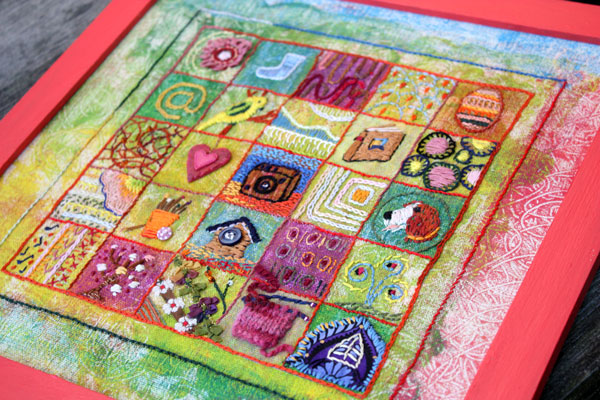
I chose not to spend an extra hour at Pinterest but make a stamped sampler showcasing some of my favorite stamps.
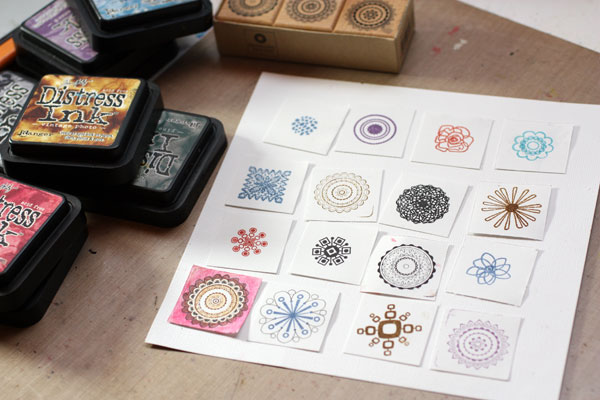
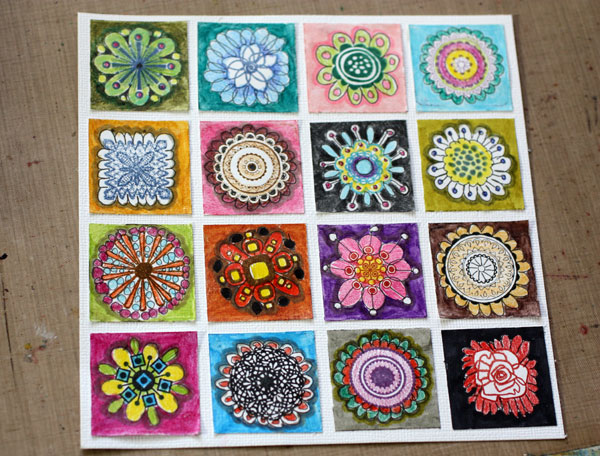
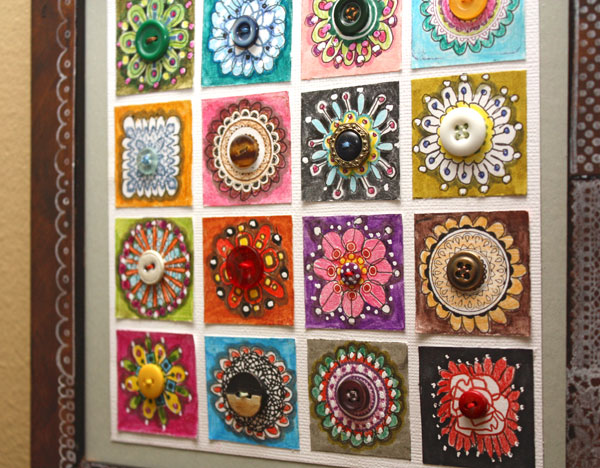
Folk style suits well to samplers so I decided to make a sampler that reminds me of folk costumes. I doodled around the stamped images to get extra details. Then I colored them with colored pencils and markers.
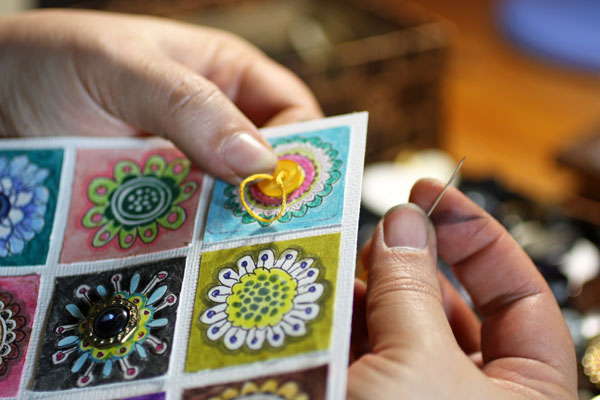
Thinking of folk costumes, I got the idea of adding buttons in the middle of each square. They all had to be different, of course. That way they would repeat the idea of a sampler too.
Before sewing the buttons I had painted the frame with faux antique paint. Many folk costumes use a lot of lace and ribbons so I picked all the stamps which were like them. Luckily I had so many that I was able to use each once and get the decoration around the frame.
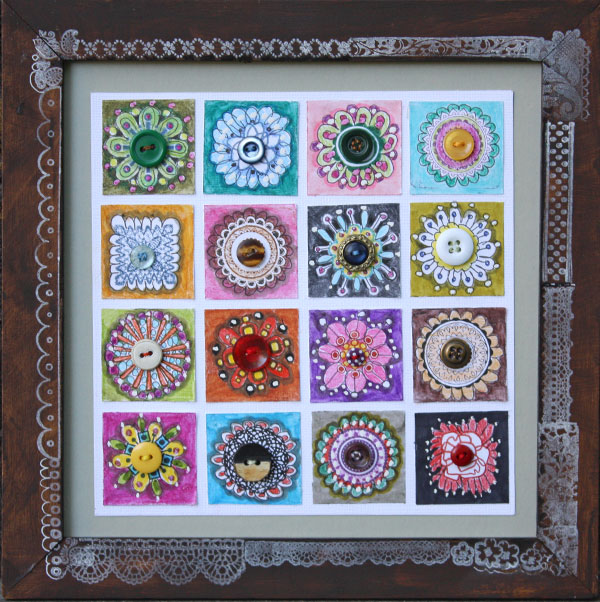
While making this sampler I got the idea of a sampler made from handdecorated papers. Wouldn’t it be cool to have an art journal page showcasing the scraps of papers? Or just coloring and drawing 9 squares while on vacation, one per day and then gather them into a sampler. Or giving each family member a square … The possibilities are endless!
Let me be your art teacher: Subscribe to my weekly emails!