
Scrap Wood Collage

After working day and night with Folk Bag Workbook, it was time to relax. But honestly, I am not very good at doing nothing, so I decided to put my mind in rest by finishing the scrap wood collage. It is a project I have been making with my husband. I talked about the project first time in one of the video blog posts.
Background of the Project
While renovating the studio, we ran out of the ceiling panels. (You can see the hole in the ceiling on the video.) My husband had a box of wooden pieces collected from the past woodworking projects. We decided to use them to create an artwork together.
We had been talking about a project like this for a long time. My husband is an avid woodworker and I love to draw and paint. We are both extremely interested in art and design, so we thought this would be the perfect project for combining our strengths.
Planning
When the project started I drew some sketches and we discussed about them. I focused on the concept of how the wooden pieces should be arranged. I knew I wanted to include paint too, but was not too concerned about it yet. We agreed to create a sort of log cabin quilt type design and organize the wooden pieces by color. My husband drew the size of the artwork on the big piece of paper so that we could understand the proportions more accurately.
Making the Blocks
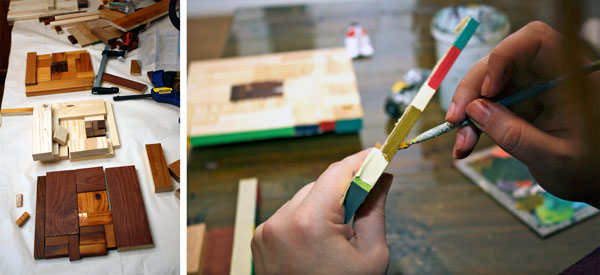
When we began to make the blocks, it dawned on us that I was too impatient to glue and adjust the pieces. And my husband had not much ideas about how the pieces should be composed visually. So I designed each of the block by organizing the wooden pieces on the table and my husband glued and finished the blocks. As every block is unique and most of the small wooden pieces are different sizes, my husband had a lot of work!
When all the blocks were glued, I wanted to add paint on them. I did not want to cover the wooden surfaces but add some color to the edges. As the theme of the studio is 1960s, I mixed colors from that era and painted each of the edges in different color.
Attaching the Blocks
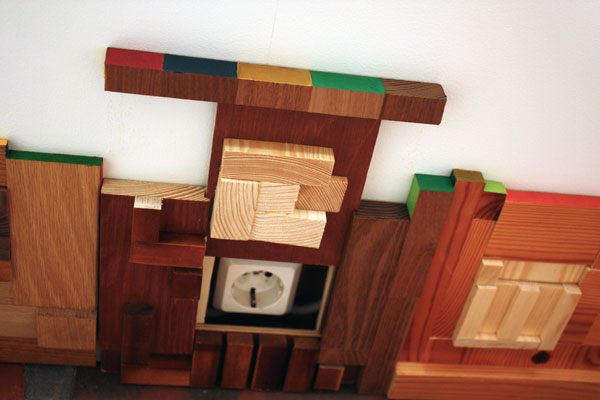
After the blocks were painted, the artwork was ready to be put in place. My husband had made a wooden panel where he glued each of the blocks.

A Special Feature
If you watched the video carefully, you might have noticed that there is a power plug on the ceiling. The artwork is designed so that there is a flap in one of the blocks that can be slided away!
Lessons Learned?
All in all, this was a great project! This is what I learned here:
1) Let the creativity correct the mistakes.
We could have just ordered few more ceiling panels but we did the exact opposite!
2) Make it meaningful.
Many of the scraps carry memories themselves. And we created more memories by working together.
3) Search for new territories.
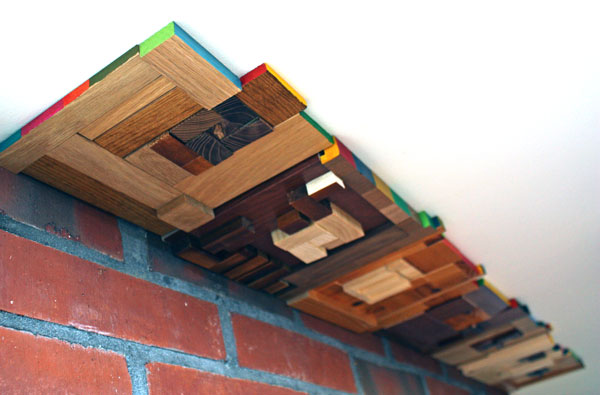
My approach for wood was totally different from traditional woodworker’s. The artwork was designed like a modern quilt even if it has been made from wood. For me, various wood species represented various colors. The wood grains were combined so that they formed rhytmic lines and ornaments. I also wanted to create a texture, but not by carving like a woodworker had done, but by playing with the height differences of each piece.
The fourth lesson is:
4) It’s good when it looks like it’s alive.
The end result might look terrible if you look at it like a traditional woodworker. While we made the project, my husband had some problems to get over the fact that every wooden piece does not fit exactly and there will be so much variety on the artwork. But in the end it all looks alive. I love the uneven, colorful edge. Combined with the texture, it all looks very organic even if there are clear, graphic blocks.
While creating this, I began to think of wood as a new art supply. Then I realized that most of the things in the world can be seen as an art supply! Mind-blowing, isn’t it!
P.S. Soon after we finished our artwork, my husband saw a woodworking video about making a wall-decoration from scrap wood. Does it differ from ours? Leave a comment and tell what do you think!
How to Make Folk Bags
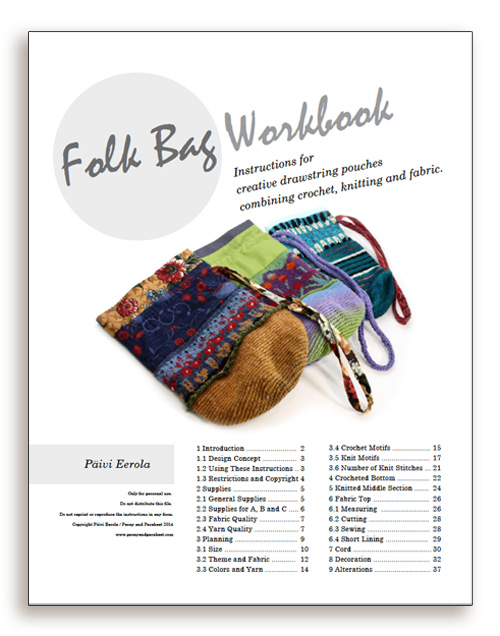
Since 2008, I have had a dream: teaching how to design and make folk bags. When I invented the idea of the folk bag, I drew a sketch. That sketch was the first piece in the pile of documentation gathered for the workbook.
The workbook has 40 pages and about 100 images. You will be guided from the planning to the making of unique folk bags which you can keep, give away or sell.

I feel so happy and relieved at the moment!
The book includes instructions for three folk bags: one small with stripes, another large with solid-colored fabrics and third medium with printed fabrics. But the best thing in the workbook is that it guides you how to create unique bags in various sizes. Starting from choosing the theme and fabric and ending with setting the final decorations in place!

Buy the book for 15 euros (about 18.50 USD) here or from my Ravelry store
Am I the Same as My Coming Book?
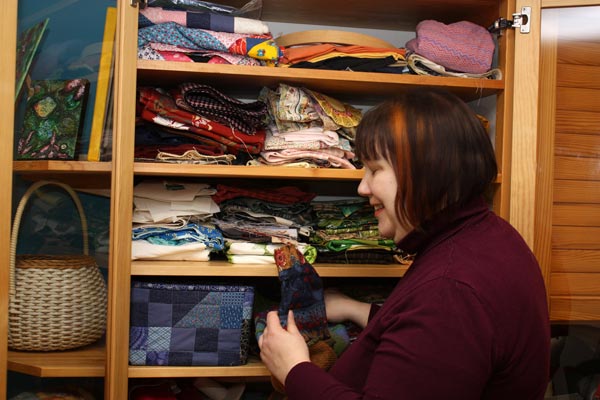
November has been a folk bag month. In the beginning of the month I thought I would be writing a craft pattern. The more I worked with it, the more obvious it became that it will be a book. If I knew that before I started, I would have spent the whole month just procrastinating. But now it’s too late! The book has been written. Just some Finnish translations and single word check-ups has to be done before putting it all together visually. There will be 9 chapters and over 100 photos!
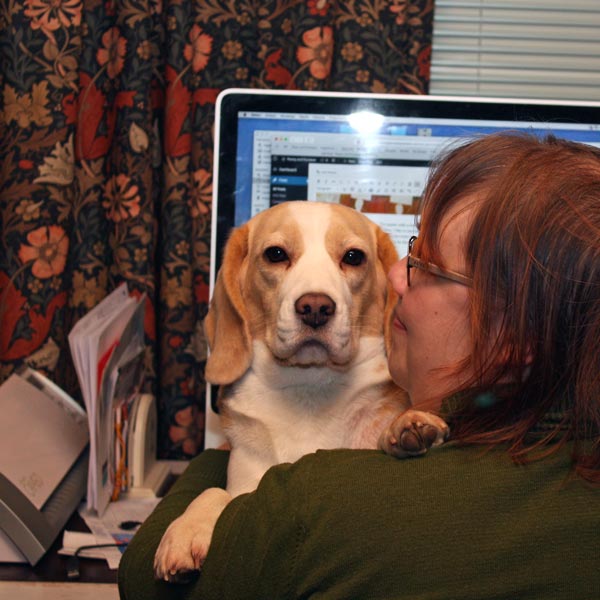
Most of the days, including the weekends, have been spent on a computer. Luckily I have two dogs to take care of, so I need to take breaks!
At the same time, I am excited and worried. I am anxiously waiting to be able to see the bags that you will make using the book! At the same time I am worried if I have included all what I have to give and put it in a way that you are able to comprehend.
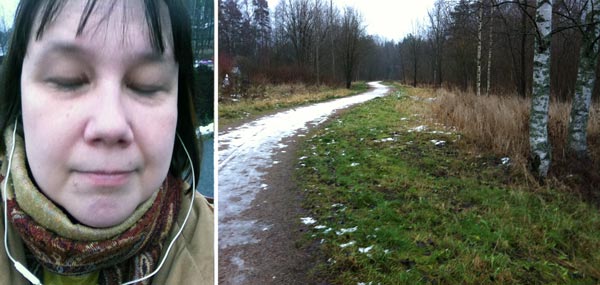
I have also been thinking about my connection to my business. How I could understand the difference between the work I do and me as a person? All the creative people have to deal with this someway, I think.
During a month like this, it is very difficult to remember that I am much more than a folk bag or an intuitive painter. Have you felt that you take the result of your creativity very personally? I think it’s normal behaviour as we have put so much of ourselves into our work. But at the same time, it is good to remember that we are much more, and can become much more. Luckily, for Stella, my little beagle, I am something totally different than a painting or a book!
Quick Gelli Christmas Cards

This year I had two requirements for the Christmas cards: quick and handmade! The theme had also been selected: candles, suitable for all religions and all ages. All I had to do was to figure out how to make a lot of cards and fast. This first photo is a snapshot from my studio while I was making the cards.
Planning
Before I got my table full of cards and more under making, I had to discover the process of creating the cards. My artistic side wanted something that looked handmade but was still somewhat warm and painterly. The task was transferred to my engineering side who turned on the computer and made a sketch of a single card in Photoshop. The card would consist of two layers of paint. Needless to say, using the Gelli plate would be handy!
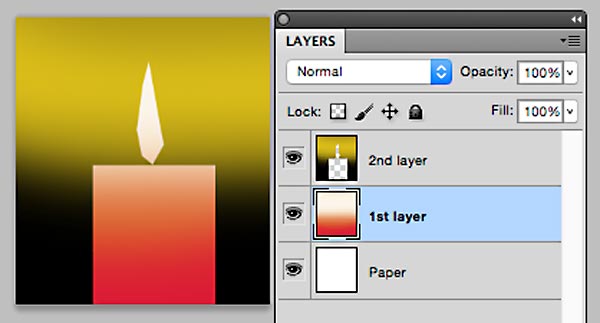
But this plan was not enough. I wanted to create not only one card, but several at the same go. While walking the dogs, I solved the problem. Here are the step-by-step instructions of how to make simple candle holliday cards. You can make them more complicated by adding doodles and such but the basic design is very simple. By following these steps, you can serially produce handmade cards!
Supplies

You will need: Paper, glue, cardboard, acrylic paint in few colors, brush, brayer, scissors, black pen and 8” x 10” size Gelli plate.
Optional: Paper trimmer for cutting the straight edges. Some kind of a stick, a pallette knife or a knitting needle for example, for drawing surface patterns.Double-sided tape if you prefer that to glue for attaching the printed image to the cardboard.
1) 1st Layer: Candles
Paint the center of the plate. The width of the painted area is 5 to 6 inches of the height of 10 inches. You can cut a paper of that width and use it as a guide by putting it beside or under the plate.
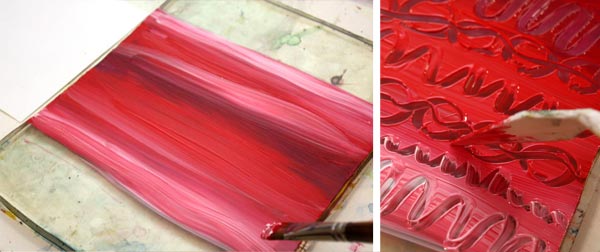
You can draw patterns with a stick if you like. I like to use more than one color to make the candles look lively. You can use brayer for the paint but I prefer to use brush and work horizontally. That way the candles will have horizontal color slides.

Cut your papers to the size of the Gelli plate before printing them. You will get 2 to 3 prints from the one layer of paint. Let dry.
2) 2nd layer: Backgrounds
While waiting the paint to dry, cut the masks for the candles. You will make four candles from the one print. For the four candles, you will need four rectangles, 2-3 inches wide and 5 to 6 inches long. Furthermore, you will need four flames. Fold a paper twice in half and cut one flame at the same go or enjoy your time with the scissors and cut the shapes individually.
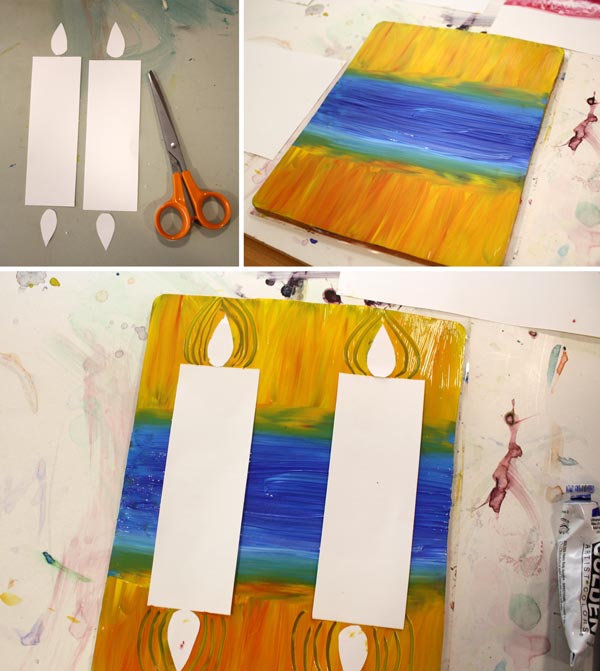
Paint the background with two colors. The center with a darker color (blue, black or green, for example) and the sides with orange yellow. I like to use color mixtures here too. Place the masks so that the distance between them is the twice longer than the distant from the edges. If you want, you can emphasize the flames by drawing lines around them. Make the prints. Let dry.
3) Cut the prints, save the flames
Save the masking papers for the flames. Cut the prints in four parts with scissors or with a paper trimmer.

In the third photo beside the trimmer you can see one alteration of this pattern: use Gelli plate in the other way and create an image with a several candles! By cutting various sizes of masks you get variation for your candles.
4) Finishing
Cut a small part of the background away from the both sides of the print. Cut curvy lines to the bottom edge of the candle. These will make the candle look like it’s set on the snow.
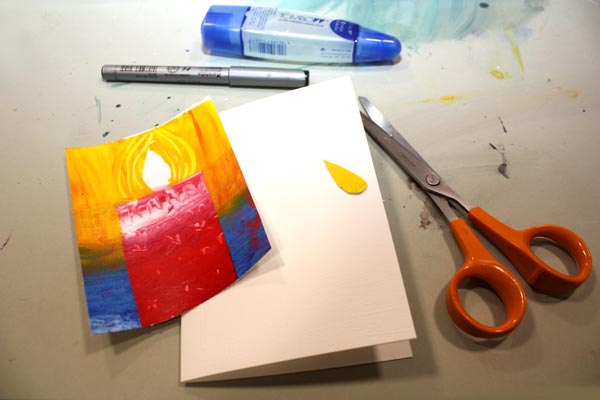
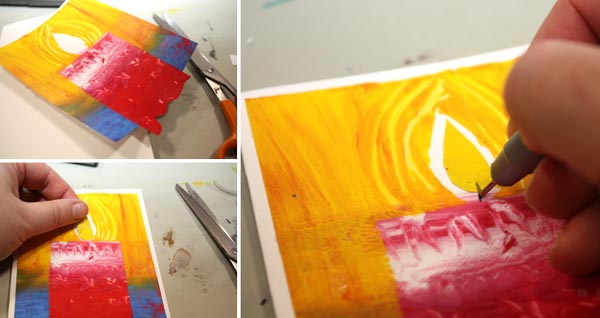
Attach the print to the cardboard. Glue the mask on place or color the center of the flame with a colored pencil or a marker. Draw a wick with a black pen.
5) Variations!
You can make all kinds of variations from the basic instructions. You can add the number of candles, cut them out and glue many candle on the same card, doodle on the candles etc.

I still have few cards to finish and one more task to do: Write “Merry Christmas” or “Hyvää joulua” (same in Finnish) on each one!
More holiday crafts from the previous years:
Wrapping Paper from Newspaper and Elegant Christmas cards