
Recent News and a Sketchbook Tour Full of Ideas!
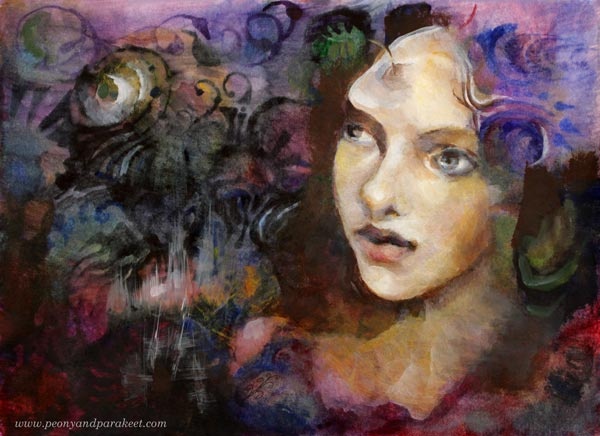
My short blogging break is over and to celebrate that I have a full sketchbook to show you!
The Last Page of the Sketchbook
This morning, there was one page in my big A3-sized sketchbook that wasn’t finished. It was a very ugly one! Even if I covered it with a layer of dark colors, it didn’t please my eye at all.

But then I got an idea to highlight just some of the elements and paint a young woman on it. At the same time, I had the opportunity to play with the ideas that I am gathering for the new class.
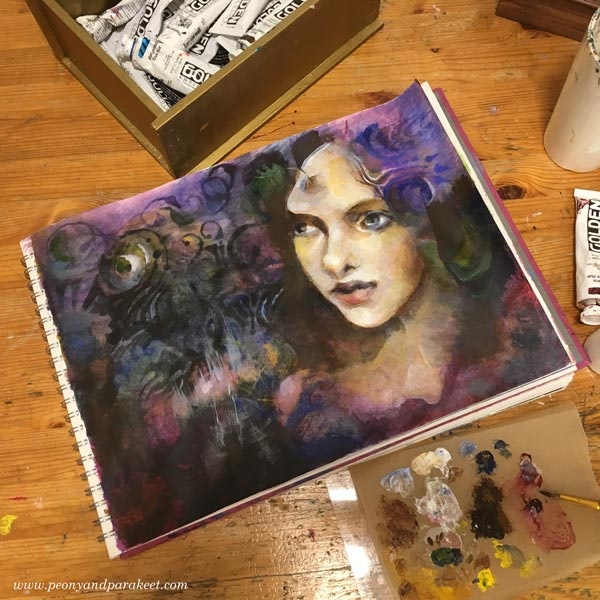
I am often fighting against time when I am creating. When I make videos for the classes, I have only 1-3 hours for each project. My principle is that class videos are for guidance and inspiration and nobody wants to watch me paint for a day or two. Even if I speed up most parts, I usually include so much background information and art theory that I have to limit the time that I spend with painting or drawing. And often for blog posts, I have the same couple of hours even if it’s a bit easier if I don’t record the process or try to build a pedagogical package. So when painting this one, I would have liked to continue for a longer time, but I kept telling myself that the sketchbook is not where you make a detailed painting! Anyway, it’s detailed enough to get the idea.
Foxes and Inspiration from Natural Science
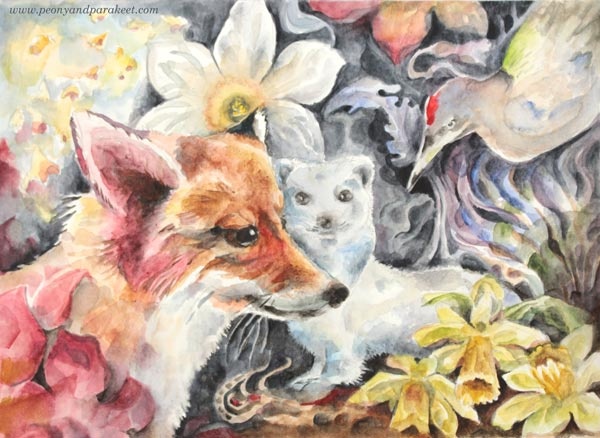
During the summer, foxes seem to have appeared in my art. This one is just a quick graphite drawing, but it’s something that really speaks to me: making new creatures and celebrating the potential and diversity of nature.

Here’s another one with a fox:
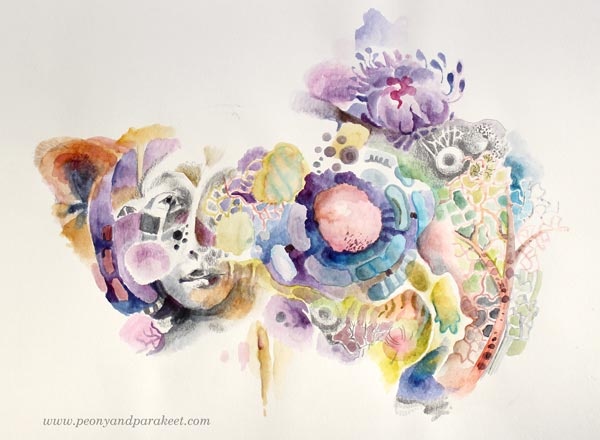
This sketchbook page is inspired by the microscopic world, and even if it’s a loose portrait, it also has a fox ear!
I also have a tiny painting in progress that has a fox, but I will show that later in the fall.
Ready for a Sketchbook Tour? – Here We Go!
I have made a quick flip-through video of the full sketchbook. The sketchbook is from Pink Pig. There’s also a glance of the summer’s big project on the video – our Japanese garden!
Plans for the Fall
Here’s what will happen here at Peony and Parakeet during the fall – come along!
1) July-September: Watercolor Journey, you can still sign up, and if you love watercolors this really is the class to take! (When you sign up you will get immediate access to the material provided so far.)
2) Sept 10 – Nov 30: The Exploring Artist – a soul-searching coaching program for any artist who wants to get clear where to head next! There are only 12 seats available so sign up fast!
3) Oct-Dec: a new class with a working title “Portrait Revolution” as a part of my art community Bloom and Fly.
I hope that you have reserved some time for creating and will join me! And as always, the best way to stay up to date is to subscribe to my weekly emails!
Summer Greetings and Summer Sale!
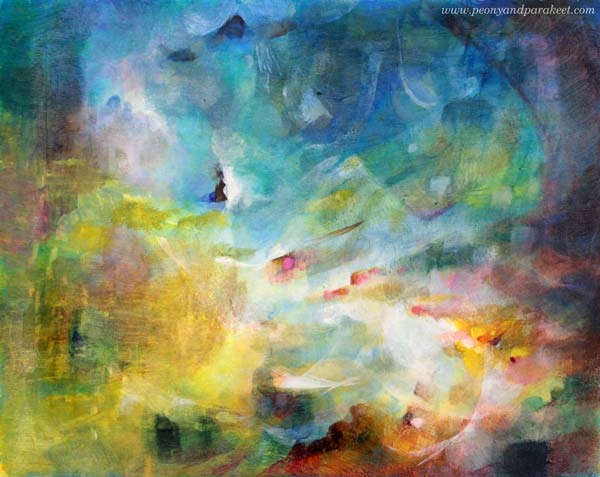
This painting is called “Light Chaser.” We Finnish are all light chasers to some extent. Winters in Finland are very dark. The darkness combined with cold impacts the mood. For tourists, freezing wind with all shades of black can be an exotic experience, but for us who have to endure it for months, it’s agony. In Helsinki area where I live, we sometimes get very little snow, so it’s even darker than further up.
So when the summer comes, it’s a welcomed relief, and we are pampered with light. Thereäs daylight almost around the clock. It depends a bit how far north you live, but here in the south, the sunrise was at 4 AM and the sunset at 11 PM. And in addition to that, the weather is warm, flowers are blooming, and everything is lovely.
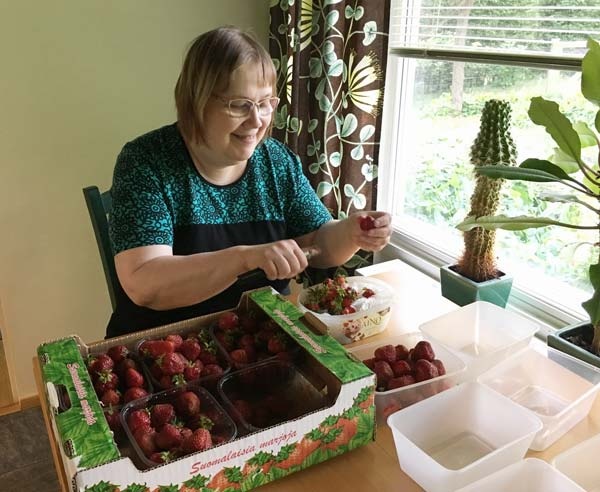
I also want to mention Finnish strawberries, very sweet and delicious. If you ever come to Finland, make sure that you will taste them!
Summer Break
I haven’t taken a break from weekly blogging for years. I love my work and want to put most of my energy into it. However, this year I have a summer class Watercolor Journey, and we also have a big garden renovation going on. And to be honest, it’s time to live a little too. So I have decided to take a short break from blogging, three weeks.
To make sure that you keep on creating, I have a summer sale!
From today to July 29th, all self-study classes are 20 % off. You will see the reduced price when you go to pay for the class. >> Shop here!
Thank you and see you in August!
Facebook Live Watercolor Painting
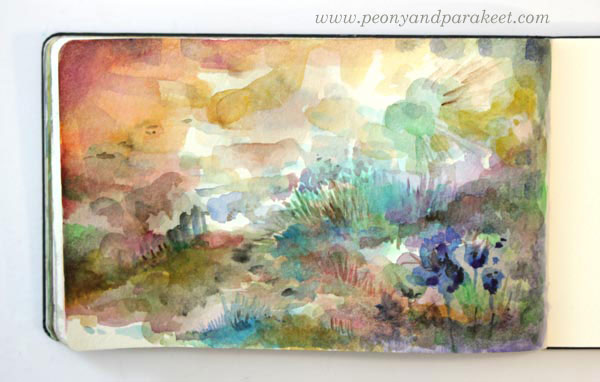
Here’s the watercolor painting that I painted yesterday on Facebook Live while chatting away. You can find the recording on Peony and Parakeet’s Facebook page, go to Live Videos!
I had a wonderful audience, and many have posted their versions too in the thread, so it’s definitely worth checking out!
Watercolor Journey begins on July 1st!
My online class Watercolor Journey will begin on Sunday, July 1st. If you want to fall in love with watercolors, you don’t want to miss this class! Sign up here!
Come Paint Live with Me!
Facebook live on watercolors tomorrow June 28, 2018, 5 PM BST (London), 9 AM PDT (San Francisco)
To celebrate the new upcoming class Watercolor Journey, I am going to do one of the scariest things I know: painting live online! Is it even possible for a human being?! Well, I have to try that!
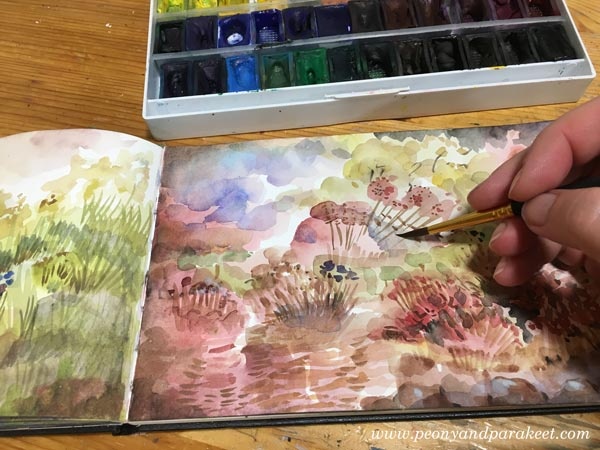
Join me for a Facebook live session on Thursday, June 28, 5 PM BST (London), 9 AM PDT (San Francisco). I am planning to record a brief session where you see my scary face first and then another session where the camera shows my hand. I will paint with watercolors, maybe bring your set and paint along with me?
Here’s what to do:
1) Like my Facebook page.
2) Pick a small piece of watercolor paper, your watercolor set, some brushes, and water.
3) Go to the Facebook page once the session begins!
Hoping to see you there!