
Life in an Art Journal – Dylusions Creative Journal Flip-Through
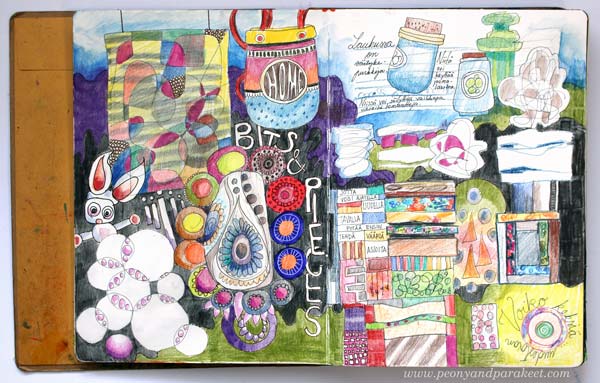
Don’t miss a flip-through video in the end of this blog post!
Four years ago, I purchased a new art journal – a big one. It was Dylusions Creative Journal, the largest size. In the beginning, I wanted to do everything “right.” I wanted my journal to have pages that are well-thought and carefully executed. The first couple of spreads went ok, but then, ugly pages started to appear. They were pages that I had just started but got tired on the way. Or pages which began so ugly that I didn’t feel like finishing them. But the longer I used my journal, the more I realized that I could have fun with those ugly pages. I could add more simple motifs and then color them all. I could add black paint and leave only some of the background visible. I could add more ugliness, and once it hit the saturation point, it became – something else.
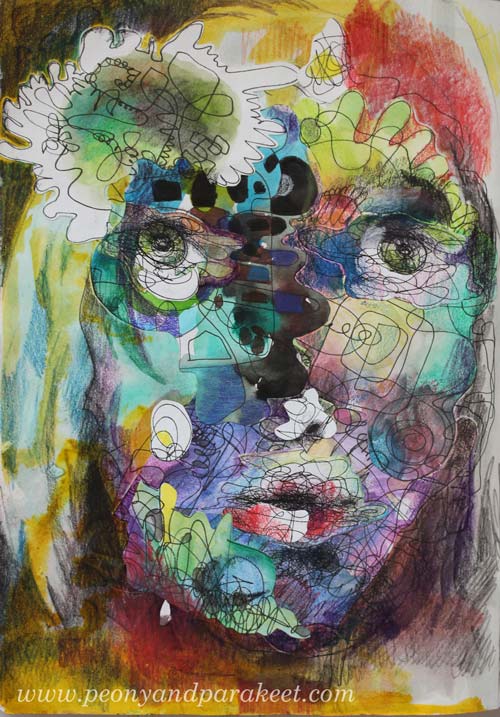
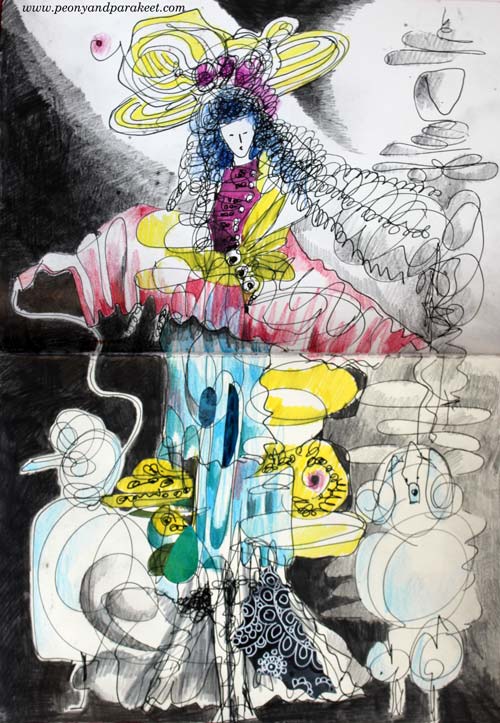
I am interested in learning all kinds of visual styles. Art journaling has supported it. One day I played a fashion designer and made a quick line illustration with poodles and all. It didn’t look inspiring back then, but a long time later, I had a lot of fun coloring it.
That’s what I love with art journals. The pages don’t get lost, and the ideas don’t get forgotten. Sometimes the ideas are abstract and timeless …
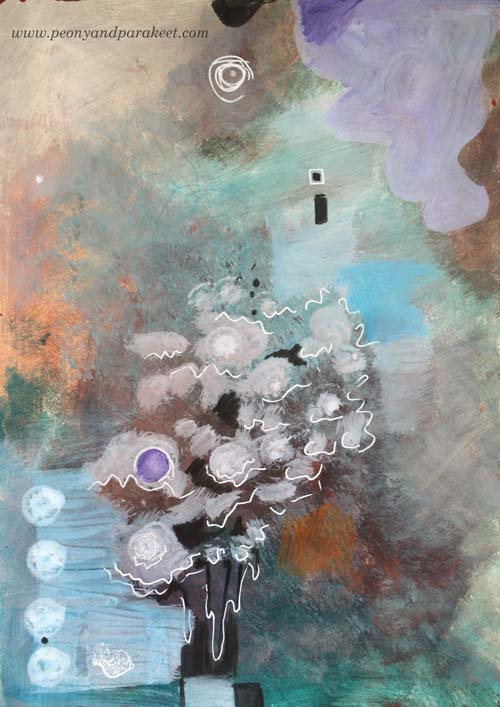
… and sometimes they are illustrations about what’s happening around the world.
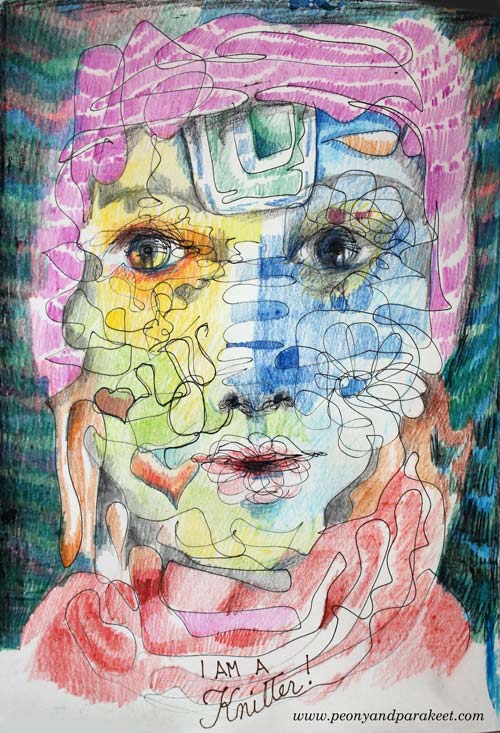
Filling the pages in a random order adds its flavor to the journal. A grid-like paper patchwork felt innovative once, but not anymore. It feels pretty stiff, especially when there are freely doodled elements on the opposite page.
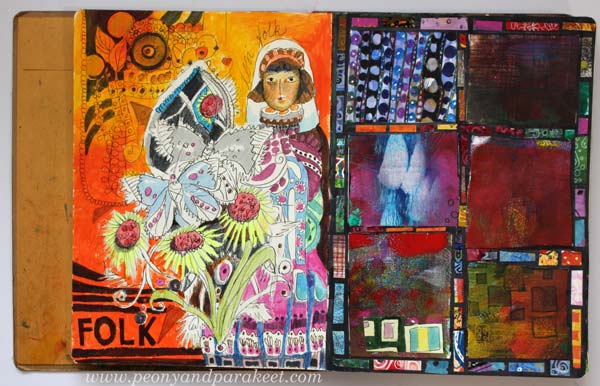
But I don’t want to rip off the pages that don’t seem to fit. I accept them all. They are all explorations on the land of Art and Imagination. Sometimes I didn’t get very far, but I believe that all the trips benefited each other. I also believe that when painting on canvases, I feel more confident because I have played freely in my art journals.
Dylusions Creative Journal – Watch the Flip-Through Video!
See all the pages of my large Dylusions Creative Journal!
Enjoy drawing by starting from stick figures! – Buy Drawing Factory!
Rebuilding Art – Using Reference Images for Self-Expression
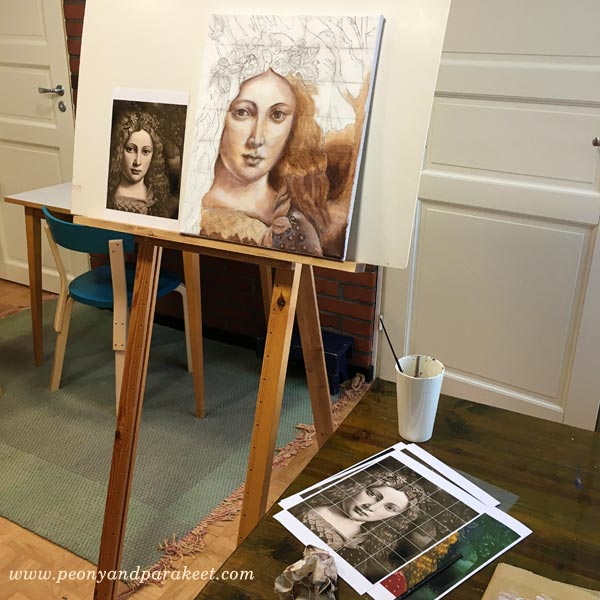
This blog post is about composing new art by using reference images. At the moment, I have a couple of paintings in progress that are based on reference images, and I also show other examples as well.
Why Don’t Artists Always Tell About Using Reference Images?
While painting my first oil painting at The National Museum of Finland, the visitors of the museum were able to visit the studio and watch us paint. Many people asked why we paint copies of the old paintings. The teacher Emmi Mustonen replied that it’s a good way to learn the old painting techniques and develop the understanding of formal elements. But I got the feeling that some of the people didn’t get it. Their facial expressions were imprinted on my mind, and it made me ponder why using reference images raises conflicting feelings.
Even if most artists who create realistic art or include realistic elements in their art, use reference images, many are not very open about it. I think that one reason is that many artists believe that people know that already and another reason that the process is not interesting. My experience is that there are surprisingly many people who assume that artists don’t take photos or use other than live models. And to me, the process of composing a new image from old ones is fascinating. I always stop to see an article where an artist shows how the reference images were used. I am especially interested if it’s about choosing the photos and combining several reference images into one piece.
Strawberry Madonna – Combining Several Reference Images to Tell a Story
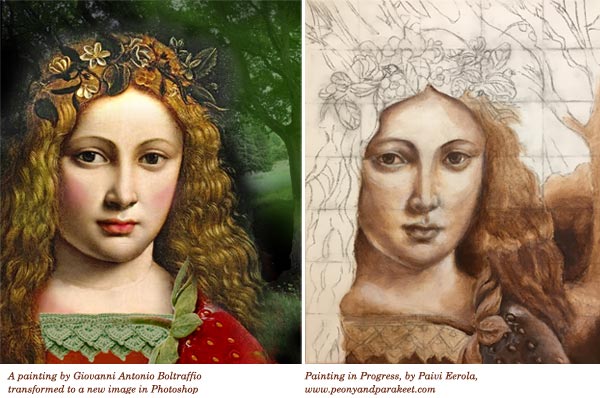
I am currently painting an acrylic painting on canvas that I call “Strawberry Madonna.” It’s my first using old masters’ painting techniques with acrylics instead of oil paints. The idea for the painting started differently than usually. I invented the title first and then started to think how Strawberry Madonna would look. I wanted to find a young woman who would have lips like she had just eaten a strawberry. By googling Renaissance paintings, I found Giovanni Antonio Boltraffio‘s painting. After that, I moved to building a story around the original idea.
Strawberry Madonnas are young girls who enjoy life without worries, have long summer holidays, eat strawberries, learn to crochet and read books like Emily of the New Moon or Anne of Green Gables. I have been one of them, and I feel quite nostalgic about it. I wanted the painting to include surrealistic elements. It has a big strawberry that is placed so that it could be a sleeve of the madonna’s dress. I am also going to change the flowers in the hair wreath to strawberry flowers and play with green and red paint. It will happen when I move on from underpainting to adding colors. In the background, there’s a photo that I took last summer. I am going to make it a little less detailed.
I used Photoshop to compose the reference image and made the sketch on canvas with charcoal. I drew a grid to make the sketching quicker.
Girl with a Ferret – Changing the Meaning with a Simple Trick
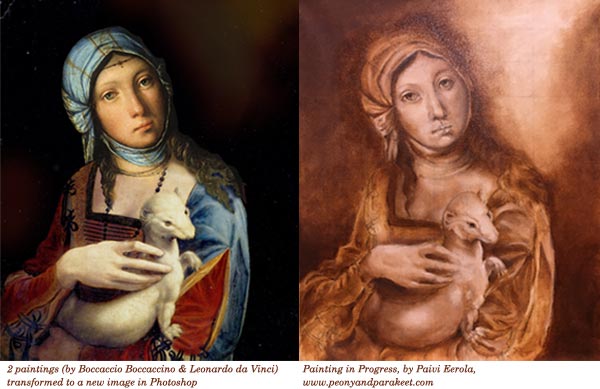
I have also started a new oil painting under the guidance of Emmi Mustonen. I got to pick the reference image freely. I wanted to pick an old Renessaince painting, but I couldn’t find any that would have a couple of my favorite features when painting with old masters’ techniques. I love to paint fur and fabric, and I wanted to find a face that would include openness. I fell in love with Boccaccio Boccaccino‘s portrait of a gypsy girl, but it didn’t have any fur. So I remembered Leonardo da Vinci’s “Lady with an Ermine” and created a new image by combining the two in Photoshop. I have several stories about this one.
The first one is about today’s society and how the pets have become more human in our eyes. I want to show the similarities in the wild gypsy girl and the tame ferret. Another story is about young girls and their love for taking care of animals. They might not know the wildlife, but they help to rescue animals and are ready to work hard when taking care of them. They are against fur clothing and not afraid to show it. The third story goes back to the 16th century. I imagine that the gypsy girl was hired to dress up and hold the ermine because the lady didn’t have the patience to pose for the artist. In the end, she never showed. The artist became frustrated and painted the girl instead. I can imagine the magical moment when the girl realized that she would be in the final painting instead of a lady.
I would like to talk with Boccaccio Boccaccino about my version. I also wonder, how he was able to paint the portrait of the gypsy girl when the artists mostly painted for churches and aristocrats back then.
At Monet’s Garden – Including All the Good Stuff to the Same Image
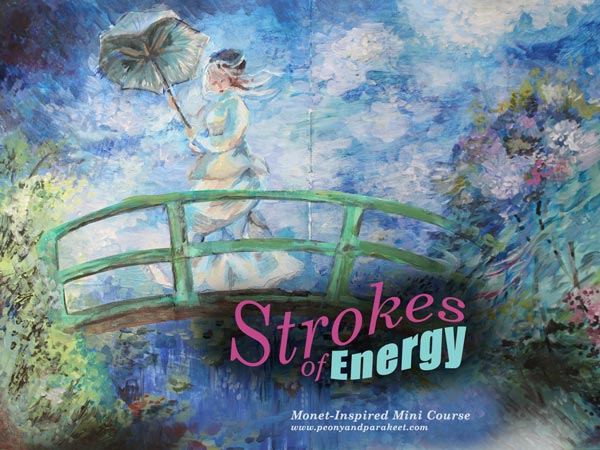
Last spring, I published a mini-course called Strokes of Energy as a part of the Imagine Monthly Spring series. I asked my students to name their favorite artists, and Claude Monet was among most popular ones. But when I thought about Claude Monet, I didn’t want just to serve those who love the garden or those who adore his way to paint the sky or those who want to express the windy scenes. I wanted to have all the good stuff in one image and then some more.
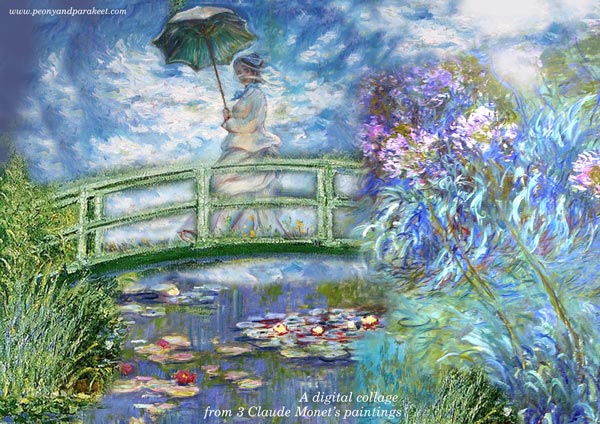
So I created a reference image in Photoshop combining three of Claude Monet’s paintings: “Woman with a Parasol” and a couple of paintings from the water lily series. Then I invented a technique where you can paint some of the elements as collage pieces so that you can adjust the overall composition before making the final decisions. This way it is possible to add more details one by one and improve the image during the actual creative process.
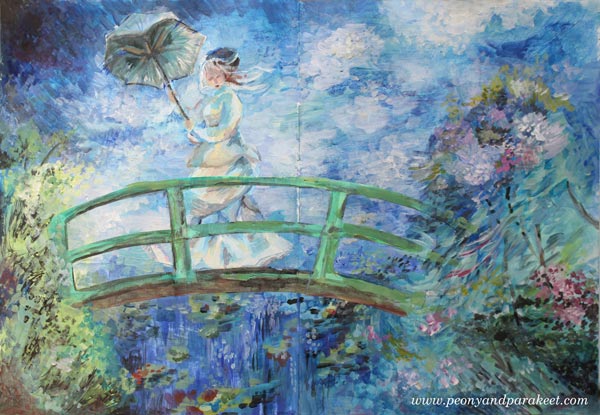
So this painting is about a woman who is experiencing strong wind. She doesn’t mind wind catching her parasol. She enjoys the fresh air and the beautiful scene around her.
Ulla’s Take
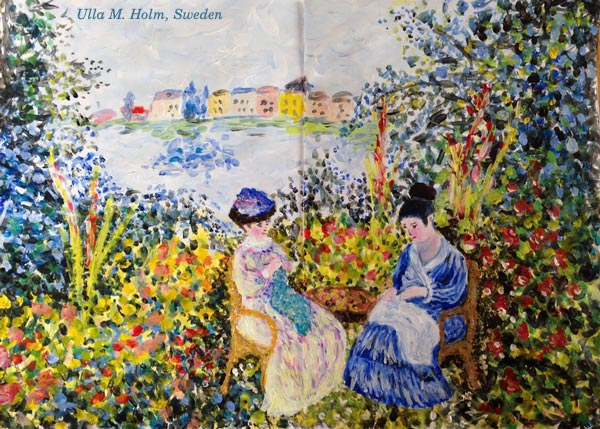
One of the students, Ulla M. Holm, made a Photoshop sketch from another set of Monet’s paintings and then painted the image with short impressionistic strokes. I love how the result also reminds me of her home country, Sweden!
Using Reference Images More Intuitively – From a Story to an Experience
I admit having mixed feelings about following the reference images carefully. With my art, I want to express freedom, and I don’t think that following reference images too closely helps with that. On the other hand, I don’t want to restrict myself doing abstracts only or creating similar paintings one after another. Many artists create the same again and again and become better and better with that. To me, art is about exploring and the hook there is to widen my perspective continuously.
So even if you would prefer abstract art, it doesn’t mean you can’t have reference images. Instead of connecting with the actual story, you can connect with an emotional experience.

I picked colors and ideas from Emile Vernon’s painting and imagined what it would be like wearing that soft dress. The dress felt like a dream, so I wrote: “Muisto unelmasta” – “a memory of a dream” in the image.
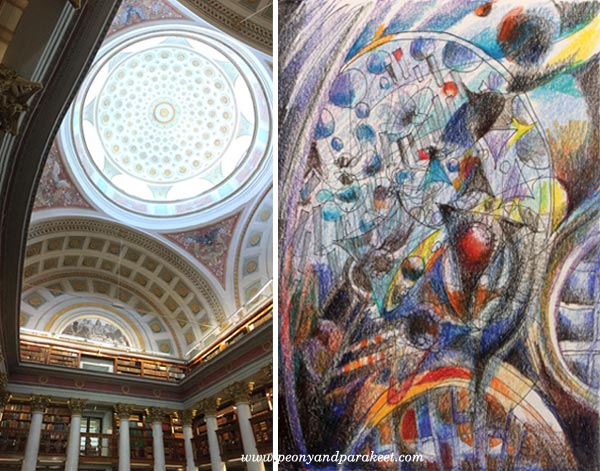
Here’s another example from my class Inspirational Drawing 2.0: a photo from The National Library of Finland and my interpretation, “The Power of Knowledge.”
Do yo want to experiment with this approach using your personal reference images? >> Sign up for Inspirational Drawing 2.0!
For the Fans of Monet – Strokes of Energy
My Monet-inspired mini-course Strokes of Energy is now available as an individual self-study course. >> Buy Strokes of Energy!
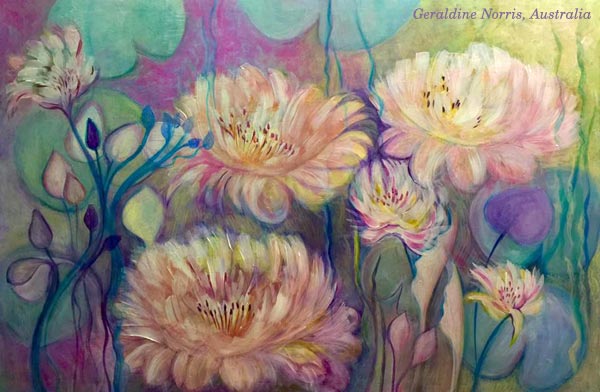
Geraldine’s Take
I want to end this blog post with a skilled artist Geraldine Norris from Australia who created her version of Monet in my class. She had just seen an art exhibition showing Monet’s work, and I think it shows how deeply she connected with the experience.
But wait, there is more beautiful Monet-inspired art from my students, see the presentation page of Strokes of Energy!
Until next time!
Freedom and Fear of Drawing – with Students of Peony and Parakeet
I dedicate this blog post for drawing, but I want to talk about cross stitching first. It’s one of my long-time hobbies, and I find it relaxing. I don’t have to make any decisions, use any imagination, just follow the chart, and the result will be just like I wanted it to be. Cross stitching is like a simple house plant. If you give a little bit of time for it fairly regularly, it will grow even if it doesn’t feel like so at first.
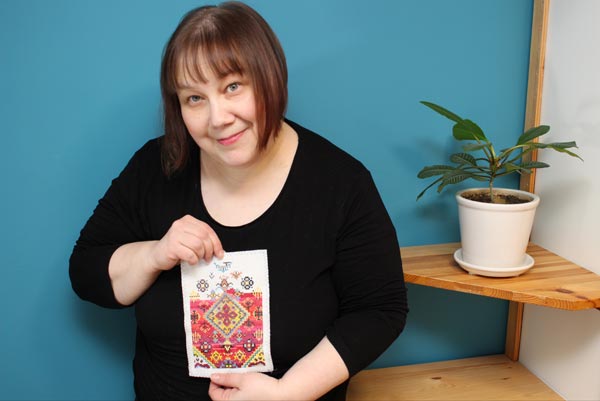
I can choose complicated charts or simple ones, and easily adjust the attention required for stitching. But there’s one problem that always remains: pixelation. Each image is made from single square-shaped stitches. No matter how complicated the design is or thick the fabric is, the pixelation is there.

Working with single stitches is not only a visual problem. It’s also a problem if we want to create more freely. Then we need a medium that allows faster and more flexible thinking. Like drawing. There are many kinds of drawing styles. When I want to experience creative freedom, I don’t do sketching using a pre-made model. (The photo shows a recent Renaissance-style painting in progress. I have designed it first in Photoshop.)

A Fear for Freedom – A Fear of Drawing
When I want to feel free, I don’t want models. Then it’s just a blank paper and a pen and a wish for a glimpse of imagination.
But freedom and fear are strangely connected. About three years ago, when I planned to leave my day job and start an art business, I warned myself. I told how I would no longer be anyone noticeable. I would have no office, no place to go every day, no colleagues to discuss with, no job title, no respect from others, no self-esteem. I would live in the darkest edge of the society and completely against the way of life I was taught. With these stories, I tried to prevent myself making the life change, and at the same time, I knew I had to try it. I had to turn the page and start a completely blank one.
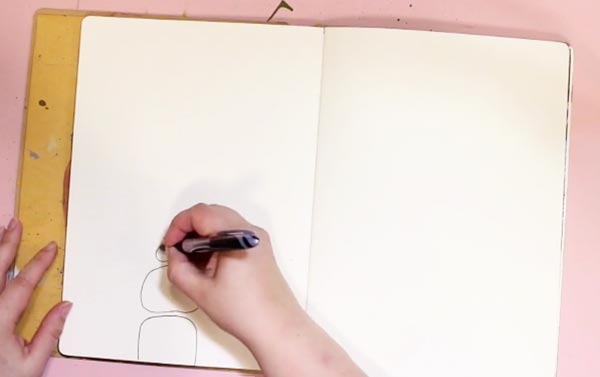
I often connect with the same fear when I start drawing. That I am no one, that I have no power, that it is overwhelming and I don’t know what to do. But then, it’s the same gate that leads to the most wonderful feeling: the feeling of freedom.
Before I left my day job, I started to follow other self-employed women online. I listened to podcasts where they told their stories, and they all had one thing in common. They had put what they already know into use and then learned more. It made me list all the skills that I had and be more content about the decision I had made.
Drawing Factory Teaches You to Draw from Stick Figures
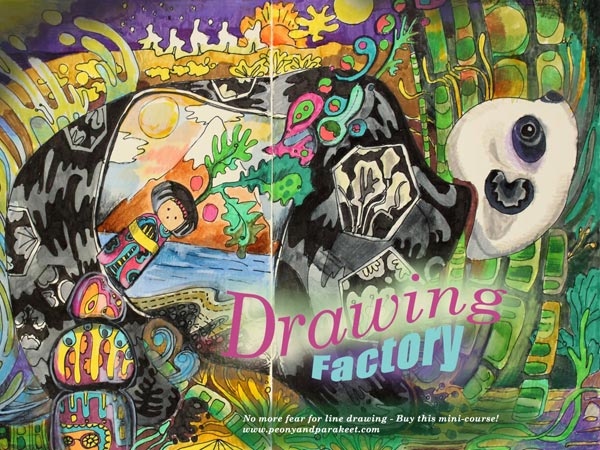
Still, on this day, I find it both assuring and inspiring to acknowledge what is already there before starting something new. So last year, I wanted to create a mini-course about line drawing, using the same philosophy. That was how Drawing Factory was born. It teaches you to start from stick figures and then move on to flowing lines and more imaginative illustrations.
Student Artwork
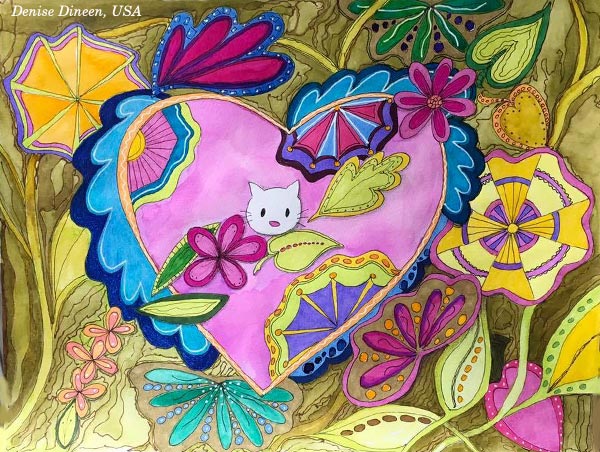
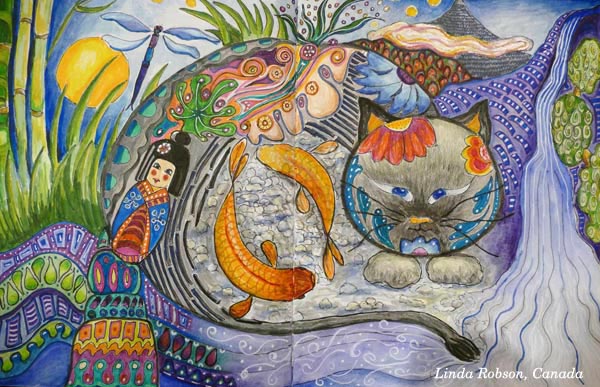
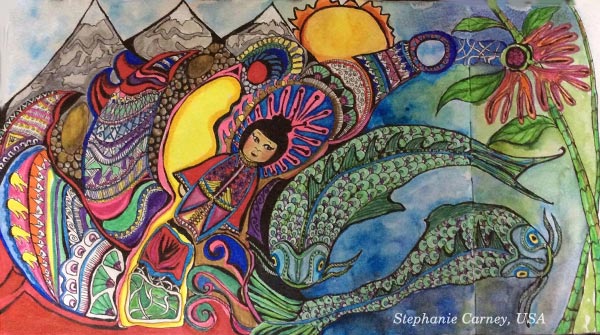
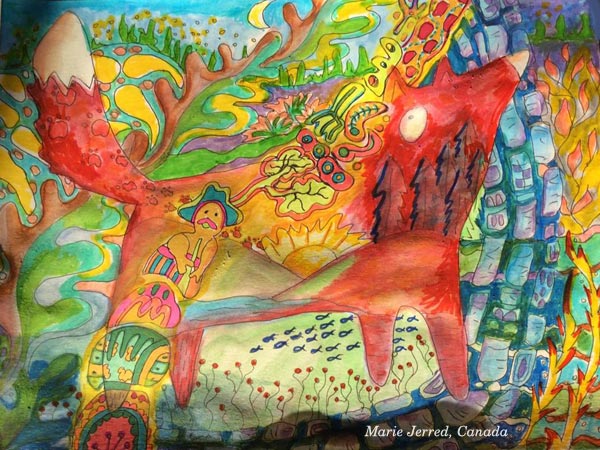
I offered Drawing Factory as a part of Imagine Monthly Fall 2016, the series of monthly mini-courses. See some of the gorgeous pieces that my students have made of the course! Another central theme in the course is Japan, the land of pretty details and high productivity and that has inspired Denise Dineen, Linda Robson, Christie Juhasz, Stepanie Carney, Marie Jerred, and Kathy Gallant, too.


Overcome Your Fears for Line Drawing – Buy Drawing Factory!
Drawing Factory is now available as a single self-study class. >> Click here to buy!
You can also buy the whole bundle of five art journaling classes, published last year as Imagine Monthly Fall 2016.

Thank you for supporting my journey now and during the last three years!
Intuitive Still Life with Gelli Plates and Golden Open Acrylics
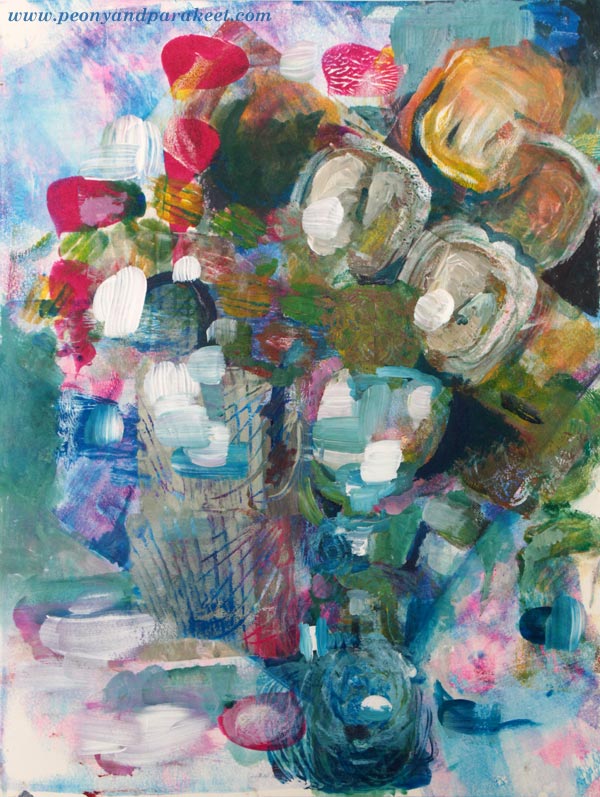
Here’s my latest painting, an intuitive still life with tulips. Last week, I had a short visit to an art supply store in Helsinki. I was surprised that they had a collection of Gelli plates for sale. When I got my first one several years ago, it wasn’t as accessible. I had to contact a shop in Italy which was the only retailer in Europe at that time. It’s great that Gelli plates have become more widely known. I have noticed that on my blog too. Month after month, the post “Self-Expression with Gelli Plate” is at top ten!
So I couldn’t help myself at the art supply store and bought another Gelli plate. My old one is 8 by 10 inches. The new one is a smaller, only 3 by 5 inches. It’s easier to handle and clean but mono printing with the big one is quicker.
Could Gelli Plates Be The Cure for Blank Paper Syndrome?
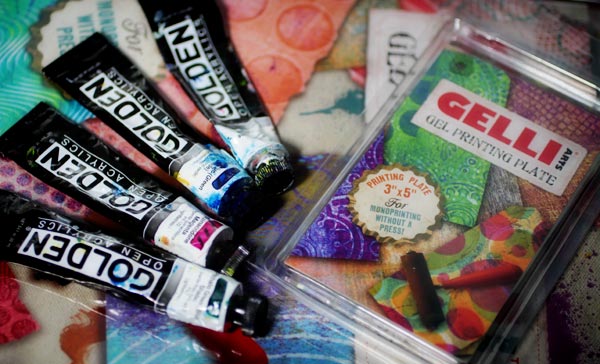
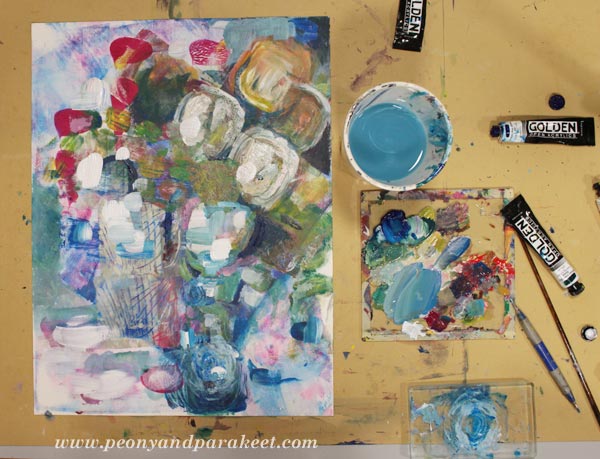
I wanted to have an experiment using both of the plates. Without any pre-planned idea about what my painting should represent, I would get over the blank paper syndrome using random monoprints. Then I would move on using brushes and working more intentionally. As always with mono printing, I used Golden Open Acrylics as paints because they don’t dry as quickly as regular ones.
Here’s my painting after I had some fun with Gelli plates.

And here’s the finished piece.
Intuitive Equals Subconscious!
After I had finished painting, I realized that it’s a combination of recent events: I got a lot of tulips for my birthday, made a strawberry birthday cake and enjoyed the winter sun with Stella.

Intuitive Still Life – Watch the Video!
Here’s a video about creating the intuitive still life. There you can see how adventurous my process was.
Enjoy creating more intuitively: Sign up for Inspirational Drawing 2.0!