What Any Artist Can Learn from Old Masters
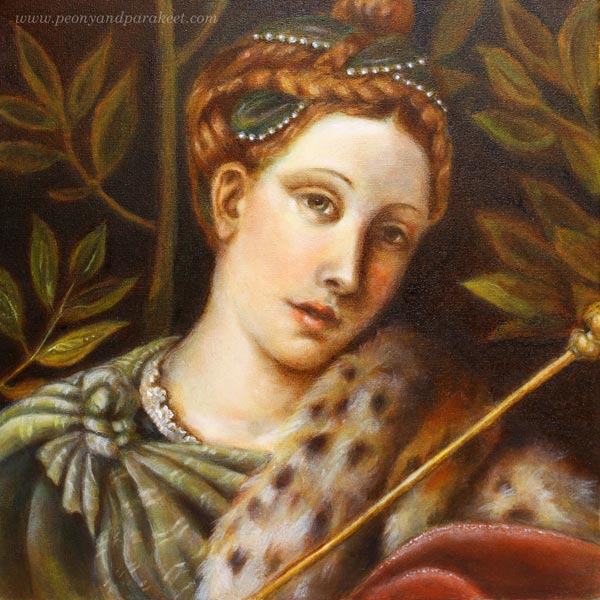
If you have followed me on Instagram or Facebook, you’ve already seen that I have had a special project in November. I have been painting a replica of an old painting and learning techniques that artists used already hundreds of years ago. These are called old master painting techniques. Famous old masters like Leonardo da Vinci and Johannes Vermeer used them when creating their masterpieces. My painting is a copy of a detail from Moretto da Brescia‘s painting “Portrait of a Lady as Salome.” I call mine “Dreaming Salome” because I gave her a more dreamy look and different meaning. The portrait was painted in the course organized by The National Museum of Finland. The teacher of the course was Emmi Mustonen.
5 Tips You Can Learn from Old Masters
After painting my first oil painting, and the first one that uses these techniques, I feel that there is still a lot to learn. So I will be painting another one with these techniques during the spring. However, I have already found out a lot of things that can be used with any supplies, and I wanted to write a blog post about what you can take from my experience. These tips can be applied to any themes, even to abstract art. At the end of this post, there’s also a short video (watch it on YouTube) that shows more images from the process.
1) Don’t Get Discouraged in The Beginning!
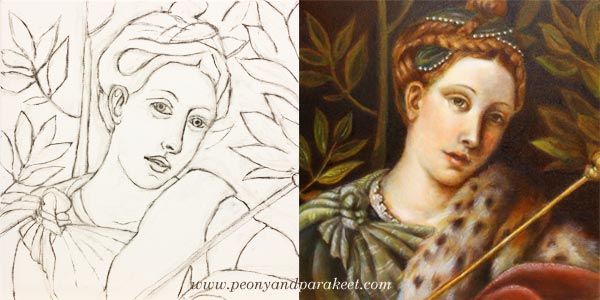
My process of making the painting started with a charcoal sketch. While sketching, I felt I was just making a big mess. I pressed too hard, and the drawing wasn’t detailed enough. The image shows the sketch once it was cleaned with an eraser – just before the first layer of paint. If you compare it with the finished painting, there’s a huge difference between the two. The expression of the lady looked sad in the drawing, but she has a half-smile in the finished version. I understood that the facial features and characteristics are so subtle that it takes a long time to get them right.
When sketching, I hadn’t the persistence to finish her hair and shawl, but still, I was able to make them quite detailed during the painting process. If I had made the original sketch without attending the course, I would have called it a failure and lost my hope of achieving something that would look like an old painting.
I often talk about raw ideas (see this blog post) and that applies to realistic art too. The first lines are just the beginning of understanding what the final work will be. When I was sketching, I only had a rough idea of how my lady should differ from the original version. But once I continued the painting process, my vision got clearer. So, stay curious about the insights that you will get during creating, and don’t get discouraged in the beginning!
2) Before Diving Deeper, Limit Your Supplies!
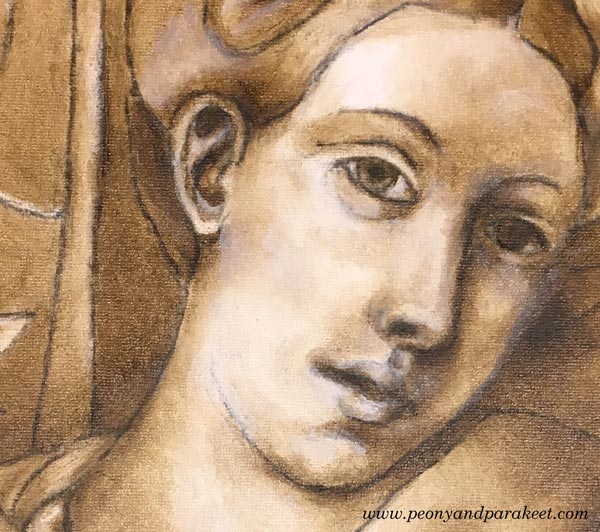
In my painting, the first layers were made with just two colors: burnt umber and zinc white. These first layers form a so-called underpainting that shows where the shadows and lighted areas are. It enforces the painter to look for contrasts, and on the other hand, it enables working with details without making color choices. The philosophy of underpainting can be applied to any media and style when it’s seen as a phase where you limit your supplies and add more content to the piece. When you go through every area in your work and make sure that it connects well with the next one, you will control the big picture through details. I find this much more enjoyable than trying to see everything at one glance all the time.
3) Slow Down to Maintain a Gentle Focus!
I was surprised by the positive feelings I went through while painting with old masters’ techniques. I thought that there would be a lot of demanding voices in my head, but the process surprised me. Even if I was stretched out from my comfort zone, I realized that there could be “a gentle focus,” where you put all your energy into work so that it improves your self-image too. I believe that this kind of new self-acceptance was based on two things.
First, I knew that it would take a long time to finish the painting. Six sessions in the classroom weren’t enough. I also had to do homework. Each of the layers had to dry before adding a new one, and drying took several days. This slow pace felt old fashioned but good too. It made me think how much gentler we would be in general if weren’t so busy all the time. I also noticed how I became less worried about mistakes. When the progress is slow, mistakes start small, and it’s easier to correct them.
The second thing that helped me was that we were using a finger to remove the brush strokes. When I gently caressed the canvas with paint, it affected my whole thinking. It felt like the beauty created and seen by Moretto da Brescia caressed my brain.
4) Don’t Try to Make Your Middle Look Like the End
Before attending the course, I made one decision: I would do my best to follow the teacher’s advice. Because I was not familiar with the techniques, I didn’t know beforehand how the painting should look after each layer. When I teach art, I often see people worry over details that will look gorgeous once they just move on to the next steps. It’s human to compare your middle to the desired end. But if you can set your criteria according to each phase, it will lead to better quality.
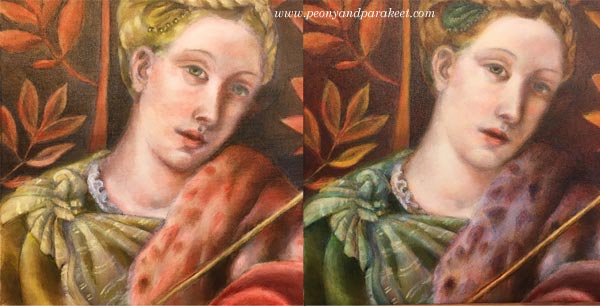
So, when laying the colors one by one, I tried to quench my worries about how yellow the dress looked or how red the fur was. When using old masters techniques, colors are not mixed on a palette. The pigments from the tubes are laid in thin layers as they are. So if you want green, you will start with yellow, let it dry for few days and then move on to blue. The transparent layers with soft edges result in mixed color and a realistic look.
When painting these thin layers of color, I couldn’t help thinking that the skin was too uneven. But my teacher advised me to continue creating color differences to get the painting ready for “a white wash.” A thin layer of zinc white made the skin more even, and all the previous layers made sense. Try this approach of seeing layers and elements as building blocks to new ones!
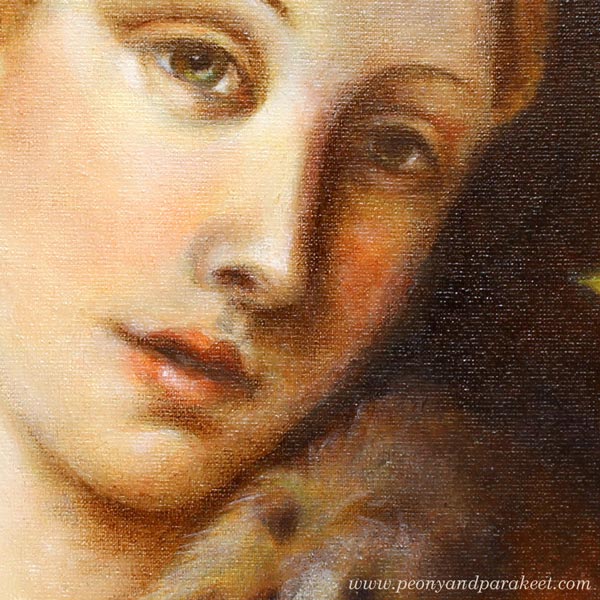
5) Sharpen The Soft, Not Vice Versa!
I was often reminded to make every area and detail softer. Even most of the tiny spots were softened with a finger to make them more translucent and blurry without sharp edges. As a result of that, the painting looked blurry and untidy. But when finishing, sparingly added sharp lines and dots did the trick. It felt magical how suddenly the whole painting looked accurate. I learned that it’s very easy to sharpen the softness. Adding few strokes finished the fur. Adding a tiny sharp dot finished the eye. The nose didn’t need sharpening at all because I wanted to bring the eye to the mouth where I added a small white spot.
When you add softness, you will also make your work look more dimensional. Leonardo da Vinci has said:
“The beginnings and ends of shadow lie between the light and darkness and may be infinitely diminished and infinitely increased. Shadow is the means by which bodies display their form. The forms of bodies could not be understood in detail but for shadow.”
After painting my “Dreaming Salome,” I have become fascinated by watching the edges of items and how soft they are. I know that today’s world is sharp. We aim for sharp photos, a clean graphic look, and turn on the fluorescent lighting. The things we use are industrially made and as perfect as they have been designed on a computer. But try visiting Leonardo’s softer world! Light a candle and observe the lights and shadows. Let everything soft inspire you when you are creating art and reflect that softness towards yourself too!
Bonus: Make it Meaningful – Watch the Video!
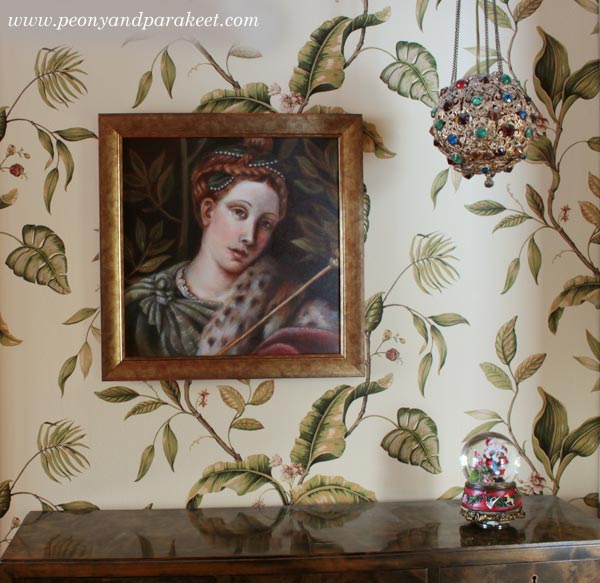
My “Dreaming Salome” is now framed and she has a special place in our library room. I was so happy to be able to finish her before Christmas.
This painting is my first exercise when learning from old masters, but it also has other symbolic meanings. I have made a short video showing the images from the class and how she was painted layer by layer. At the same time, I also explain what Dreaming Salome symbolizes to me.
Learn old masters’ techniques and more!
>> Sign up for Floral Fantasies!
Celebrating Artist Friendships
There’s a theme that has been waiting in my blogging queue for a long time. It’s the meaning of friendships in the art world. I was about to write the blog post but then I thought it wouldn’t be as genuine as a video.
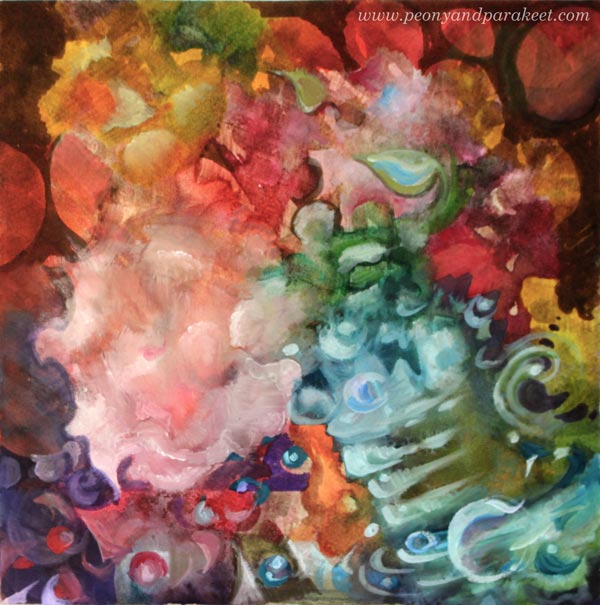
In this video blog post, I create a painting using art supplies generously donated by my student. The supplies are Spectrum Aqua Markers, Dr. Ph. Martin’s Hydrus liquid watercolors and Turner acryl gouaches.
Here are the links to the websites mentioned in the video: a ceramic artist Johanna Rytkola, a visual artist Emmi Mustonen, the stick figure drawing class as a part of Imagine Monthly Fall 2016, a local workshop in Finland “Innostu taiteestasi”
Hopefully, you’ll enjoy the video!
5 Lessons Learned When Painting on a Big Canvas
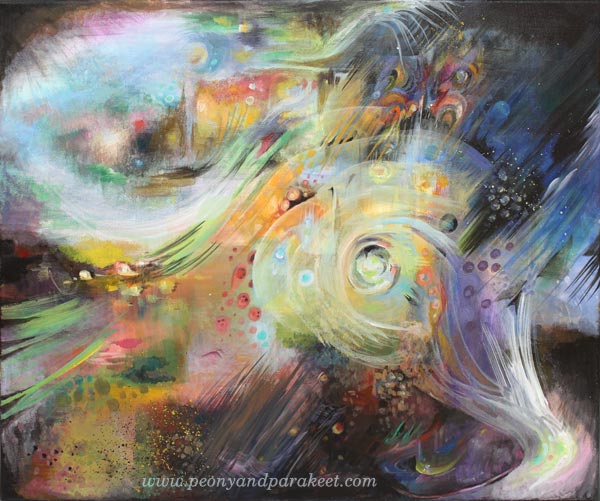
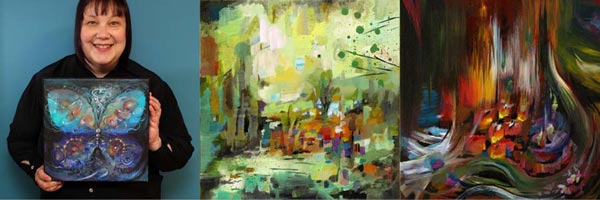
I have now finished my first big canvas painting. It is called “Human Nature.”
1) Smaller Paintings Can Take As Much Time
About two years ago, when I left my day job, I had a dream about creating a big painting. But my job is to teach art, and I don’t have much spare time, so it felt impossible to fit in the schedule. Now when I think about that, I kind of feel that the lack of time was an excuse. I think I was intimidated even by the thought of painting on a big canvas. The usual question raised: “What should I paint?” And then: “How could I maintain my focus for such a long time?” I exaggerated the time that painting would take. I thought it would take months and months. But when I started painting, I realized that I could use broader brushes and be less detailed. If you have ever tried to make small paintings as finished and polished as possible, it takes a long time. Adjusting the details on a big canvas is much easier.
2) Use an Easel, at Least in the Beginning and Finishing Phases
My canvas was not huge. It’s 60 cm x 50 cm (appr. 23.5 x 19.5 inches) Still, it was hard to see the whole painting when it was laid down on the table. I painted parts of the canvas so that it was on the table but set the foundation and finished the final details with the help of the easel.
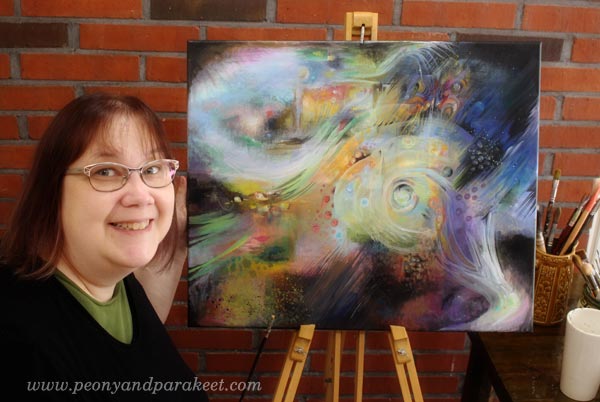
My easel also has sentimental value. My father who passed away a long time ago has made it. He was a skilled woodworker. We didn’t talk much, but I think that making the easel was his way to encourage me to paint.
3) Eat the Elephant One Bite at a Time
I got the courage to start the painting when I realized that I could combine painting with building an art class. My upcoming workshop Nature in Your Mind (do sign up!) has instructions for the techniques that I used. I treated the canvas as my sketching board for the class.
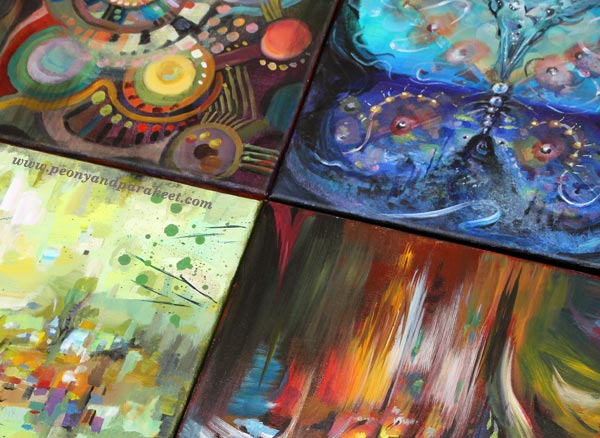
For example, the project for the first week of the class is “Rising Butterfly.” I practiced the techniques on a big canvas and then sought for the easiest and most enjoyable way to create a butterfly on a smaller canvas.
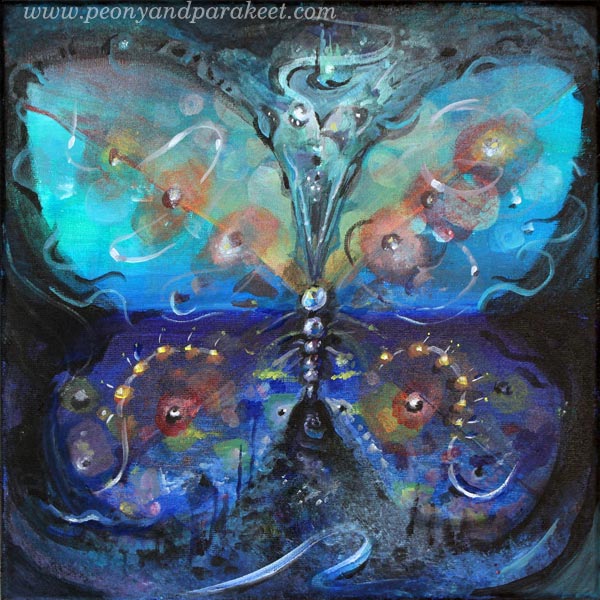
This kind of experimenting transformed the big canvas to my playground. The size was no longer intimidating.
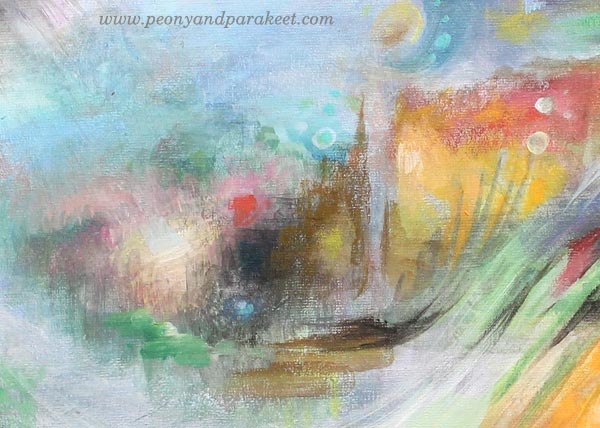
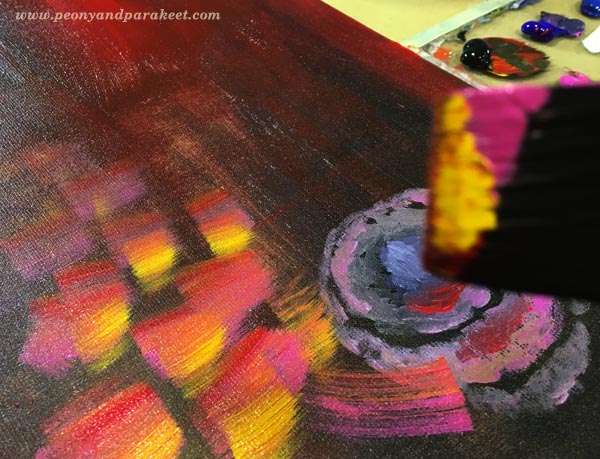
4) Big Brushes are Great for Details
Thin lines, little dots, all look so much better when working with a big brush! It has changed my attitude towards broader brushes. I have started to use them on smaller paintings too.

It was surprising that sharp lines can be so easy with a big brush!

5) Big Canvas, Big Story
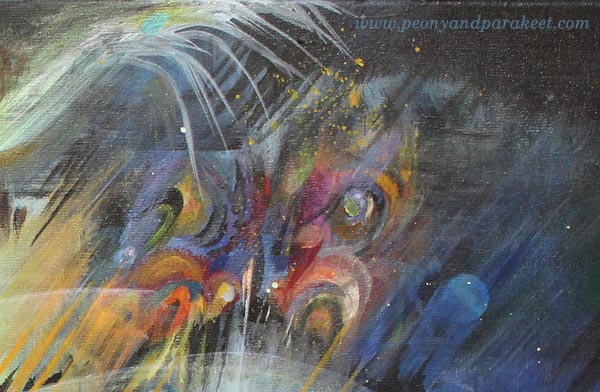
If you have been following my blog for a while, you know that my style is detailed. I know now why I wanted so badly to create a big painting and why I was so intimidated by it. You can express a much greater story on a big canvas. It’s much easier to create images that are like events or scenes on a big canvas. When one detail connects with another, it’s like moving from one chapter of a book to the next one.
My story is about human nature: how we are spiritual beings, have imagination and ideas and are conscious about the circle of life. I doubt if I could have expressed all this on a smaller canvas.
Let me be your mentor in art: Subscribe to my weekly emails!
Four Steps to Finding Your Passion in Art
Sign Up for Paivi’s Weekly Emails and get a free mini-course, Color the Emotion!
I have two painting workshops coming up in October. It’s terribly exciting. It has been an investment in time to create the classes. I have tried to create as coherent, useful, and fun classes as possible, taking all the comments and suggestions into account without losing the focus and the real benefits that these workshops can provide.
Planet Color celebrates color in a 7-step process.
Nature in Your Mind creates a natural connection between the mind and the brush.
Finding Your Passion in Art
This blog post is a pre-session for Nature in Your Mind. With this post, I want to show how much potential and passion you can have as an artist. I also hope that you will sign up for Nature in Your Mind, discover more possibilities and get personalized guidance while having a great time painting!
1) Discover through Experimenting!
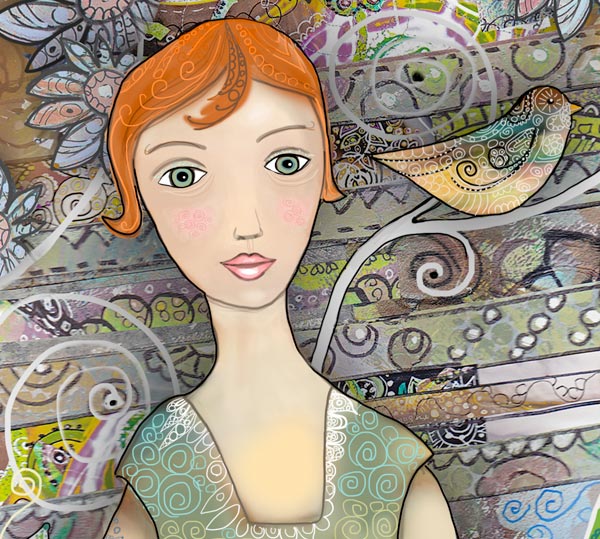
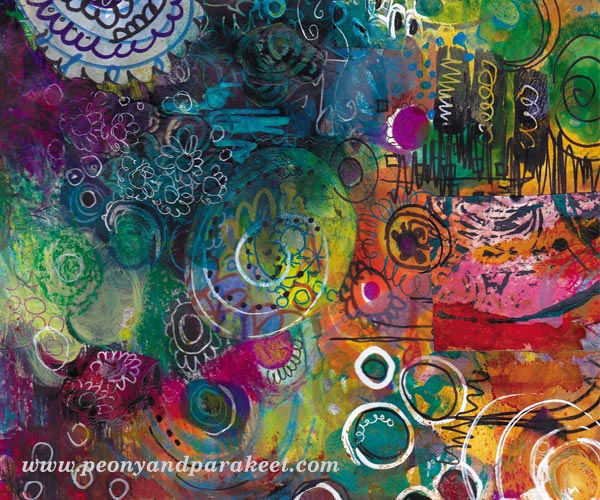
Think about art as an exploration journey! Through experimenting, you can pick ways that feel most natural and enjoyable to you. Just like there are thousands of species of birds, there are many ways to paint. If you use only one technique and one approach to painting, it’s like sitting on a balcony and listening to the same bird every morning. But if you stand up and go walking in nature, you will hear a variety of melodies.
Discoveries happen through experimentation. Try painting with a dry brush, a wet brush, a brush that has thin paint, a brush that has multiple colors, etc. Start painting with one thought and then change your focus to another one. Learn to see the possibilities of an unfinished painting instead of judging it like it’s already finished. Start with safe and easy, and then be open to small mistakes that can show you a new direction. If you weren’t able to mix an even color, embrace the variety of colors, the painterly look, and go to a new path from there.
Three Levels of Experimenting
The way you paint most naturally isn’t what feels most comfortable at first. Staying on the balcony is easy. You can tell everybody that you have this friend, the bird that sings to you every morning. But you don’t know what you miss out if you only stay friends with one technique, one theme, or one way to plan your painting.
My painting workshop Nature in Your Mind contains experimentation with paint in three levels.
First, playing with the way you look at things by changing the perspective in the middle of the painting.
Second, playing with a theme by building abstracts from realistic images.
Third, playing with control by taking turns with controlled and loose strokes.
While experimenting with these, you can pick ideas and techniques that suit the best for you and then start applying them to your art. You can set new goals and see how your art can bring more enjoyment not only to you but also to other people.
2) Listen to What Others Say about Your Art!
Let’s get back on the balcony. I remember the time when I felt totally lost in art making. It was like I had opened the door, but didn’t see any birds singing. I felt alone. But then, I got tips on how to attract birds. I drew and painted what I saw other people do, too. I felt like I had company but still, I felt limited. I was one of the many who had the same bird singing on the balcony. Sometimes it even felt like we were competing with whom the bird would sing the loudest.
The situation changed when I started listening to what other people say about me. I expanded my attention to how my art affects others. I found many comments extremely useful, even if the person was a family member, a blog reader, an art teacher or anyone who saw my art. First, there was just a word or two that I could grab. When I felt like I was following a path that was hardly visible, I found asking follow-up questions beneficial. I asked: “Why did you like this picture?” or even “Why didn’t you comment on anything?”. The comments led me to strange places. But as I continued, my images changed, the voices got louder, and I heard more birds singing.
But I wasn’t quite there yet. I hadn’t found what would personally resonate with me. After trying to see the big picture from people’s comments, I understood why we read horoscopes, click through personality tests, and search for our personal style. We try to see our originality – where our talents truly are.
3) Accept That Your Flaws Can Be the Best in You!
I used to beat myself up for being too demanding, a perfectionist. I blamed myself for not being good with routines either. To get through the mundane work, I have reinvented the wheel too many times. My husband has found the perfect way to make a bed and fill the dishwasher. I have found many different ways, and I am in search of more.
But a couple of years ago, I made a test that described how other people see me. The test said that my ability to invent unconventional ideas, make new interpretations of old things, and always aim for the highest standard attract people the most! That’s probably the reason you are reading this blog. I have become more open with the worst in me, which, in turn, has inspired me to blog more and create more. Sometimes the best things in us seem ugly to ourselves. However, authenticity attracts people. Our black can be pure gold to others. Our black can be like soil for the flowers that we can grow from there.
4) Find Your Real Reason for Creating and Put It Into Words
When people ask me why I create, my first answer is: “Because I need to.” I need to have time for balancing my life, be able to reflect on what has happened, and get energy from creative activities. But the answer doesn’t help me when I am staring at the blank canvas. I need a higher reason to create images that feel meaningful to me. I need more than some inspiring Pinterest boards to connect emotionally with my work. I need a direction, a statement that defines when I have succeeded and what I am passionate about.
I used to have a hard time evaluating my pieces. Some looked ok, but there was something missing. Others were clumsy and awkward, but I felt connected with them. I wanted to create unique pieces and still be as good as anyone creating with the same style. I wanted to make my personal version, but I didn’t have a clue what to include and what to exclude. I wanted to express myself, but still, play to be someone else. I wanted to escape, yet seek the truth. I felt I had to focus and limit myself, but at the same time, I wanted to be free when creating. It all felt controversial.
My solution has been to find the words that describe the real reason why I am creating. It’s surprising that the words have been the answer because the problem seemed to be visual only. I think that our left brain has to understand what our right brain wants to express. It’s like after naming the birds, you would hear them better. Whatever I create, I have the same focus. It’s not a theme, it’s not a style, it’s the emotional connection that I want to make through whatever I create.
My Artist Statement
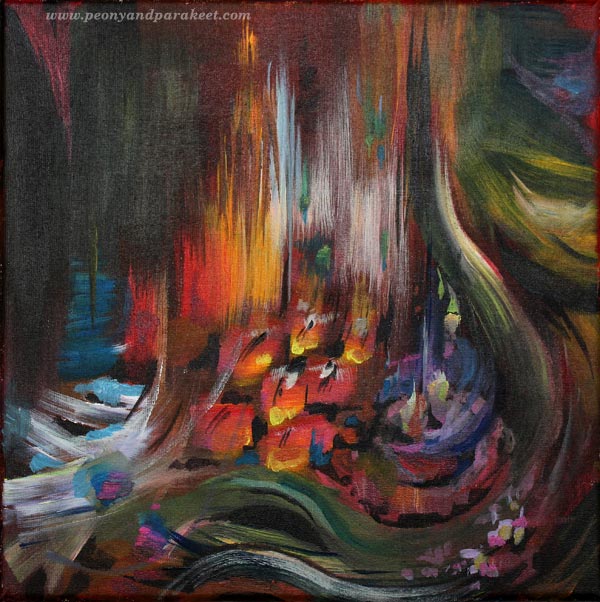
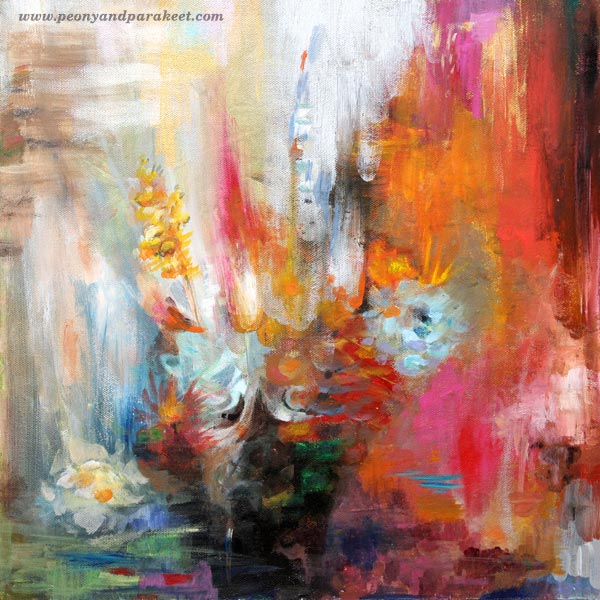
In my art, I want to console people. I want to express grief and sorrow, blacks and browns. But I also want to show the power that is more joyful, and that comes in with brighter colors. I want my paintings to have the atmosphere of places that make you connect with your spirituality. I am inspired by churches, libraries, museums, and special places in nature. I see spirituality as an uplifting, timeless force that has no specific religion. I hope that even for a short moment, my art can be your icon, the image that connects you with your spiritual self. I wish that my art brings you hope, no matter what your source of melancholy is. I wish that the images inspire you to overcome darkness, and even more: to go and create yourself.
When you have your inspiration in words, nature in your mind is a happy place. When you hear the birds singing, you can pick the melodies that resonate with your mission. You can choose techniques, compositions, and colors that you feel most naturally aligned with. You may not always succeed, but your mission makes you continue creating. Instead of looking for the perfect technique, the perfect style, the perfect theme, search for what is behind all that! Search for the mission that makes creating art most meaningful and inspiring to you! That is the real reason why you paint, and that’s also the key to finding more passion for creating art.
I want to help you not only with painting techniques but also with your passion.
Sign Up for Paivi’s Weekly Emails and get a free mini-course, Color the Emotion!