
Make Samplers to Save Bits and Pieces

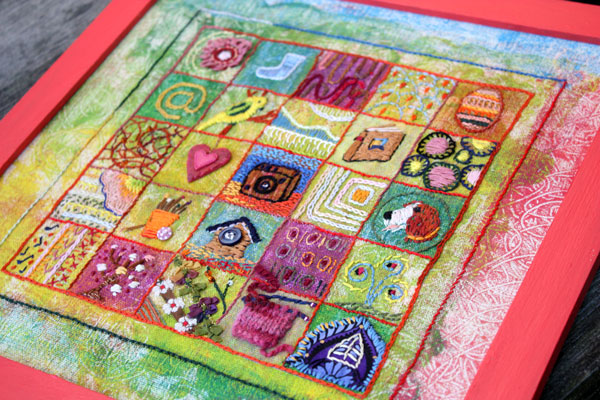
My sampler madness began when I found an unfinished embroidery project. I had started it two years ago on an online course called Happy-Go-Lucky Stitchalong. It was led by Amy Powers and the goal was to embroider a sampler showing all the things that make you happy.
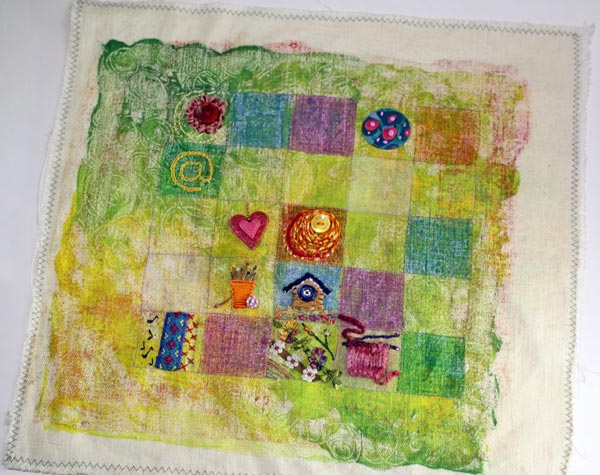
It was only a two-week course and I got some more squares done than what is shown here but there was still plenty to go. I had dyed the fabric with monoprinting method and quite liked it. I was not happy with all the embroidery that I had made but I felt compelled to finish this project. The embroidery floss I had to finish this looked so tempting!
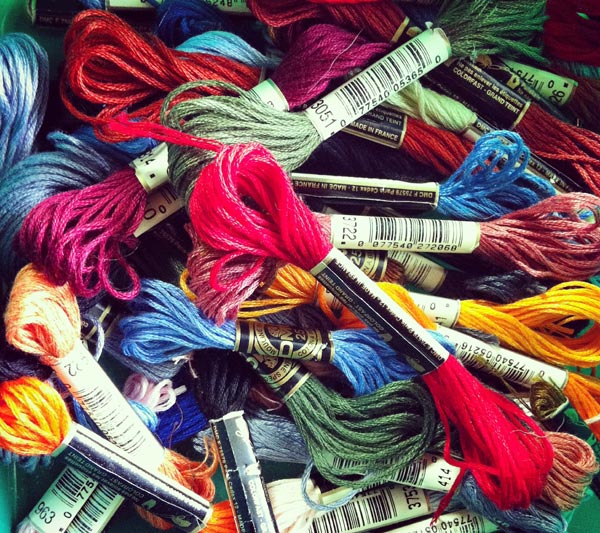
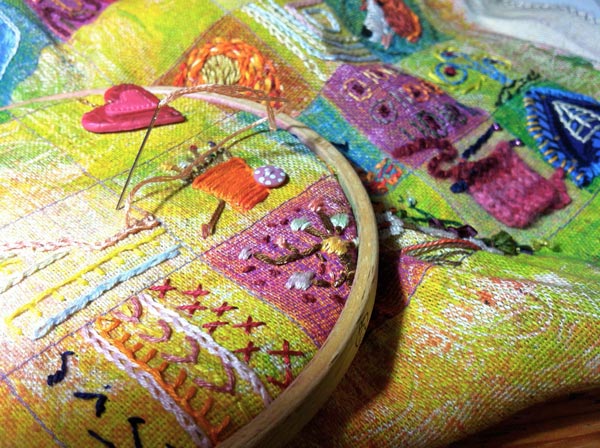
So I began to work little every day for a couple of weeks. Some of the squares were remade and some were complemented with extra stitches.
In the end I added some more details to the background fabric using the same method than in the beginning. By using a glass plate and textile dye I was able to prints some more color and doodling to make the result even more interesting.

I painted the frame with bright coral red to create an athmosphere of hot summer days (which I love and which are all too rare in Finland).
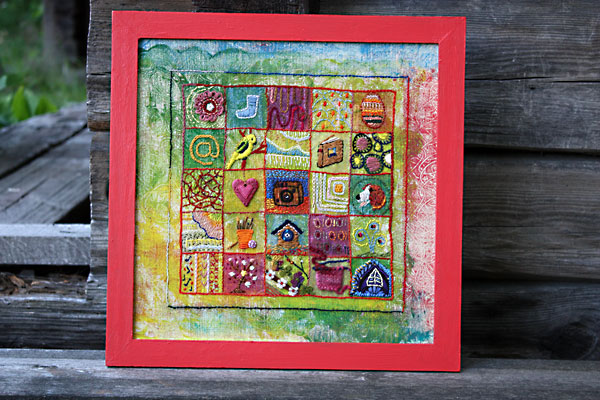
I am pretty happy with the finished piece. Can you spot a peony and a parakeet there?
While stitching the sampler, I was thinking about samplers in general. They can be really handy of saving things. Even virtually! Isn’t Pinterest like a big sampler too?
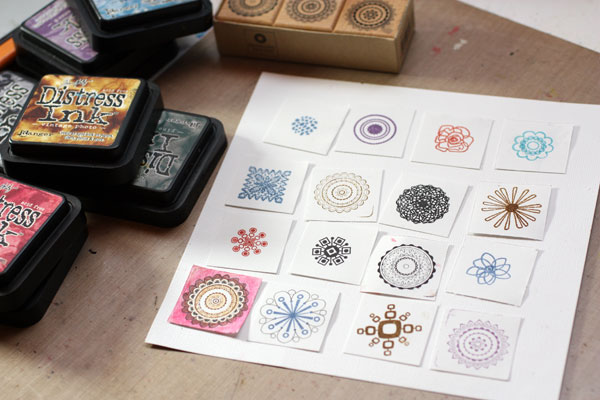
I chose not to spend an extra hour at Pinterest but make a stamped sampler showcasing some of my favorite stamps.
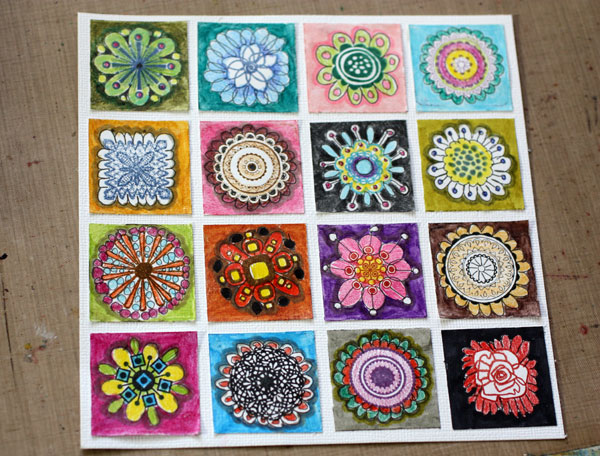
Folk style suits well to samplers so I decided to make a sampler that reminds me of folk costumes. I doodled around the stamped images to get extra details. Then I colored them with colored pencils and markers.
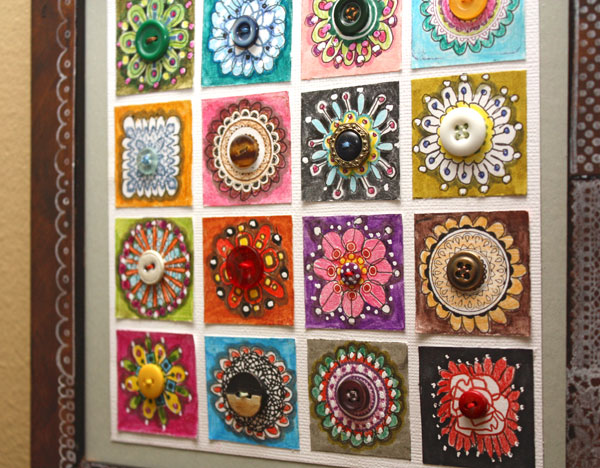
Thinking of folk costumes, I got the idea of adding buttons in the middle of each square. They all had to be different, of course. That way they would repeat the idea of a sampler too.
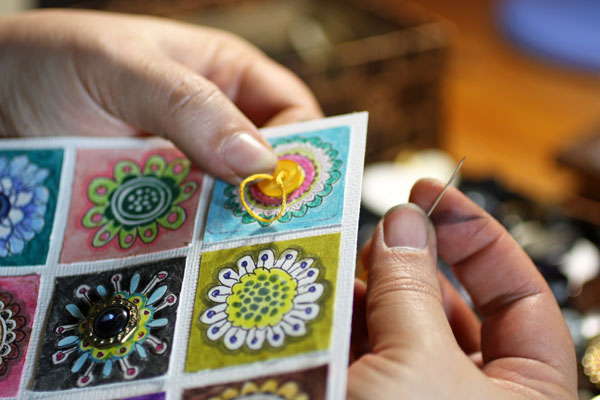
Before sewing the buttons I had painted the frame with faux antique paint. Many folk costumes use a lot of lace and ribbons so I picked all the stamps which were like them. Luckily I had so many that I was able to use each once and get the decoration around the frame.
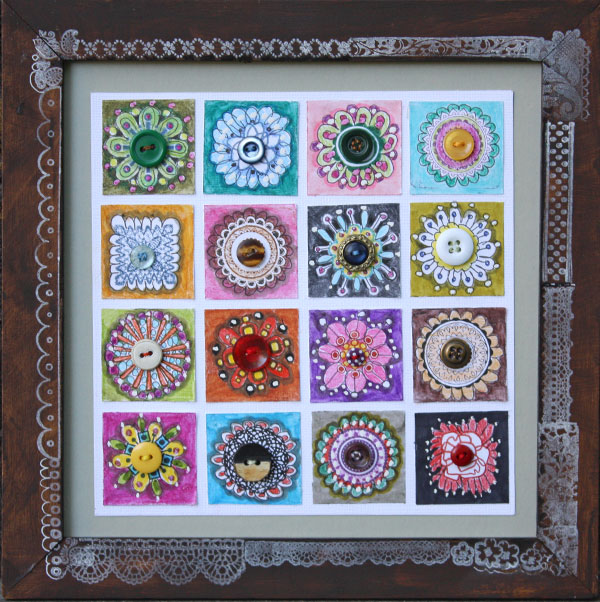
While making this sampler I got the idea of a sampler made from handdecorated papers. Wouldn’t it be cool to have an art journal page showcasing the scraps of papers? Or just coloring and drawing 9 squares while on vacation, one per day and then gather them into a sampler. Or giving each family member a square … The possibilities are endless!
Let me be your art teacher: Subscribe to my weekly emails!
Inspired by William Morris
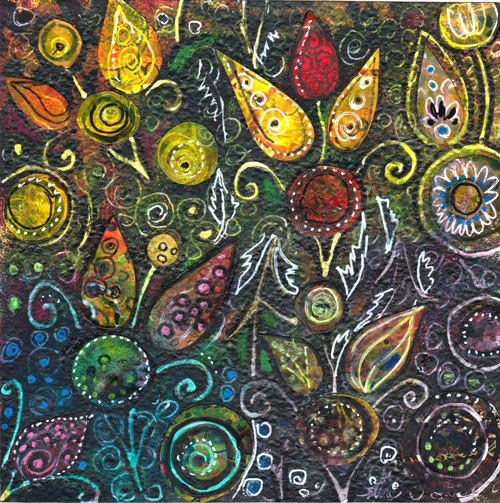
As a big fan of art nouveau and arts and crafts pediod, it may not be a surprise that I adore William Morris designs. Our home has William Morris curtains in two rooms. I love how detailed and decorative elements are combined to create repetative patterns in the two fabrics.
 The little collage of this post was created after browsing some of the old William Morris designs from a book. I wanted to express the beauty of repetitions without creating absolute symmetry. The dark colors in the background change to shiny yellow to give the expression of hope and warmth. William would have used perfect symmetry and more muted colors. I tried to compensate my lack of technical skills by adding self expression.
Being too self-critical is not a good thing. It stops us doing what we really love. I know I cannot be the reborn William Morris. However, in my imagination I can go back in time and pretend to be his apprentice!
Art Nouveau Houseplants

I love my houseplants and many of them appear in this collage. Its style is a mix of art nouveau and the 1960s. It is the result of staring some art nouveau tiles and the works of Birger Kaipiainen. Namely, not too long time ago I went to see Birger Kaipiainen’s exhibition in Espoo, Finland.
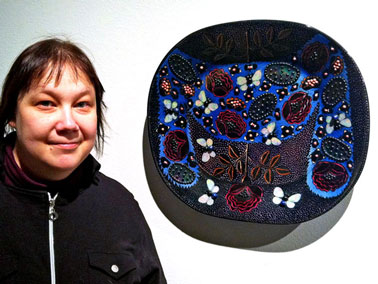
This decorative plate was one of my favorites. I love the way the artist used textured surfaces to show off the details. And I have always loved ceramics, one of the favorite materials that I like to think of when making art. I am constantly inspired by materials and I try to imitate them by using inks, markers, and other supplies.
Creative Process
I took some photos of the phases when making the collage.
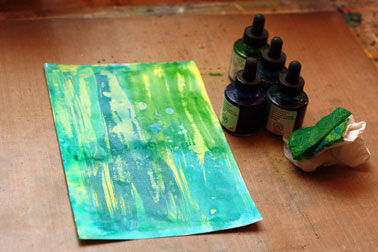
I began with india inks.
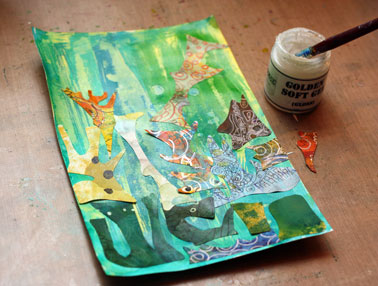
Then I randomly added some cut pieces of hand decorated papers. In the beginning, I work very systematically but for a while, I start to get impatient.
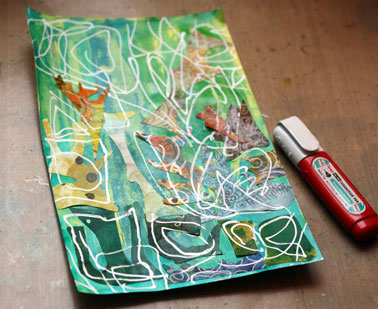
I have reached the point where I want to do something crazy. This time I just made a mess with a correction pen!
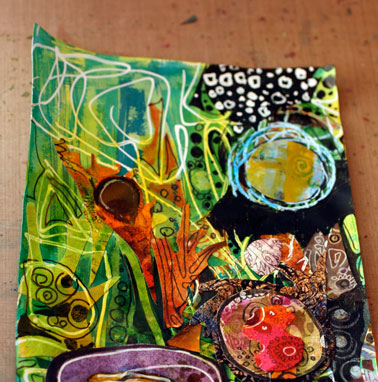
I added collage pieces and doodled with markers. Then I decided to add black acrylics to add contrasts. Looks pretty awful but I do not mind. It always looks terrible at this point.
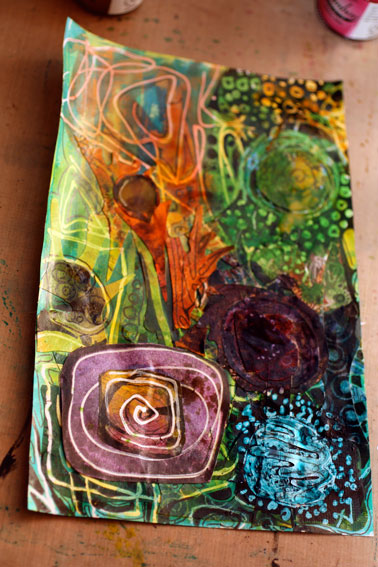
India ink looks great over white doodles.
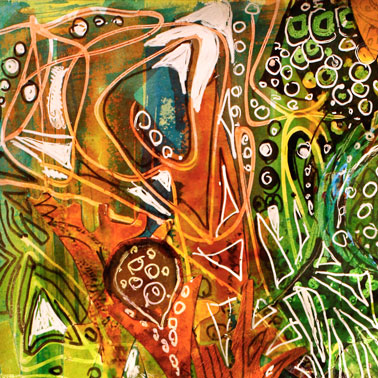
Here’s a detail of the finished work. I love to use thin markers, it is like sharpening a blurry image!
Let me be your mentor in art: Subscribe to my weekly emails!
A Decorated Box Using Mixed Media
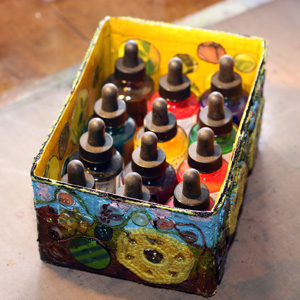 Trash can become a treasure
It was only a small cardboard box but I wanted to take it to the extreme. There’s something extremely satisfying in taking trash and treating it like a treasure. Many times when I draw I miss working with 3-dimensional objects. This time I wanted to enjoy playing with the box and use all its’ sides. Mixed media was the driving factor here too.
Preparation
First removed all the extra tapes from the box surface. Then I covered the box with white gesso. It would give colors better background than brown cardboard.
Inside
I painted the inside panels yellow. It is one of my favorite colors and I often use it when I want to add light but do not want to do that with white. As you may know, I am not a big fan of white!
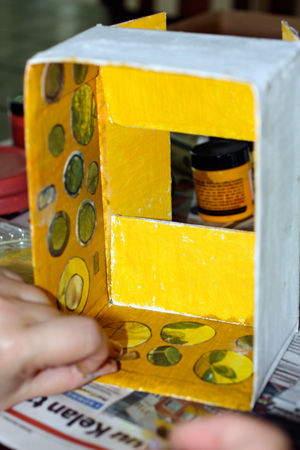
Plain yellow surface looked little bare so I added some collage elements. These were made by coloring pages from children’s books with color pencils and then randomly cutting circles from the colored areas. I glued the circles with gel medium.
The bottom of the box needed something different. I decided to crochet a piece that would fit inside the box. I began with a small square and crocheted around it using a couple of colors. Finally I finished the pice by embroidering a flower.
At this phase the box reminded me about the sunflowers in the end of the summer. Then I began to decorate the outside of the box.
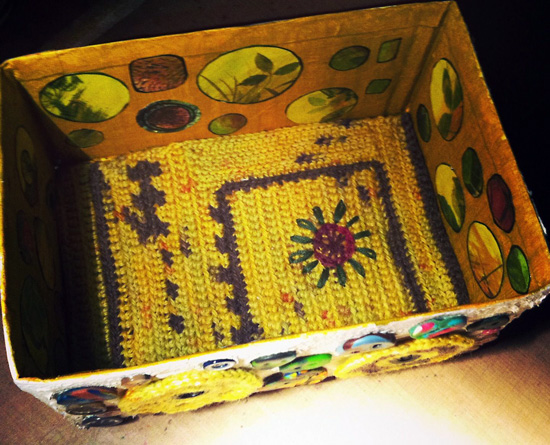

Outside
I continued with crochet. I made flowers and a long chain which I used in the outside bottom. It feels great to lay the box onto the table when there’s soft wool in the edges!
The I wondered how to attach the decorations like the crocheted flowers and various buttons to the outside edges. They were pretty heavy. Golden Fiber Paste was the perfect stuff! It created the textured surface and attached all the little pieces securely.
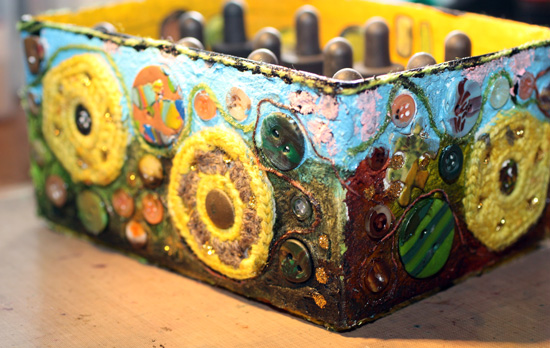
The end result is unusual looking but perfect for my indian ink bottles!