Intuitive Coloring Explained + Extended Black Friday Sale!
This week, I have a new free video for you, inspiration from my drawing classes, and there’s also an extended Black Friday Sale going on! Exciting!
Extended Black Friday Sale – Shop Here!

All classes are 25% OFF!
Now is the time to get the classes you have been thinking about!
>> Shop Here!
The sale ends on Nov 29, midnight PST.
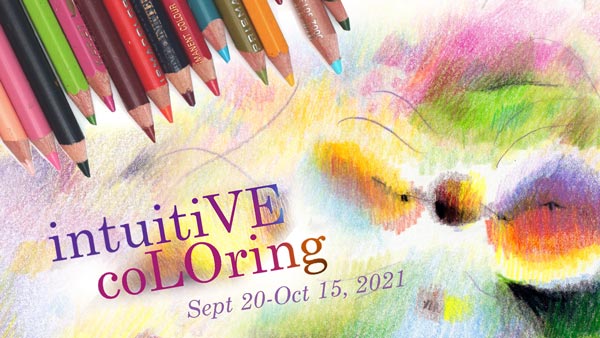
Intuitive Coloring Explained – Watch the Video!
This video is an excerpt of the live speech that I gave for my art community Bloom and Fly this month. It introduces a fresh way to think about drawing and coloring. Lots of art-making inspiration is packed into this 6-minute video!
The classes mentioned in the video – Intuitive Coloring, Inspirational Drawing, Animal Inkdom, and Magical Inkdom, as well as all my painting classes – are 25% OFF during the extended Black Friday Sale. >> Shop Here!
More Inspiration from My Drawing Classes
The longer I draw, the more things come together. Not only so that I find more inspiration from the individual previous pieces, but also so that they describe a world that’s lively and ever-expanding. I also feel that my classes are like doorways to building a world of your own.
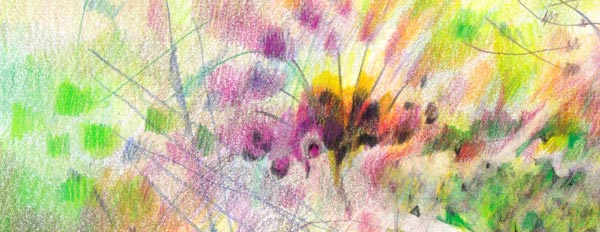
In Intuitive Coloring, we travel from one meadow to another lesson by lesson and play on the way.

In Animal Inkdom, we start with little creatures and the animals get bigger lesson by lesson.

Insects and butterflies are simple to draw, but decoration makes them look fantastic!
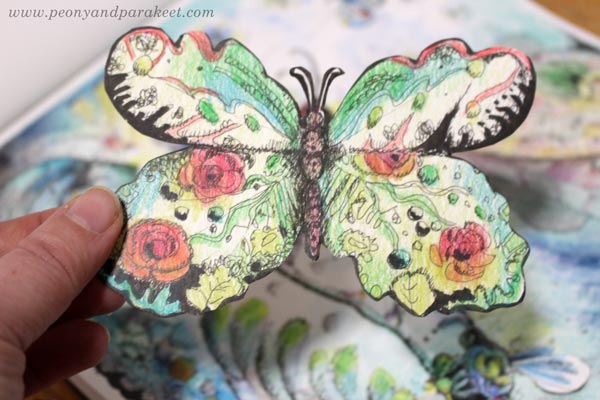
Animal Inkdom is one of my most popular classes, maybe because it’s so playful! I had to edit out some of the laughs and smiles because I had so much fun drawing these that it would be a bit disturbing! And after Animal Inkdom, I couldn’t stop, but made an independent sequel – Magical Inkdom!
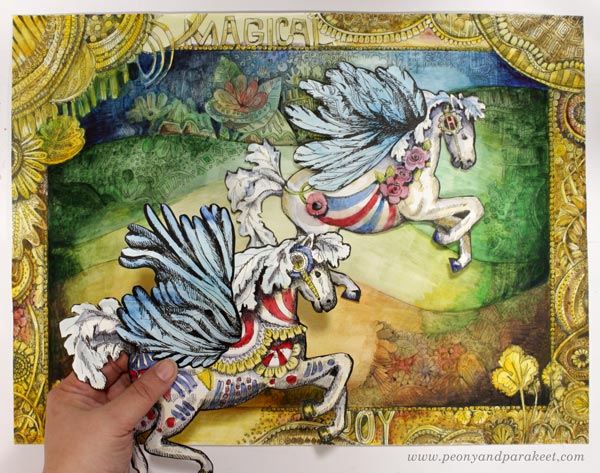
Art is a journey, so combining previous work with the new one, has often made me see new possibilities.
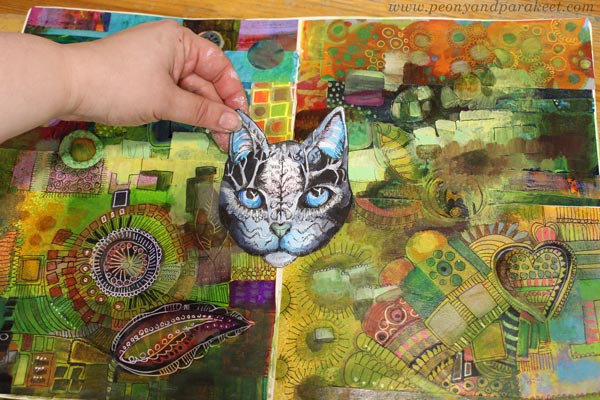
Inspirational Drawing is based on doodling and creating meshes from lines, but also on picking inspiration from images. I still collect inspirational images and use them indirectly in this way.

All Classes Are 25% OFF!
Now is the time to get the classes you have been thinking about!
>> Shop Here!
The sale ends on Nov 29, midnight PST.
Colored Pencils Revisited – A Story Behind Intuitive Coloring
This week, I have a personal story about my newest online art class Intuitive Coloring.

In 2014, I made a business plan to quit my day job. My goal was to teach online art classes, and I listed titles that sound funny now, like “Colored Pencils Revisited.”
I presented the plan to a local business advisor. Even if she didn’t know much about teaching internationally, she felt that I should do it.
“If you fail, you won’t fall from high,” she said,
referring to my modest list of investments and expenses.
Starting small is a beautiful thing. To gather what you have and mix it with something new. To revisit what mattered once and find a new intuitive way to do it again.
Revisiting – What Mattered and Still Does
As a child, I ran a craft shop in the attic. I remember the excitement when I heard my sisters on the steps and the satisfaction when my sister held a simple crochet chain and said: “Oh, Paivi, this is so long that it should be priced higher,” laying much more coins on my hand than expected.
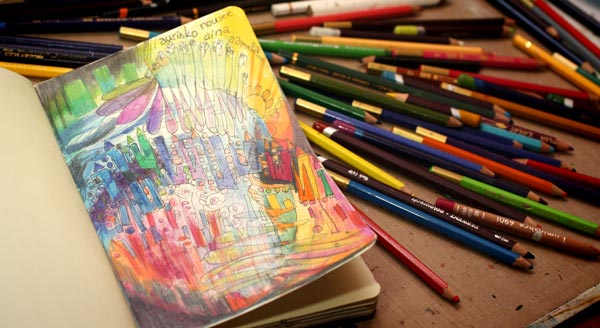
I also remember the joy when my mother had just sharpened colored pencils. They were in a small open plastic box and ready to be picked. Many of them were too short to go to the sharpener, so my mother had used a knife. She did that weekly because the pencils got used all the time.
I guess Intuitive Coloring could also be called Colored Pencils Revisited.
With the pencils, we will revisit the inner attic and connect with what matters.
It’s a small risk and a small investment, but still, something that can start small and grow bigger.
Intuitive Coloring will begin on Monday, Sept 20. Sign up now!
Pick your pencils and come to color with us!
>> Sign Up Now!
75 Ideas in an Art Journal – A Flip-Through Video
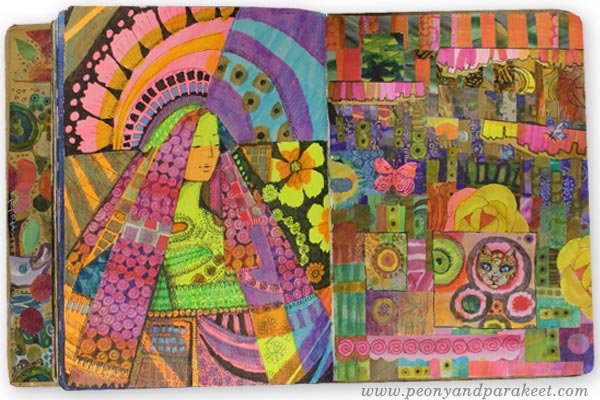
My second large Dylusions Creative Journal (affiliate link) is full now, and I made a video of it for you. It’s not just an ordinary art journal flip-through, because I find many of them boring, but this video has 75 creative prompts and inspiring additional clips where you see me making many of the pages.
Dylusions Creative Journal – Thick but Durable
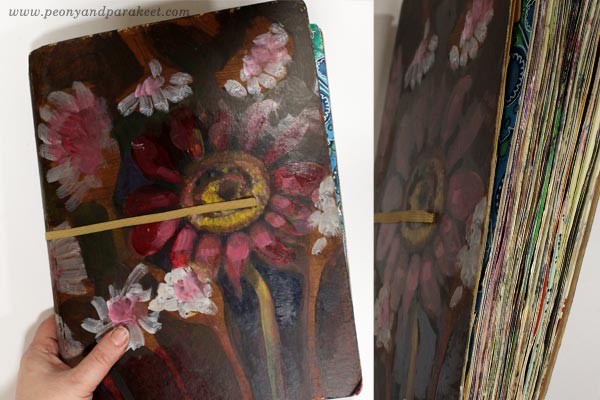
This journal is very thick, but the book is amazingly durable. I recommend Dylusions Creative Journal for all who love to create collage art and paint thick layers! The paper works quite well with watercolors too. It took nearly four years to fill 66 spreads of letter-size paper. It’s not my only journal though! It feels a bit strange now when this one is full. I might buy the third one in the near future!
Art Journal Flip-Through – Watch the Video!
Want to see more? Here’s the flip-through video of the first journal!
Draw with me! – Subscribe to my weekly emails and get a free mini-course!
Doodler’s Sampler Step by Step
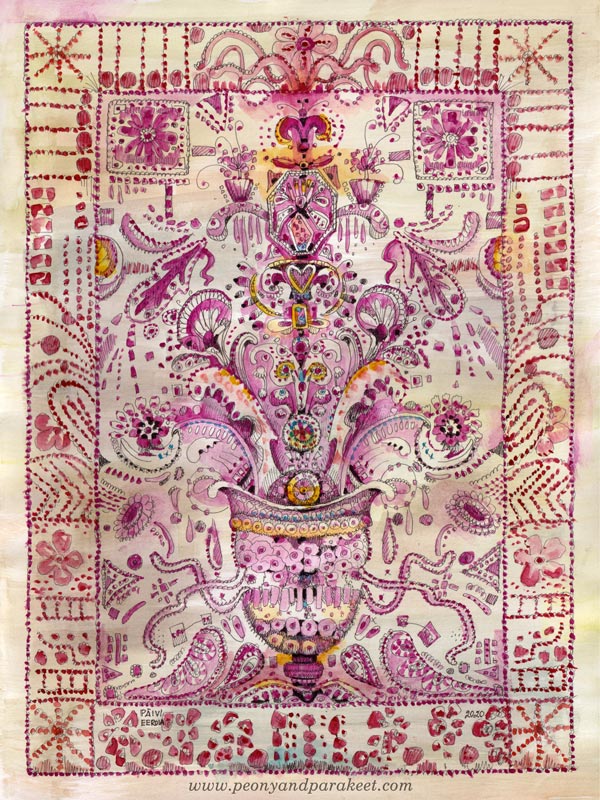
I have always loved antique embroidery, and it inspires my art too. This week, I invite you to treat your pen as a needle and doodle the look of the precious hand-stitched fabric. My drawing – I call this Doodler’s Sampler – is 9 by 12 inches but you can make a smaller or bigger piece with these instructions. The best paper for this is Bristol paper. It’s smooth and nice to color with watercolors.
Step 1 – Draw a Grid
Because we aim for ornamental stiffness, a grid helps to place the elements. Use a pencil so that you can erase the lines before coloring. Start by outlining a space for a frame. Then divide the rest of the paper so that they help to place the main elements.
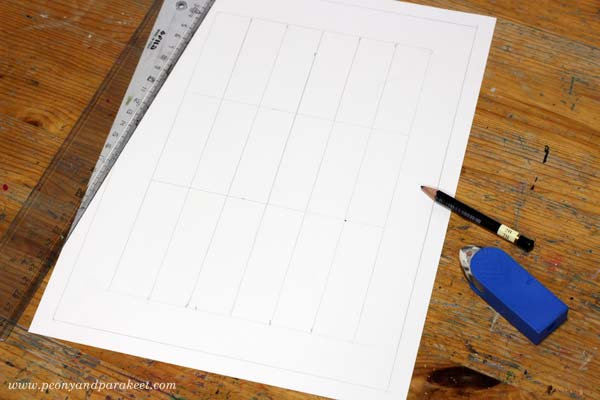
I wanted my Doodler’s Sampler to be symmetrical, so I drew a vertical centerline, and then divided the two halves into three parts. Another idea that I had was to have a vase of flowers. So I drew horizontal lines that mark each third, and the lowest third is reserved for the vase.
Step 2 – Sketch the Structure
Old samplers are filled with decorations but at the beginning, it’s enough to sketch the places for the biggest elements and their shapes.
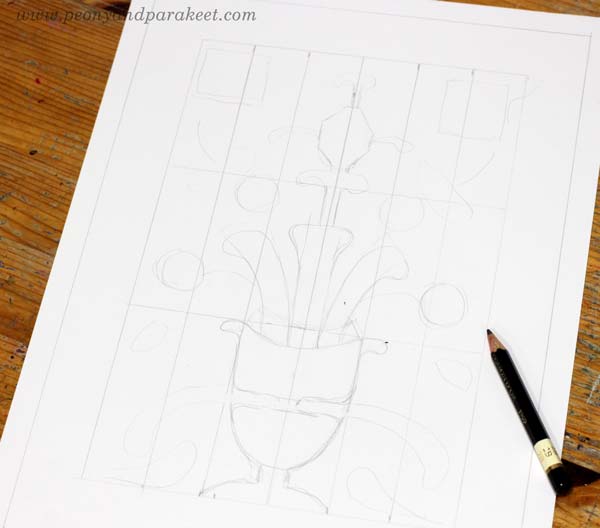
I wanted to have something rectangular on the top corners, the vase on the bottom, plant-like organic shapes coming out of the vase, and then an angular jewel-like thing on the top of the ornament.
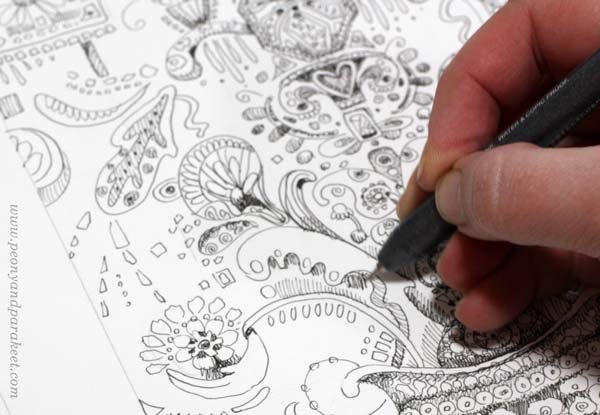
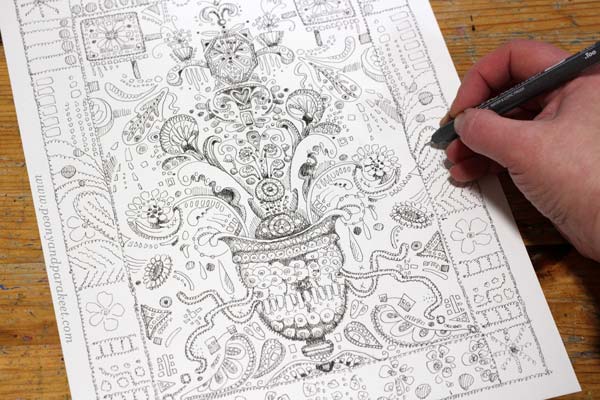
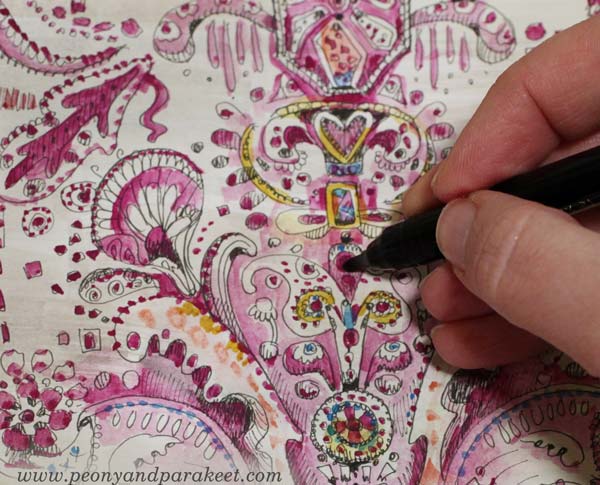
Step 3 – Doodle and Decorate
Pick a thin-tipped drawing pen, that has permanent ink, and start doodling! Make more shapes and fill them with circles, rectangles, flowers, hearts, anything you can think of!
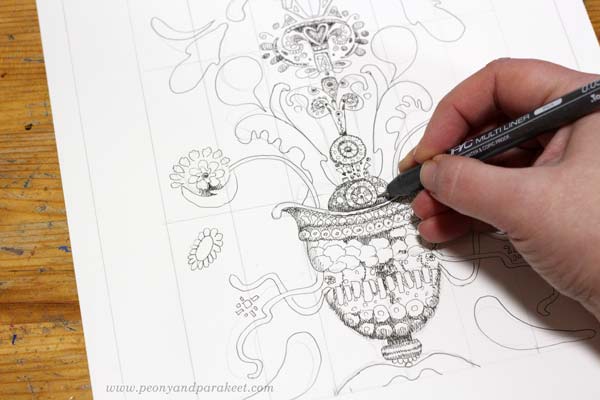
My pen is Copic Multiliner, tip size 0.05. I add shadows to my doodles so that they don’t just outline the shapes but there are darker parts too.
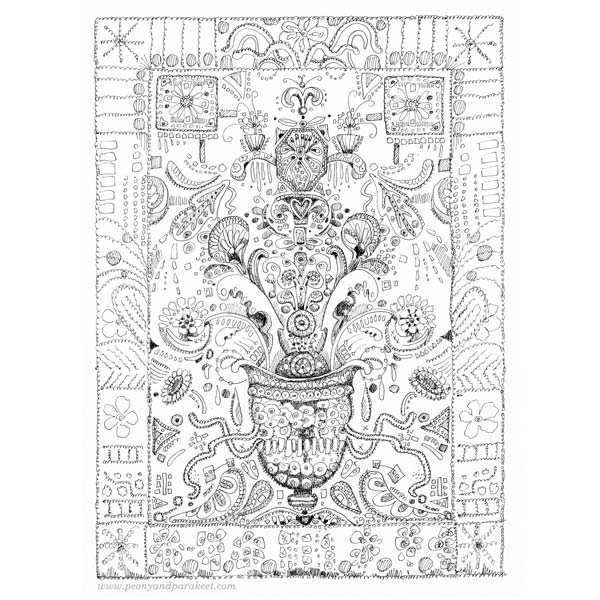
I make the decorative border simpler so that it doesn’t take the power away from the centerpiece. Trembling lines look more decorative than straight ones.
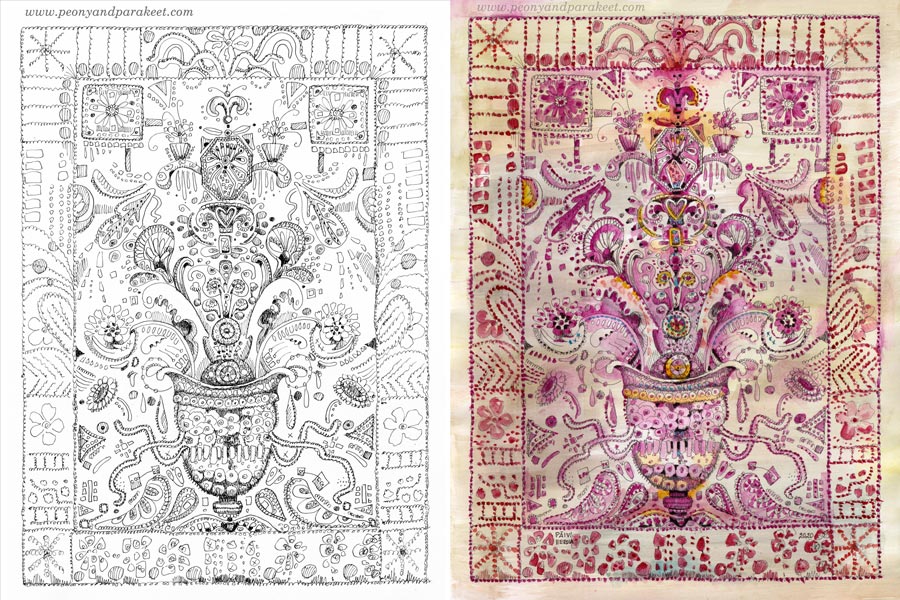
Here’s my Doodler’s Sampler after Step 3, ready for coloring.
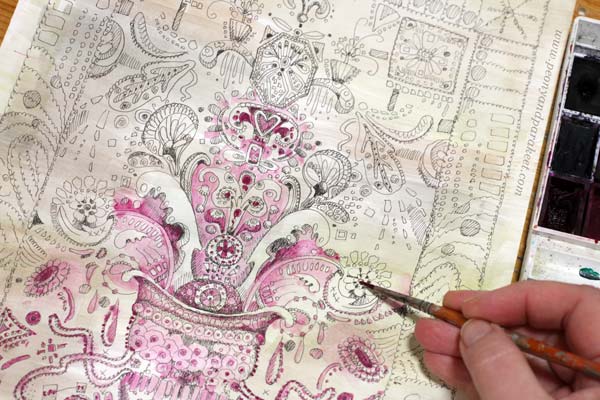
Step 4 – Color the Background
You can use any supplies for coloring, but in my opinion, the softness of watercolors complements the sharp black lines best. Start the coloring by adding some color to the background.
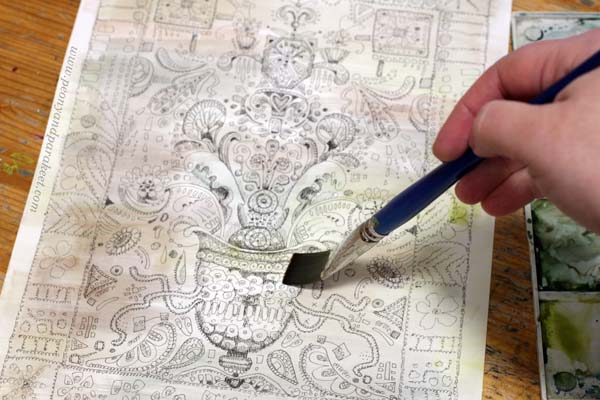
I use very little pigment and many tones so that the background looks like old antique linen.
Step 5 – Color the Doodles
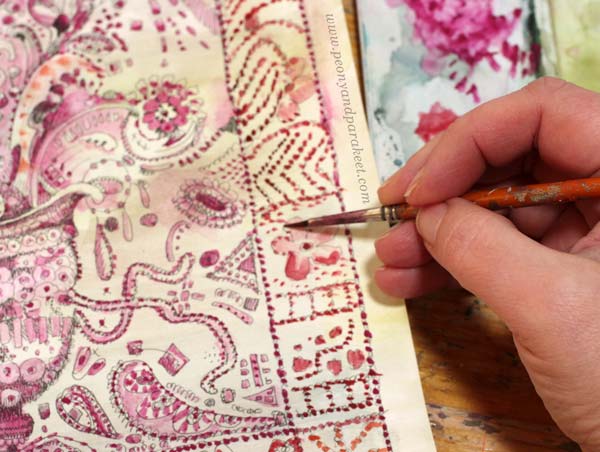
Pick one main color for the sampler. My choice is cool carmine red. When coloring, add more decorations like dots and other decorative shapes. You can also color around a shape instead of inside the shape.
Pick slightly different tones for the frame. I use warmer red and a little bit of orange.
When you have colored the sampler with a very narrow color scheme, make it more lively with some new tones.
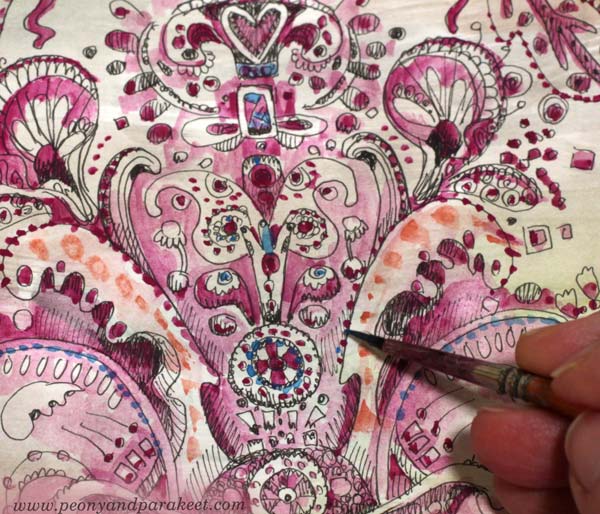
I added blue and yellow, but very sparingly.
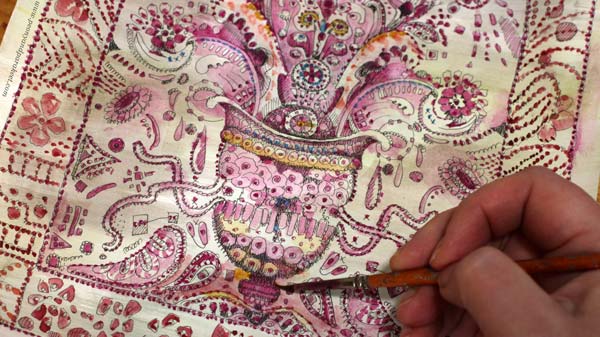
You can also highlight the main elements by making the darkest areas pitch black.
Here are the black and white version and the colored version side by side. Click the image to see it bigger!
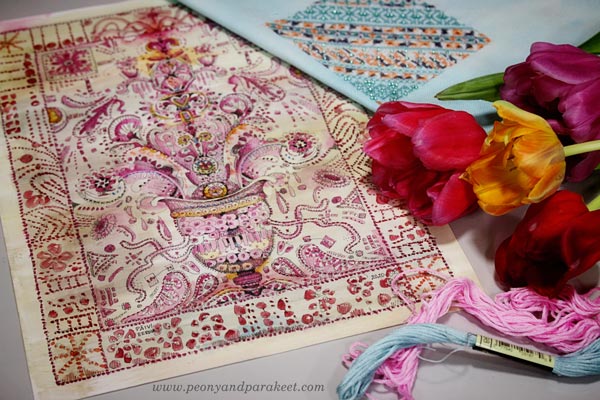
Doodler’s Sampler – For the Love of Flowers and Hand-Stitching
Henri Matisse has said: “I don’t paint things. I only paint the difference between things”. I think that to me, it goes like this: “I don’t paint things. I only paint the similarities between things.” So here’s for the love of flowers and hand-stitching!
Draw more with me – Check the courses Animal Inkdom and Magical Inkdom!