
Art Is Freedom

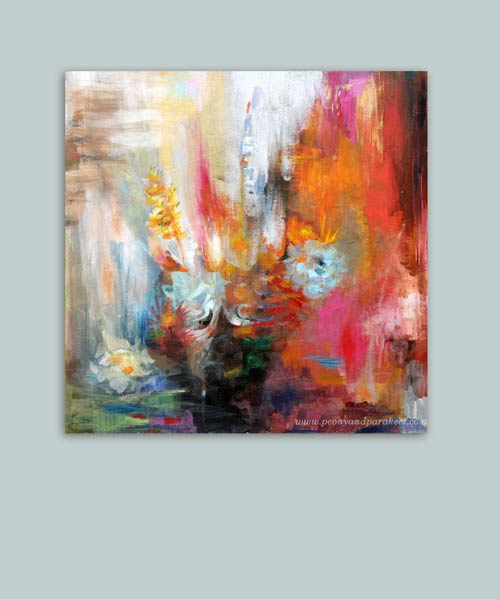
After working against deadlines and taking care of finishing touches in the recent projects, I got a strong urge to experience and express freedom. So I decided to stretch my style by painting something that would not be so detailed. No pens this time, just acrylic paints.
Freedom for the Left Brain
I always get clarity by organizing. This time, I felt I needed to re-organize my working area. I removed storage boxes from the table and picked up only those supplies I was going to use.
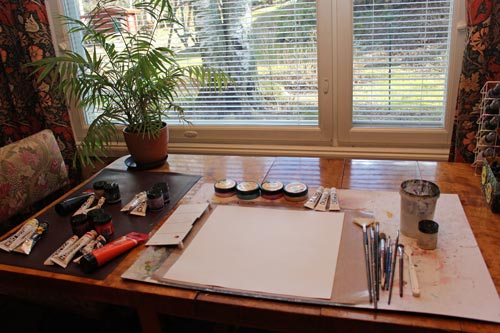
Notice the grouping of paint tubes! I spent a lot of time putting each in their place.
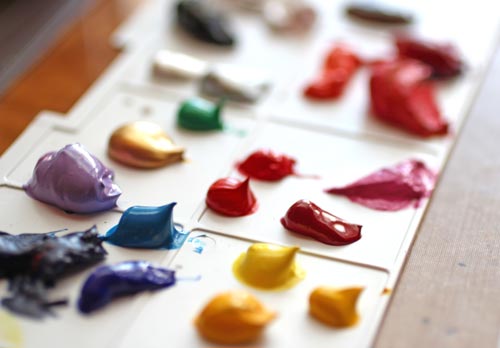
I carefully squeezed each tube of paint to have all the colors ready to be mixed. While doing that, I thought: “THIS is freedom!” Taking time, working slowly, isn’t that the greatest luxury?
Freedom for the Right Brain
I turned the music on. The blank canvas paper was quickly filled with muddy colors. Then I took a sponge and made long strokes. Following the music is a quick way to get the creativity going.
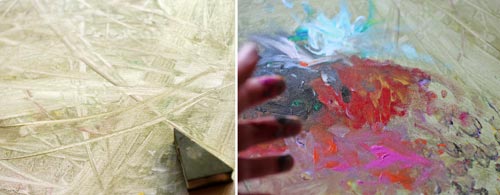
Next, painting with fingers! No boundaries, getting messy, what a great feeling! After a while, I was ready to continue with the brushes.
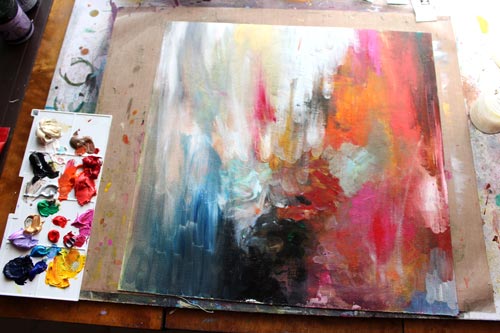
Freedom can be experienced in many ways. This is what I often follow: Setting up the rules, then breaking them, then acceptance. In the last phase, whatever comes on canvas is okay.
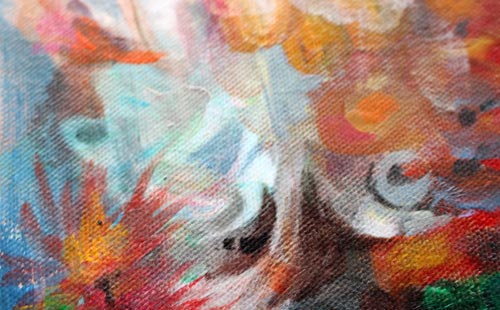
If I listen to music, the painting will often change as the song changes. As a teenager, I used to play the same song all over again to maintain the style of the painting (must have been an agony for the rest of the family to listen to that same song for hours!) Nowadays, it is only exciting to see what will follow when the rhythm changes.
Tips for Freedom
My tips for experiencing freedom:
1) Once you start to paint, instead of gathering all the art supplies, limit what you will use. Think: “These are the only supplies that I have.” Even if it is not true, it will make the commitment stronger.
2) Listen to the music you have not heard before. It takes you off from routines. You can also play a mixture of songs that are all different and new.
3) Observe your thoughts while painting. Those crazy ideas that you normally kill – let them live this time! Be aware that your most intuitive thoughts come up and disappear quickly. Practice self-acceptance so that you will notice them!
Subscribe to my weekly emails – Get a free mini-course!
Why Paint Intuitively?
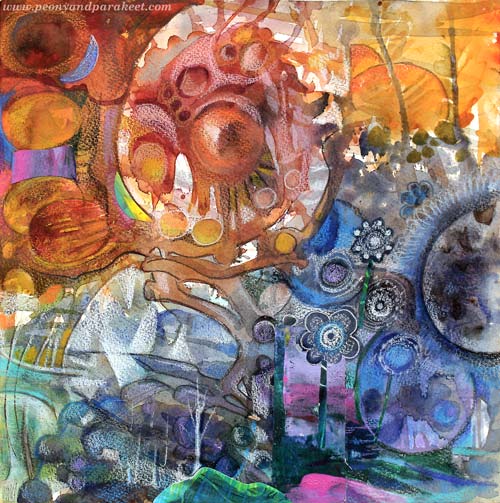
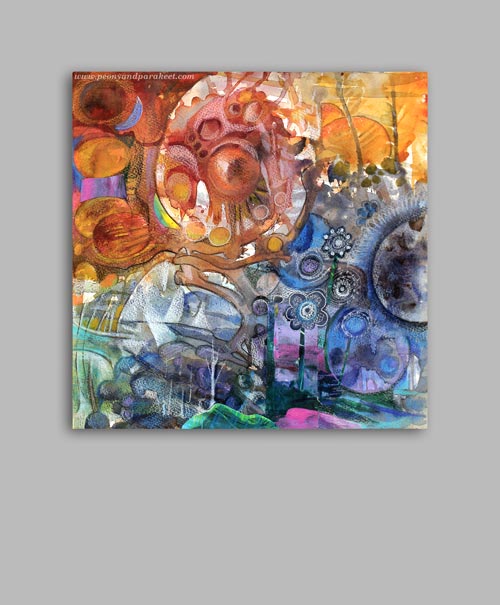
I have created this artwork using my intuitive painting methods. I had a busy week with many deadlines. Now, on Friday, when I stared at the blank watercolor paper, I felt that working in fast pace had disconnected me from my feelings. But then, this has happened many times before, so I just followed my tricks to get the painting on its way.
In most cases and especially when life gets busy, I choose to work intuitively, meaning that I do not plan the end result. My idea of fully experiencing art is to plan the process, but not sketch or otherwise pre-imagine the end result. I recommend this approach to everyone – at least once in a while. Why?
1) For once, you will let your creativity decide.
For many, this is rare: setting rationality aside. While living a busy life and organizing everyday chores, it is not so easy to suddenly start performing creatively. If your creativity never gets to decide, it might not have anything to say anymore.

When you paint intuitively, you can do against all those dont’s and won’ts that you keep hearing when your rationality is speaking. I find this kind of disobedience and freedom refreshing. It also brings balance to life.
2) You will use colors more creatively.
I often hear people saying that they need to learn more about colors. I used to wonder what it would be – color theories? In the end, there’s not so much to learn to get some results, even if you studied the master of colors Josef Albers and his color theory. But after working with colors and teaching the use colors, I get it: many people use too little variation in color. Color areas look more alive when they are not even. They can also contain controversial and muddy tones; it just makes the bright tones pop.
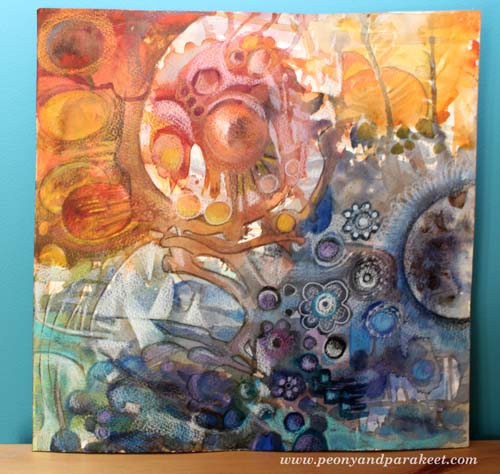
When you start painting intuitively and do not aim for a certain result, you will more likely get colors mixed together. At the certain point, like me when making this artwork, you might want to decide what your painting represents of. But then your grass will not be green, and your sky will not be blue. (Actually, here it’s vice versa!) Furthermore, there will be much more to look at than big even color areas or evenly spread, individual, same-sized elements that our rational side is so fond of.
3) You will find a fast route to your own style.
After you have practiced working intuitively, you will begin to see similarities in your work. You will get to know the little things your creative side loves. From those, you can start building your own style! Many people think that if they gather images that they are especially fond of, that will make them find their style. But 100 Pinterest boards is nothing compared to practicing intuitive painting. Why?
Because your style is not defined by the things that you love at the moment. First, our desires are often affected by trends and general aesthetics, among other things. Second, we easily admire things that might have some resemblance to our style but tend to take it too literally. For example, I admire very simple graphic patterns. Still, my style is far from that. Someday, it might develop to that. But at the moment, the essence of my art is somewhere else. It might be my love for textiles that trigger the appeal for those graphic shapes.
Paint intuitively, paint naturally!
In the perspective of intuitive (meaning natural), it would be totally wrong to rationally copy the images and then be disappointed not being that good. When you paint starting from your inner world, you will find your own unique ways to self-expression. You will also be able to develop your style in line with the continuous changes that happen in your life.
The intuitive approach also makes painting fun and exciting. In the end, that’s what using creativity is essentially about!
Experiment by using a step-by-step process!
>> Buy Watercolor 101 for Intuitive Painting
More Time, Better Art?
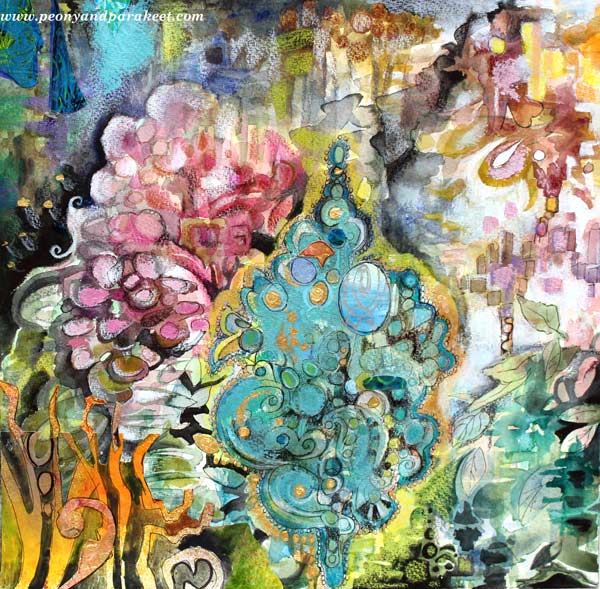
This artwork was inspired by Rococo, the 18th-century-period style with curves, asymmetry, gold, and ornaments. When I think of Rococo, I think of time. How long did it take to sew those elaborate women’s dresses? What about the porcelain table clocks, how many people, how many months did it take to get one finished and working?
The time we are living now is totally different. Not that I want to spend half of my life embroidering one chair. But I cannot help thinking: sometimes we create quantity but not quality. We get frustrated with our lacking skills and weak artistic vision, but often, there’s a simple solution: time. So, instead of creating three pages in a week for your art journal, make one!
Creativity needs time. The first thoughts are often the least innovative. When we take time to dig deeper, we reach not only frustrations but also new solutions.
Working in Short Periods of Time
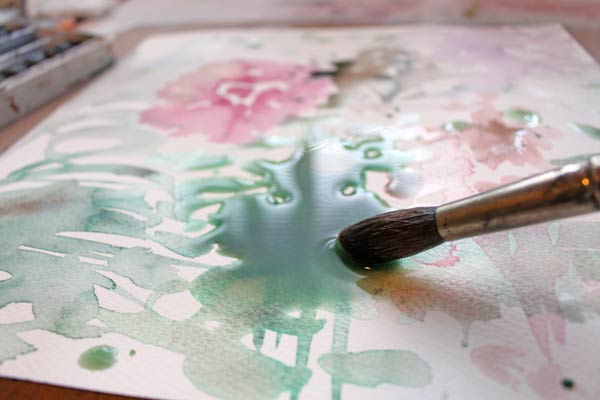
I used to have a difficult time working in several sessions. I wanted my work to be finished in one go. Leonardo da Vinci certainly did not have problems like that! He spent over ten years painting Mona Lisa. Of course, he did not dedicate all of that time to one painting; he did other things too. But he let his subconscious work during the breaks. So I did da Vinci – while waiting for the watercolor to dry, I engaged myself in other activities.
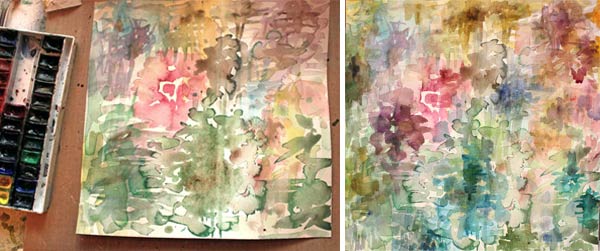
I built the foundation for this work with several thin layers of watercolors. Then I worked with colored pencils and watercolors to add details. A small flat brush is my favorite when adding details with paint.
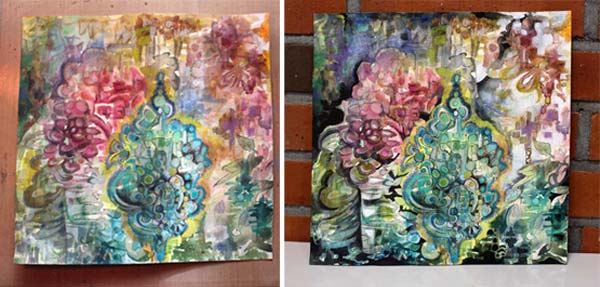
Some might call it finished at this point, but I wanted to add tension and interest. As this was about Rococo, some shimmer seemed appropriate!
Rococo Glitter!
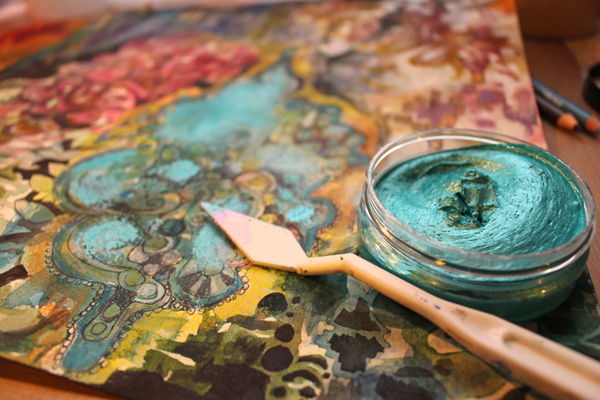
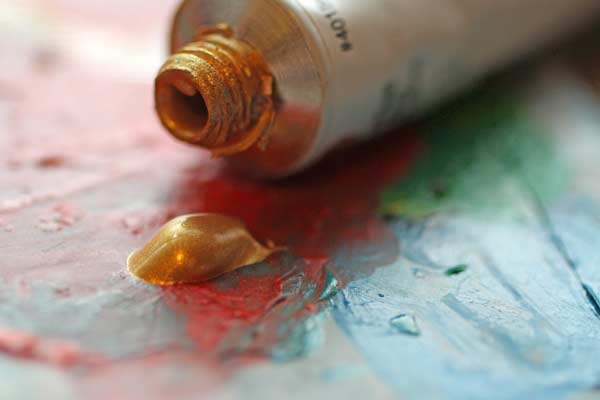
I have a few jars of Inka Gold, beeswax-based metal paint. They seemed just right for this artwork. And speaking of Rococo, some gold would be appropriate too. I love Golden brand’s gold acrylic paint.
Finishing
Some hand-decorated papers added richness and variation. Then I continued completing the tiny details.
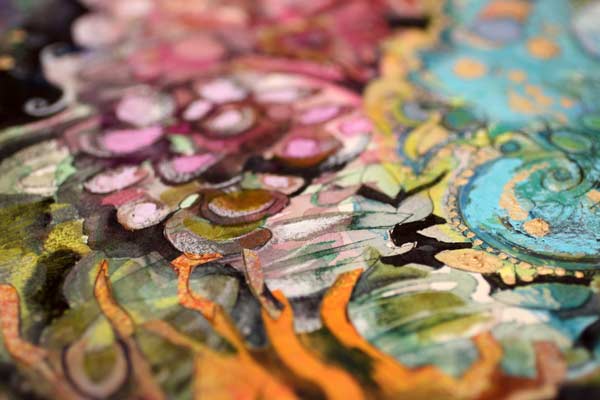
The size of the artwork is 12 inches by 12 inches. It took about three days from start to finish.
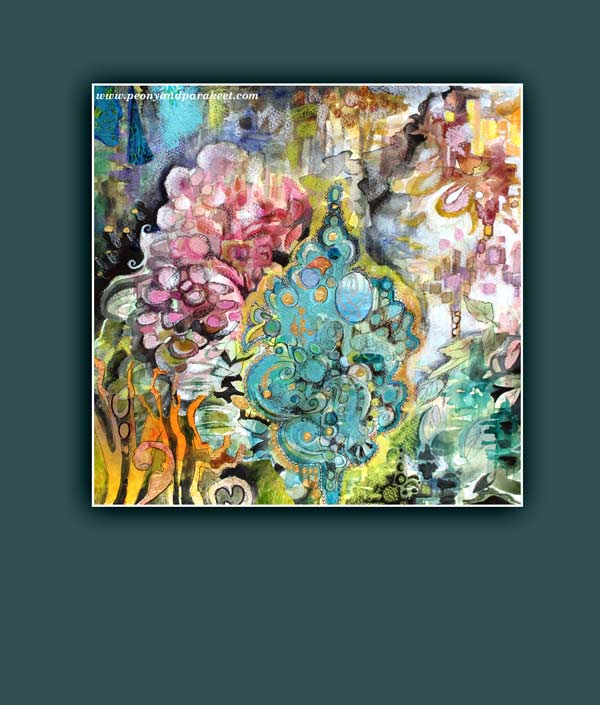
The quality of one artwork cannot be measured by the time the artist spent with it. Great art can be born quickly when skills and creativity meet. But on the other hand, if you want to improve your art and increase your creativity, why not focus on one artwork for a bit longer time.
What do you think? Can you make time work for you?
Let Unconventional Inspire You

You know I love beautiful and decorative things. But the more I create, the more I feel that creating art should be expression first, aesthetics second. This watercolor collage is called “Leftright Wrongright” and it is about how sometimes the old wrong and unconventional can be the new right.
Rubber Stamp Art
If you think of experimental and avant-garde, would you ever consider using rubber stamps? In that context, they are the most boring thing. They are the absolutely wrong choice when you want to create unique and advanced art. But as my mission was to express how wrong can be right, I just could not resist taking the risk and using them! I painted the background with watercolors and then started stamping.
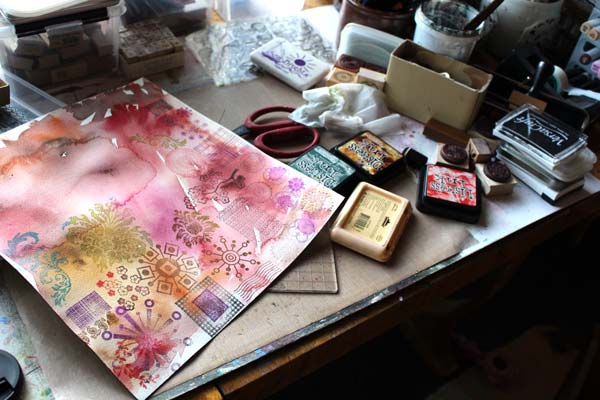
I only stamped once with each of the stamps. That way they were seen as individuals, not as a bunch of clones. I have used this principal before too, see Can Rubber Stamping be Art and Make Samplers to Save Bits and Pieces.
Watercolors
Watercolors are my trusted friend. They make the best backgrounds but also, they make rubber stamps look much more interesting. After the whole background was covered with stamped images, all different from each other, I added water and brushed the water-based ink to blend with watercolors.

With the big brush, I doodled this and that thinking fierce fully about destruction and bravery.
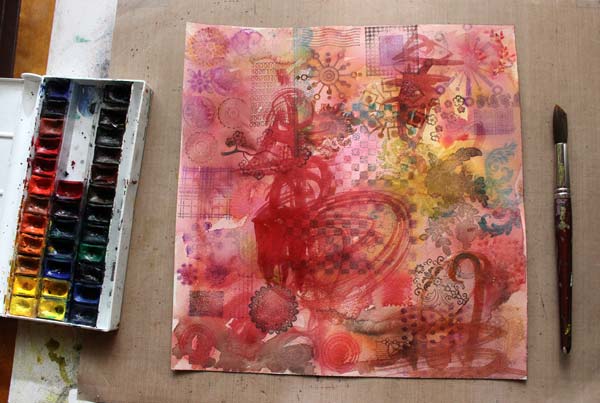
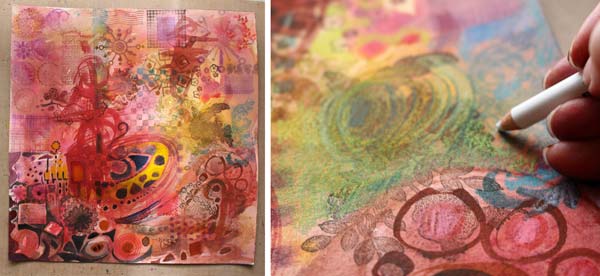
With a smaller brush, I added details and enhanced them with colored pencils.
Imitating Rubber Stamps
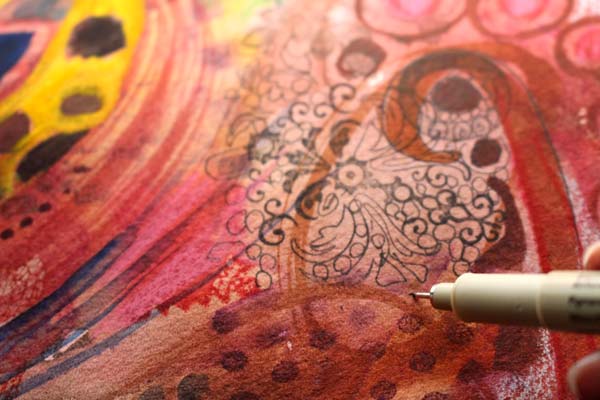
To make the stamped images even more individual, I added hand drawing to make few of them bigger and more handmade. A thin drawing pen is great for imitating rubber stamps that have delicate details.
Finishing
When I worked with this artwork, it became clear to me that the final touches are crucial here. I should not only do what I usually do but add something that is against the rules, disrespectful even. First, I doodled with a white gel pen and let the doodling look a bit dreadful. Then, I grabbed a piece of paper, painted red and yellow with heavy acrylic paint. The unsophisticated color and the clumsiness of the shapes when I cut it made it look so wrong.
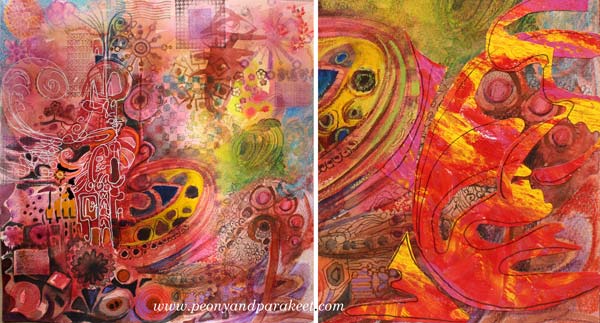
But I finished this artwork with a new attitude. As I wanted to express that sometimes we need to do things that make us feel uncomfortable, I needed to break my ordinary rules. I added few rough elements without over-decorating them. They are the wrong that makes the right spin. They make me ask: do right and wrong exist at all when creating art? If we think that unconventional is wrong, are we denying the true power of art and where it can take us?

Hopefully, this inspires you to add something wrong to your art, and make it right!
Let me be your art teacher: Subscribe to my weekly emails!