Happy Holidays with Video Artwork
This week, I have a video artwork for you. Here’s how the background story goes:
Far away in an unknown land there is a crazy chapel. Your imagination is this chapel. When you’re there long enough, you can see anything, and experience anything, and some of it leaves a mark on your heart and thus on your art.
Art is born when you deviate from the paths and go alone to scary places. When you say: “That bench is just an inanimate object,” but still see it breathing. When you say: “These ornaments are just decorations,” but still see them dancing. Then time goes in a direction you don’t recognize, and you can’t control everything that starts spinning in your mind. This wild and crazy imagination is the source of both creative and spiritual life.
Crazy Chapel – Watch the Video Artwork!
I made this video artwork “Crazy Chapel” digitally step by step. The music was improvised on the iPad. The shapes were drawn in the Blender 3D modeling program. The movement and the generation of the shapes were programmed in C# programming language. The code and the shapes were put together in the Unity game engine. The introductory texts and the recorded scene were combined in the Da Vinci Resolve video editing program. This year was special to me, because I not only drew and painted, but also created animated art. (See more of how I make these animations: From Painting to Digital 3D – Video 1, Video 2)
Happy Holidays!
With the video artwork “Crazy Chapel”, I want to wish you happy and relaxing holidays. There are many ways to create, let’s celebrate it during these holidays!
P.S. This blog will be on a break for a week, but will be back after New Year.
P.P.S. I have often publiched a video greeting near Christmas. For example, check the video “Dreaming and Painting at Christmas” from 2015!
Watercolor Flower Obsession
This week, I have a fun video for you. In the video, I create a watercolor greeting card and talk about my obsession with painting flowers.

The card is A5 in size, so about 6 x 8 inches and I have painted it on watercolor paper.
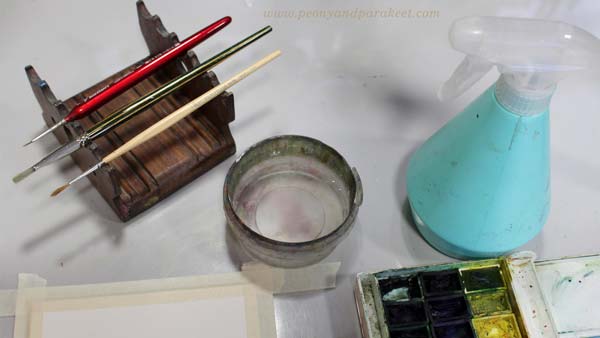
My smallest brush is very narrow and I could have coped with two brushes. In the course Freely Grown, we use the similar process, but finish with colored pencils, so it’s much easier than working with tiny brush strokes.
Watercolor Flower Obsession – Watch the Video!
In this video I confess how goal-oriented I am about painting flowers but also talk about the importance of play.
This video has a lot of material, you may want to watch it more than once to see them all! Also, here’s the link to last year’s greeting card, watch that video too!
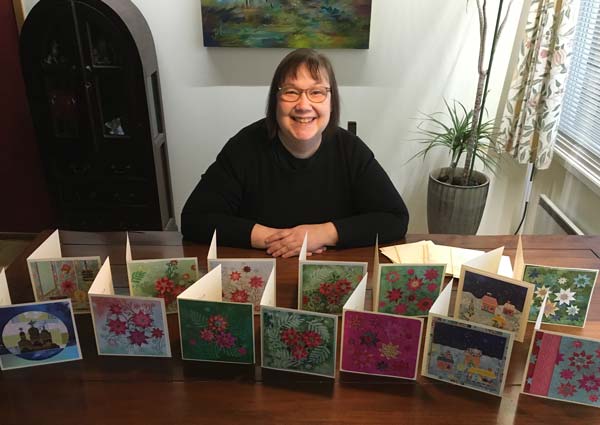
Boutique of the Heart
In the video I talk about a boutique that’s not a commercial thing at all, vice versa:
“I believe that we can create the best boutique out of our own art. Imagine your workspace as a paper shop where you sell hand-painted cards, bookmarks, hand-drawn stickers, patterned papers – everything that is already art as such, but from which you can look for inspiration for bigger works. I have even come up with a name for this kind of personal shop. It’s Boutique of the Heart. There’s only one customer in the Boutique of the Heart – you, and one seller and manufacturer – you! The longer you keep the shop, the more you learn to love the things you draw and paint yourself.”
My message is that the essence of art is in play. Thus no matter how high you want to reach, you can still create art with a playful attitude and have your Boutique of the Heart. I know there are art instructors that solely focus on the techniques and those who are about fairytales and imagination, but I feel I am something between. I want to create art with people who want to move forward in art-making, but who also love imagination and free expression.

We can have obsessions, but there should always be time to play too.
What do you think?
Joyful Flowers with Watercolor Pencils – Watch the Video!
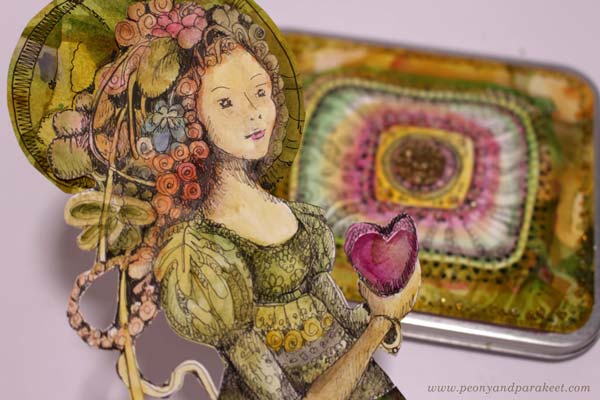
This week, I have a free video where I create these joyful flowers with watercolor pencils. These are inspired by fabric prints and are more motif-like than many of my colored pencil pieces. I love this kind of playing with style.

This is a small piece, just 8 x 8 inches. It’s colored freely with watercolor pencils on thick drawing paper.
Joyful Flowers – Watch the Video!
In the video, I talk about finding inspiration for art-making and tell stories about things that have affected my style. I just read abstract painter Darby Bannard‘s quote:
“Inspiration doesn’t follow style, it creates it.”
It made me want to share my thoughts about inspiration and style. I also wanted to create something colorful and cheerful that is not realistic, but more design-oriented. These joyful flowers were fun to make. After drawing the joyful flowers, I made something small to add to my boxes of joy. You can see that little flowery thing in the video too. Watch the video!
This video is a little longer than I usually post, but I personally like to watch long videos, and maybe you do too?
Joyful Coloring
My newest course Joyful Coloring teaches a color-oriented approach to watercolor pencils.
Start with blank paper and create freely with joy and sunshine! >> Buy here!
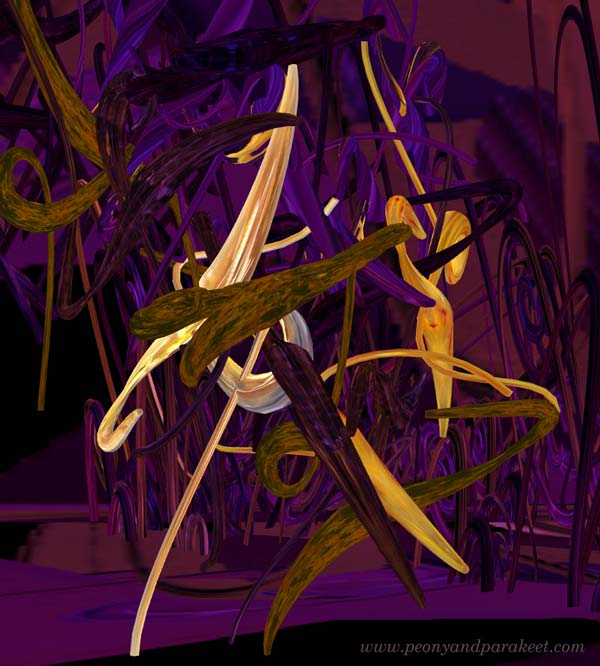
Painting by Programming – Modern Vanitas
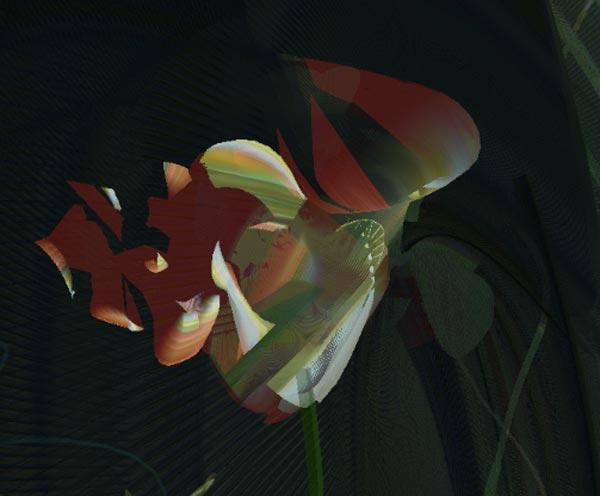
Happy Halloween! This year’s Halloween artwork combines painting and programming.

This week, I have a video that has excerpts from the artwork I programmed. The program picks four of my paintings at a time and forms a Vanitas-type arrangement with a skull, fallen crown, extinguished candles, and withering flowers – symbols of our transience. The program has 50 paintings from 2021-2024 to choose from. The music for the video is composed by me, representing a conversation about the temporary nature of life.
You can watch the video bigger by pressing the last icon on the menubar.
If you are interested in seeing more of this artwork, here’s a longer video that explains the Vanitas concept and shows more samples.
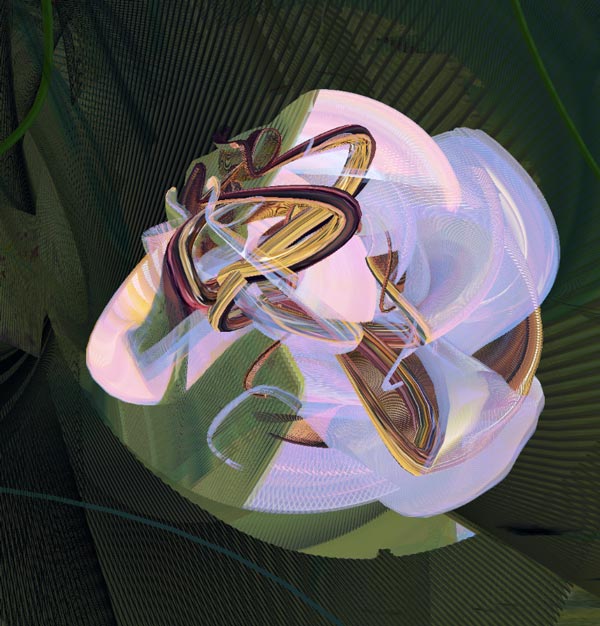
I designed the 3-dimensional shapes and then blended the paintings on them by programming.
Painting by Programming
One of my oil paintings is also Vanitas, so the theme is very familiar to me. The transience of life has both horror and beauty, maybe emptiness too that goes well with the machines. The way the computer paints with me produces fascinating details.

We can continue the tradition of Vanitas paintings and use any technique to make our own versions.
What kind of version would you create?
P.S. This month there was a digital art exhibition “Deform and re-form” on the screens of the Helsinki Central Library Oodi. The exhibition called “Deform and Re-Form” was organized by the Finnish National Gallery’s digital team. Oodi is a very popular big library building, with lots of visitors every day. It felt great to see my artwork “Queen of the Night” there.
Even if a part of this year’s art is digital and painted by programming, I still keep creating traditional art as well.