Why I Paint White Flowers – How Your Artistic Voice is Influenced by Others
There’s a lot of talk about finding your artistic voice, but very little about how other people affect it. So this week, I share a story about my mother and her influence on my art.
Painting the Same Thing Again and Again
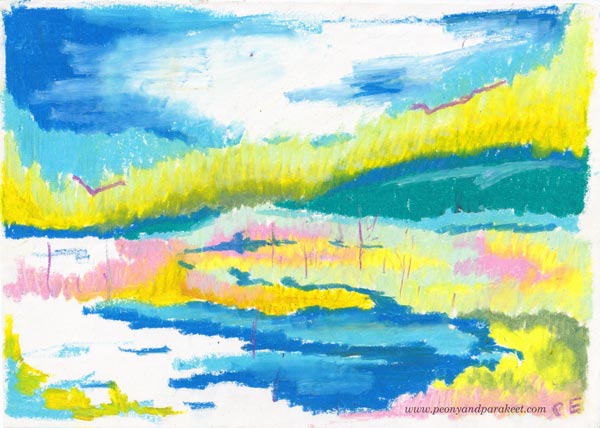
A couple of days ago, I was on a morning walk near my home in Southern Finland. The air was fresh as well as the view, dominated by the blue sky and white clouds. My beagles’ busy noses and a glimmering brook followed a sown field that had already started to green. Both birds and earphones fed entertaining listening. But all I could think of was my painting. Was it finished? Should I add more color to the flowers? What else did I need to adjust to make most of the tens of hours? I was alone with my dogs, but the inner critic kept me company: what kind of artist doesn’t even know the meaning of her images?
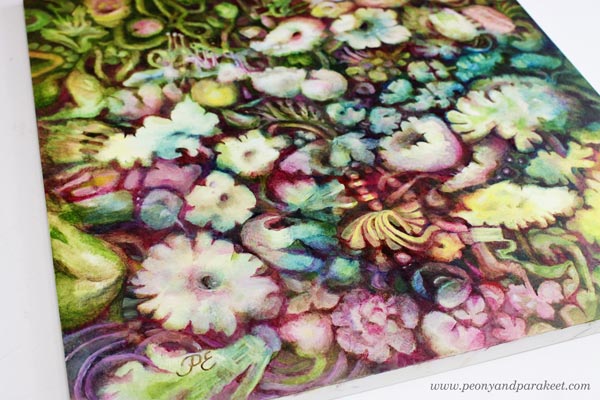
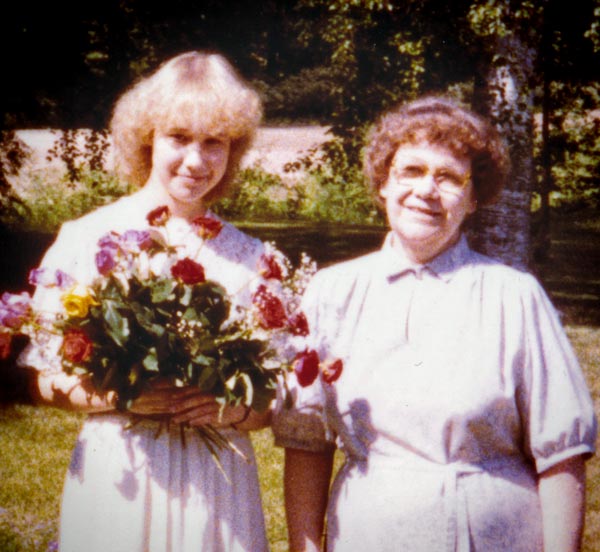
Yes, I am no artist at all. I paint white flowers, the easiest anyone can imagine, and the worst that my mother knew. “No white flowers,” she repeated to my father when her wedding anniversary came close, and he was about to buy a bouquet. “White flowers mean death.” And now, long after she has passed away, all I want to paint is white flowers.
Commenters are Your Art Coaches
Rebelling had no place in my upbringing during the 1970s and 1980s. As a teenager, I tried to respond to my mother’s corrections and criticism with an ignorant smile. Not for long. She didn’t hesitate to tell that it wasn’t a proper reaction. She was both a direct and shy person. Her presence was almost invisible in public gatherings, but at home, in her empire, she was the master of rights and wrongs. So when I showed drawings to her, she either approved or disapproved. She didn’t talk to me as directly as to my father – what to do or what not – but her words and facial expressions told everything.
My mother was like a strict gymnastic coach with high expectations, but she lacked one essential skill – the ability to show how the tricks could be done. She was as honest to herself as to anyone in this matter and put her energy for finding time, supplies, and art education for me. Time to create was the easiest part. My mother was a housewife. She had left her job at a young age right after she got married. She didn’t want her daughters to have the same destiny, so she did her best to keep me out of the kitchen and constantly reminded me how children would prohibit me from doing what I love.
We lived in a small town near the Russian border, and our family wasn’t wealthy. The only income came from my father’s pension. In the evenings, my mother wrote all the expenses on a small black book. But purchasing pens and paper was mandatory. To her, it was the lowest level of civilization, more important than books. Our town had one bookshop that sold some supplies, but after we got more knowledge from local art groups and competitions, it became evident that I needed a better and broader selection. So every month, when my parents drove to a bigger town, I was often with them, selecting paper, paint boards, crayons, and acrylic paints from a real art supply store.
A Praised Piece Sticks into Your Mind
When I was some years over ten, in one spring morning, I decided to try out a new set of crayons. It was just a warm-up, a quick landscape without using any reference. “Look, mother, what do you think,” I said like so many times before. She looked at the image, tightened her lips, but unlike her, she didn’t say much. Later, when I opened a narrow kitchen closet to pick an iron, I stopped. The landscape was taped inside the wooden door. “I like to look at it,” she said after seeing my puzzled face.
I was devastated. That little landscape didn’t deserve the place. So many times I had poured my heart out on paper and soon found out that it wasn’t to her liking. And now – I didn’t even color all the paper!
Finding the Why Behind Your Artistic Voice – Connecting the Appraisals and Repetitions
Fortunately, my mother was not the only one commenting on my art. My two big sisters had different opinions, and my teachers and friends as well. One piece didn’t satisfy them all, but there were always kind words from someone. It encouraged me to keep painting and drawing, as everyone, especially my mother, expected.
After my mother’s death, one stormy weekend, I traveled to the childhood home to pick things that I wanted to keep before we would sell it. The house was cold, but I knew it was the last time when I would see it like it used to be. Everything was clean and tidy. Performing tasks effectively with high quality had always fascinated my mother. “If I could choose what my profession was, it would be a researcher of work – if such a profession existed.”
When I got up the stairs to an attic, the sight would surprise anyone but me. The attic had always been nearly empty. In one corner, under a sloped sealing, my father had built a small closet for safe storage. I opened its little door, and there they were, neatly in a big cardboard box – my paintings and drawings. Not all, but a collection that my mother had curated over the years, the little crayon drawing included.
So a few days ago, when I was walking by the field and looking up in the sky, my mother came to me in the form of the freshly colored landscape. I now knew that my urge to paint white flowers hadn’t been an act against my mother, but a yearn for her acceptance that blank white blobs had once given to me. Now my question is: can I let go of them, or do I want to keep her in my art forever.
Who has influenced your art? Can you recognize how?
P.S. I also teach drawing and painting flowers in the class Floral Fantasies.
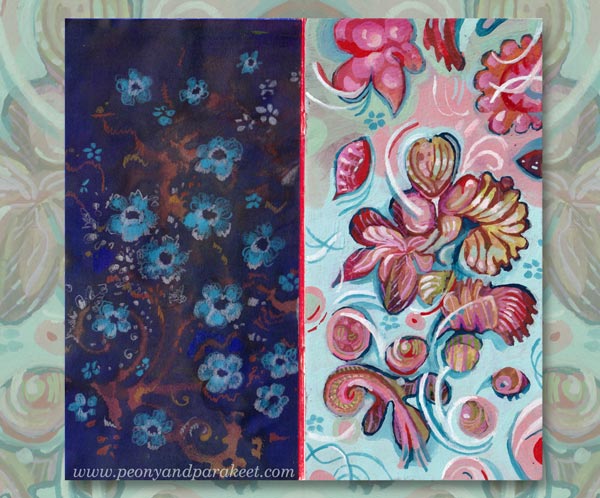
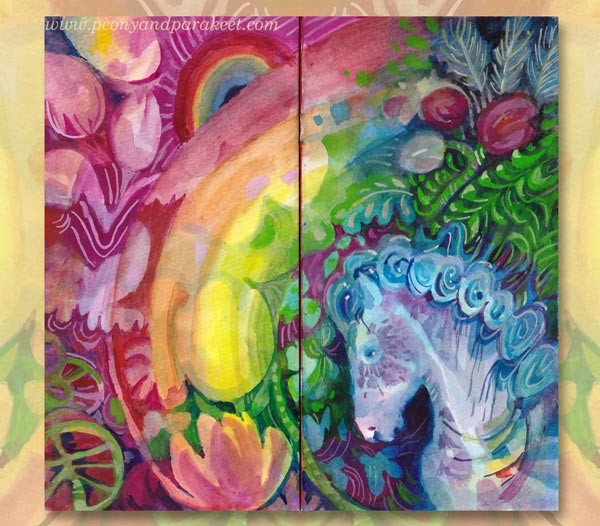
Rainbow Journal – Fill a Small Notebook with Happy Art!

This week, I get back to the project that I started earlier this spring. It’s a small notebook that I have filled with happy art. I call it Rainbow Journal because it has brought me both joy and hope. Here’s a quote from the video below:
“When working on this journal, I have been able to live inside a happy bubble momentarily. It’s been refreshing, and my inner critic has got gentler. I have gained new inspiration for my paintings and classes.”
Watch the video to get inspiration for yours!
Creative Prompts for Your Rainbow Journal
Use the following prompts to make yours!
Cover – Make It as Decorative as You Can!
Use a limited color palette and let the colors and shapes flow.
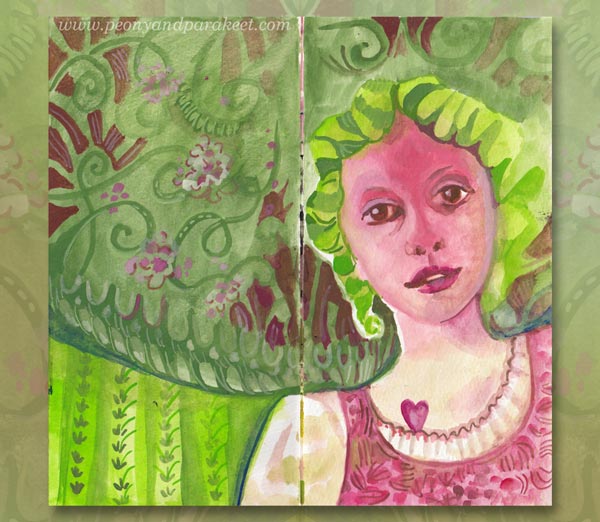
Spread #1 – Get Inspired by Happy Interiors!
Think about textiles, wallpapers, and painted motifs on wooden furnitures and dishes.
Spread #2 – Embrace the Good and the Innocence!
Once you have set the style of the world you are building, who could be wandering there, full of happy thoughts with an innocent mind?
Spread #3 – Paint Something Juicy!
Show how it feels when the glass is full, even overflowing.
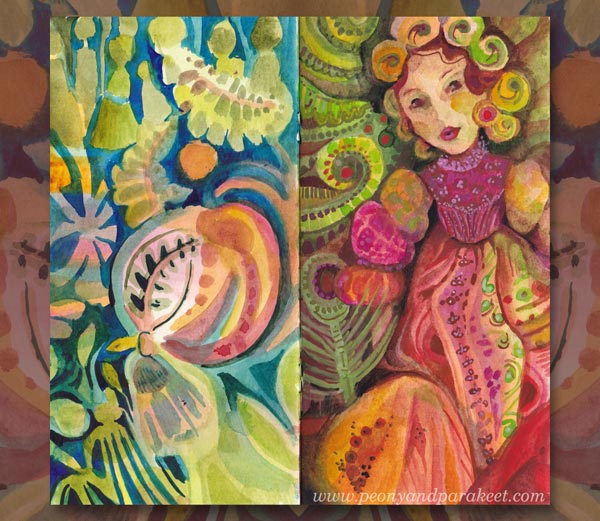
Spread #4 – Grow the Flowers of Imagination!
The dark soil makes flowers grow and shine.
Spread #5 – Show the Bright Future!
Get creative with rainbows, how many can you fit in?
I hope this lifted your spirit and inspired you to keep creating!
Get a free mini-course when you subscribe to my inspirational weekly emails!
Vintage Style Flowers Step by Step
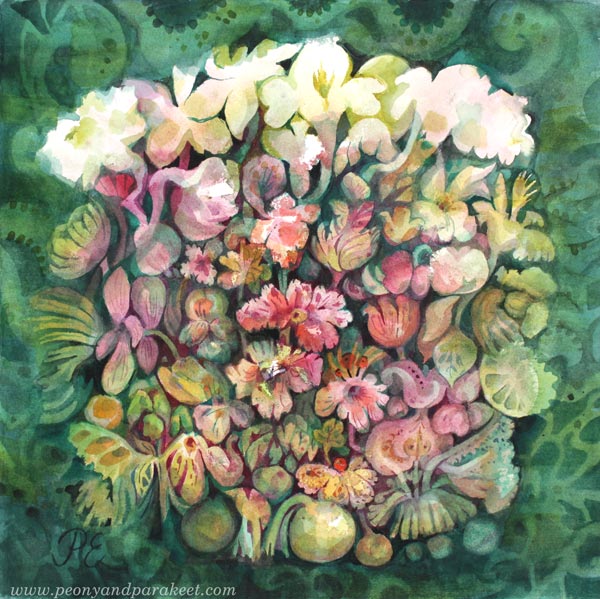
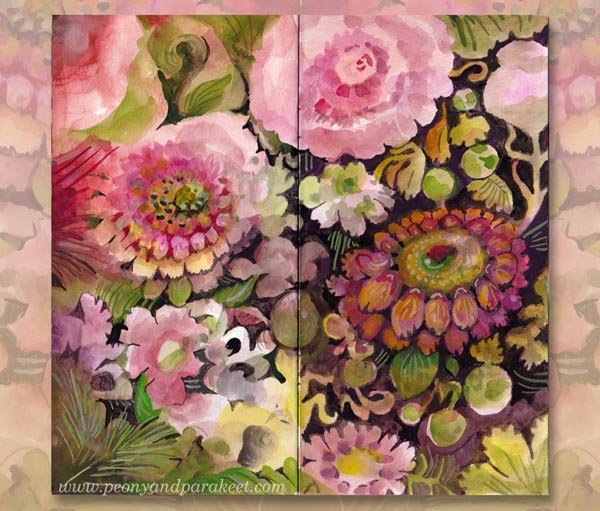
My latest watercolor painting has lots of vintage style flowers. I call it “Lemonietta,” and it’s inspired by home decor, afternoon tea, cream cakes, piano music, and of course, my favorite fruit – lemons!
Vintage Style Flowers in Three Colors
I have always liked old art and not just masterpieces, but decorative die cuts, vintage postcards, and all the more kitschy stuff too. So this post is dedicated to vintage style flowers, and I show how to make a cluster of vintage style flowers to your box of joy – any box that you fill with handpainted and hand-drawn collage pieces!
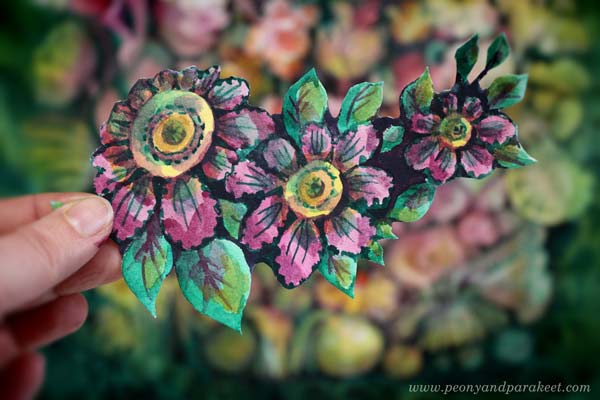
The tutorial is for watercolors, but you can use any paint for it. Just make sure to keep the color layers transparent. I use a piece of smooth watercolor paper, but almost any paper will do. And you only need three colors: yellow, pink, and green!
Step 1 – Three Yellow Circles
Start with yellow and paint three circles.
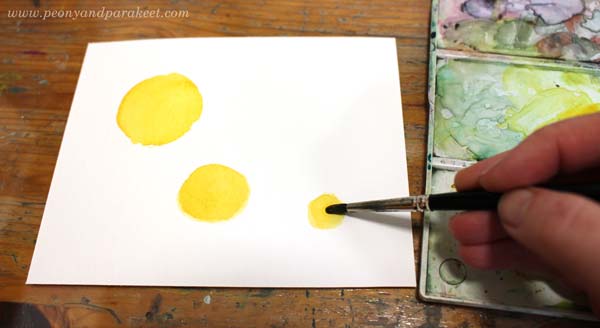
I painted the circles in three sizes: large, medium, and small. They form a curve rather than a straight line. This way, the composition will become more elegant than if you have similar sized flowers in a straight row.
Step 2 – Pink Petals
Add pink circles or ovals around the flowers.

Some petals can be smaller than others, so that the orientation of the flowers varies a bit. Compare my biggest flower to the medium-sized one!
Step 3 – Darken the Centers
Continue with pink, but use a little less water so that it’s darker. Make the centers and petals clearer by painting around the center and the top parts of the petals.
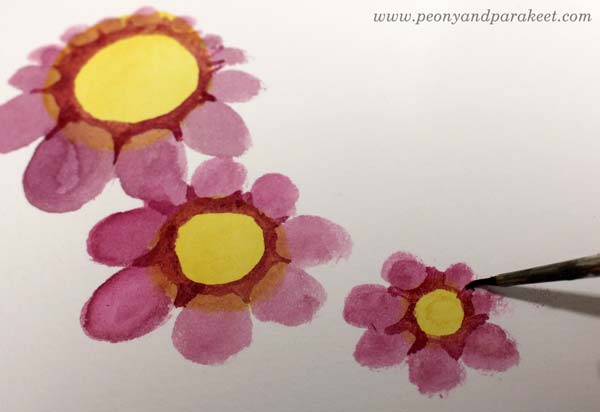
I use a thinner brush to get sharper points near the petals.
Then mix some more water to pink paint, and add small circles to the centers.
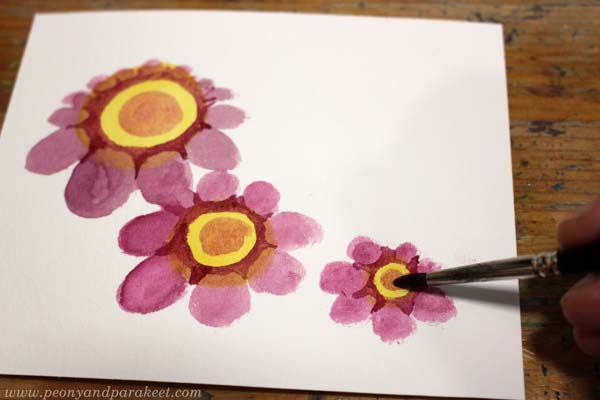
I use a bigger round brush for round shapes.
Step 4 – Green Leaves
Paint green ovals around the flowers.
Again, my ovals have a variety of sizes so that the composition looks more lively.
Continue with green, but now use a thicker color. Make the leaves sharper and a bit more elegant. Only paint a part of a leaf with a darker green.

See how pointy my darker shapes are, and how they don’t cover the whole leaf!
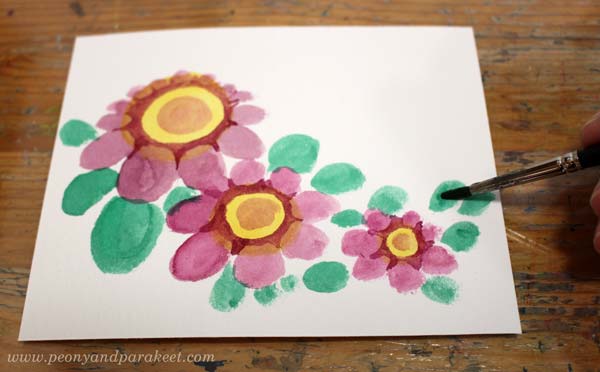
Step 5 – More Details to Flowers
Start with thick green paint and a thin brush. First, add green triangles between the petals to make the flower look more three-dimensional.
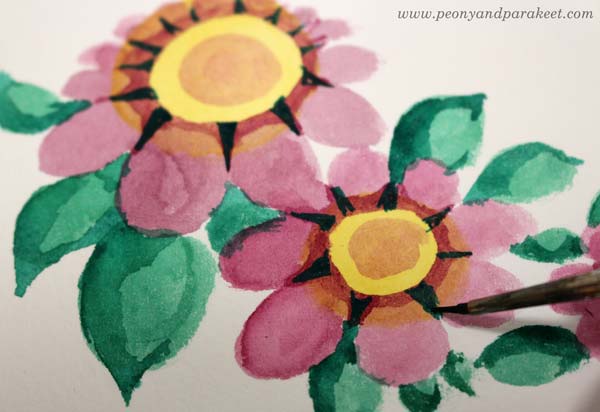
Second, paint around the petals so that they look more frilly.
Then change to a bigger brush and add more water to make the paint transparent. Paint pale green spots on petals and on the centers.

With a thinner brush, add green lines to the petals and centers. Finally, change to pink, and paint centers and petals so that they are partly darker.

The nostalgic look comes from the contrast colors and the color variation.
Step 6 – More Details to Leaves
Add pink shadows to the leaves.
With thicker green and the smaller brush, paint think lines on the leaves.

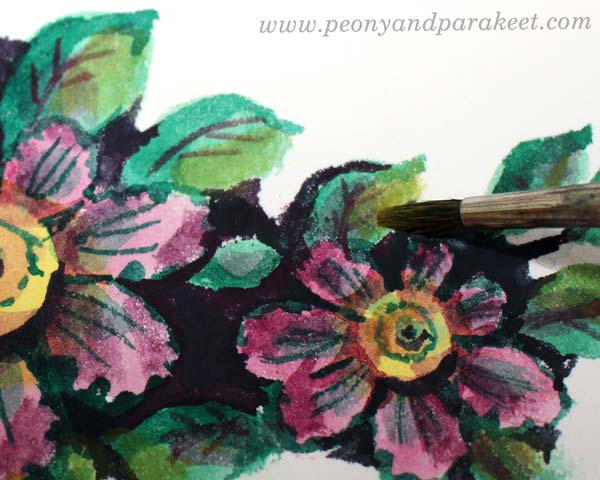
Step 7 – Dark Background
Mix thick paint from green and pink, and paint the background areas between the flowers.

I also check all the edges around the cluster so that it’s easy to cut.
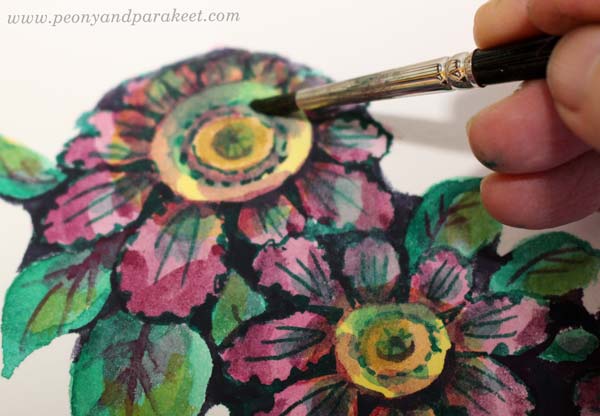
Step 8 – More Color Variation
To make the flowers glow, add more color variation. Use thin paint, and add yellow to the leaves. Only paint each leaf partly.
Similarly, add green to the centers.
Here’s my finished cluster before cutting.

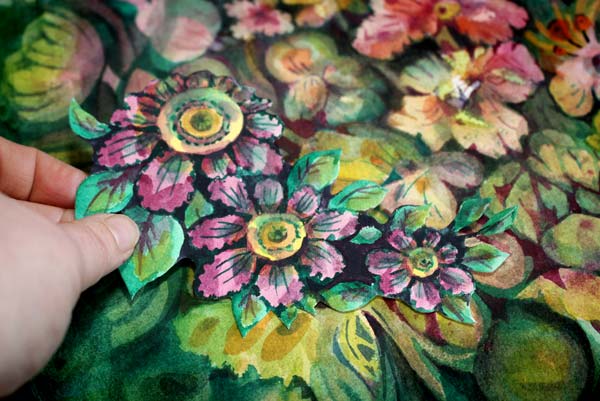
Step 9 – Cut It Out!
You can still change the shape of your cluster when cutting around it.

It’s so much fun to make and find backgrounds that come alive with these little flowers.
And of course, they bring more joy to the box of joy too!

Vintage Style Flowers – Starting More Intuitively
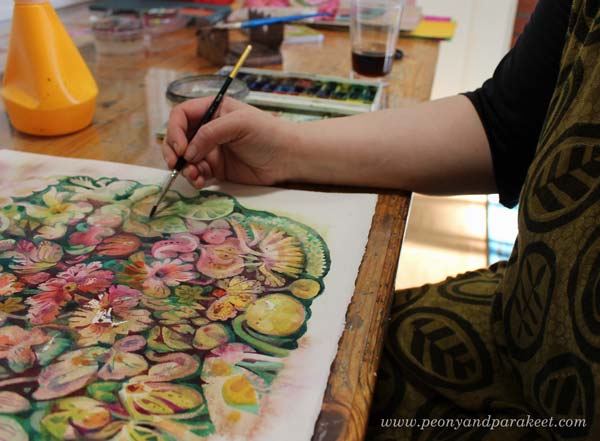
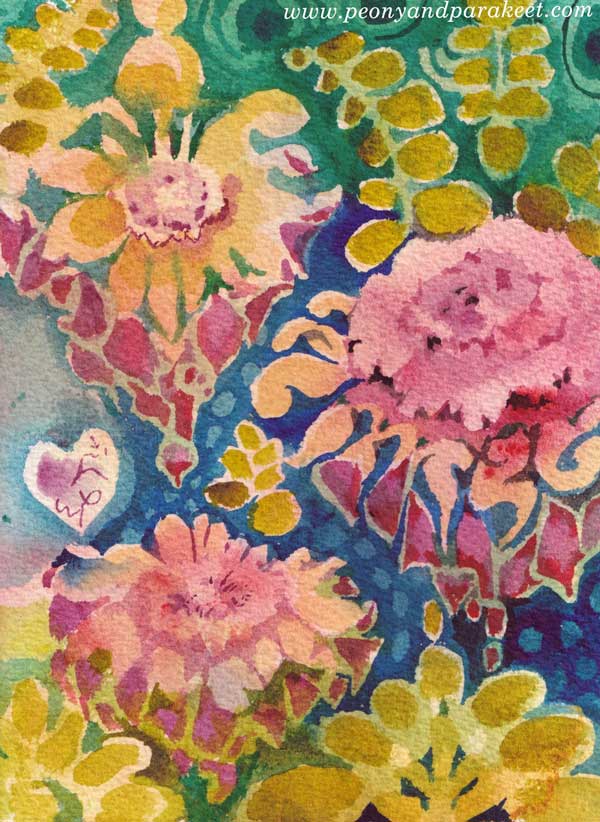
Painting small pieces is fun, but my bigger paintings are born more intuitively and they take a longer time.
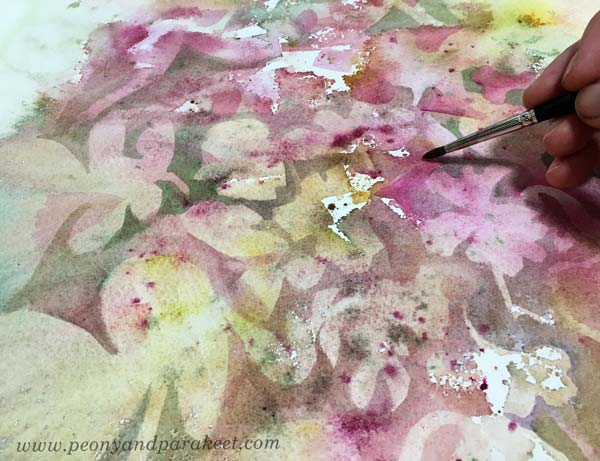
I love to dig out flowers of random blooms and spatters, and then move on to paint them more intentionally.
When the paper is full of details, it’s sometimes hard to decide which ones can take the central role and remain bright, and which ones get more background color so that they don’t stand out so much.
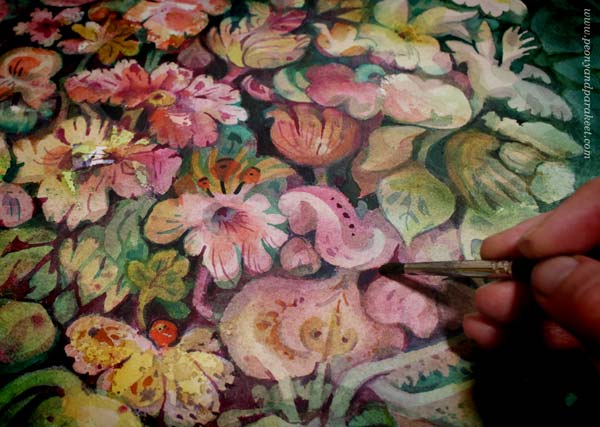
Here’s the finished piece again. It took about two days to complete.
Even the smallest single flowers are still part of the same world.
I hope this post inspired you to create, whether it’s a project of two hours or two days!
Inspiring projects for flower lovers: Buy my class Floral Fantasies!
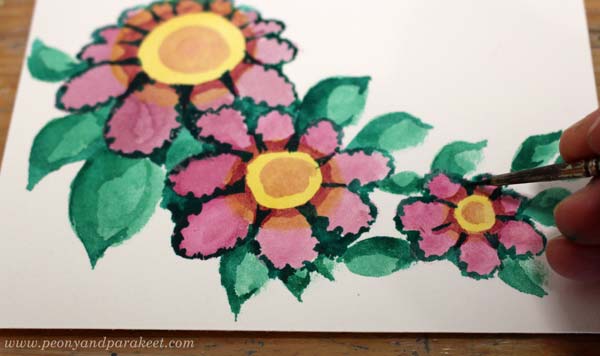
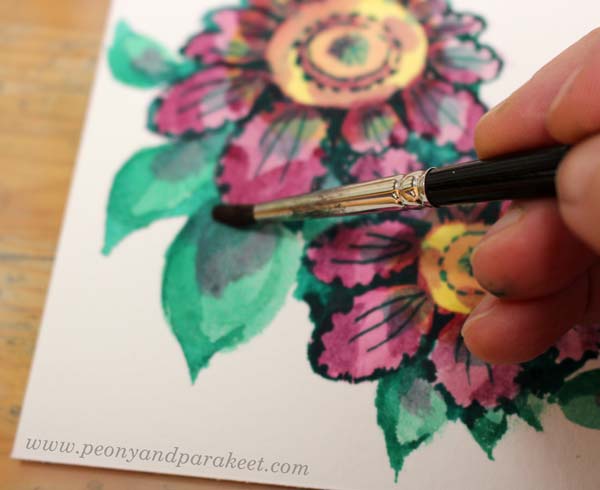
Ornamental Flowers – Paint with Me!
This week, I have a video tutorial for you! Let’s paint a watercolor card that’s like a piece of beautiful floral wallpaper. Watch the video!
Flowers have always been my favorite, but now even more than ever. I hope you’ll enjoy painting this!

Floral Fantasies – Weekend Sale!
I am also happy to announce that Floral Fantasies – my flower painting class is now available again!
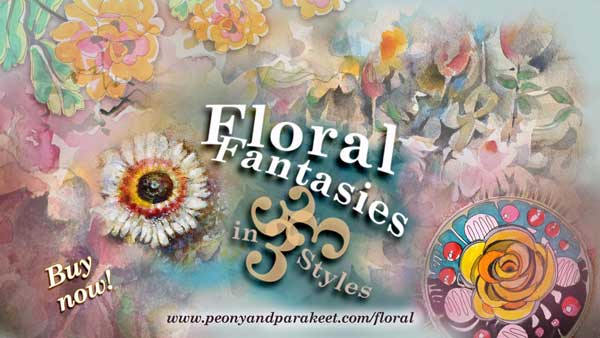
Honestly, this is the class to take when you want to become a floral painter + it’s for sale April 23-26 (PDT)! >> Buy here!