
Crazy about Ornaments!
I believe that in every artist’s journey, there are moments when you feel you’ve hit the core—or at least, you’re getting very close. For me, many of those moments have been about ornaments. I simply love drawing and painting decorative lines.
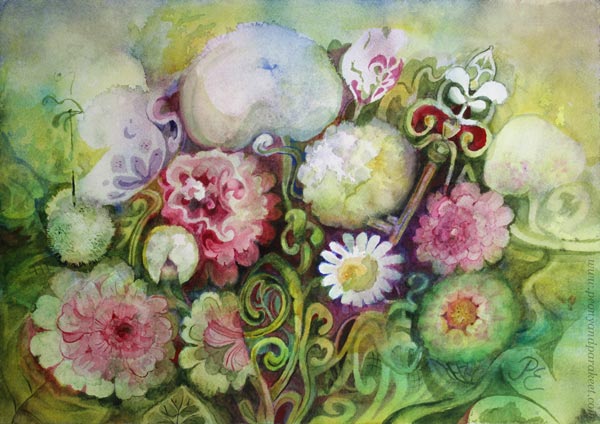
>> See more pics and a video at Taiko Online Art Store
This week, I share a recent watercolor painting that is full of ornaments and how I fell in love with ornaments in the first place.
Ornaments in Watercolor
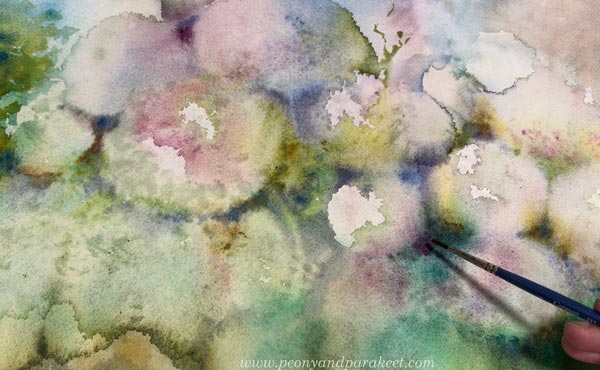
This is how the watercolor painting started.
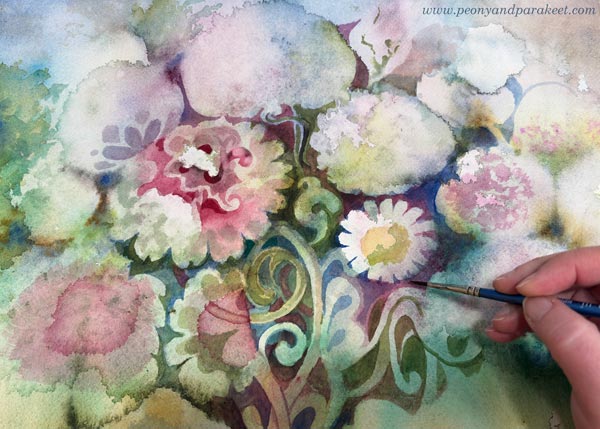
Ornamental shapes are much easier to draw than paint. In 2020, I made this watercolor painting.
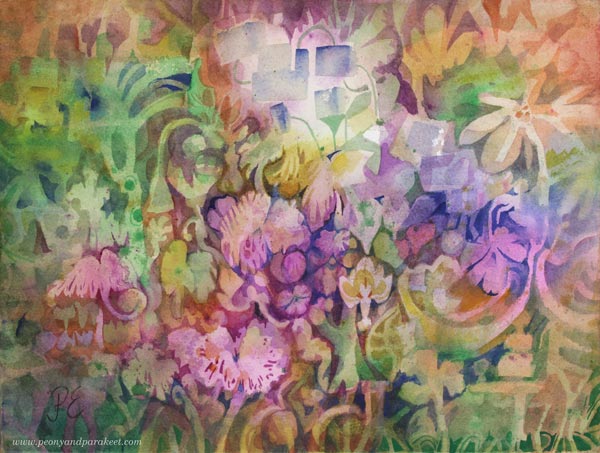
I can now paint much more elegant shapes.
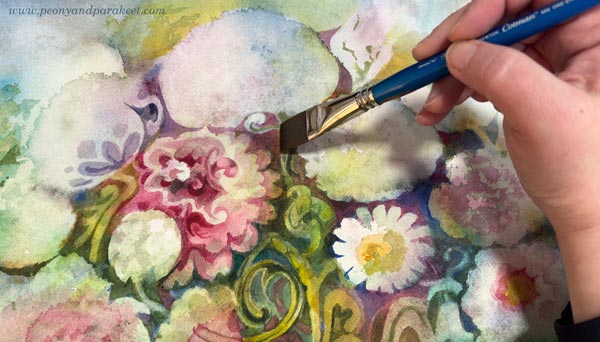
I have been after this skill for so long.
Ornaments – Are They Scary or Harmless?
An ornament is an animal. At first, it’s like a fox that is a bit too tame. You meet it on an evening walk and feel like shouting: “Don’t follow me, I’m not giving you a home!”
Then someone says, “It’s just an ornament, a harmless little decoration. It’s not a fox, it’s a bird.” And that’s when I realize I am dreaming about a magpie, picking only the oldest and most beautiful spoons from the pile.
But when I go to my imaginary pile of spoons, I see snakes. I can only catch the slowest and clumsiest one. My line was quite ugly for a long time, yet it has been my mascot for years. For just as long, I have been searching for the core of my expression.
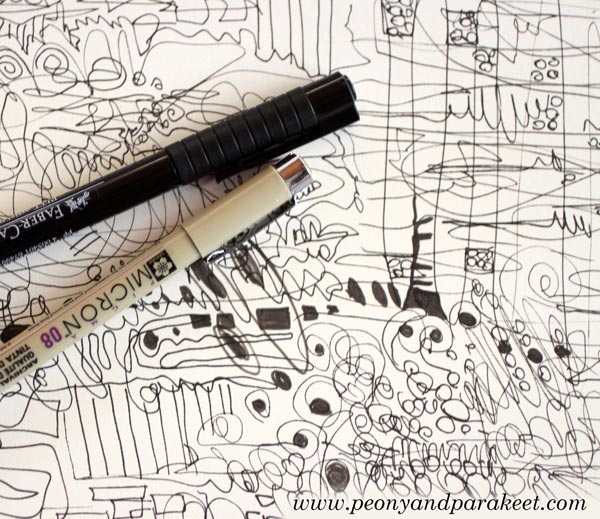
In 2018 and 2019, my drawing skills took a jump, and I was able to incorporate more and more ornamental expression into my drawings. I participated in Inktober and built two drawing courses: Animal Inkdom and Magical Inkdom.

Looking Through The Lens
Lately, I’ve read many descriptions of artists—both by the artists themselves and by critics. It felt as if I were forcing myself to read tiny text through a small lens, all while swallowing an ornament-shaped lump in my throat.
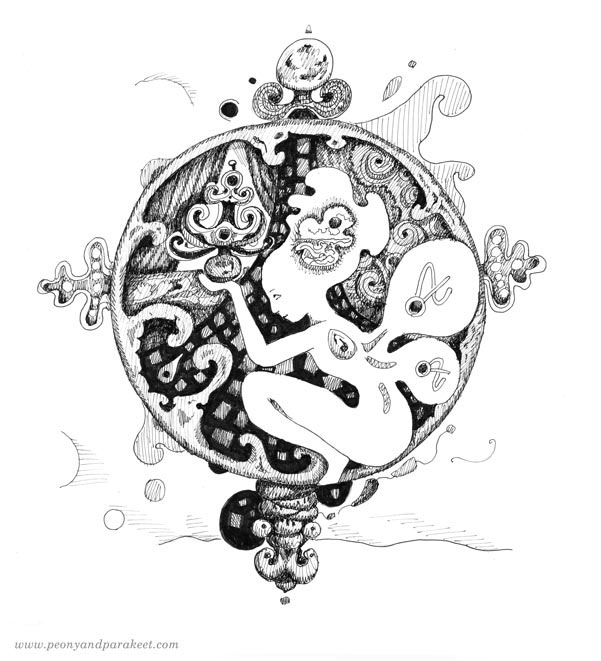
I believe the most accurate descriptions of how art is born are linked to childhood. My love for ornaments comes from my own.
Our family wasn’t wealthy, but we were dreamers. We followed the lives of European royalty with admiration. The large yard of our old wooden house, with its meadows and little woods, turned into a queen’s castle in my mind. I imagined grand halls, furniture, and a magnificent atmosphere. Nature became my palace once I understood that a plant should be looked at as a structure, not just a decoration.
From a Clumsy Snake to Expression
In the process of making art, however, the ornament is not a child, but an old soul. When a line is still young, it has no idea of the wisdom and beauty it can eventually store within its curves.
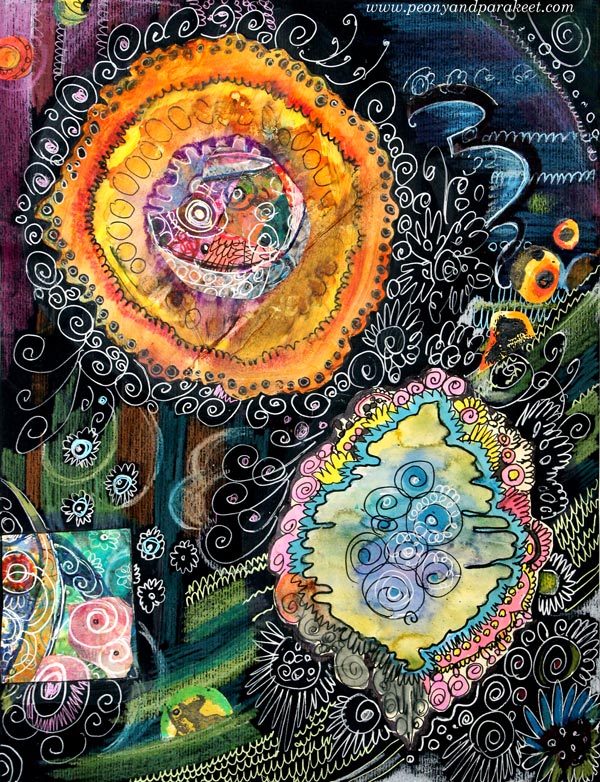
I believe that anyone who has the patience to feed their “clumsy snake” will eventually be rewarded. This madness—this love for ornaments—begins to transform from simple decoration into pure expressive power.
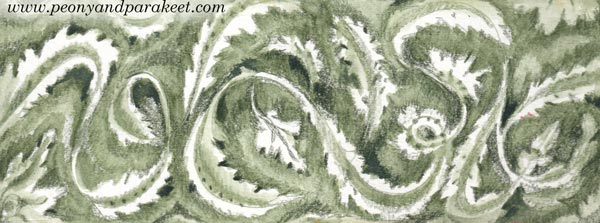
Almost all of my drawing courses are about developing a living line that can then transform into an ornamental one. A great courses to start are the colored pencil courses, especially Mystical Minis.
Painting Ornaments
It has taken me a long time to paint more ornamentally. I have had to learn to imagine an ornament as a 3-dimensional structure rather than just a decoration.
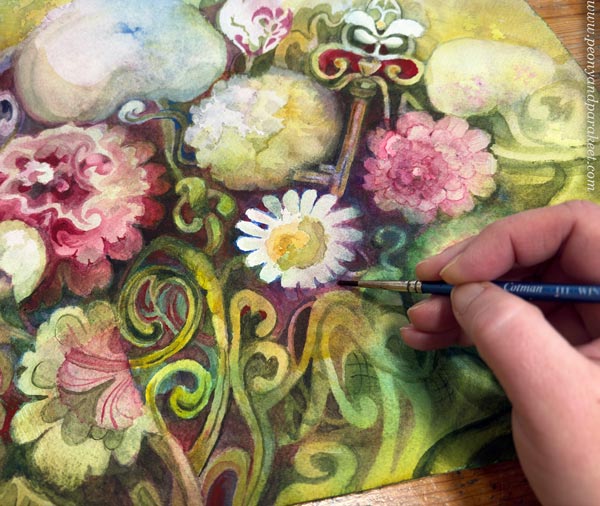
Now that I can paint like I used to draw, I can add many things that I have missed from that era, for example, tassels.
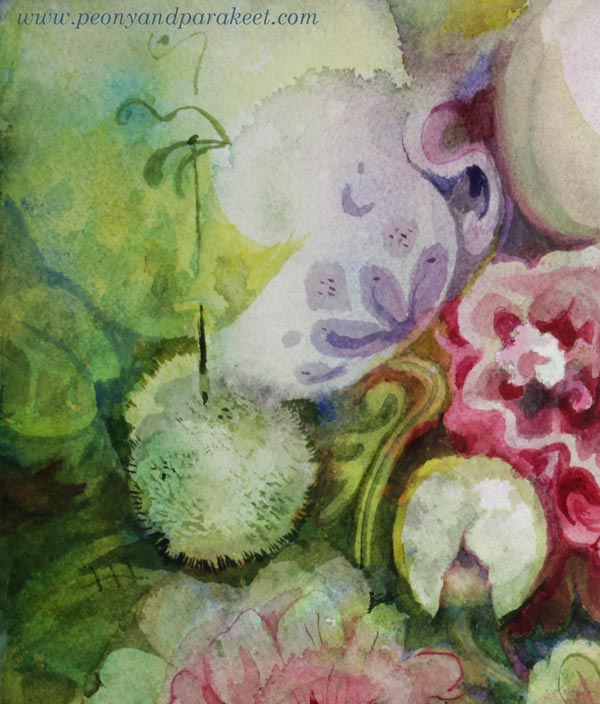
I can now also include what I learned from decorative painting when creating the course Decodashery.
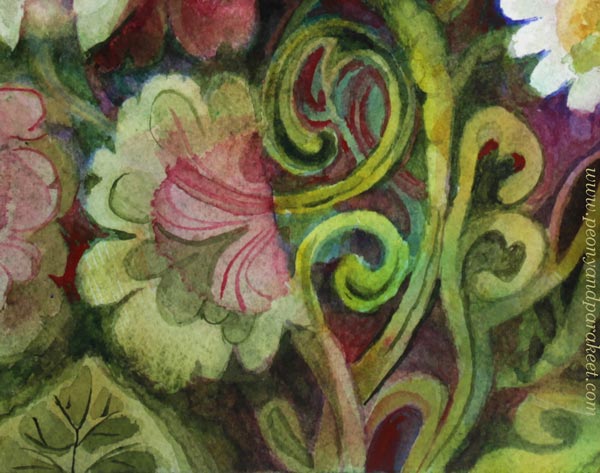
There is a sense of the medieval and the Baroque here, blended with the historical fantasy and folklore.
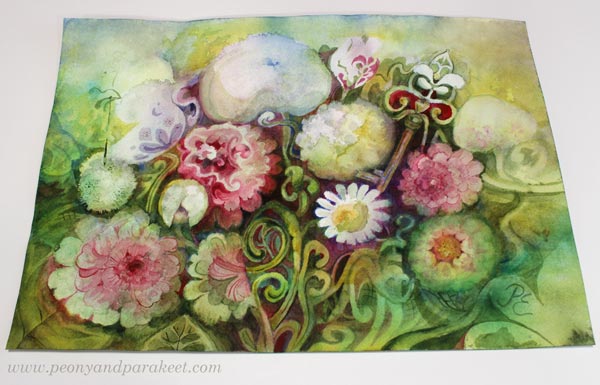
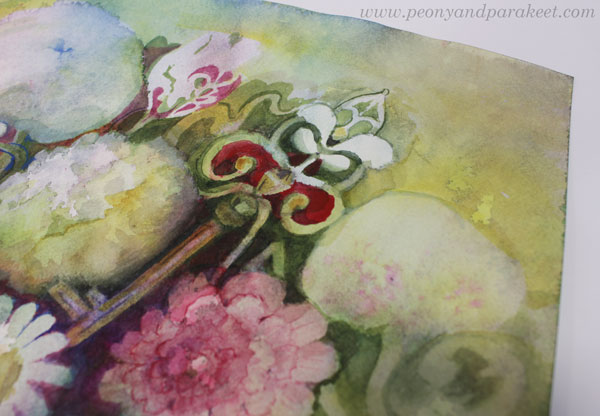
I have also worked in this ornamental style not only in watercolor, but also in oil, but I will share those projects later.
In the world of ornaments, every line has its own age. Is your line still a curious child, or is it beginning to store the wisdom of an ‘old soul’? Tell me about your process in the comments!
Floral Watercolor Painting – Finding the Expression from the Details
This painting, “Touched by an Angel,” is the latest in a series of three floral watercolors I’ve created for the Finnish Painters’ Union’s art sales event. I will also have two oil paintings available there, but the three watercolors were also an effort because they have a lot of details.
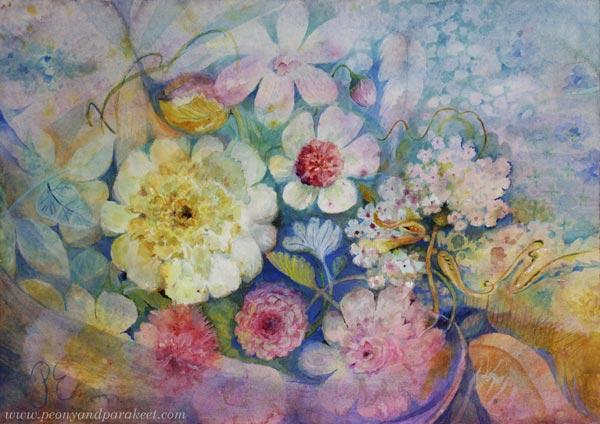
Finding the Name
It’s quite rare for me, but I had the name for this watercolor in mind very early on. The other two paintings in this series were about scent and taste, so I wanted this third one to be about touch.
The title “Touched by an Angel” reminded me of the 90s TV show, but it also made me think of old churches with their beautiful decorations. In addition to peace and timelessness, I wanted to express spirituality, lightness, and gentleness.
My Creative Process
I usually start my watercolors simply by playing with water and paint.
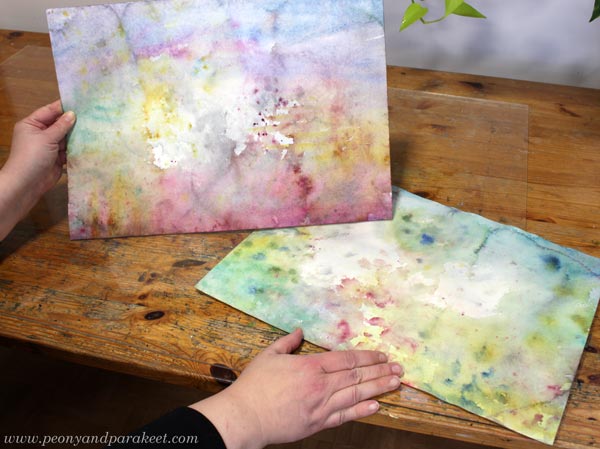
Once that “mess” has dried, the real work begins. I start with the background, and the flowers slowly find their shape.
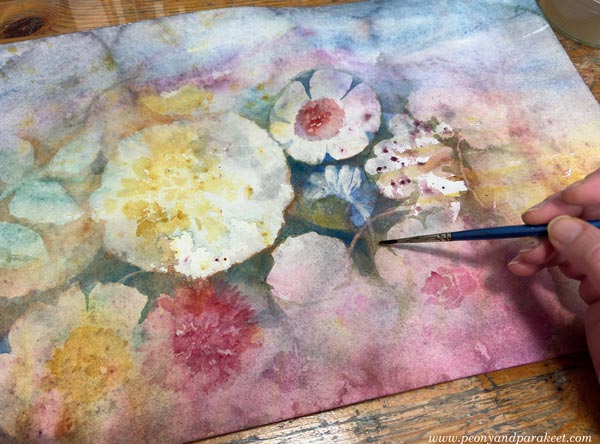
This is a process I teach in my Wild Garden course.
The Power of Subtle Details
I have found great joy in painting details in watercolor. I like to forget the “big picture” and focus on making one small part as expressive as possible. When every detail speaks to the theme in its own way, the whole painting comes together naturally.
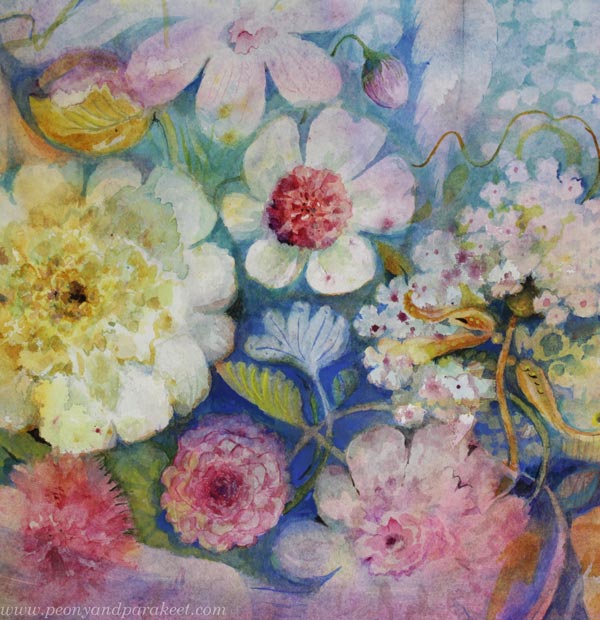
Not every detail has the same role, though. For example, you can paint a lot of detail in the background so that it doesn’t distract the viewer. The secret is to keep the contrast low.
Believe it or not, this simple thing took me a long time to learn. The light details seem so modest, yet they make the painting so much richer!
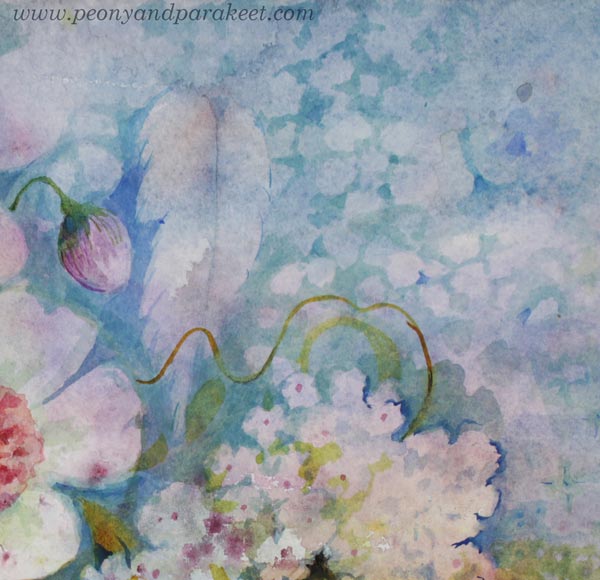
The heart of the expression is often not about the subject you choose, but how you work on the details. When every detail builds the story, the whole painting becomes expressive. In my piece, I wanted every detail to bring up the angelic touch.
Details also make a painting feel more finished. Even if those tiny, delicate brushstrokes seem invisible to some, they add significant value to the final piece.
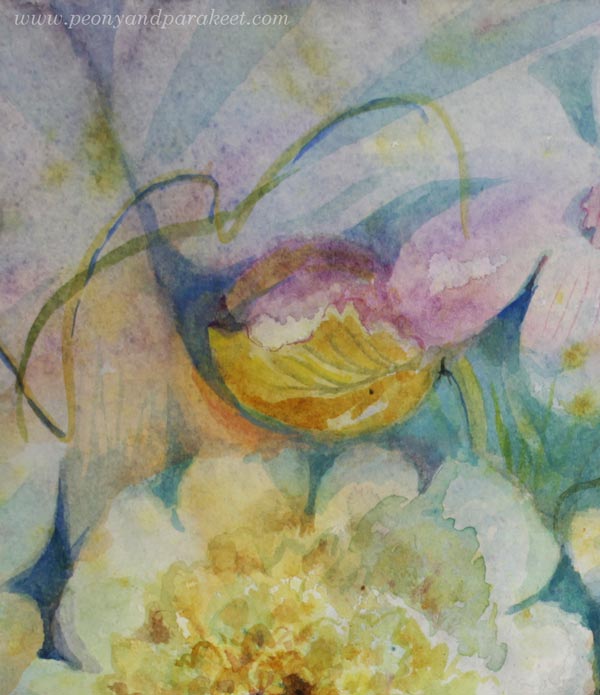
Also notice that when you paint details with a light touch, you can keep the color scheme more limited, and thus, more elegant!
Three Watercolor Paintings with Details – Scent, Taste, Touch
Here are all three paintings of the series.
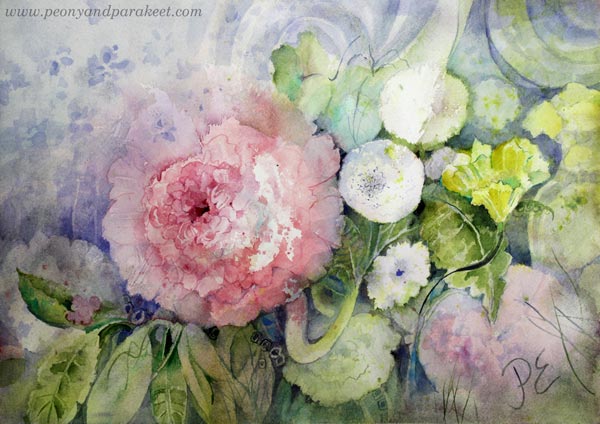
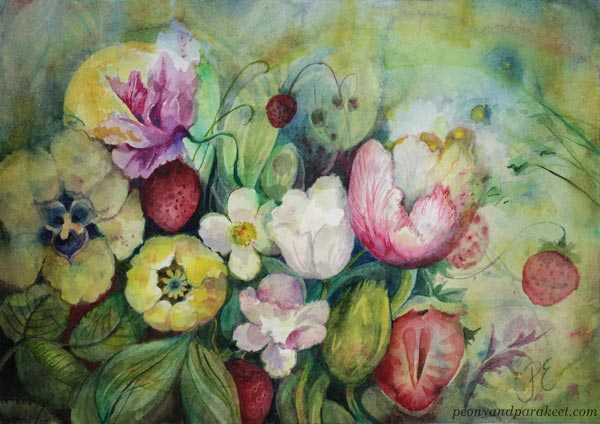
Tell me, which of these is your favorite?
Inside the Creative Process: Art, Words, and Morning Robes
I often find that the bridge between painting and words is a difficult one to cross – especially when your latest work decides to speak a language of its own.
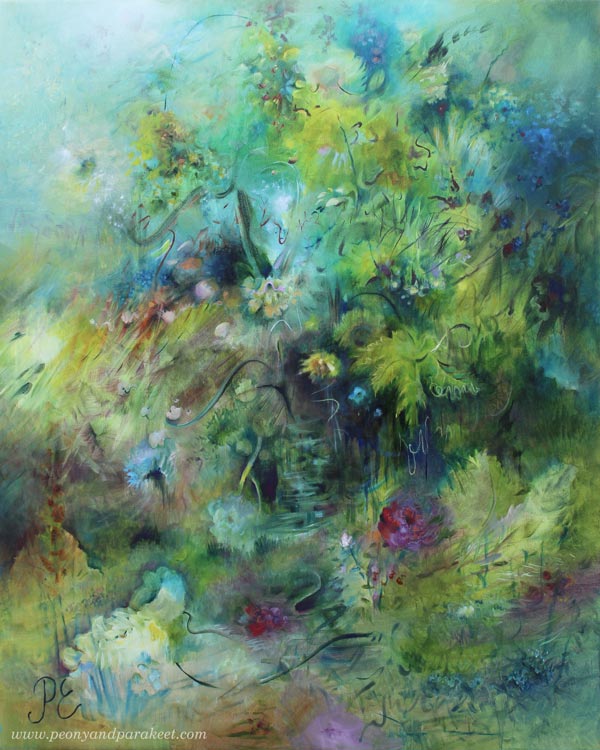
Even though I’ve always loved writing, being a visual artist often brings moments inside the creative process where words simply disappear.
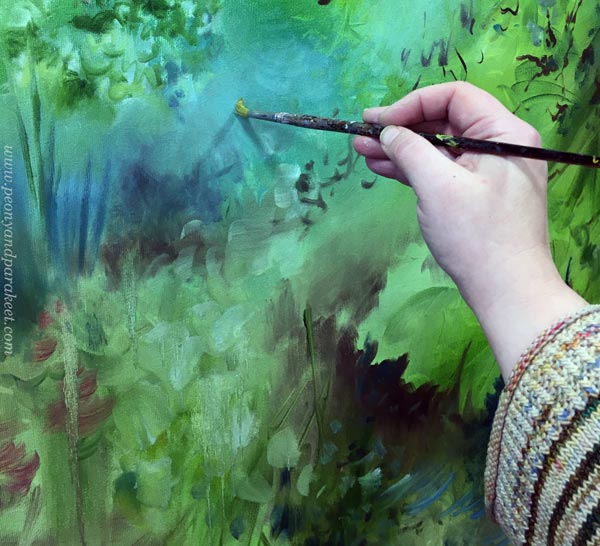
Lately, I’ve been painting a lot. The more I paint, the harder it feels to write all those applications and descriptions that an artist is constantly expected to produce. It’s just as difficult to read what other artists write about their work—and even harder to read a critic’s take on anyone’s paintings.
It feels like words just bounce off the surface of a painting without ever sinking in. When you paint, you are inside the artwork, living between wordless layers. It’s a good place to be. At least until you make the mistake of asking yourself: “Hey, what exactly are you painting right now? Tell the camera! Write it down! Share it with the world!”
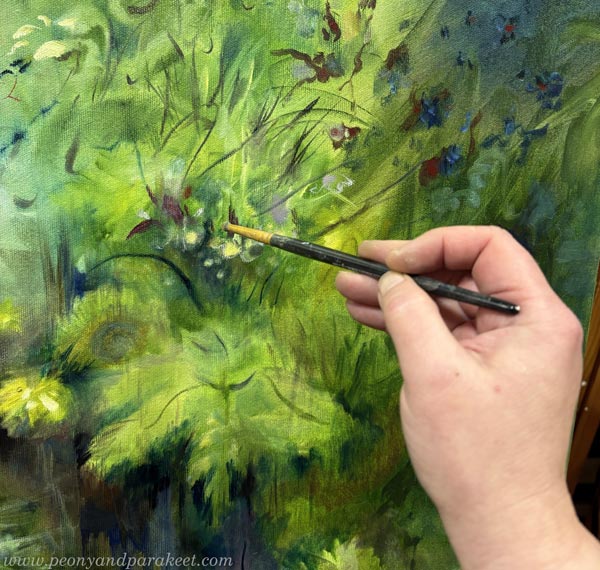
When that happens, my confident grip on the brush vanishes, and I start to stutter: “I’m just… putting some green here… and a little bit of red. Just a tiny bit …”
Inside the Creative Process: When the Painting Speaks First
As a painting gets closer to being finished, the words come more easily. Or rather, it feels like I don’t have to go looking for them because the painting has something to say for itself. Even though I don’t speak French, I feel like my latest work speaks the language. I call her Boheme. She is like a woman opening her front door in a morning robe, with everything in her life a bit scattered and messy.
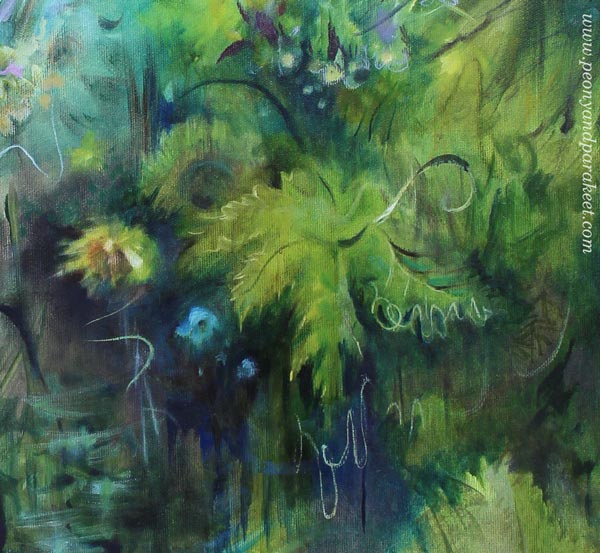
In my own life, I think I’ve only opened the door in a morning robe once when a surprise package arrived. Back then, the postman certainly didn’t see a mess behind me — everything was in its place. So, it’s a mystery why this opposite creature appeared on my canvas. I knew from the start that I couldn’t control her with a heavy hand. Not because Boheme would be afraid of orders, but because I have no desire to fight that kind of energy. I’d rather let her grow, be free, and express her own kind of beauty.
Dreams I Didn’t Know I Had
Maybe that’s where the conflict lies. My own world is small, and I find myself quite uninteresting as a person. Yet, my paintings reach further and bring out things I didn’t even realize I was thinking about. That’s my favorite part of this job—seeing your dreams come true, especially the dreams you didn’t even remember having.
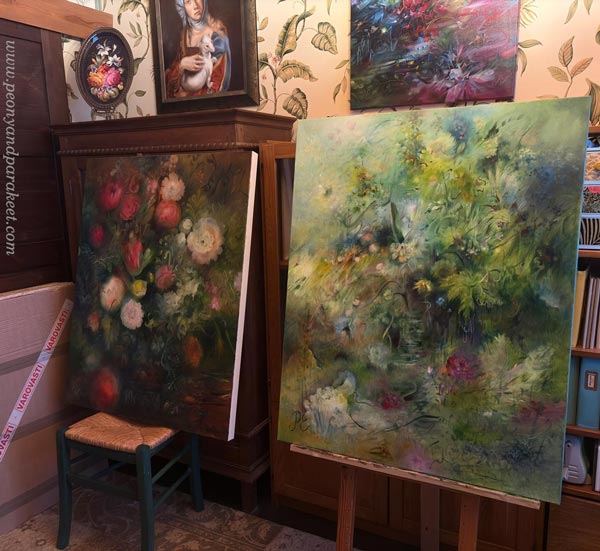
Despite all this “unconsciousness,” it’s still good to recognize the words, music, scents, and moods that belong to your artistic vision.
Finding the Right Mood
A few weeks ago, my husband told me about a record review he had read. He hadn’t heard the album yet, but the description stuck with him. Just from his brief explanation, I got a strong feeling it could be interesting for my art. We searched for the article to find the singer’s name. It was the album LUX by the Spanish artist Rosalía, and it felt familiar from the very first notes. I love her track Bergheim. It mixes different styles with classical music, creating a luxurious, grand, and slightly mystical atmosphere.
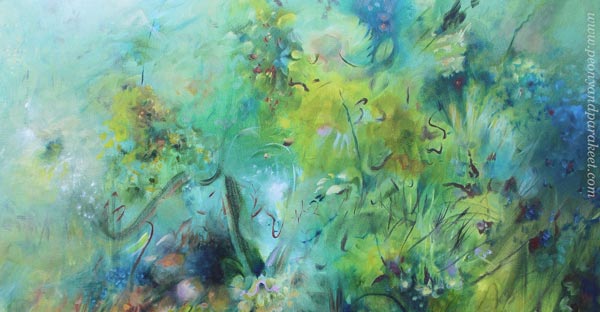
Boheme and I have been listening to the song together. Through her, I’ve realized that when it comes to morning robes, the mint-green terry cloth one my mother once bought me has nothing to do with the luxurious creations Boheme has in her closet. And those are the kind of closets you actually want to leave open when you answer the door.
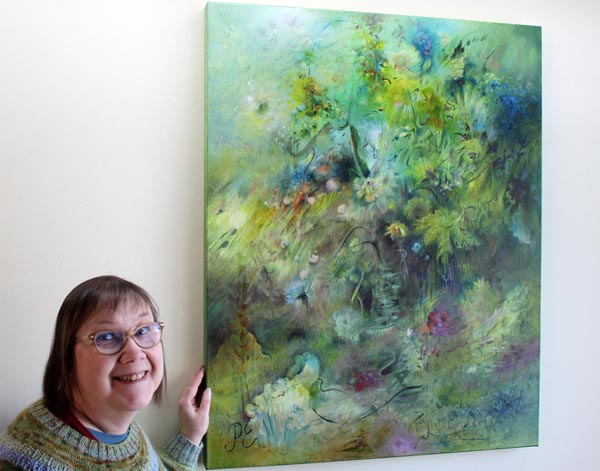
And that’s the true beauty of art: it always gives you a better view.
The annual major painting event, the Sales Event of the Finnish Painters’ Union, takes place in March at the Cable Factory, Helsinki. I am participating in the event with this painting, along with a few others.
Video: Artist’s Life and Inner Inspiration
This week, I made a video blog post where I share what I have been working on lately. This watercolor piece is one of them.
In the video, I also talk about the inner inspiration – that not everything has to come from outside, but there’s a lot within our inner world already.
You get to see my planner for 2026, which is also my art journal. It’s a notebook that has pictures of Jasmine Becket-Griffith‘s art.
Artist’s Life and Inner Inspiration – Watch the Video!
My favorite topics – flowers, watercolors, colored pencils, and abstracts – are all covered in this video.
In the last part of the video, I share my joy about the newest course, Mystical Minis – abstract art with colored pencils – Buy Now!