
Painting Through Difficult Times – 4 Easy Tips!
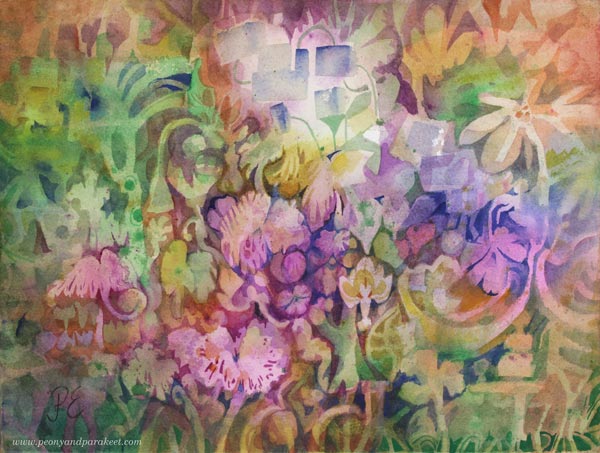
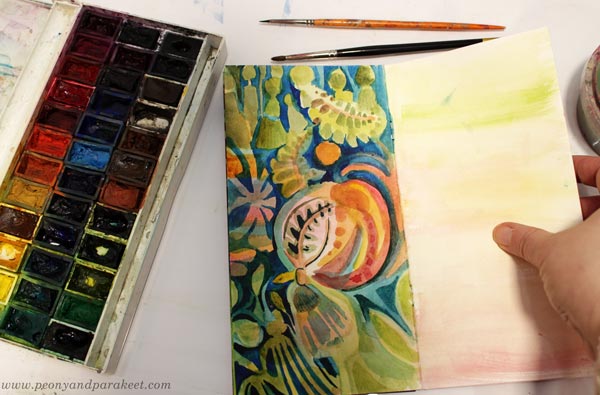
This painting, called “Baroquai” is about painting through difficult times by discovering a secret place at home. A couple of weeks ago, I watched the movie Knives Out. It had a wonderful big house with secret doors, ladders, and all. I would like our house to have similar kinds of secret spaces, it would be so uplifting to change the scenes without leaving home!
In a way, art offers us those secret spaces. When I start a new watercolor painting with random splashes, it’s like seeking the hidden door.
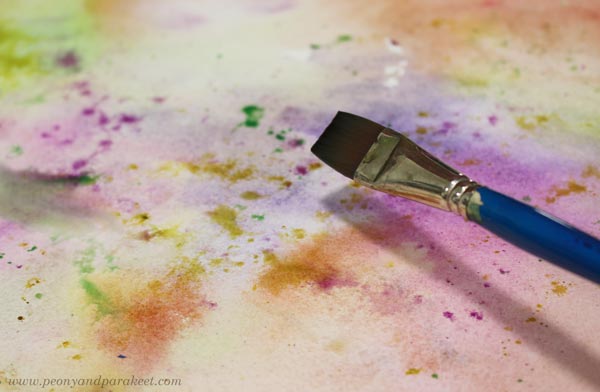
“What to Paint?” – “Wallpaper!”
Social distancing during the pandemic has made me reduce the requirements for my art. I try to paint what brings me the most joy and keep the ambition level low. If I ask myself “What to paint?”, I just answer “Wallpaper” every single time. It’s the easiest thing that I can think of painting, and the more I paint it, the more hidden doors seem to appear.
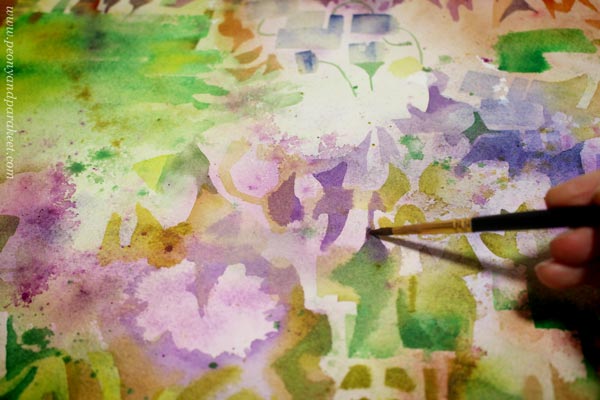
The thought of a wall of ornaments that come to bloom is both calming and inspiring. When I examine and alter the shapes with the brush, hidden spaces begin to reveal.
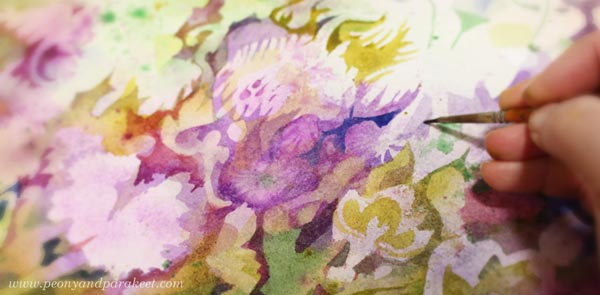
The space that I am sitting seems smaller, and the other space – that’s in my mind – gets larger.
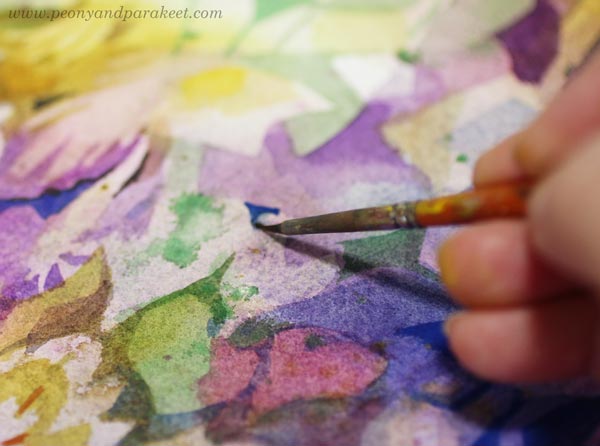
How Does Your Art Sound?
It’s also inspiring to think about what sounds the painting evokes. For this one, it’s baroque cembalo music, Jamiroquai, and softly singing choir of colorful budgies.
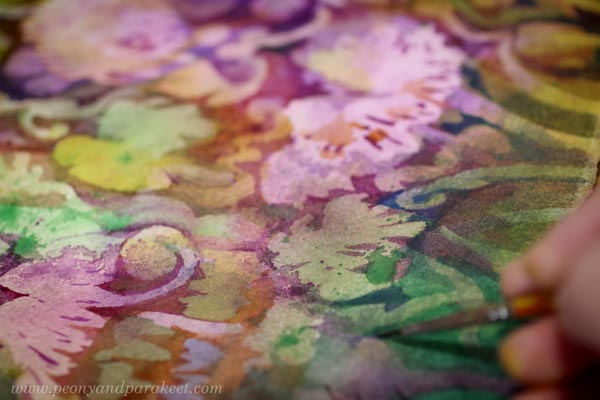
Mixing and Matching – The Reality Check
Painting wallpaper is also about creating something that complements and refreshes the reality.
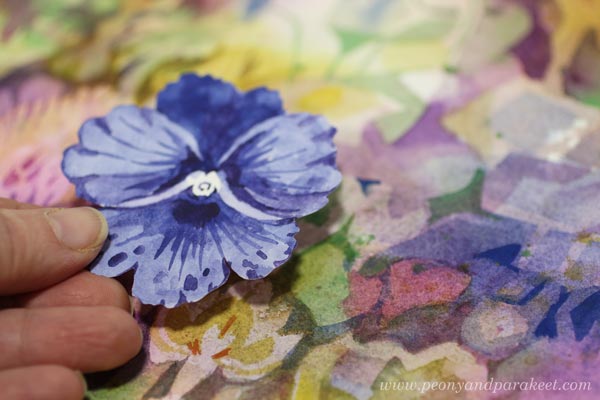
I used a pansy – painted and cut for my box of joy – to test my “wallpaper.” The fit looked so perfect that I painted some pansies there too!
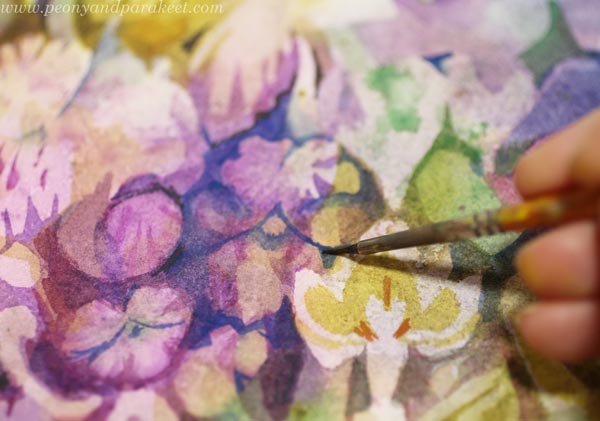
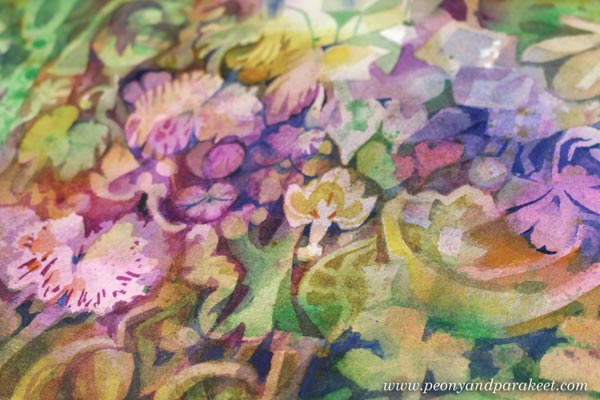
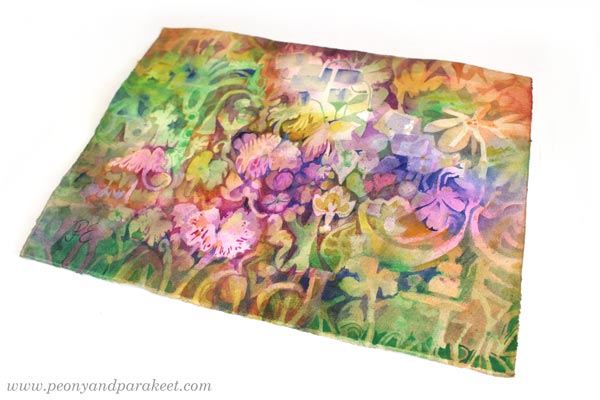
Here’s a close look at my finished “Baroquai.”
Artful Impact on the Wall
Always remember to celebrate the result! Add the signature once you are finished …

… and place the painting on the wall! The space that art creates extends the limited physical space.
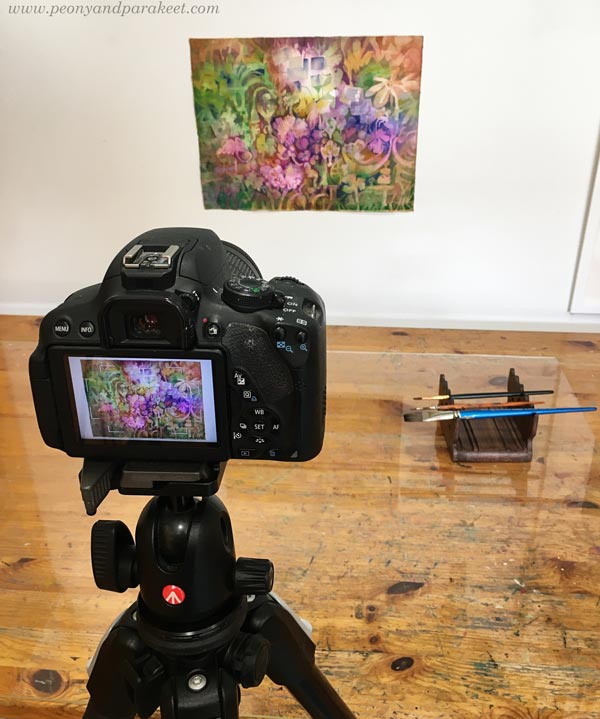
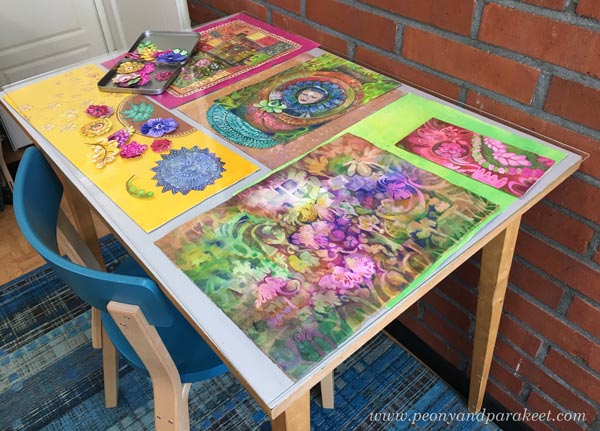
I also like to photograph my paintings when they are on the wall. In my studio, I have art on the table too. There’s a plastic cover that protects the pieces.
4 Easy Tips For Painting Through Difficult Times
- Find a simple answer like “Wallpaper” or “Flowers” to be ready for the inner critic’s question: “What are you creating?”
- See your art as soundscapes rather than landscapes.
- Mix and match things you create, no matter how small they are. Think about decorating a secret room with a collection of stuff rather than going out in the open with a single masterpiece.
- Find joy in the interaction between the surrounding space and your art. Art makes the space, and also, the space can boost art.
Let’s give art the possibility to gently lift our spirits!
Inspiring projects for flower lovers: Buy my class Floral Fantasies!
Ornamental Flowers – Paint with Me!
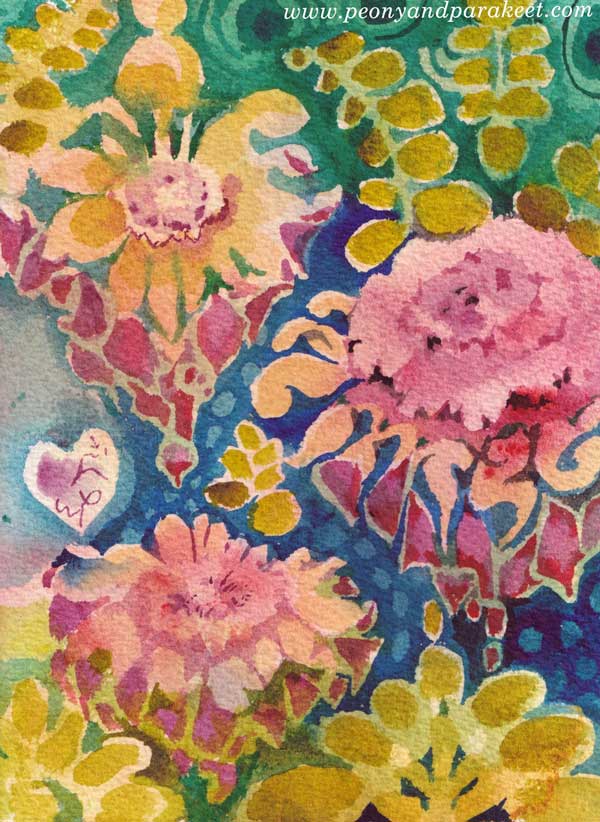
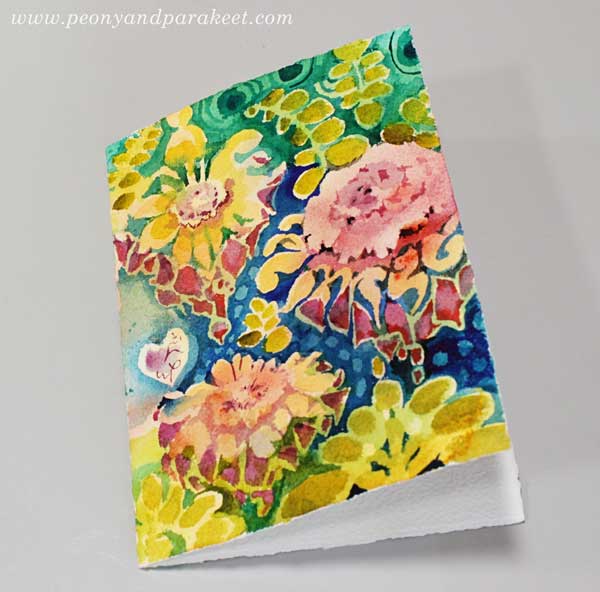
This week, I have a video tutorial for you! Let’s paint a watercolor card that’s like a piece of beautiful floral wallpaper. Watch the video!
Flowers have always been my favorite, but now even more than ever. I hope you’ll enjoy painting this!
Floral Fantasies – Weekend Sale!
I am also happy to announce that Floral Fantasies – my flower painting class is now available again!
Honestly, this is the class to take when you want to become a floral painter + it’s for sale April 23-26 (PDT)! >> Buy here!
Delicious Colors – Salvage Them!
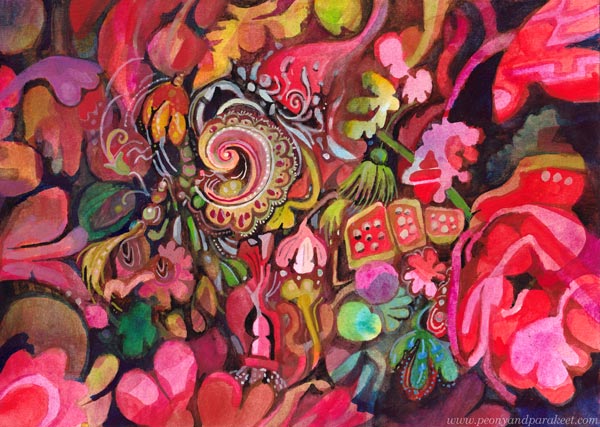
I have never been overly enthusiastic about bright reds, but now seems to be the time. I feel that in this black world, we need to salvage the delicious colors and amplify them with sugary decorations!
Finding Comfort from Delicious Colors
In the evenings, while waiting for the news around the world to be gathered, I paint in my little studio room. The more I think about the sad statistics, the more I want to create the opposite – a careless world with deliciously tasty and juicy colors.
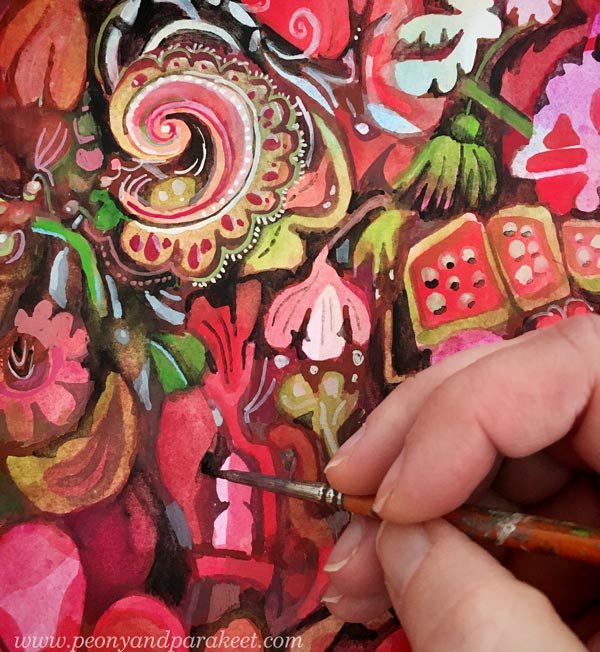
My studio is now like a sweet bakery, and as the main cook, I have lots of motivation to create!
Delicacies from DecoDashery!
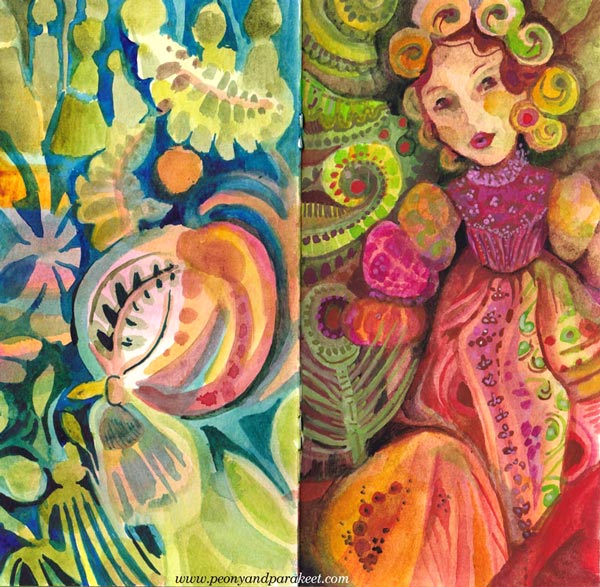
What first was just one little painting, has now grown to resemble a series that expresses an imaginary world. I call this world as DecoDashery, inspired by the old haberdashery from the movie Emma. DecoDashery will also be the next class that I am building, hoping to release it within a couple of months!
You Can Always Start Small!
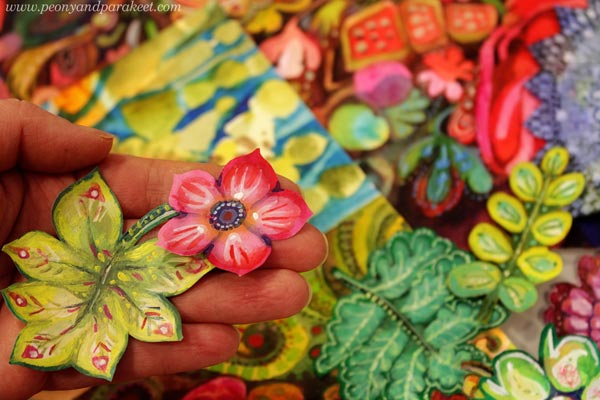
As usual, I haven’t made paintings only, but also collage pieces to my boxes of joy.
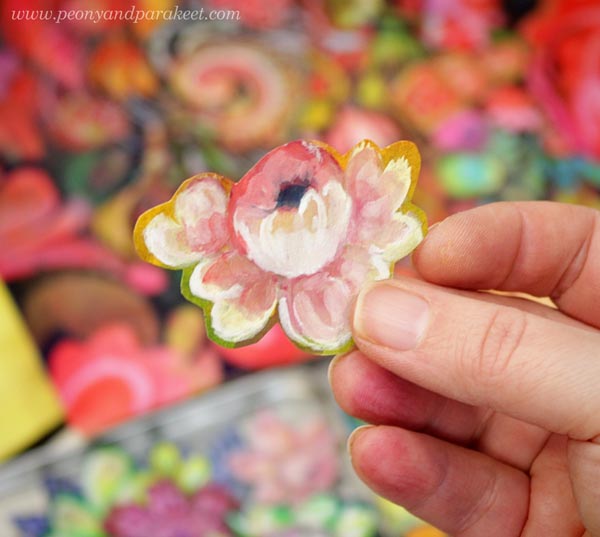
Delicious Meringues, Lace, and Porcelain
Now when my husband is working from home too, we eat together more than ever. Fortunately, he can cook! I have never been into that so much. But my specialties are side dishes and desserts, and it’s been fun to make one good meal in a day and combine our skills.
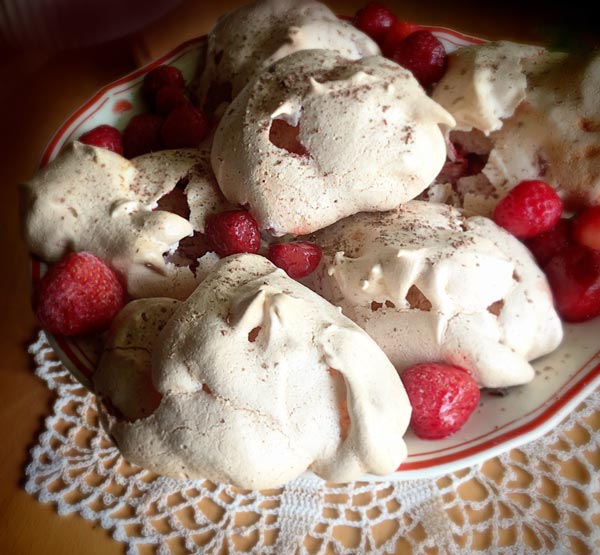
I had never made strawberry meringues, but a recipe from a knitting magazine caught my eye. Strawberries, an old plate, and a hand-crocheted lace doily were all as essential as the meringues themselves.
My current oil painting has progressed well too. Even if there’s a lot of work left, I get a lot of pleasure from working on it. Salvaging all the deliciousness of the random shapes feels so good.
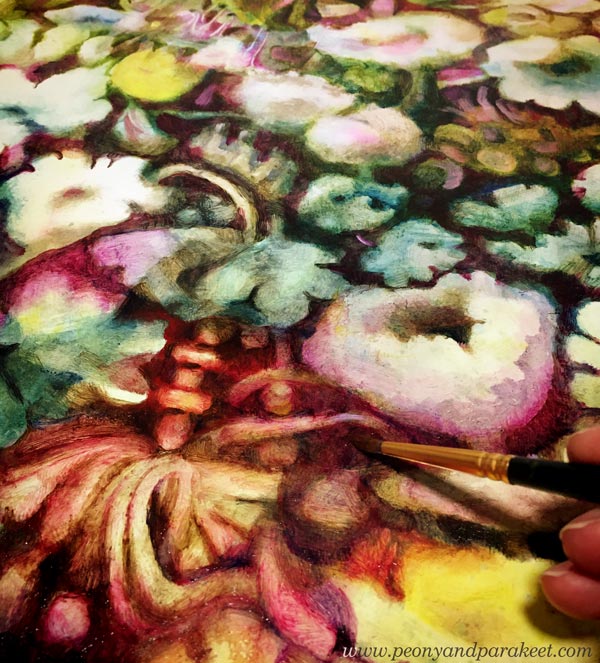
Doesn’t the painting look strangely similar to the meringues, lace, and porcelain? The world of Decodashery is expanding!
Meaningless Has Given Me a New Meaning
It’s kind of funny that when I decided to remove deeper meaning from my work for a while, I feel that my art the overall creative process has become more meaningful than ever.
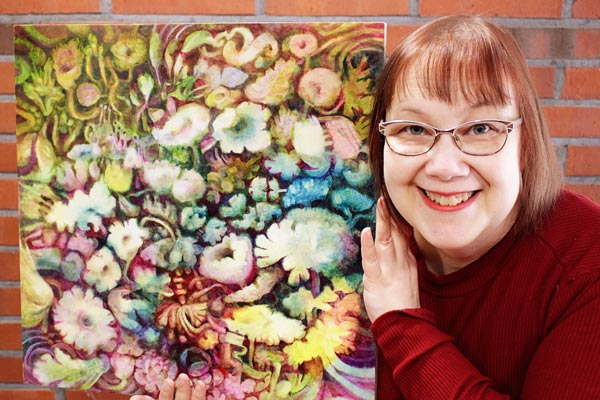
It’s like I have released the beast that I have always quietly carried with me, and once I have seen it eye to eye, it has become my angel in the crisis.
Bright and Decorative Art Style
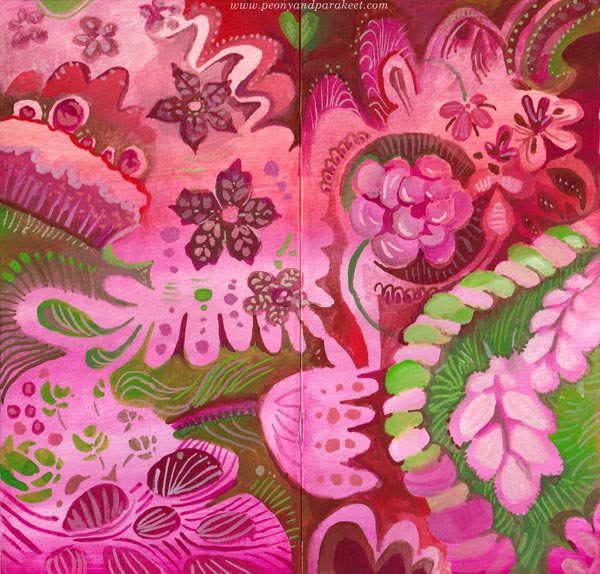
This week, I needed colors that are so sweet that they almost taste on the tongue! I found a little watercolor notebook from my paper stash and made a gouache painting on the covers.
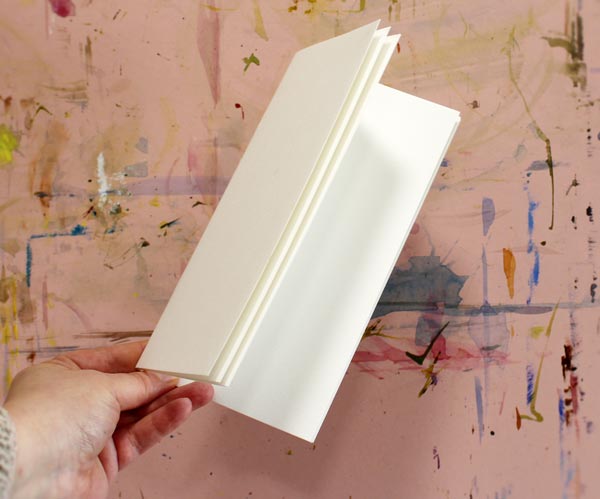
Painting the Covers
I used a limited palette of gouache paints – pinks, reds, and greens, and made pastel hues by mixing them with white.
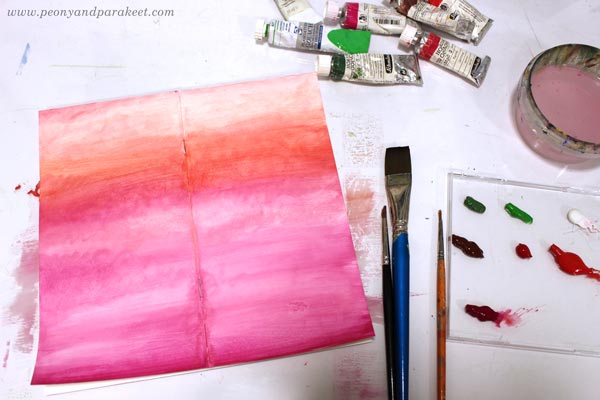
After painting the background, I filled the covers with decorations.
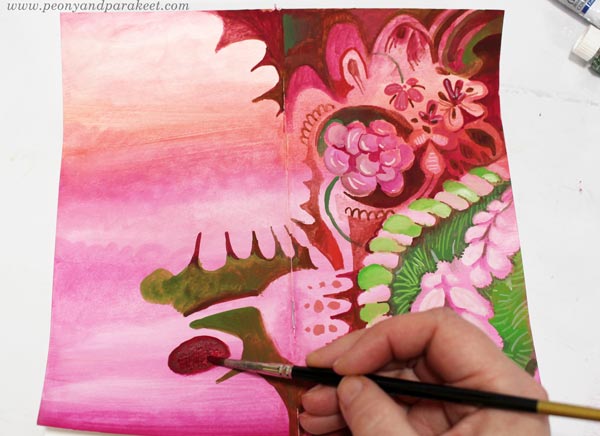
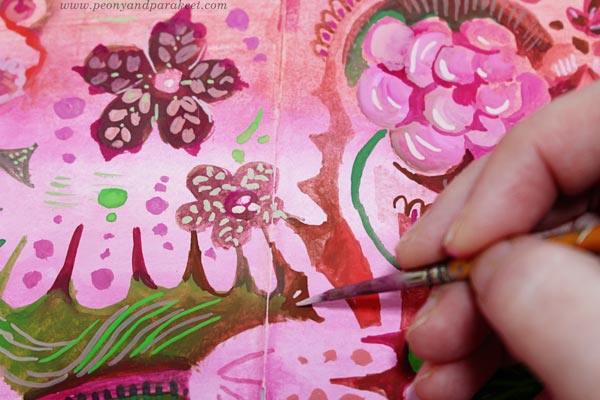
Making all the little dots and lines was both calming and refreshing. The darkness of the world faded away!
Here’s how the covers look when the journal is closed. Isn’t that sweet?!
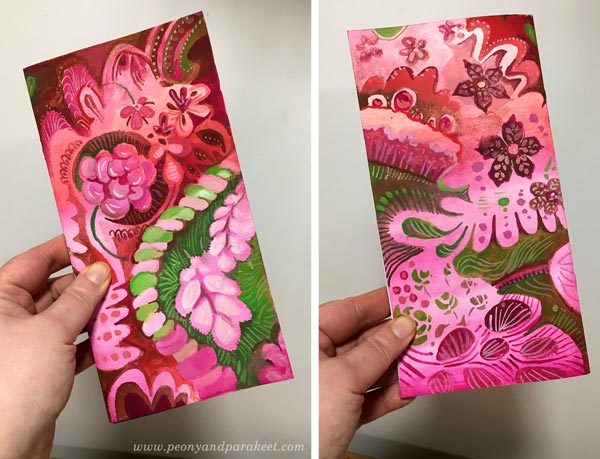
Inside: Decorated Papers and Flowery Shapes
I also decorated an inked paper and taped it on the inside of the cover. Flowers are easy to make with colored pencils!

I also combined gouache paints and colored pencils and made a mixed media drawing on the opposite page.
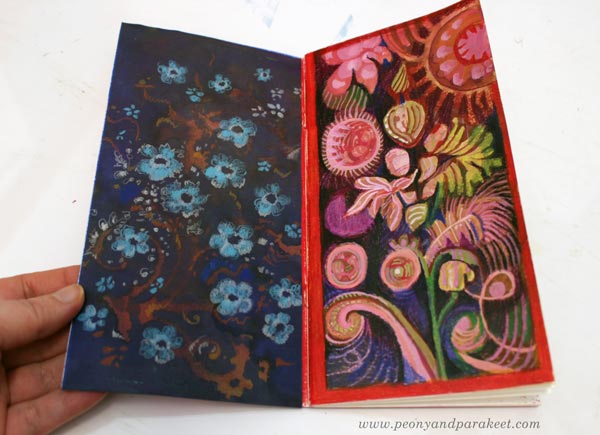
Inspiration from the Movie Emma
A couple of weeks ago, I watched the movie called Emma, and the beauty of it blew my mind. I love Jane Austen’s stories and had planned to go to a movie theatre to watch it, but they closed. Fortunately, it became available on iTunes, and within 48 hours of the renting period, I was able to watch it twice! I have always enjoyed examining decorative tapestries, furniture, clothing, and such, so I took my time, especially on the second time, stopping the movie now and then just to admire the beautiful sceneries, interiors, and dresses.
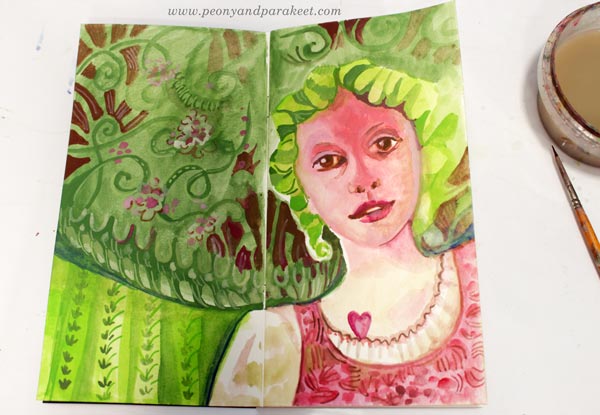
Here’s Emma’s friend Harriet and all kinds of decorative elements from my imagination.
Decorative Art Style – Fun to Design, Fun to Paint!
This year, I have been practicing pattern design, trying to make at least one pattern per month. I have used my watercolor paintings as an inspiration.
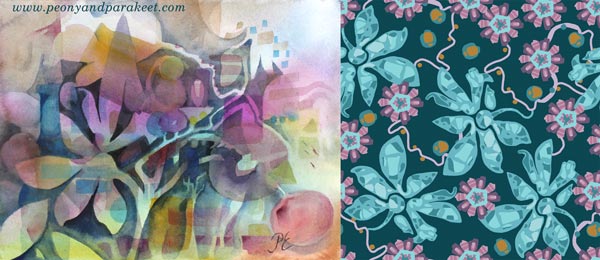
These design ideas go back to my paintings as well. I have really enjoyed making them more decorative now.
I feel like I am connecting the dots between the many styles that I am fond of. It’s like William Morris, Marimekko, and decorative Russian metal trays are coming together. My detailed style to draw and the intuitive style to paint seem to integrate, and it all feels so effortless and fun. I am going to do more of this kind of decorative art style projects – I hope they inspire you too!
Related Blog Posts
>> From Art Journaling to Pattern Design
>> Paint Your Mental Images – Love for Russian metal trays
>> 8 Style Tips from the Students of Peony and Parakeet – William Morris inspired art journal spreads
Bloom and Fly – Sign up for My Classes!
Sign up for any of my classes, and become a member of my active community for the rest of this year!