Hand-Drawn Collage Samplers
I have been browsing my art archives lately, and it has been surprisingly inspiring. I have lots of art journals and a big box of paintings and drawings from my teenage years. Even if I have experimented with many techniques and themes, it all looks very similar now. Everything fits together and gets my approval. Painting “Icebreaker” gave me a new kind of confidence, and with that confidence, I am now blogging about a playful idea that I got from cross-stitching – hand-drawn collage samplers!
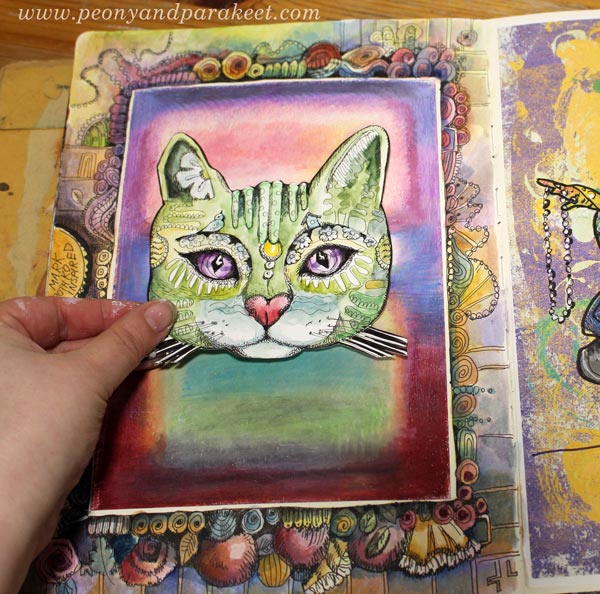
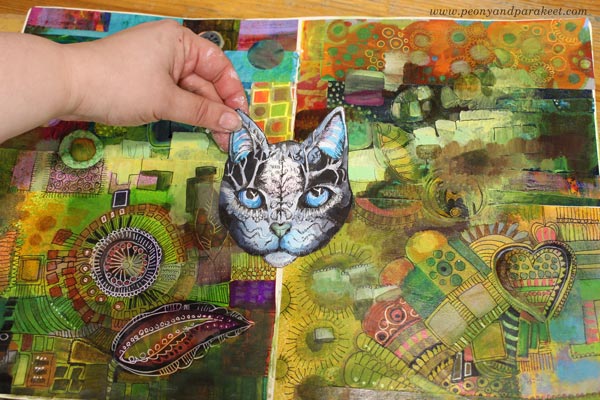
These samplers are composed of hand-drawn paper pieces so that they look like cross-stitch samplers. They have ribbons, many identical ornaments, tiny floating elements, and some symmetry. There’s also stiffness and order so that it looks like the elements are on a grid.
Cross-stitching is one of my hobbies, and even if I try not to think about art when stitching, I just couldn’t resist this idea! Here’s how I applied cross-stitching to collage art.
Print Tiny Scans of Hand-Drawn Collage Pieces!
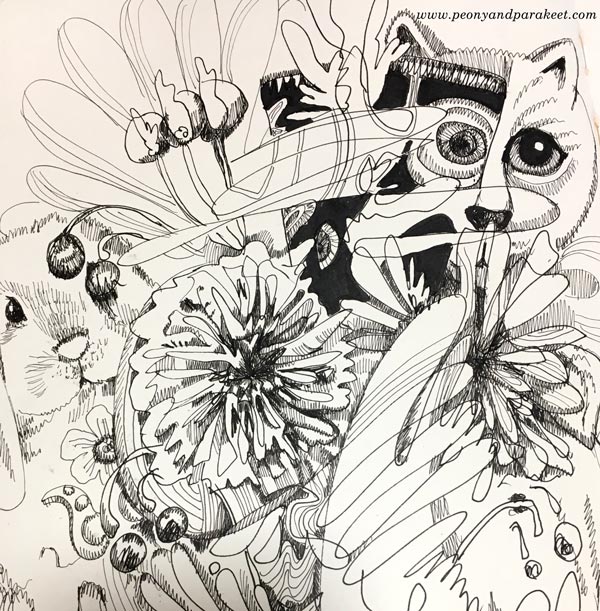
It’s essential to have tiny decorations to make the collage look ornamental. I solved the problem by making collage sheets of scanned hand-drawn pieces. These collage elements were drawn for the classes Animal Inkdom and Magical Inkdom, and there are some jeweled flowers from the free mini-course for subscribers too.
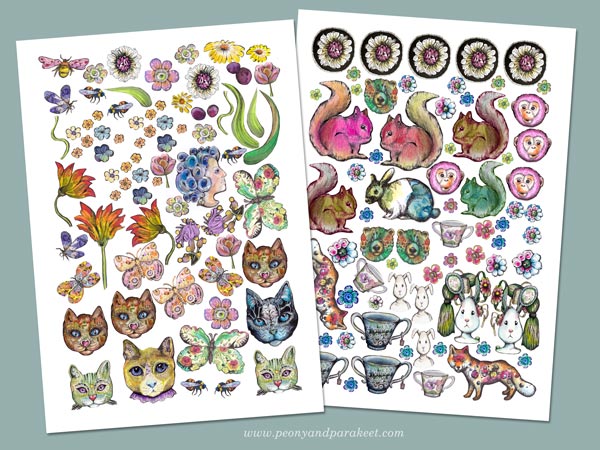
The original size of these pieces is much bigger than in the printed sheets.
Use All Kinds of Hand-Decorated Papers!
Samplers have a variety of designs, so every little doodle is a potential sampler piece. I have a box of hand-decorated and painted papers (mostly leftovers from Collageland) and two boxes of hand-drawn collage elements. I have also cut some old art created in the 1980s. All these are a good addition to small printed pieces.
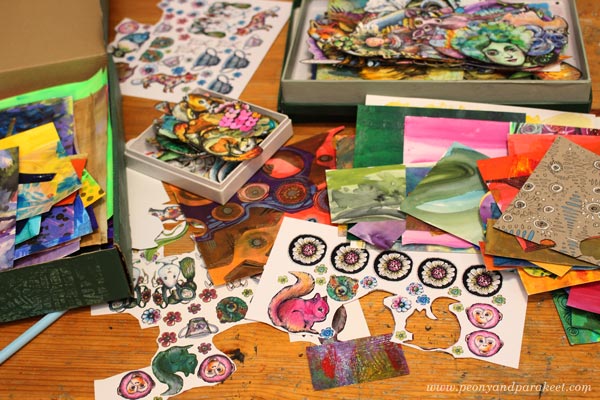
Of course, you can also use store-bought die-cuts, pictures from magazines, etc. but if all the elements are handmade, they will all fit together much better because they are all YOU!
Perfect Project for Hand-Painted Background Pages
If you are an art journaler, I bet your journal has a lot of pages that are more like backgrounds rather than finished pages. You can use them for collage samplers!
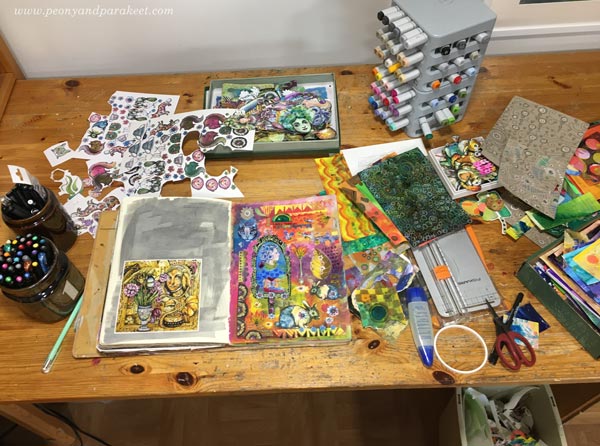
The background of this sampler was busy and bright, but I just added brown over some of the areas and let the colors speak, or should I say shout!
I attached the pieces with paper glue and some larger elements with double-sided tape. I usually use gel medium, but it’s messier, and it’s too difficult to cut all those tiny pieces with sticky fingers.
Self-Expression with Hand-drawn Collage Samplers
Sticking paper pieces can be just a relaxing hobby, like cross-stitching. But samplers can also tell stories!
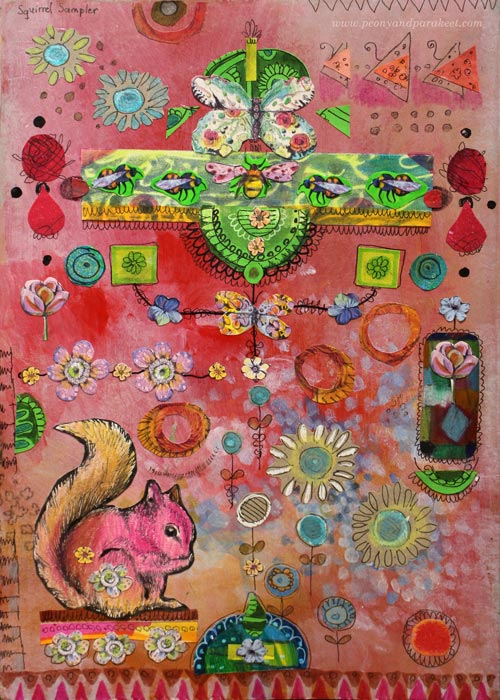
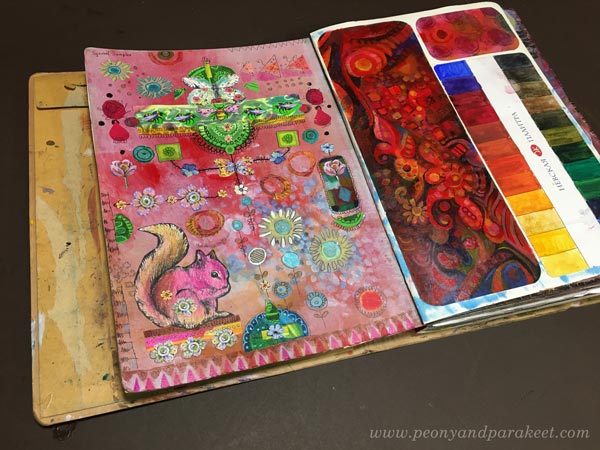
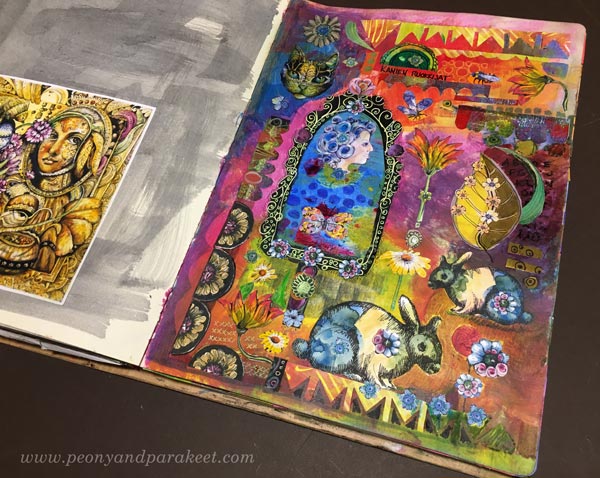
My first page is called Squirrel Sampler, and it has all kinds of little treasures that Paivi the Squirrel has collected.
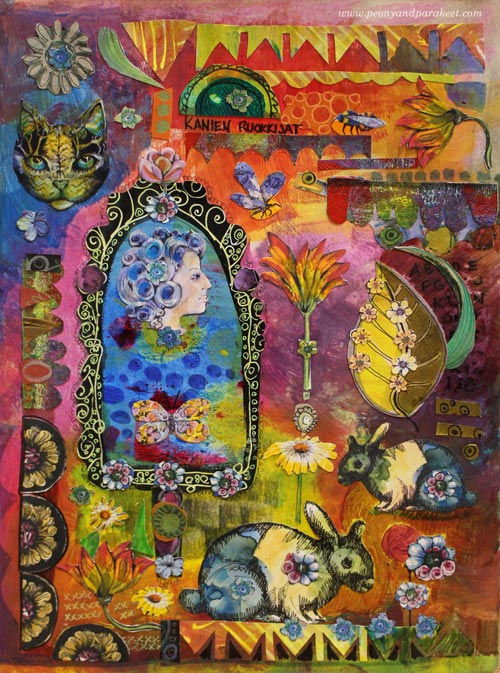
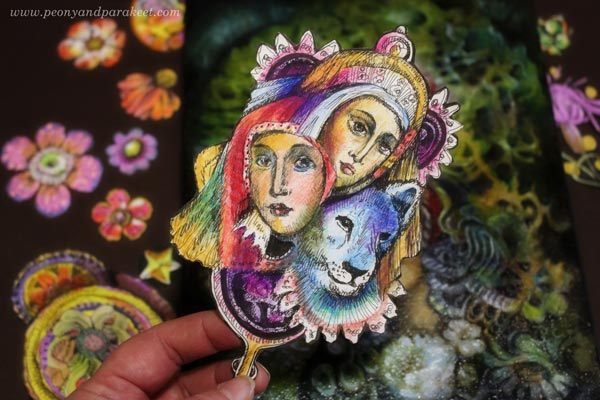
The second page is called Rabbit Feeders. It refers to women’s status and importance in Virginia Woolf’s novel The Voyage Out. An isolated woman looks at herself from the mirror and questions her importance for the world. I read Voyage Out as a teenager, and this allegory, even if it’s just a few rows in the book, touched me deeply.
It often happens that creative play evokes feelings and stories that are too big to express in any other way. I hope you’ll enjoy making these samplers!
Start drawing your sampler pieces – Subscribe to my weekly emails and get a free mini-course!
Revamp Art Journal Pages So That They Spark Joy!
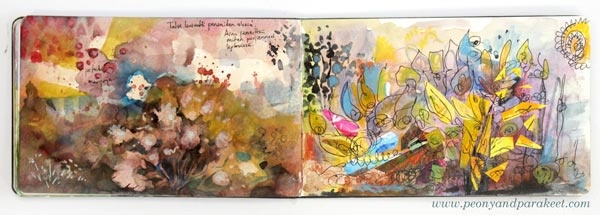
Here’s an art journal spread that I just finished. First, it was just a couple of old black and white drawings that – like Marie Kondo would put it – didn’t spark joy. But I used the old floral drawings as an inspirational foundation for the revamped spread. How and why revamp art? Keep reading!
Why Revamp Art?
The more confident I have become in creating art, the more I have begun to see the potential in my old art. Busy sketches, not so beautiful messes, and clumsy paintings and drawings all show the level of inspiration that still satisfies me. It’s the level of execution that I want to change. I want to tidy up some messes and add more expression and depth. I am certain that Marie Kondo would approve the idea of working with the old art journal pages. Isn’t it quite minimalistic compared to buying new journals all the time?
Revamp 1 – Change the Topic of the Page
Maintain the composition but change the topic of the page!
Here’s the spread before I started re-working it. It has a couple of carelessly drawn floral clusters.
I changed most of the flowers of the left page to animals, added more details and shadows, and made the lines and shapes neater.
Then I used Derwent Artbars to color the line drawing.

Revamp 2 – Tear the Page and Make Collage Art
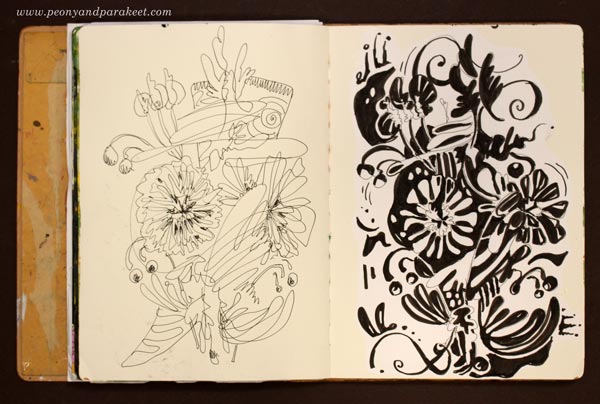
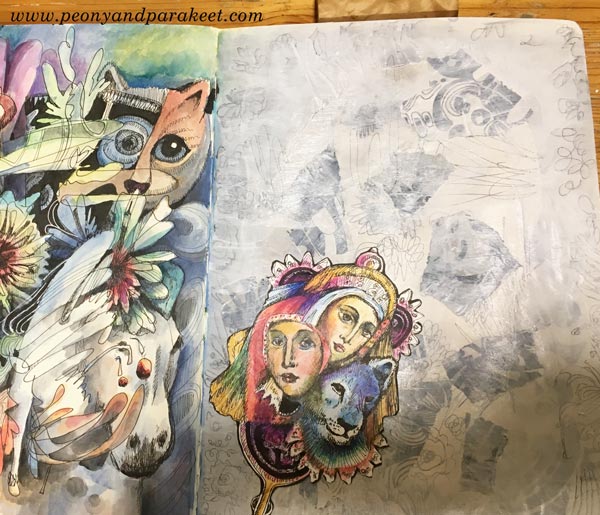
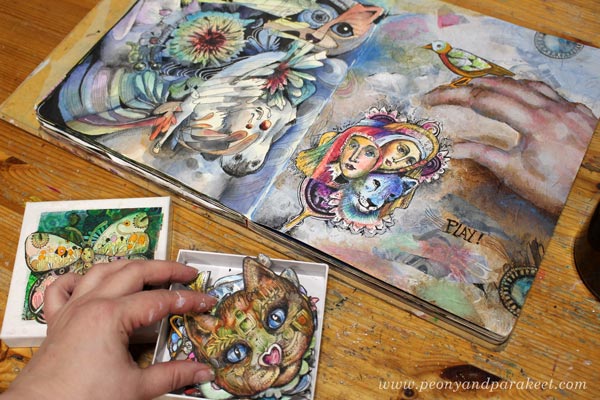
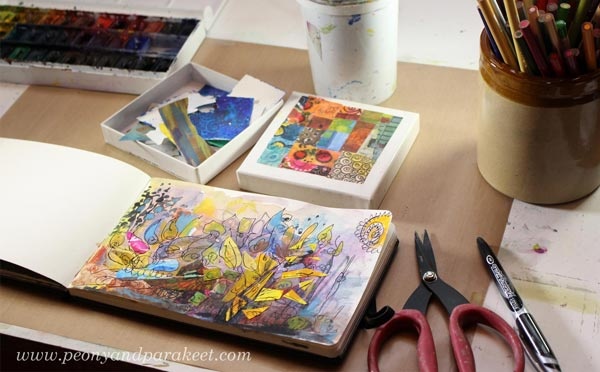
I made some more drastic changes to the other page. I ripped parts of the black and white drawing that had been glued there. Then I went to my boxes of joy – the boxes that hold my hand-drawn collage pieces – and picked this motif.
The background was painted with white acrylic paint. I worked in layers, glued some of the ripped pieces and doodled carelessly, then added more paint.
Revamp 3 – Paint Over a Part of the Page
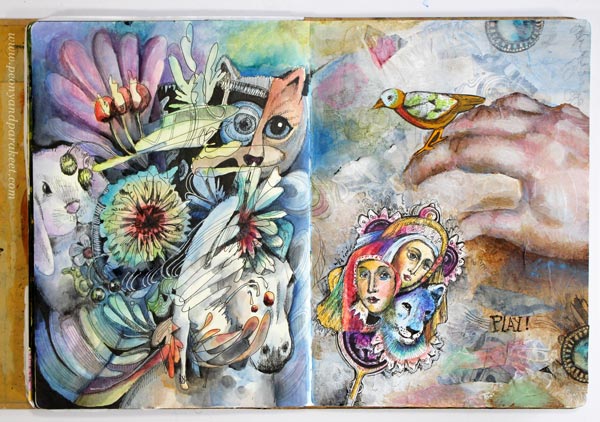
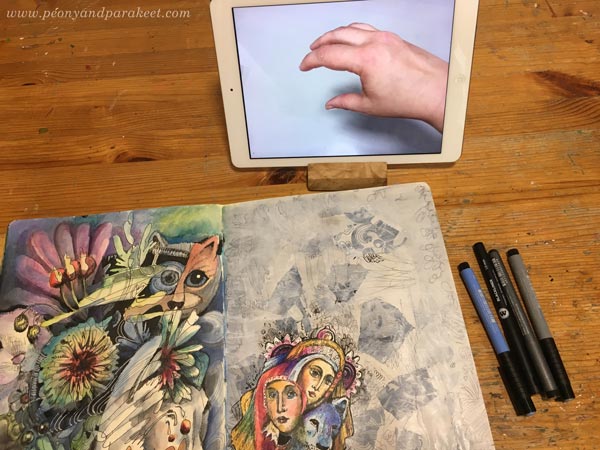
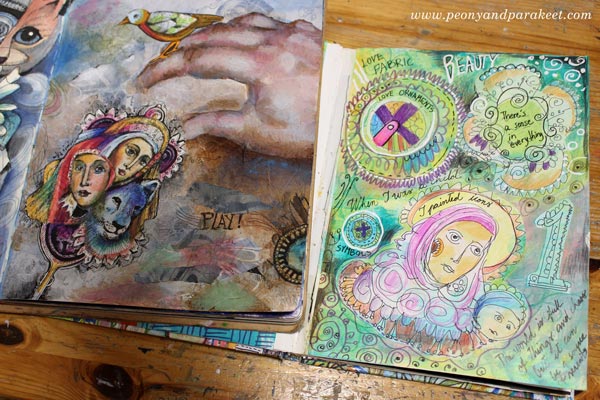
I wanted to include a hand showing how I currently play with my art. I took a quick photo and used it as a reference.
See how similar a page from my first art journal from 2010 is!
Have you documented your creative play? How you do it and how it makes you feel?
Revamp 4 – Cover a Page with a Piece from the Archive
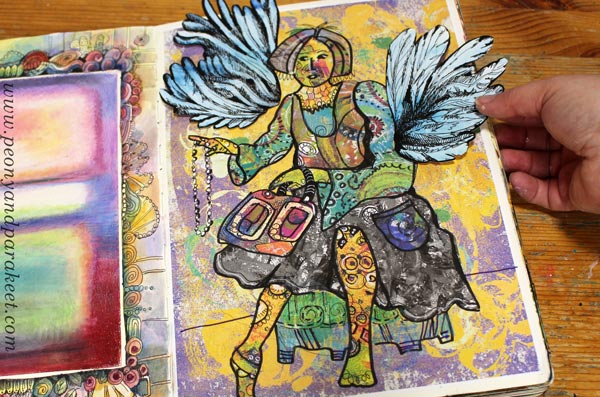
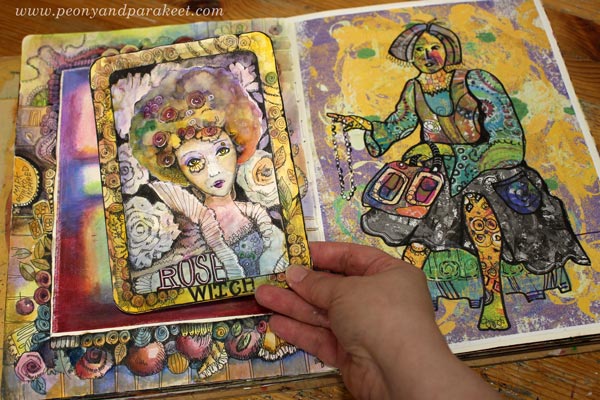
Before I finished the spread above, I re-vamped another spread. This one only had some doodles on the right page, and then a drawing inspired by Mark Rothko glued on the left one.
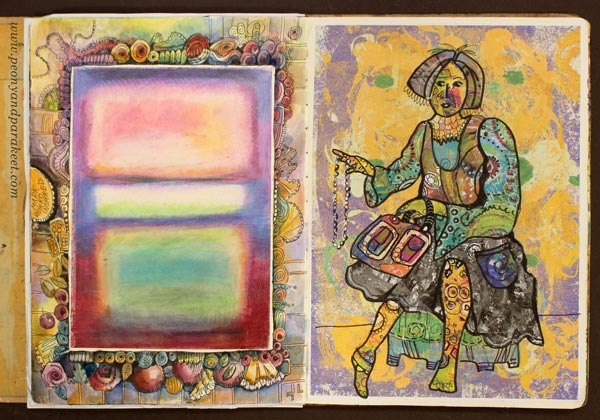
I found an old hand-drawn collage and glued it on the right page. In 2010, the collage was disappointing to me. I wanted to find my style and as a fashion illustration, the image looked clumsy.
However, it seems now that I wasn’t able to translate the message of the image correctly. Now, the piece makes me smile – there I am, sitting and handing the things that have always been inspirational to me: jewels and bags! I just wasn’t able to draw them like I did last October so I didn’t realize that they are the key elements for my visual voice.
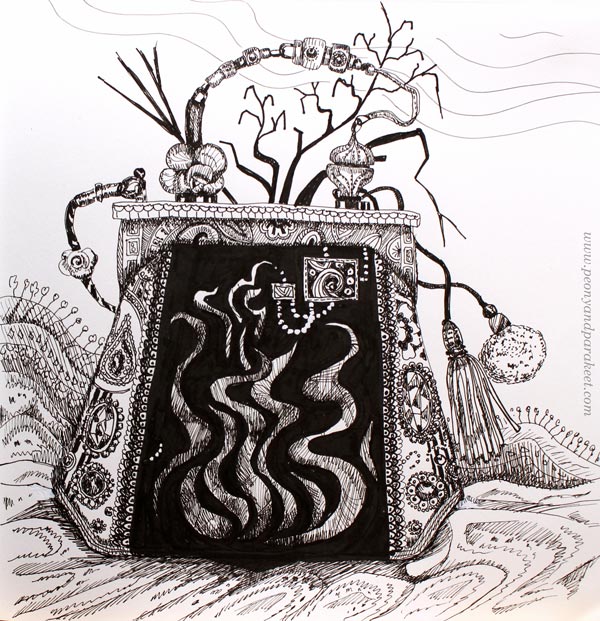
My collage was saying: “You should draw more bags and jewels, Paivi!” What does your old art speak to you now?
Revamp 5 – Add a Decorative Frame
During the years, I have made quite many of Mark Rothko inspired drawings, see this blog post! I love detailed drawings, and no matter how skillfully I would try to replicate Mark Rothko and other minimalists, I was never satisfied with the result.
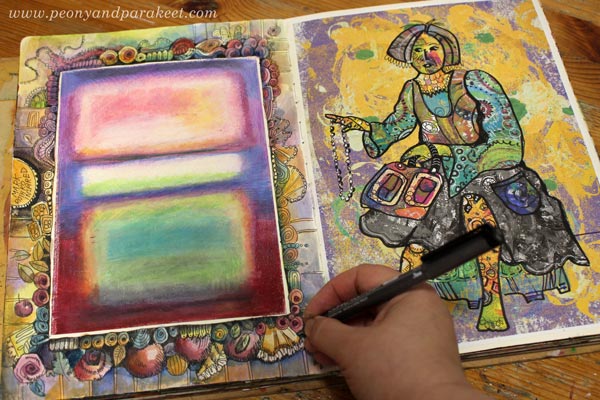
I wanted to hug the idea though and make a decorative frame around the old abstract.
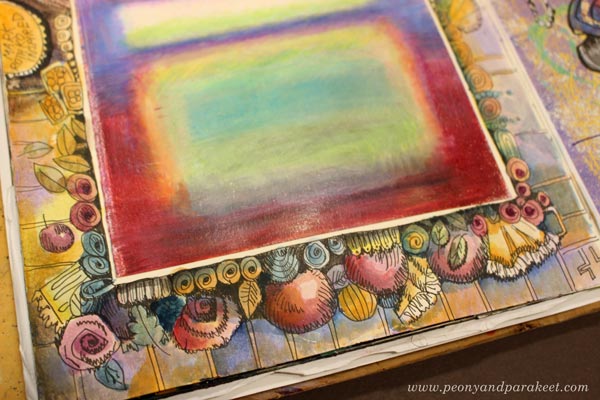
This way I am saying that the level of inspiration is there – Mark Rothko really makes me want to create whenever I look at his paintings. But the level of execution that I enjoy and am best at is something totally different.
This spread really sparks joy to me now, and I also couldn’t resist playing a bit with the collage pieces.
Isn’t it amazing how similar the style can be after so so many years, and after spending so long time trying to figure it out!
Here’s to Mark Rothko!
I am loving playing with the old art journal spreads, building the bridges between the years. If you separate inspiration from execution, does it make you look at your art in different eyes?
The Idea For This Blog Post Came from These
a) One of my notebooks mixes writing and drawing so that randomly scribble, doodle, and write there. It’s a private journal, and I didn’t want to publish its pages but the more full it has got, the more I have realized that when the sketches and writings are not organized chronologically, and I can revamp the pages repeatedly, they naturally produce new ideas.
b) Mackie d’Arge, a wonderful fellow artist from the USA, has shown her beautiful art in my art community Bloom and Fly. She has made many pieces by rebuilding and revamping her old artworks. It has given me the idea of looking at the potential of my old art and what could be made from there.
c) My classes Animal Inkdom and the upcoming Magical Inkdom are all about playing by drawing. I have wanted these classes to be fun, so they have made me include humor, fantasy, and play in my artistic process as well. They have made sure that my boxes of hand-drawn collage pieces stay filled even if I would “shop” there all the time! In Magical Inkdom, we will also draw decorative frames. >> Sign up Now!
Guiding Word – Choosing and Visualizing Your Word of the Year
The year 2018 was groundbreaking to me. I was able to include things that seemed separate from my art in my art and build a new foundation for it. It strengthened my visual voice and style, but also, it felt more holistic than just that. I would say that my artistic identity got updated.
As a former software engineer, I see it this way:
Peony and Parakeet 1.0 – intuitive circles and colorful patterns, 2012-2014
Peony and Parakeet 2.0 – from mixed media to fine art, 2015-2017
Peony and Parakeet 3.0 – fantasy illustrations, 2018 -?
I am not quite sure how to label 3.0 yet, but it definitely started last year and went into bloom during the Inktober challenge in October.
What’s Your Word of the Year?
About a year ago, I developed a process for setting artistic goals. I introduced it to my art community Bloom and
My word for 2018 was “Depth”, and now when I look back, it was related to my old desire to create fine art. But the process of exploring depth was like the symbol of yin and yan. It started a journey towards the opposite word “Play.”
The process of choosing a word and exploring it through art-making had a huge impact on me, so I decided to share it openly. Watch the video to define your word and to explore it more in depth!
Guiding Word – Watch the Video!
My word for 2019 is “Play”. I am looking forward to
P.S. As you probably noticed already, this website and my artist website has been updated! There are still things to adjust and add, but feel free to browse the new look!
P.P.S. I am running a free live webinar The Joy of Drawing on Jan 17, 7 PM GMT – 11 AM PST, reserve your spot here!
The event is gone but here’s the recording!
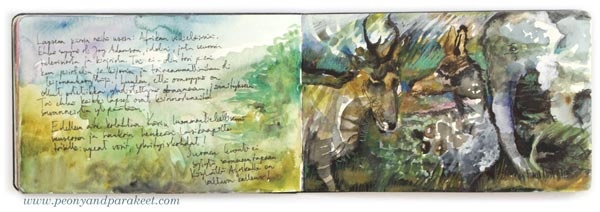
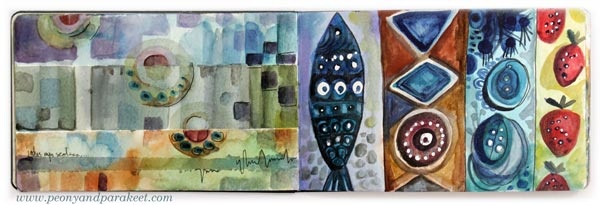
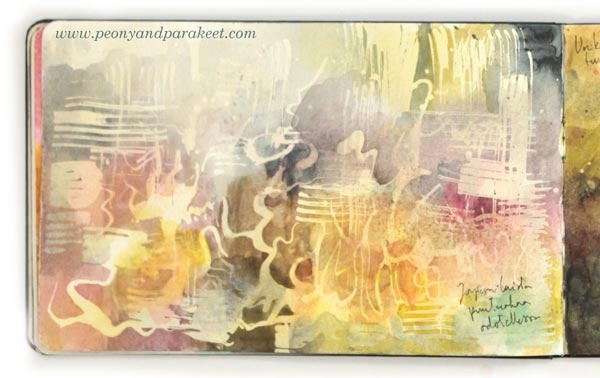
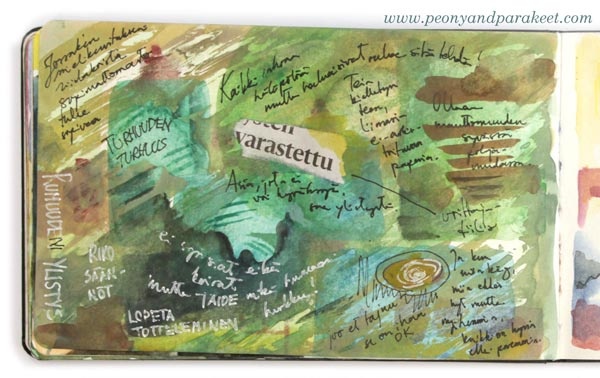
Keeping a Watercolor Diary
This week, I show you my Moleskine Watercolor Notebook and share a bunch of art journaling ideas for watercolors.
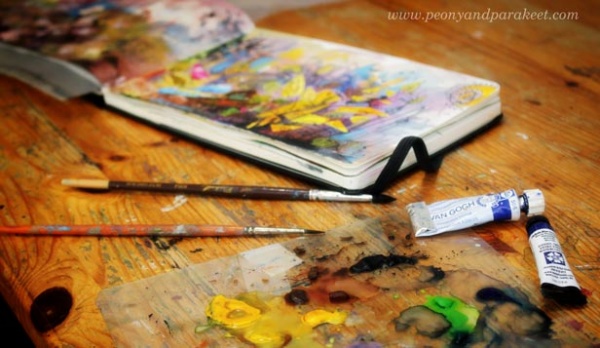
I call my sketchbook a watercolor diary because it has become more than just storage of watercolor sketches. I have recorded many everyday moments and memories into it, and it has become a companion that is always easy to pick up and spend time with.
Watercolor Diary – Watch the Video!
I have included a lot of sample pages in this blog post but watch this recording of a live broadcast to get more out of them!
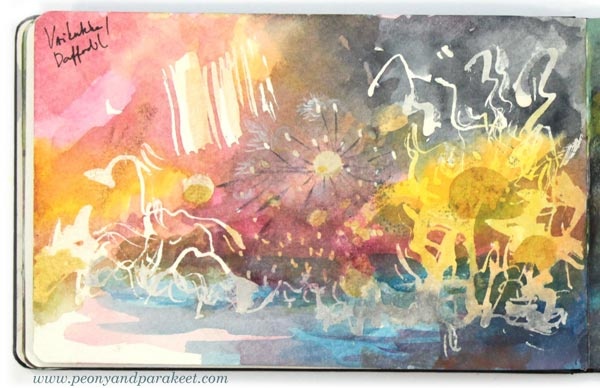
About 17:30 I talk about daffodils, but I mean dandelions, sorry!
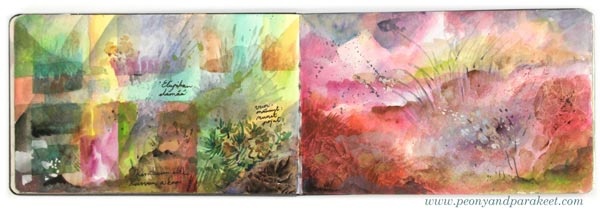
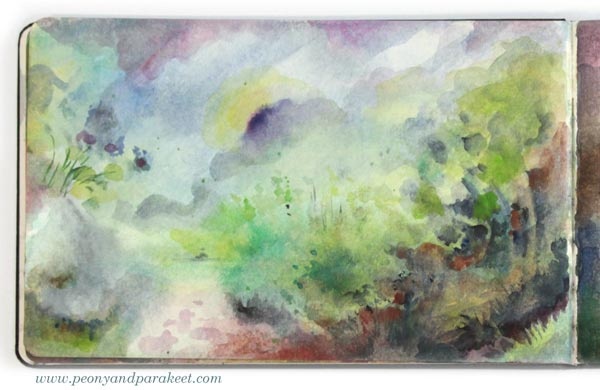
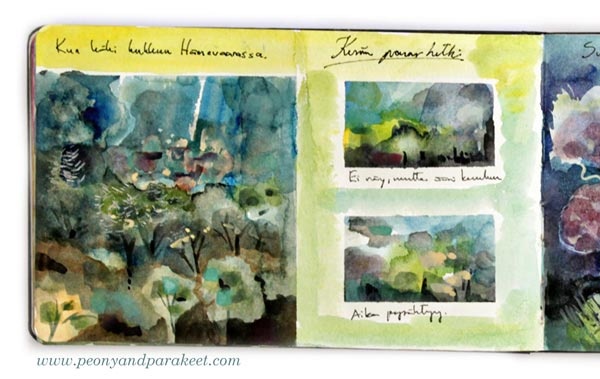
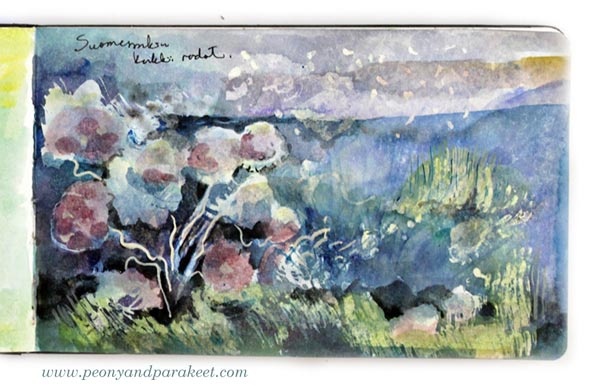
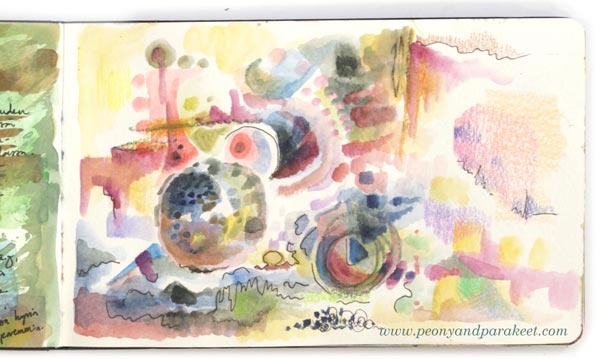
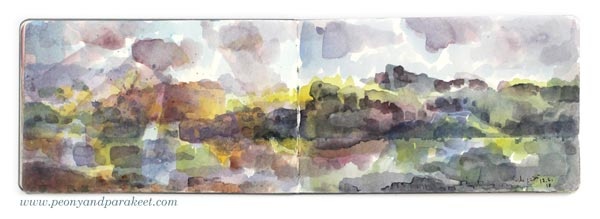
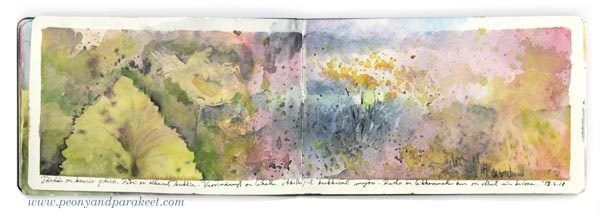
Watercolor Diary – Sample Pages
Here are the pages of my art journal showed in the video.
Familiar Place
Long Path
Everyday Observation
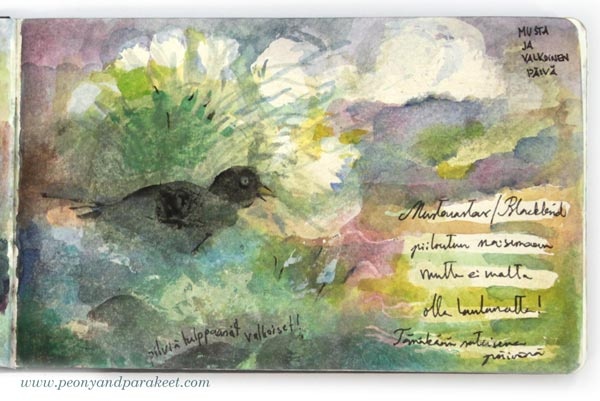
Story of a Flower
This should read “Dandelion”, not “Daffodil”!
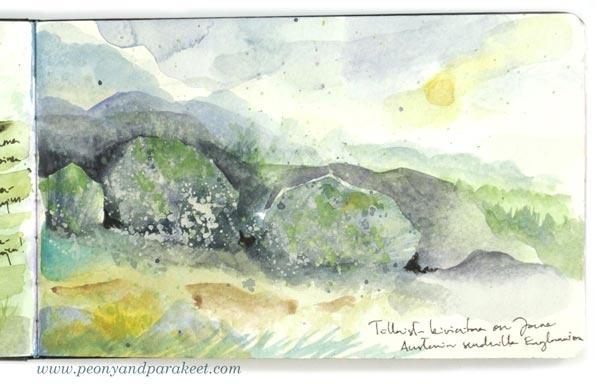
This Place Looks Like That Place

Inner vs. Outer

Travel Memories
Inspiring Cultures
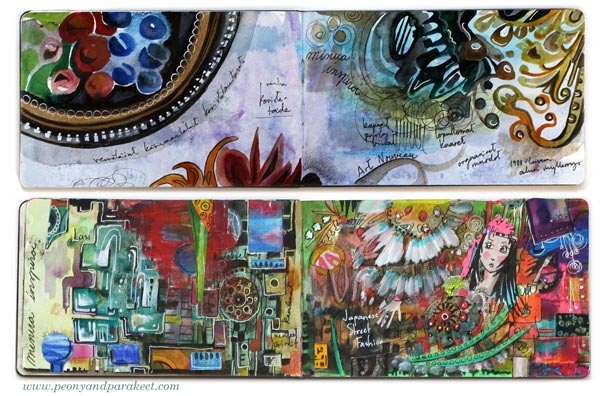
Souvenirs from the Land of Imagination
Trip to the Museum
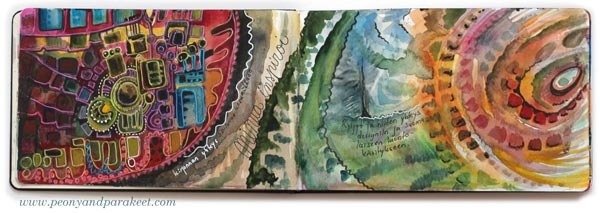
Organizing the Order
Abstract Garden
Flowers in the Wind

Abstract Buildings

Kneeling Down, Looking Up
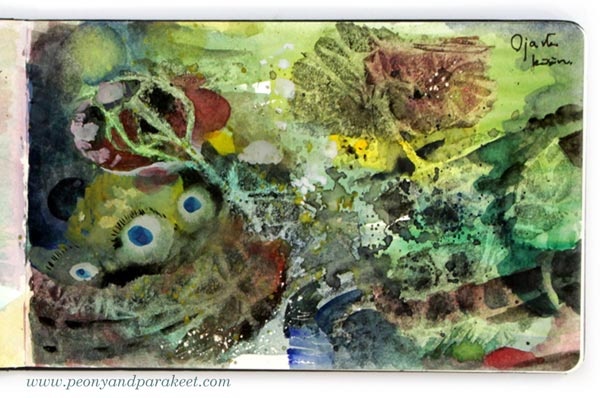
Image Collection
Focusing on the Air
Watercolor Collage
Making a Pair
Crazy Journaling
Watercolors and Colored Pencils
Rainy Day
Morning Dew
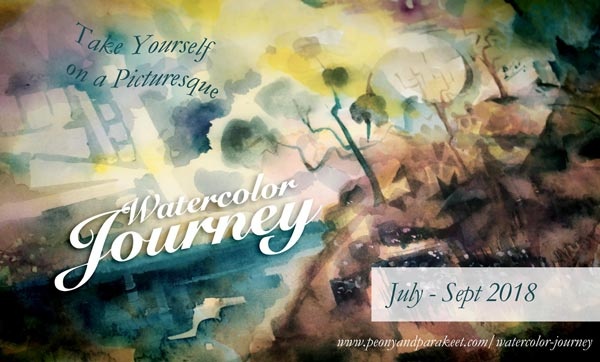
Take Yourself on a Picturesque Watercolor Journey
My class Watercolor Journey is especially for you who admires traditional watercolorists but who wants to be more loose and contemporary in your approach.
If you find sketching, perspective painting, careful shadowing and copying boring, but want to learn tips and tricks to let watercolors do half the work for you, you don’t want to miss this class!
Connect the dots between watercolor techniques and creative expression – Sign up for Watercolor Journey!