Create a Chapter Cover for the New Year!
This week, we are creating a chapter cover for our art journals that marks the new year.
When I think about the new year, there are lots of uncertainties that first come to my mind. What will happen in the world, what will happen in my life, and what will happen in my art? I can only present educated guesses about the threats and possibilities. This kind of wondering makes me feel passive, and it’s not very uplifting, so I rather pick up my pencils and start drawing.
Draw a Chapter Cover for a Journal!
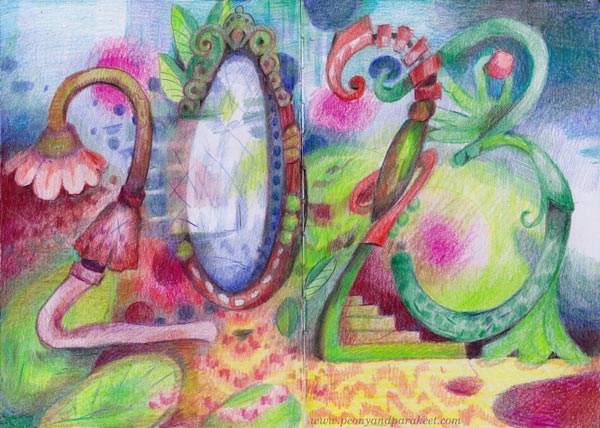
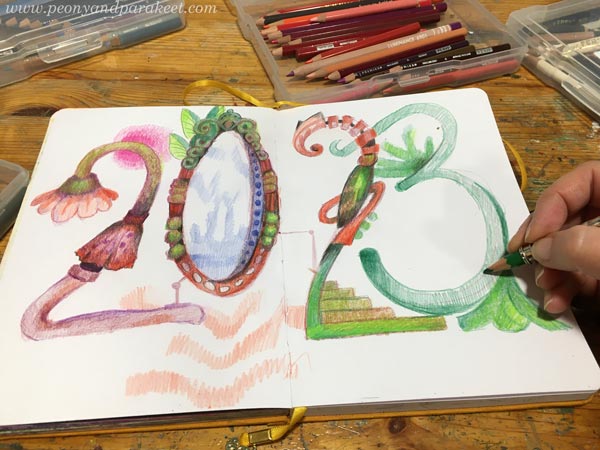
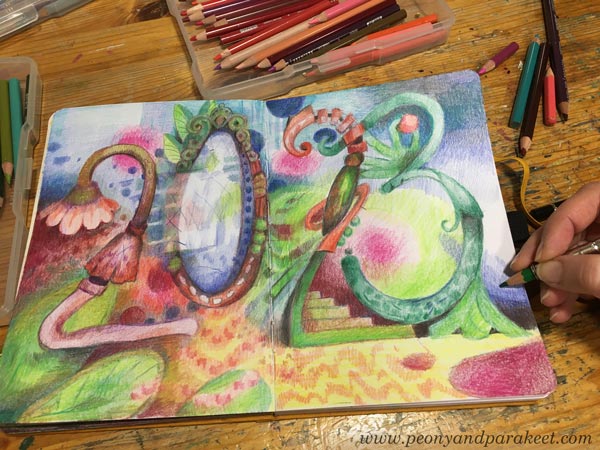
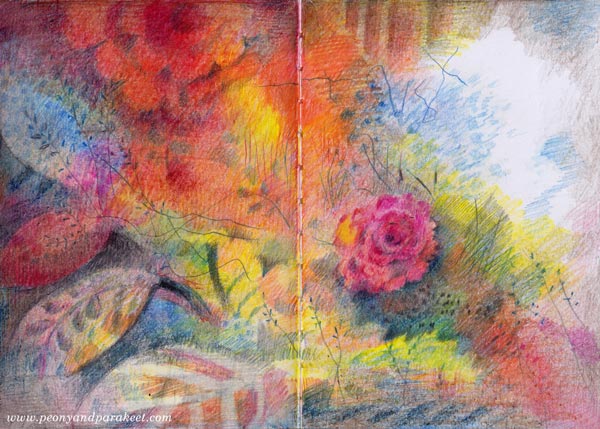
As I told you in the recent video blog post, I got the idea of making a chapter cover in the colored pencil journal, marking where the new year begins. So all I had to do was to add the numbers on the next spread and then color a bit on them and around them. This project was a lot of fun, and I highly recommend it!
Play with Numbers!
Just as the world is not only based on facts, the numbers are not just numbers either. Their shapes don’t entirely define them. The number “2” can be a kneeling woman with stockings and a skirt, or a flower that bends down – or both! The number “0” can be a mirror that not only reflects the surroundings but open ups a new scenery. Isn’t that what we want to see in the new year – not only experience the chronologically bypassing days but also make them take our minds to a new place? Stairs that are ahead can lead to nowhere or everywhere, and the fingers that hold a treasure can, at the same time, be the leaves of a plant.
The way we can combine everyday life and fantasy creates joy and hope, and uncertainties feel not only exciting but necessary.
Numbers as Fashion Models
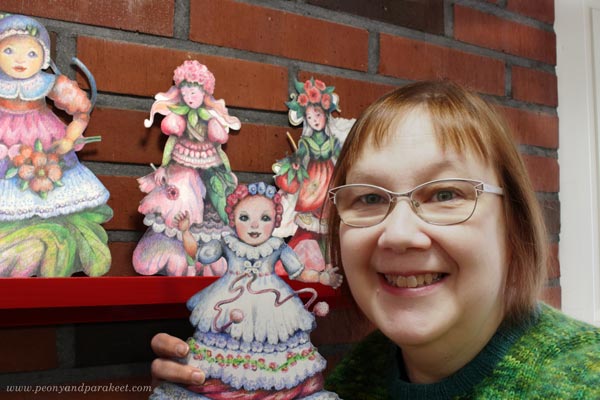
Every time I build a course, I learn something new myself too. But this time, with Doll World, I feel that there’s a lot that comes in the shape of a person.
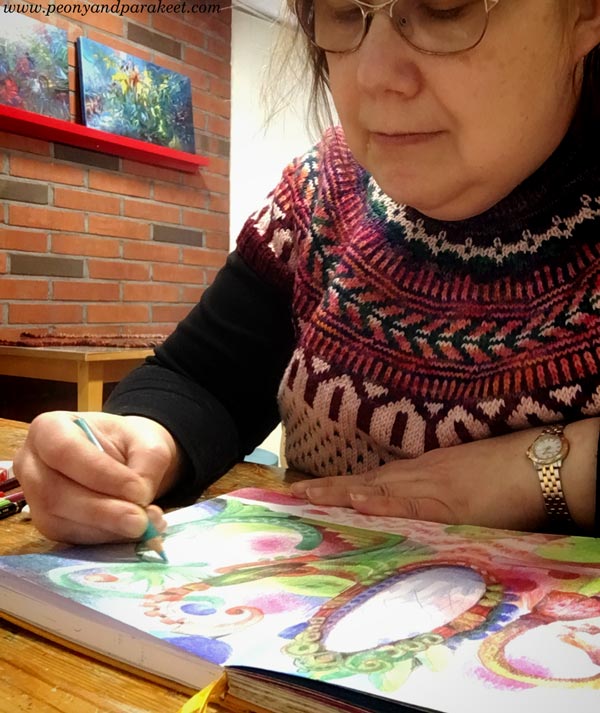
When I am more familiar with drawing human figures, I seem to be better able to see those everywhere, for example, in numbers too. And it often seems to come to my mind that I can dress up a shape and, that way, make it more imaginative and fun.
Year of Art
The year 2022 has been a year of art for me. I acknowledge that eight recent years have been like that in one way or another when I have been a full-time artist. But this year, it felt like Art came out of the cellar and opened her heart. And when asking what to do next, she usually said: “Leave me alone,” but this year, the answer was softer, sending a question back to me: “Tell me what you want to see!” Art, who was an animal that used to escape and hide, became a pet, even a caressing spirit. She wanted to stick around and show how something little can grow to become enough – how I can be enough.
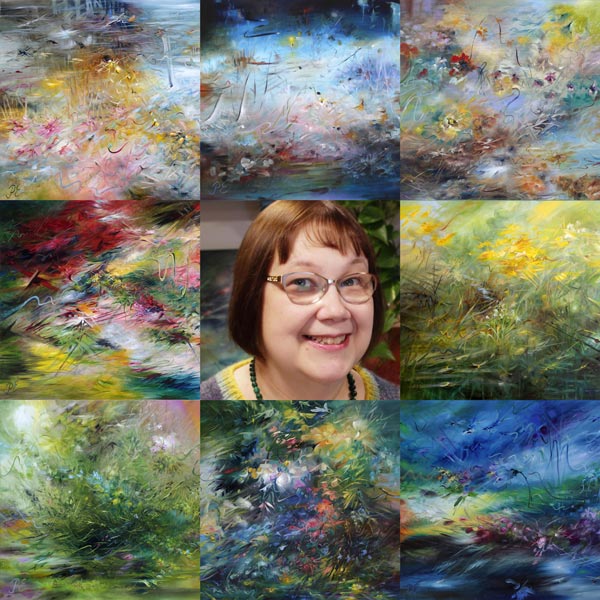
It all felt like a gift even if I had suffered for years by trying to tame Art’s spirit, trying to understand her, trying to stick around even if she would only live in a dark cellar. And now, when I play with the pencils, it doesn’t feel like I do that without her, but with her,
even if I am not painting.
When we spend time together with Art and together as artists too, every year is different. We don’t stay the same, but our foundation becomes more similar. And the older we get, the more we inspire each other, and our art is like a group of fairies that gently fly around us. At least, that’s what I hope for the upcoming year.

Time will tell how this journal continues!
Doll World – Join Us!
Come to draw adorable dolls and their dresses with me!
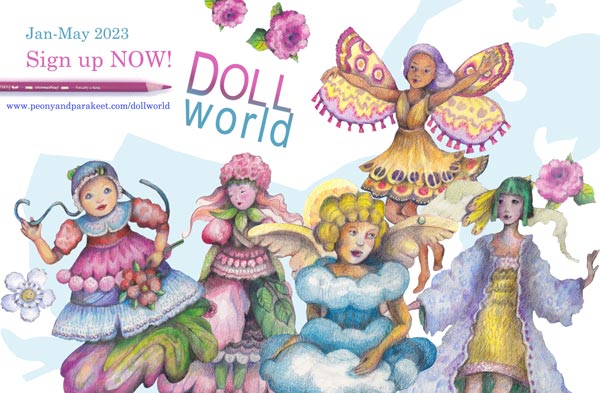
Doll World begins on Jan 1st. >> Sign up Now!
Dolls and Angels – Video Blog Post
This week, I have a video blog post for you! I talk about dolls and angels – winter, the new class Doll World and Christmas memories, among other things!
You will also see my table at the recent sales event. I hope you enjoy the video!
Dolls and Angels – Watch the Video!
Links to Related Blog Posts
- The previous video blog post
- Instructions for drawing a winter angel
- Preparing for the sales event
- The half-body figure: Creating a Protector of Good
- The painting: Winter Night’s Poem
- About painting a series: Inspired by Nature
Related Online Classes
- Doll World – Sign up here!
- Make a chapter for your colored pencil journal: Fun Botanicum
- The evolution from drawing to coloring and then to painting: 1) Inspirational Drawing, 2) Intuitive Coloring, 3) Floral Freedom
Autumn Colorings – Video Blog post!
This week, I have a video blog post for you. I talk about this journal spread that I made for my colored pencil diary, but there are also more autumn colorings, art ideas, and inspiration for creating in the middle of life’s small happenings.

In the video, I am talking about colored pencils, the upcoming class about paper dolls and human figures, my friend’s artistic success, blooming orchids, Japanese woodblock print style and style development, and I also draw a Halloween pumpkin from start to finish. There are all kinds of autumn news and autumn colorings!
Autumn Colorings – Watch the Video!
I hope this video inspires you to create and give some extra TLC to your colored pencils!
Links to Related Blog Posts
- The previous video blog post
- The journal spread of Vanda and how she looked a couple of years ago
- Posts about the paintings: The Spirit of the Rose, The Echo of Moss, Forest of Wishes
Links to Other Related Sources
- Eeva Nikunen’s website
- Alice in Wonderland Special at Colouring Heaven’s website
Related Online Classes
- Color intuitively without references: Intuitive Coloring
- Start a colored pencil journal: Fun Botanicum
- Draw scrap reliefs and paper dolls: Animal Inkdom, Magical Inkdom, Decodashery, Doll World is coming soon!
- Paint floral abstracts: Floral Fantasies, Floral Freedom
Colored Pencil Blogger – A Video Blog Post!
This week, I have a video blog for you. It’s full of art inspiration, especially if you want to fall in love with colored pencils.
Stories and Inspiration – Watch the Video!
I decided that I have blogged about colored pencils so much that I can call myself a colored pencil blogger!
The video is longer than what I usually record. Is a 30-minute video too much? Tell me what you think!
Links to the Related Blog Posts
Posts about the colored pencil projects shown in the video:
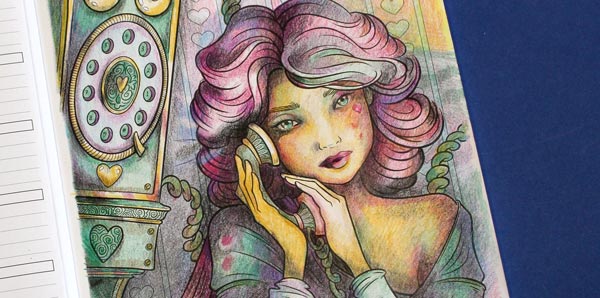
- Coloring Page
- Angel
- Butterflies Journal Spread
- Hearts and Flowers Journal Spread
- Frozen Heart Journal Spread
- Drawing that I showed just quickly
- Previous video project
Posts about the paintings shown in the video: